Chronograph
This is one of those projects that I have been intending on doing for many years, I finally got around to it but I really did not enjoy the project at all, I did it in sections and it took the best part of 2 months to complete. So what is a chronograph, well chrono means time and graph means measurement. There are many different types of chronograph such as watches or timing equipment, the one in this project is used to measure the velocity of a projectile, in this case an airsoft bb pellet.
Design
So where do you start with a project such as this, well it is normally a good idea to put some ideas down on paper such as the speed required and the footprint of the device. I already had a pretty good idea of how I was going to do the project, I jumped straight in. The first step is figuring out how to measure such a small object traveling at such a fast speed, the answer is a photo-diode. A photo-diode is a device that generates a voltage when a certain wavelength of light hits it, when the light path is broken the control circuit will know the position of the projectile. A photo-diode will time in the order of a few nano seconds, it will only emit a small current and it must be energised by a source of radiation, most commonly an IR LED.
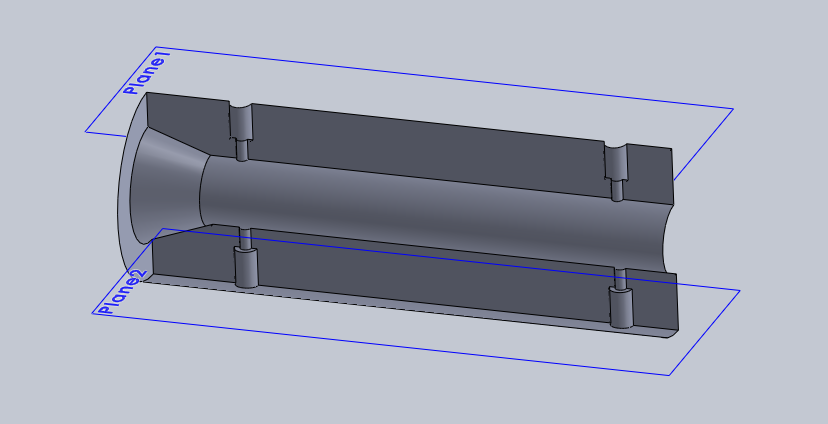
The first part I made was the tube that would house the sensors, this was machined in aluminium. The main reason I chose metal was because I could accurately CNC machine the ports, the second was that external IR light could not affect the sensors. I also used small channels to direct the light hoping that this would increase accuracy and decrease the chance of external factors.
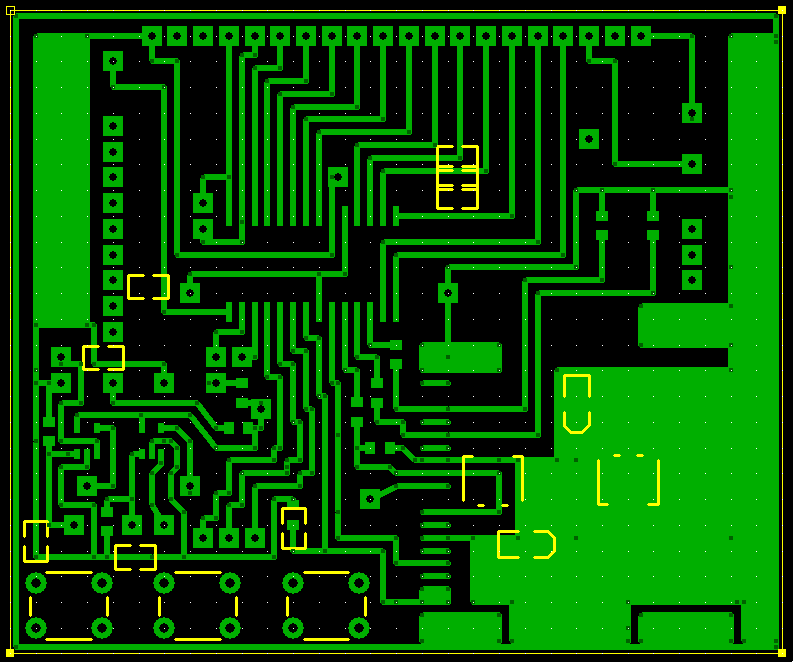
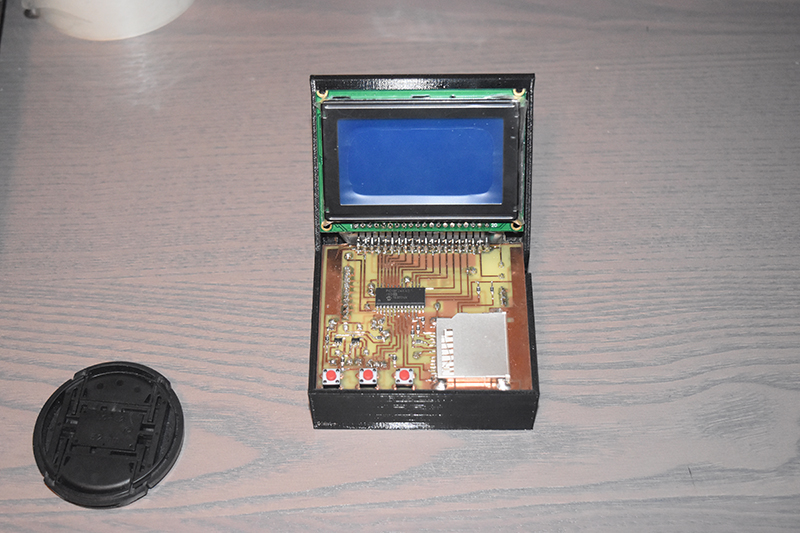
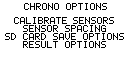
The next part to make was the circuit board, I knew what components I needed and how the circuit would work so it did not need much thought. I did choose to incorporate an SD card slot so that the chronograph results could be saved, the display used would be a transflective graphic LCD.
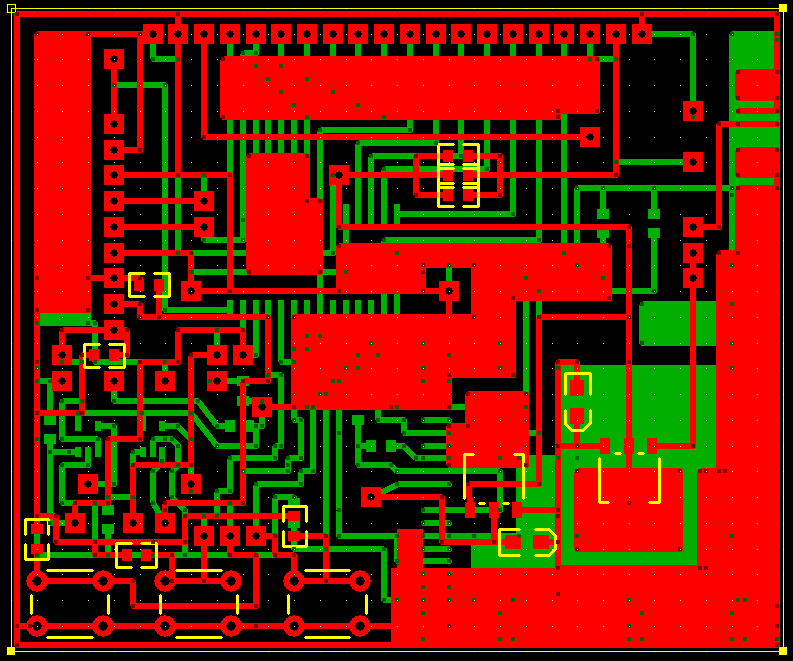
The board had to be made dual layer so that all of the components would fit. The module would be battery powered via four AA batteries, a 5V voltage regulator used to power the display and chip, a 3.3V regulator for the SD card.
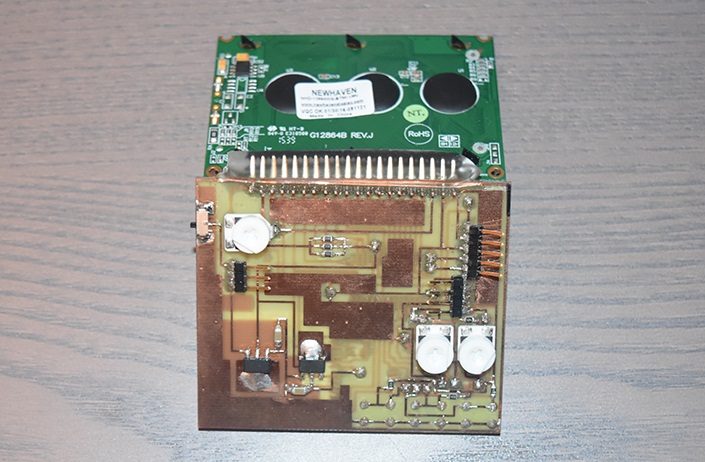
The board was made and assembled.
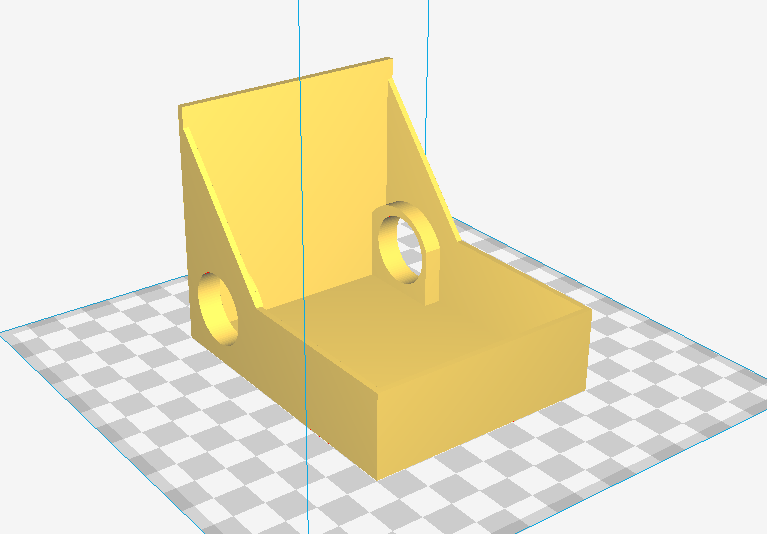
Next I chose to 3D print a case for the module in PETG.
The sensor tube was placed into the housing along with the sensors.
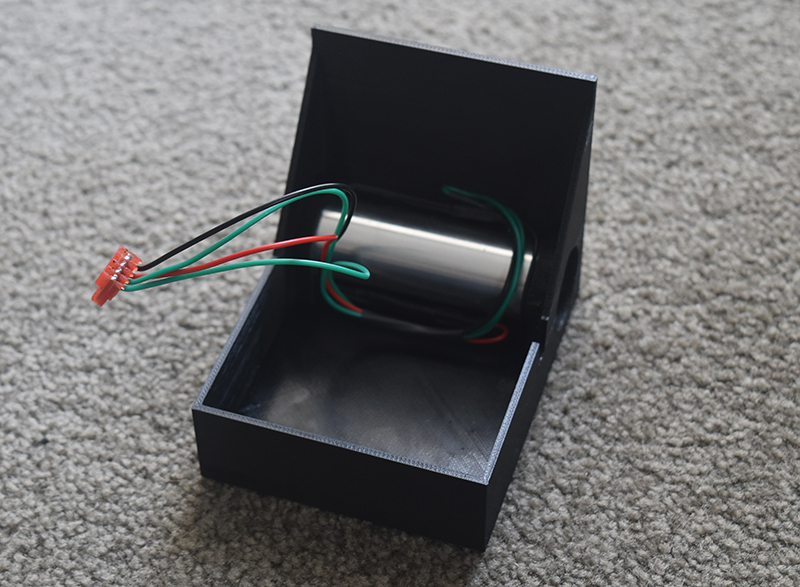
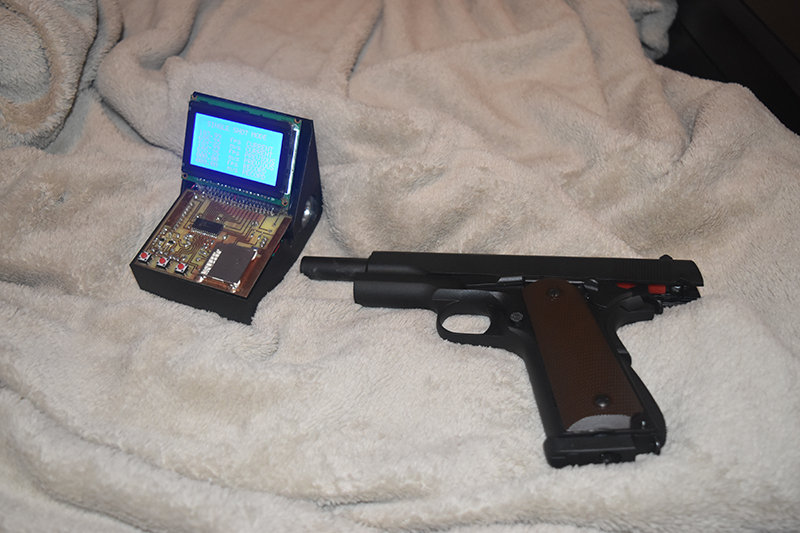
The project assembled, I chose not to print the top cover until I had it all working.
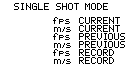
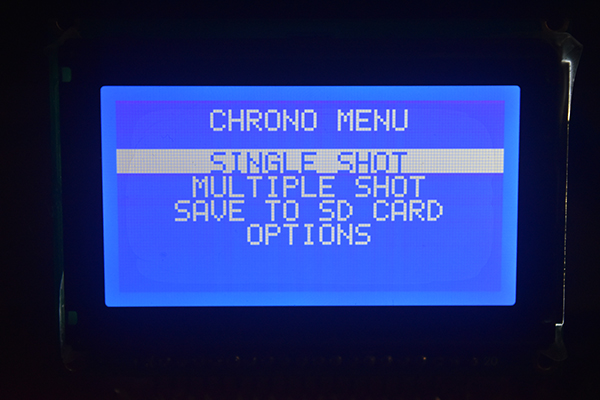
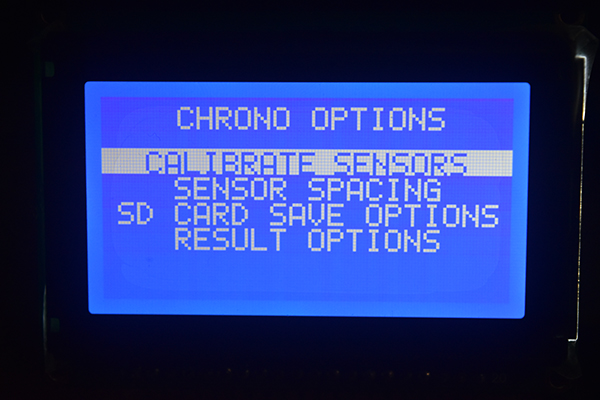
The project got put on hold for a while so I chose to try and get it done, I started to get through some images for the display. This assortment would be enough for the chronograph to be usable.


The programming was next and oh did it take so long to complete, mainly because I did not enjoy this project. I chose to use the graphic display which is the reason it took me so long to program, as for the SD card, well the program is mostly there but I really didn't see the need for it, so I left it out. I'm not going to show all of the program either, it will be as a text version in a link at the bottom of the page. For now I will explain just a few important sections of the program, the first being the timing detection. The chip will be running at 64MHz, a timer with a prescale of 8 and a quarter oscillator frequency brings the timer count to 500ns. When one of the gates is crossed the timer will start and stop when the second gate is hit, it will also time out which will be detected by the interrupt flag, the result is rejected.

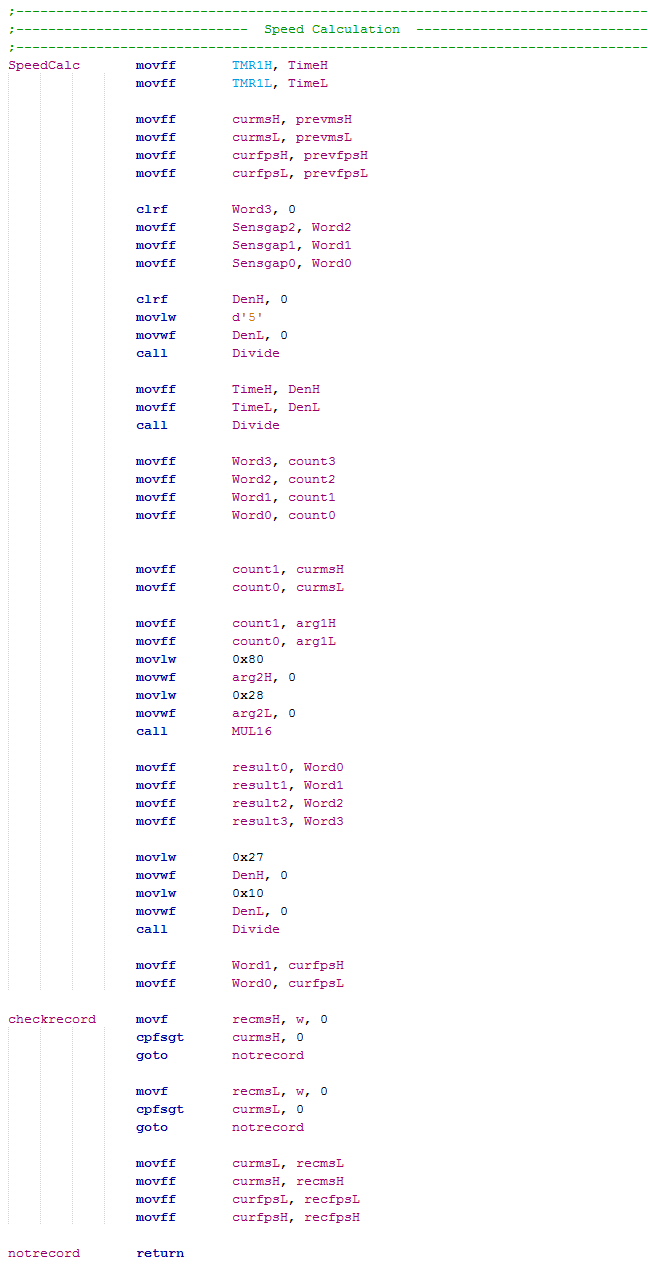
The speed calculation is next. It first takes the value of the sensor gap which is 5,000,000 (equates to 50mm) and divides this by five to get 1,000,000. This value is then divided by our number of counts, for example 1000 which would result in 1000, that is 500us. Our distance 0.05m divide by 0.0005 is equal to 100 m/s. Our value 1000 is displayed as 100.00 m/s. Our value is multiplied by 32,808 and then divided by 10,000 in order to get the value in fps.
Did the project work? Yes, ish.

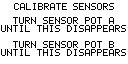
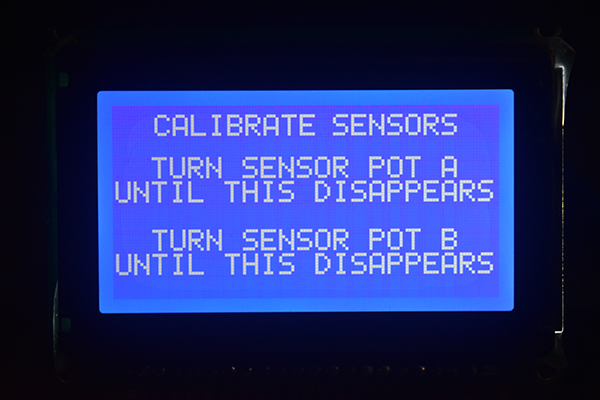
The sensors were calibrated by turning two potentiometers to gauge when the sensors would detect an object.
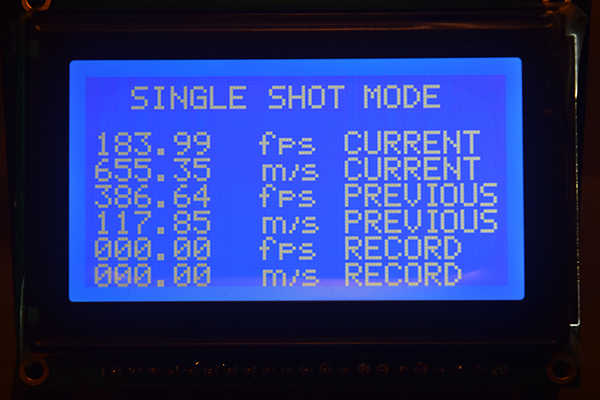
For the first half a dozen shots it worked perfectly until I found that the oil inside the CO2 capsules found their way into the sensors which would result in a false reading. 65535 is the limit to 16-bit, this speed in an airsoft gun would be pretty much impossible. 117.85 m/s was quite a good result, another good reading before was 114.36 m/s, the fps conversions were perfect in both cases.

Here was the airsoft gun I used. KJW 1911, CO2 with 0.2g bb's. Getting almost 400 fps out of the gun is about what I would expect when the capsules are warm, I had checked it previously on an oscilloscope, a single sensor with calculating the diameter of the bb as it passes, it worked around the 370fps mark.
So was the project a success, well yes and no. The false readings were a little bit of a problem, I do think this was probably due to that I had the sensors set far too close to the threshold, maybe de-tuning them slightly would have improved results. I CNC machined the light passages and did the calculations accurately as possible so I knew the results were legitimate. I didn't quite finish the programming because I really got fed up of this project, not that it was difficult, it was just laborious. Check out my other projects.
Here is a copy of the program so far - Program Text.
Hello, if you have enjoyed reading this project, have taken an interest in another or want me to progress one further then please consider donating or even sponsoring a small amount every month, for more information on why you may like to help me out then follow the sponsor link to the left. Otherwise you can donate any amount with the link below, thank you!