3D Printing Power Supply Voltage Knob
When I bought my power supply it came with a missing voltage control knob, I think the others are bakelite which is very brittle. Since I recently got myself a 3D printer I thought it would be a nice simple project.
The Knob
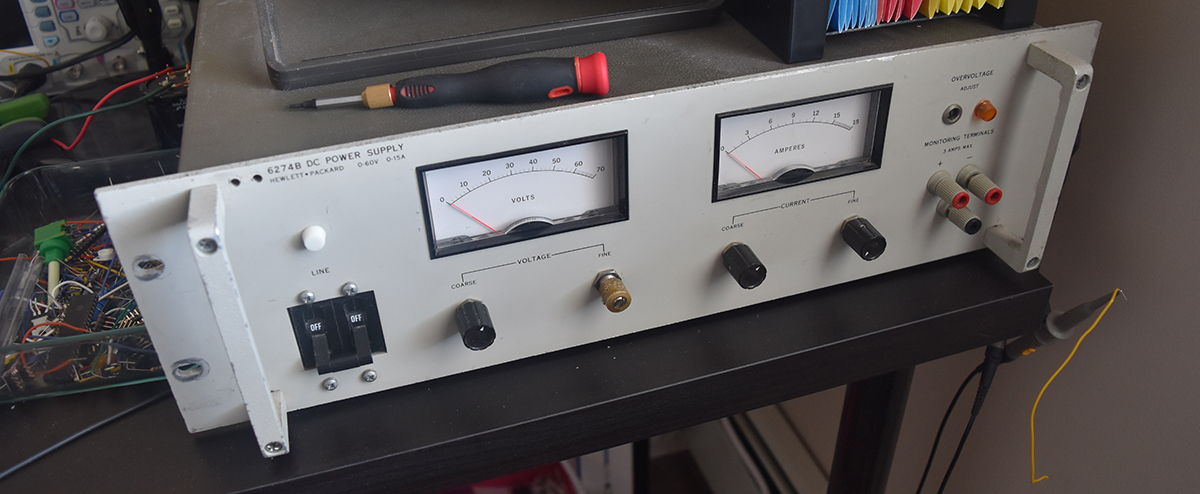
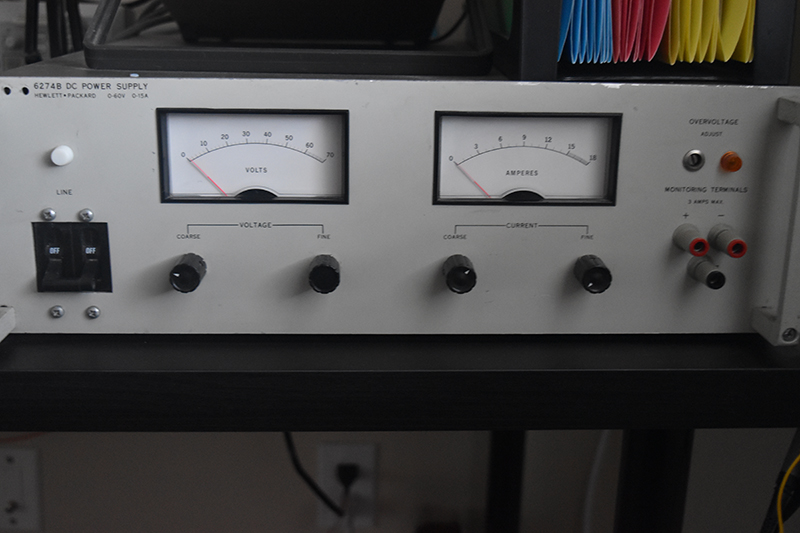
Here is my power supply. The first step was to measure up one of the original turn knob's.
Design - CAD - 2D Solid Edge
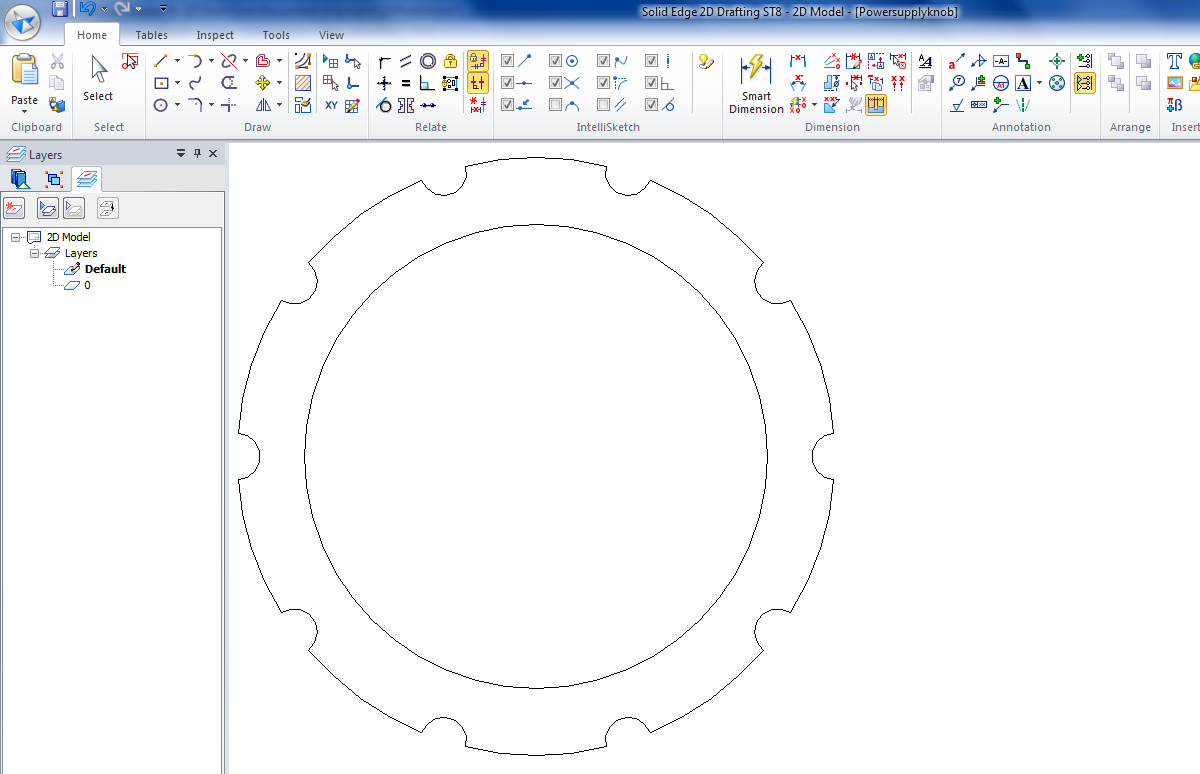
For this project I only had AutoCAD to do the 3D part and it ran extremely slow. Instead I chose to do the basic design in Solidedge 2D and then save it as an AutoCAD file.
Design - CAD - AutoCAD
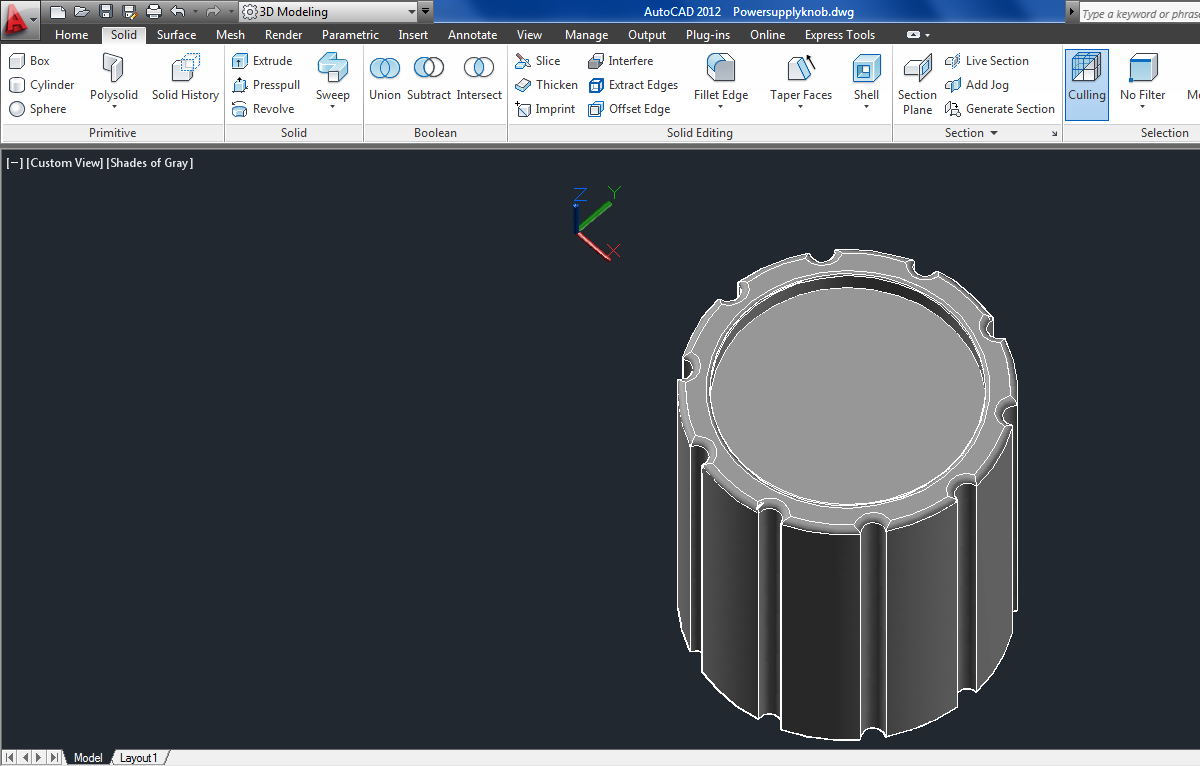
AutoCAD is my least favourite 3D design software because it's slow and cryptic. I had no option on this occasion but to use it, below is an example of the final design which I exported as an STL file.
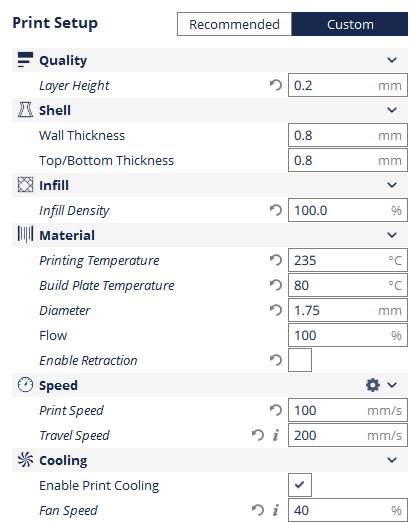
Cura - G-code
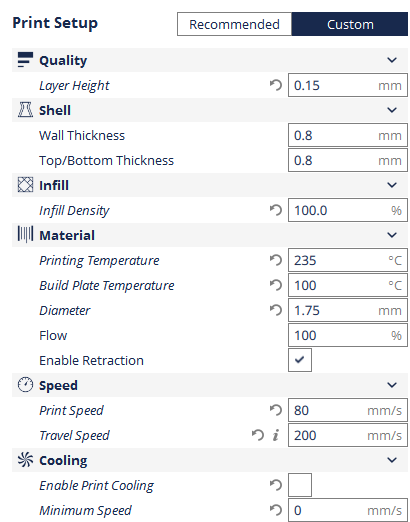
The best 3D printer G-code generation software is Cura. It gives a 3D representation of what the part will look like and allows the user to select all sorts of settings for the printer and the print.

Printing Trials
It is not always clear what the settings should be for a part since smaller stuff such as this will remain hotter due to the proximity of the printing nozzle. Print time 27 minutes.
Print time 16 minutes.

Print time 16 minutes.

Print time 12 minutes.
The results were ok but certainly not perfect, I did however find that the addition of the fan was a benefit and so was printing speed.
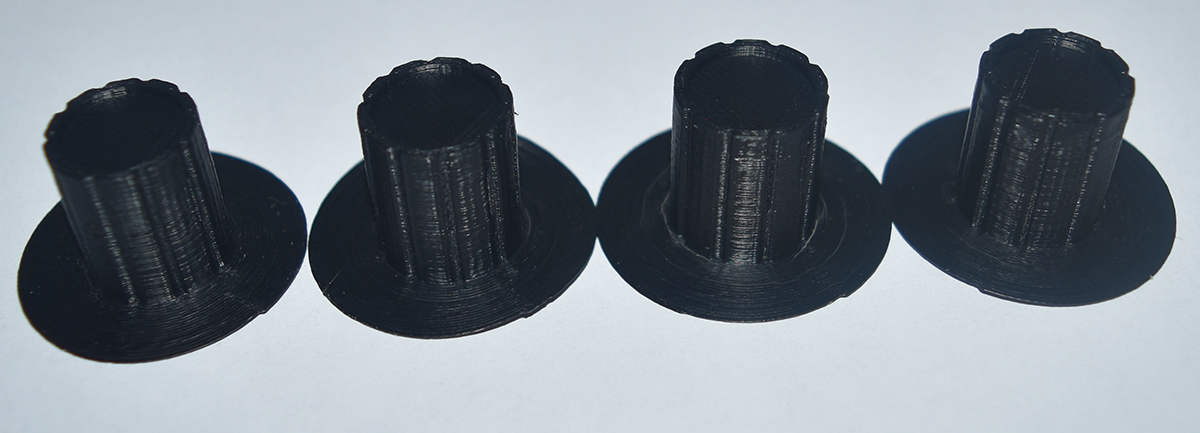
The best print settings for this particular part was definitely the last one.
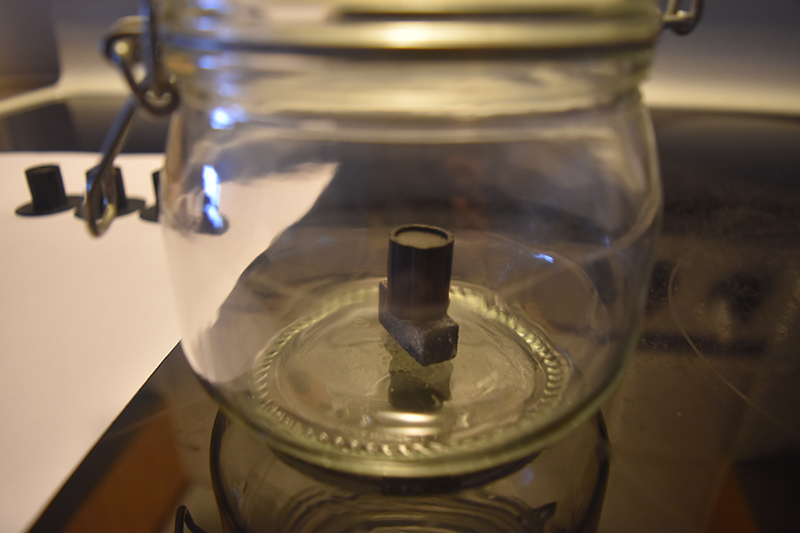
Acetone Vapour Smoothing
For this particular application it really wouldn't bother me too much if the parts were to be covered in print lines, although since the bakelite ones were smooth I decided I should try to follow suit. The material I'm printing with is ABS which can be dissolved in acetone, a technique called "vapour smoothing" can be used to melt the surface of the part to increase the surface finish. This is as simple as placing a small amount of acetone in a jar and then sealing the part inside, the time taken all depends on the size of the part and the finish.
Below is an example for these parts.
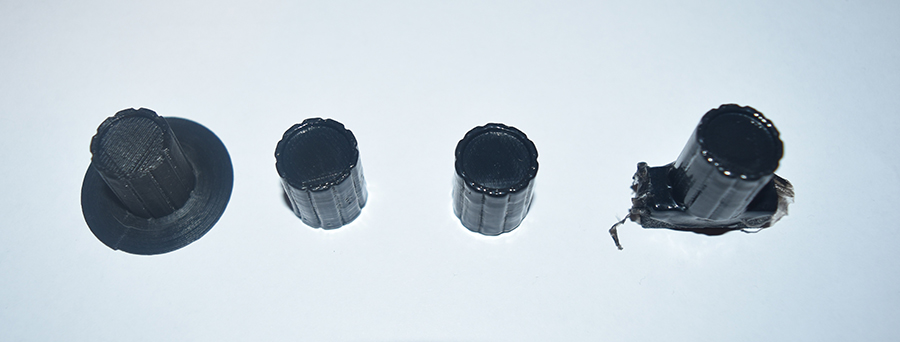
Here are the four finished results after different exposure times to the vapours.
A video
The whole process in a video.
Final Result
Here is the final result, apart from the white arrow it looks the same.
Hello, if you have enjoyed reading this project, have taken an interest in another or want me to progress one further then please consider donating or even sponsoring a small amount every month, for more information on why you may like to help me out then follow the sponsor link to the left. Otherwise you can donate any amount with the link below, thank you!