Keyrings !
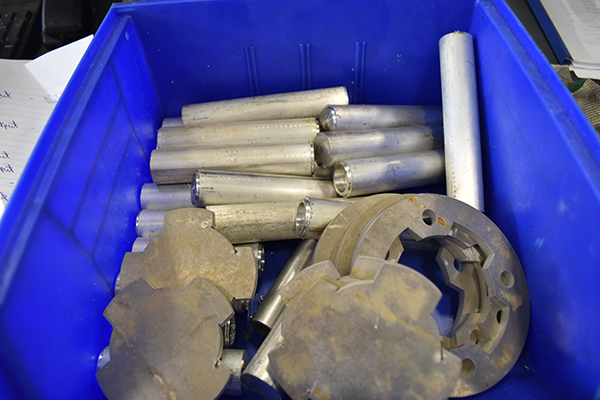
While I have the permission to use the CNC lathe at work I want to rattle as many projects off as I can, the more I can machine the more versatile my skill set is. I was given some off cuts of 1" aluminium bar for free so I thought I would make something from them, the chosen project was a keyring, or several of them. Keys are always something I'm carrying so I thought a keyring displaying my website and email would be a good idea.
The first step was to chuck the material at a particular length as I didn't want to set the work shift every time.
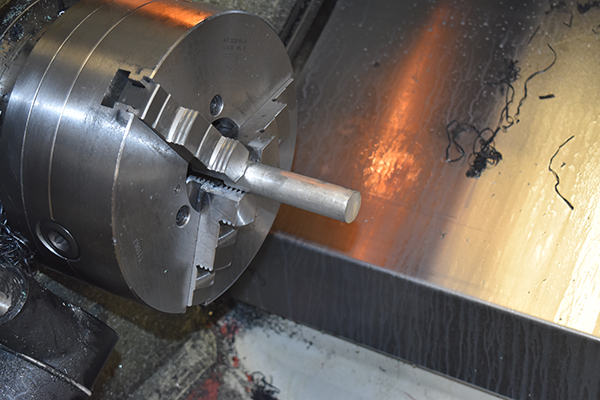
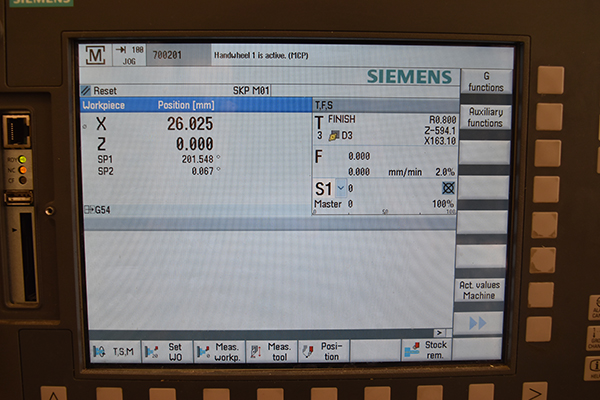
The turning tool below will do both the face and the outside diameter, this was called up in MDI (Manual Data Input) mode so that I could set the work length. It is always good practise to check the geometry of a tool just incase someone other than myself has played with them, this can include many attributes of the tool. The first to check would be the too nose radius, so for example this tip is 0.4mm whereas the geometry is actually saying 0.8mm, this needs to be changed and the tool offset recalled. This is not my usual tool for facing so ideally the datum tool would face off the material, this tool would then be set to the face as zero. The datum can vary from machine to machine, for this it is another tool, one that never changes, it can also be something like a tool probe or the front of the chuck.

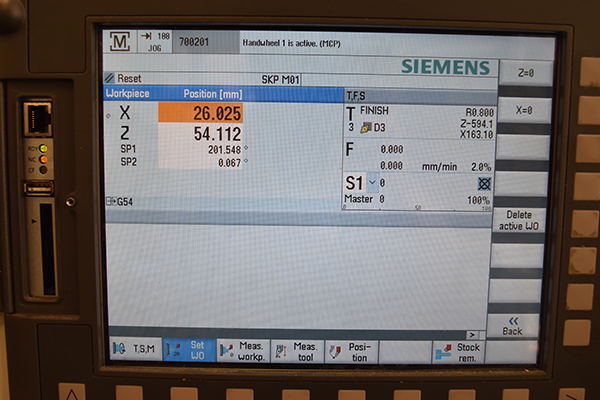
I set the work offset to zero around 0.3mm in from the face to give some stock to remove. I also set the chuck spinning and skimmed the surface of the bar, this was measured and the "X" offset was set.
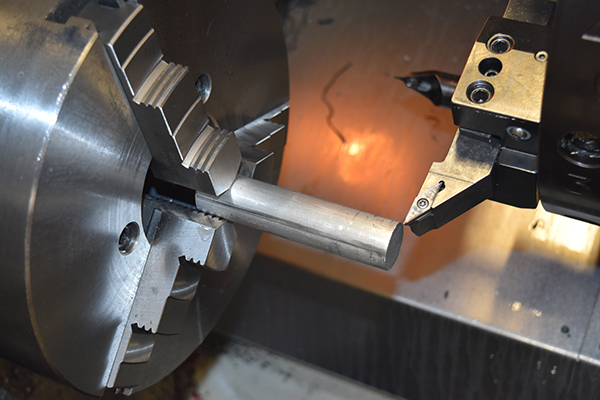
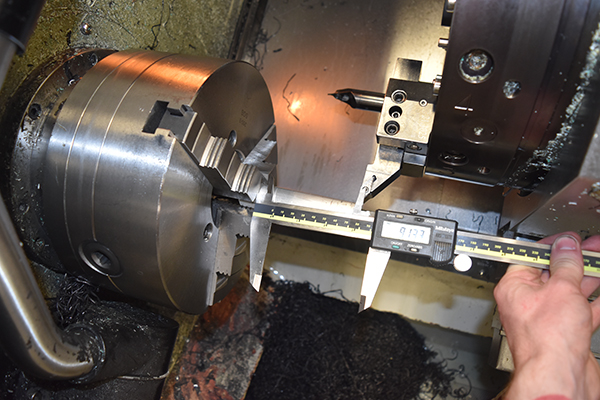
Here I was measuring the stock to calculate how many parts I could make. There are a few different ways of doing a program, one is to setup a cycle that makes a number of parts and then jumps out of the way, this method requires the work offset to remain the same, if reduced it could result in a tool hitting the jaws. Another method is to create a cycle the decrements the work offset every part, the cycle reads a variable to see the machines absolute Z-axis location, if it meets or exceeds a certain number then the cycle is cancelled and the machine jumps out of the way, this method means the work offset can be altered without the risk of a crash.
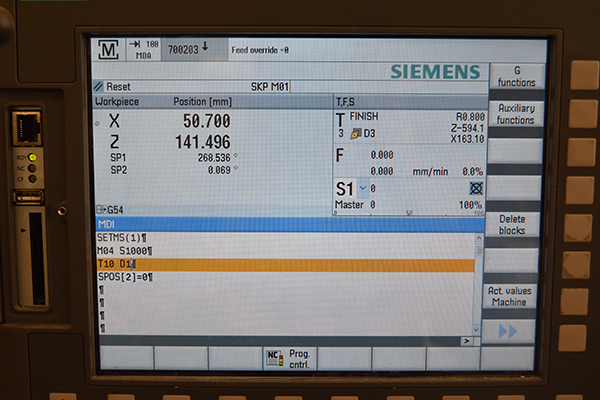
I chose to write the program in a very strange way by listing all of the "Z"s as variables, then every time a part was complete it would decrement the variables and hence offset the work shift. I did it this way just out of interest but I certainly wouldn't have if time was a concern. When the variable hit a certain number it would cause the program to cease and the machine would jump out of the way, all the variables would then reset. I used MDI mode to switch around to my engraving tool.
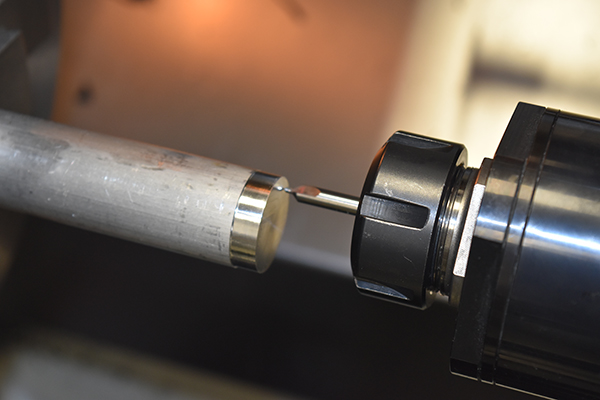
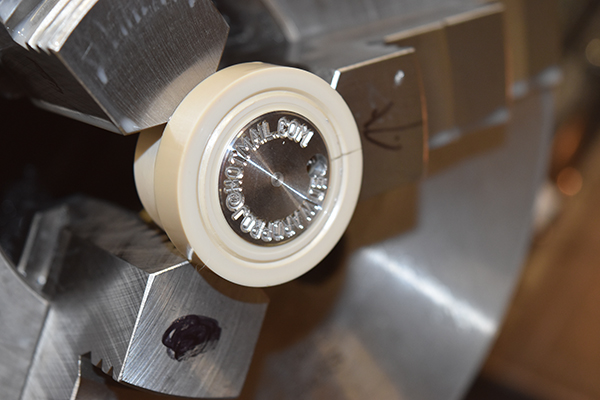
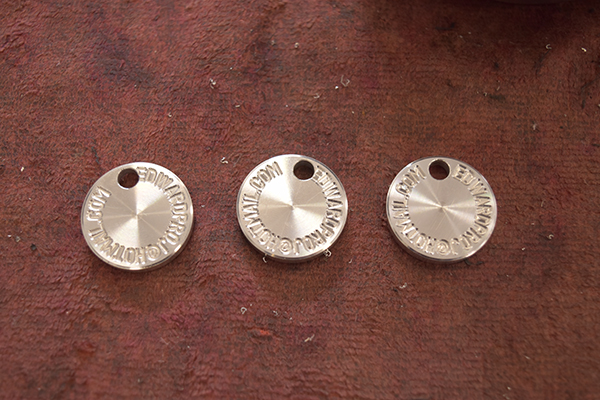
The engraving tool I used was actually a carbide centre drill but for aluminium it would be fine, the limiting factor was the speed of the live tooling. I could only get 4500 rpm out of the live tooling where I would have ideally gone to 30,000 rpm or more, going slower meant a slower program. I set the engraving tool against the face, I ran the first program which engraved my website, I then wrote a pecking program to drill the hole for the ring, this was a little trial an error to position it in the right place, the writing was generated by the machine and didn't draw where I asked it to.
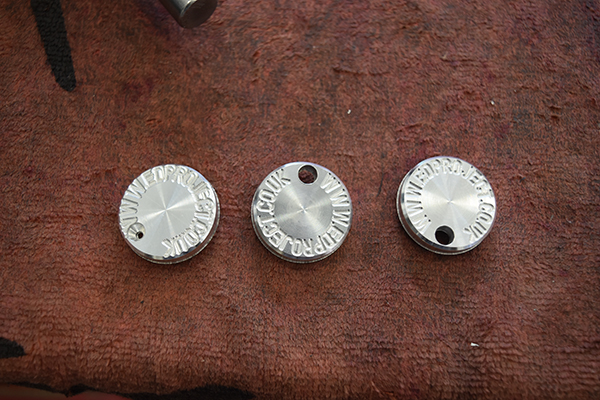
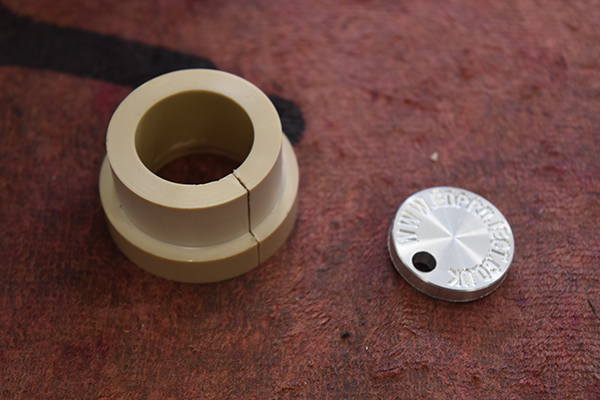
The back of the disc had to be faced and engraved which required me to make a split bush, the front had a step turned to allow the disc to sit in place. Even if I had only chosen to engrave one side of the disc I would have still needed to perform this operation since parting off will always leave a nipple. The engraving of course does take some extra time and so does aligning the part but after all these are not for profit so it doesn't matter.
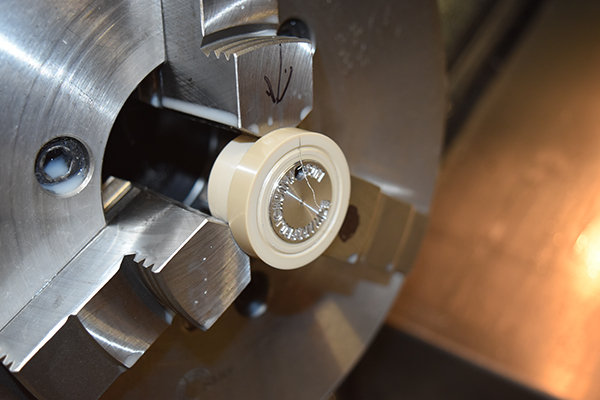
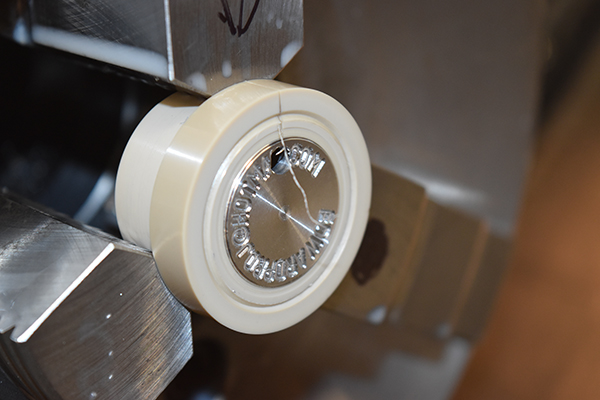
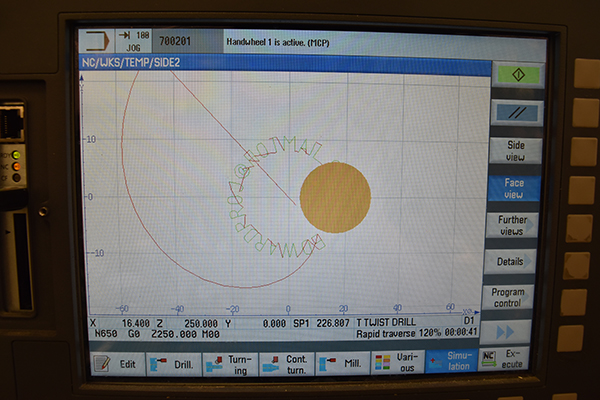
It took quite a few attempts to get the writing aligned properly, the jaw I wrote the arrow on was actually 80 degrees from the centre of the writing, it's unusual to find that the machines generated engraving is slightly rotated from it's simulation, this is why I would often prefer to write a full program manually or get a good CAM software.
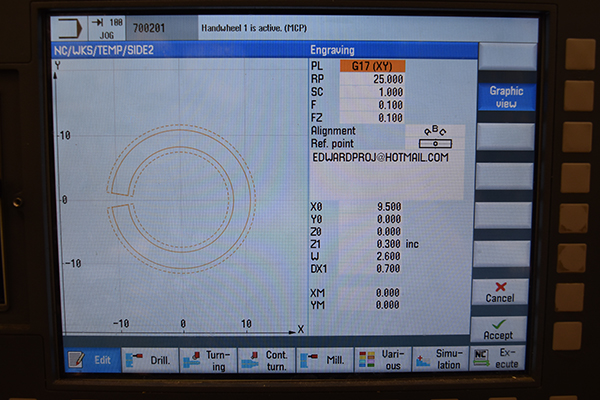
The cycles are almost impossible to understand off the machine, they do however make the code concise and say what the cycle will write. I do not like cycles but then again to manually write G-code for engraving is simply just too time consuming of a task. I think next time I may choose to use a DXF to G-code converter so I can place the writing exactly where I want it.

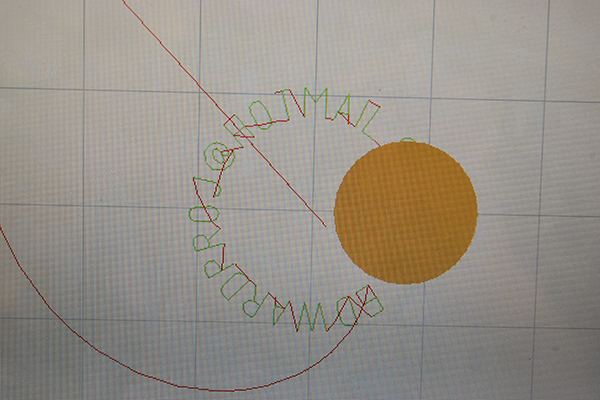
Here you can see that in the cycle editor the gap in the writing is positioned central to the negative x-axis whereas in the simulation to the right the gap is actually between X+ and Y-.
I managed to get it right on the third attempt, in the end I got 42 good key rings in a total of about three hours, this isn't all that bad considering that includes programming time and the fact I had to individually machine one side.
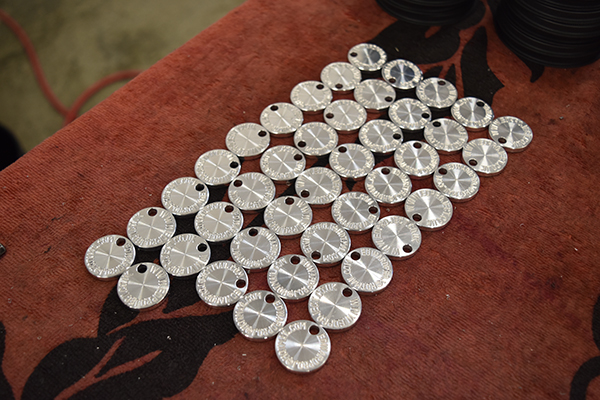
I was really happy with the way that these keyrings turned out, they were fairly easy but rather boring to run, especially the second operation. I would say that there was around 2 minutes of actual machining time in each part. If this was a production run I would use a twin spindle lathe, I guarantee I could get the time down to 20 seconds, that would be 180 parts per hour.
Hello, if you have enjoyed reading this project, have taken an interest in another or want me to progress one further then please consider donating or even sponsoring a small amount every month, for more information on why you may like to help me out then follow the sponsor link to the left. Otherwise you can donate any amount with the link below, thank you!