KF25 & KF16 Vacuum Accessories
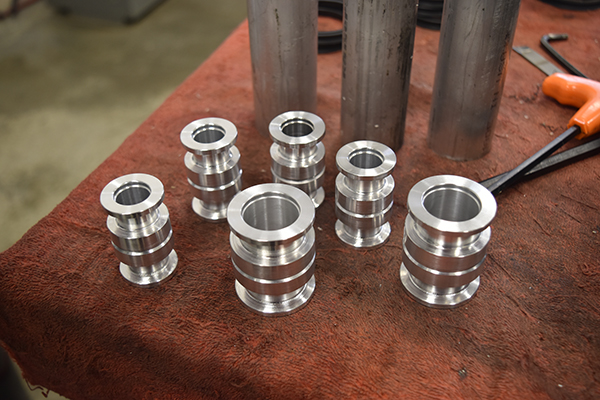
I had some spare metal so I decided to machine a load of vacuum accessories. The majority of these parts are adapters that I will use at a later date for when I do some glasswork. The straights are made from aluminium and are finned to dissipate heat. The main point of this page is to show the dimensions I will be making them to, I will also show some examples of how they are machined with the tooling I have available.
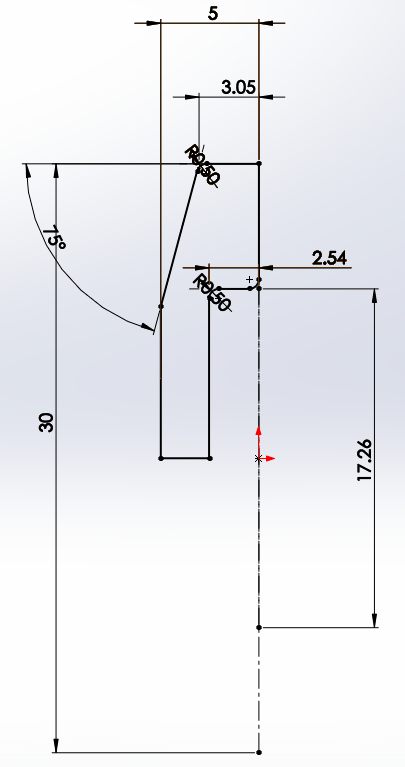
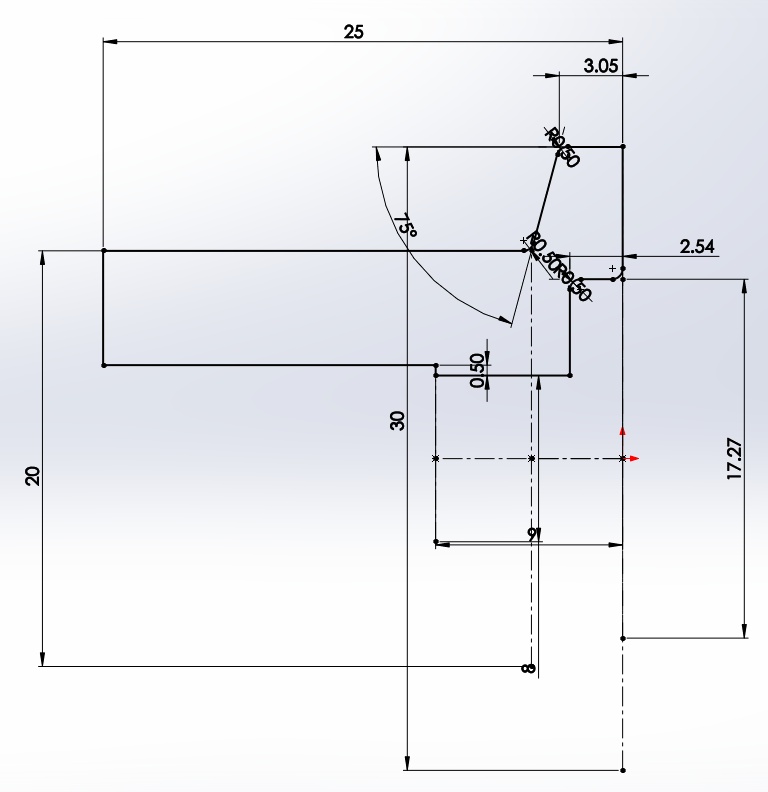
KF16 End Cap
These are standard sizes for a KF16 end cap, the radii are not required but remove the sharp edges.
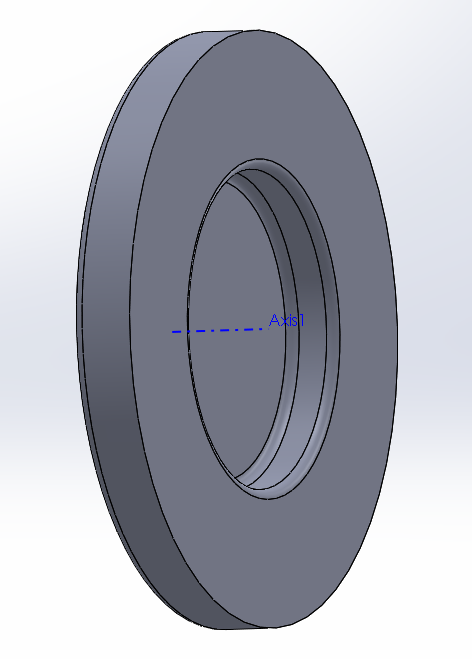
The 3D view.
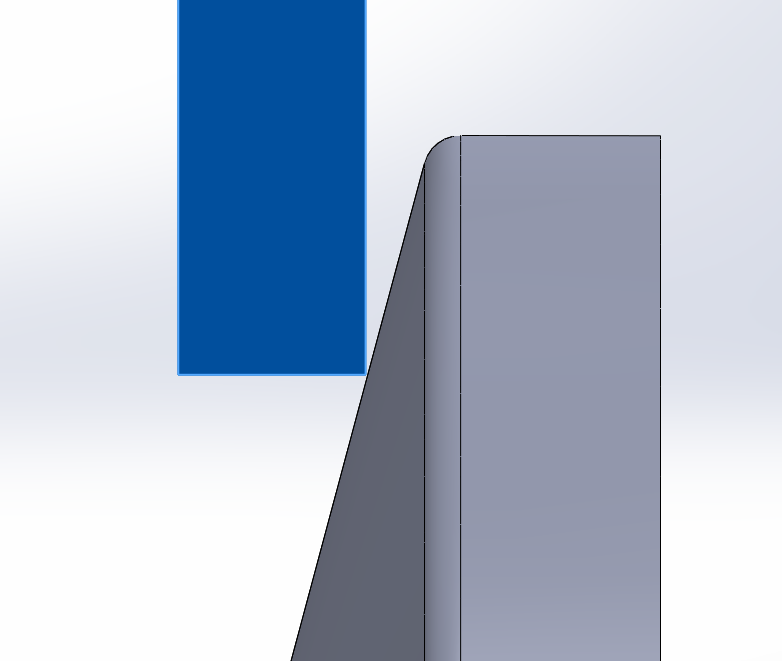
This part is a little too slim to be done via two ops, it is also time consuming as it would require a jig. The other option is to cut the back with a parting tool, the issue with this is that there is no tool radius so the finish suffers. A tool radius could be ground in place but then I would end up with a large pip. The best option would be to use two tools, a grooving and then a part off. I only have one holder so I had to go with the part off.
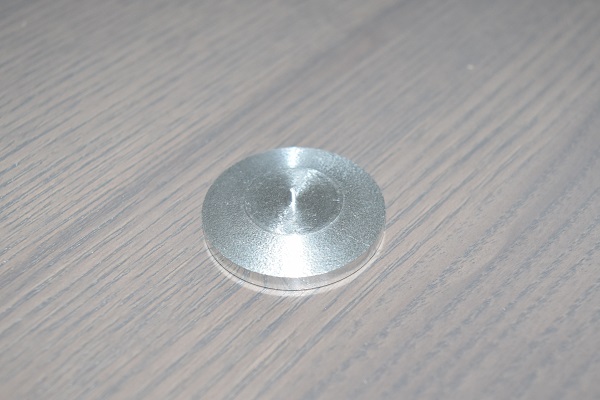
Here you can see the finished suffered, maybe it would have been a better choice to double op these. Since these were only caps to protect a port from debris I was not all that concerned, these are only for personal projects.
KF25 Adapters / Flanges
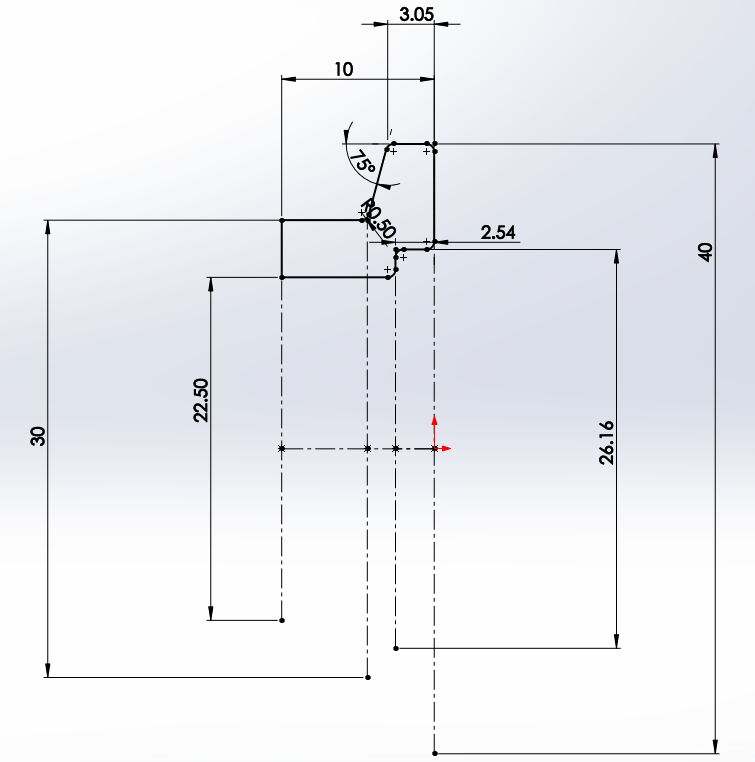
Here I have a multitude of different adapters to make, these act like retaining collars. For example on the nuclear fusor project there are several electrodes, these are retained in place by these flanges. I prefer to work in metric so here are all of the various adapters I will be making.
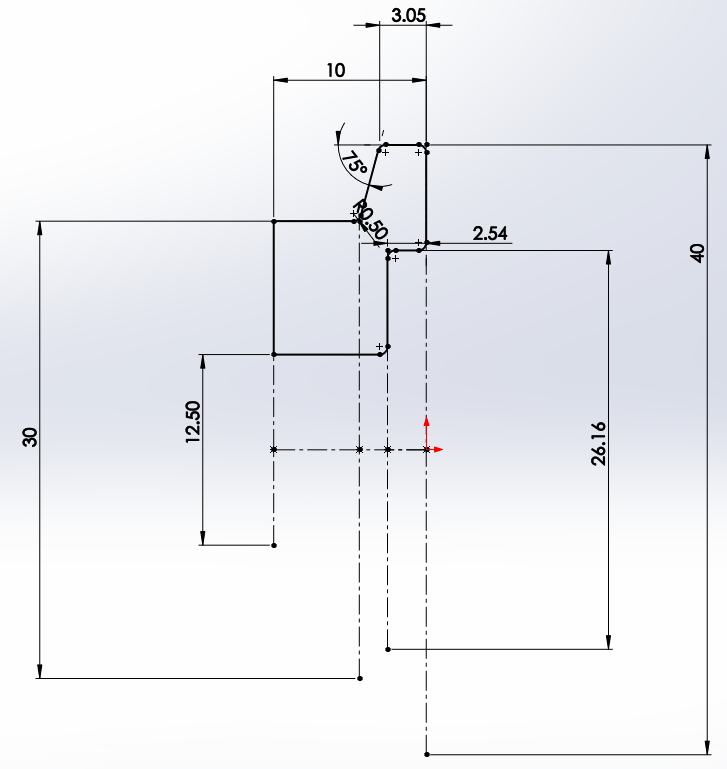
The one below allows a 12.5mm shaft to pass.
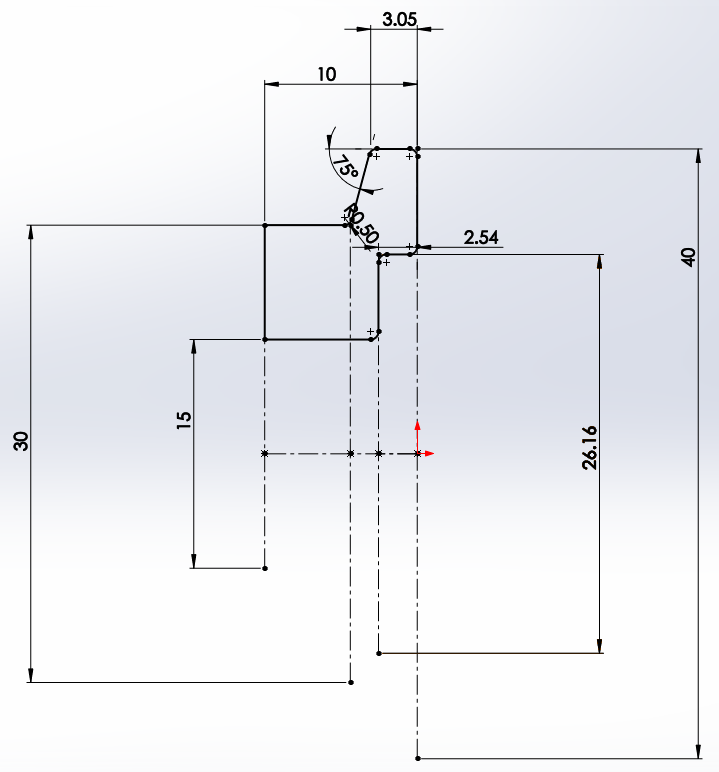
The one below allows a 15mm shaft to pass.
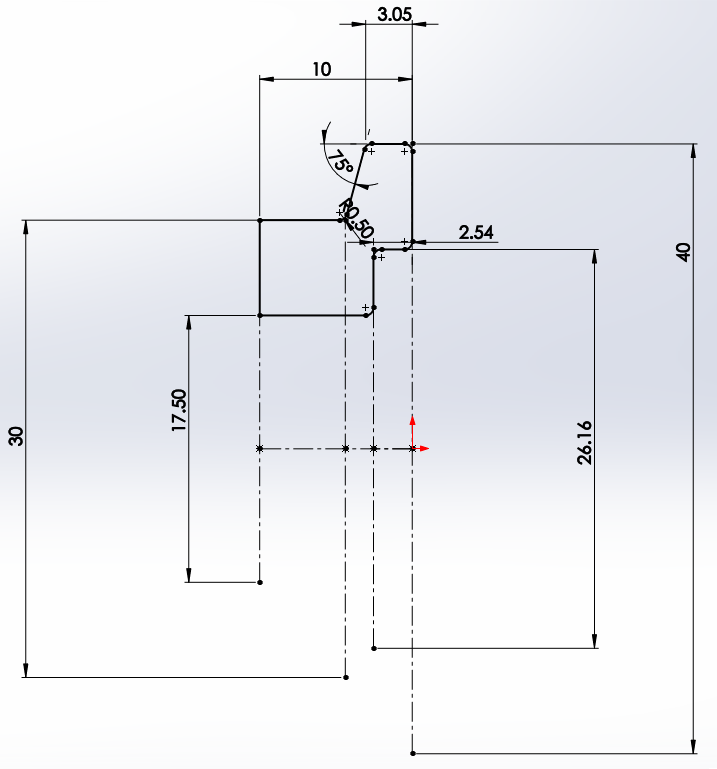
The one below allows a 17.5mm shaft to pass.
The one below allows a 20mm shaft to pass.
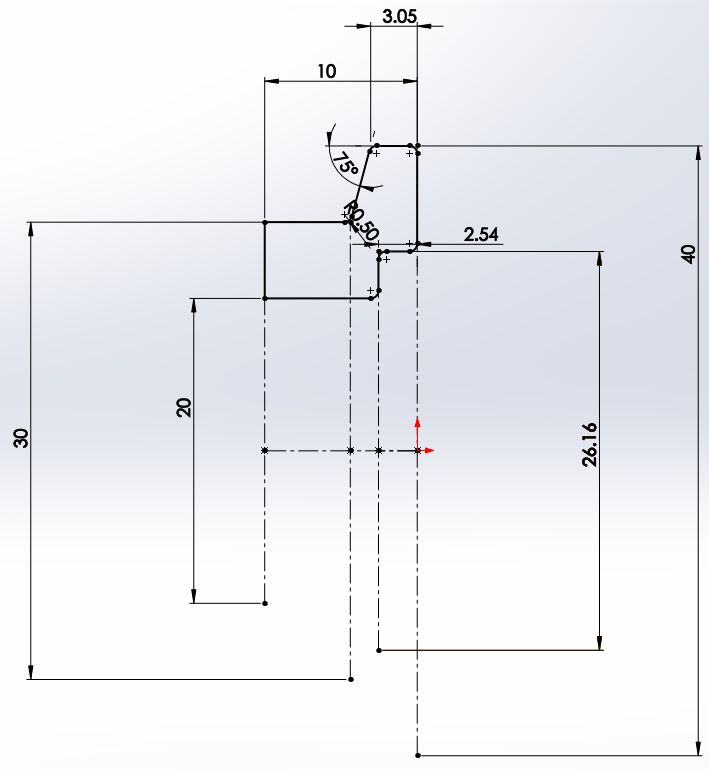
The one below allows a 22.5mm shaft to pass.
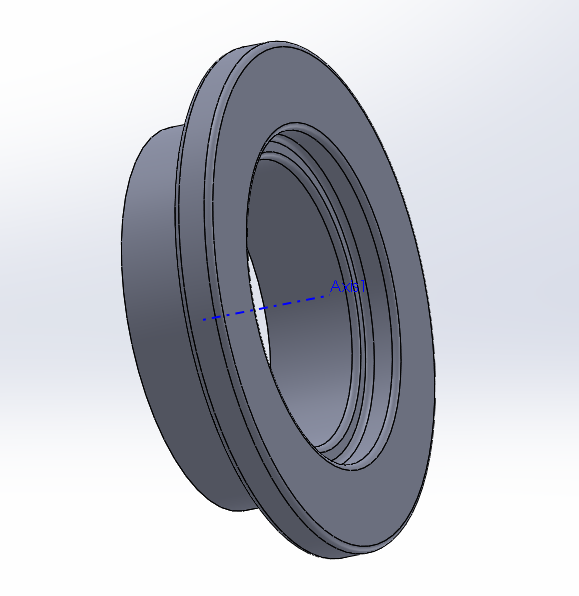
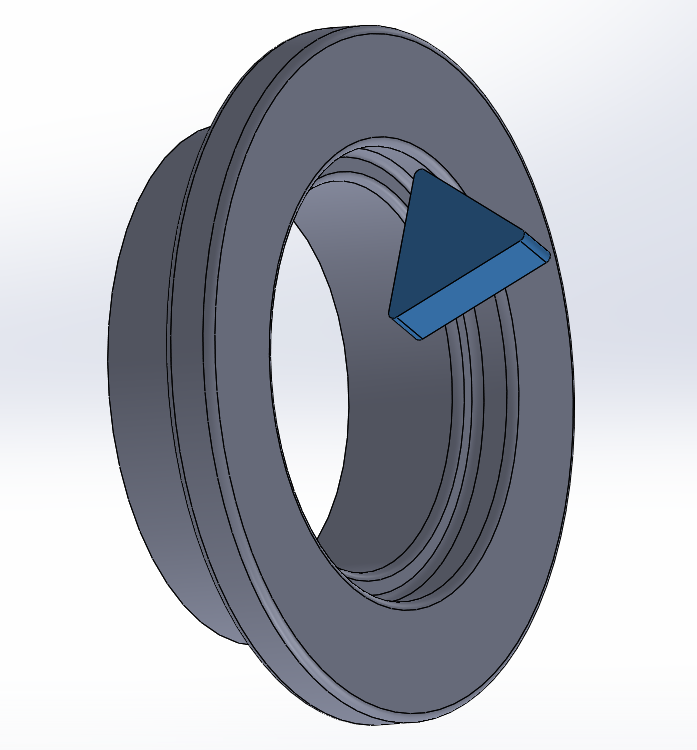
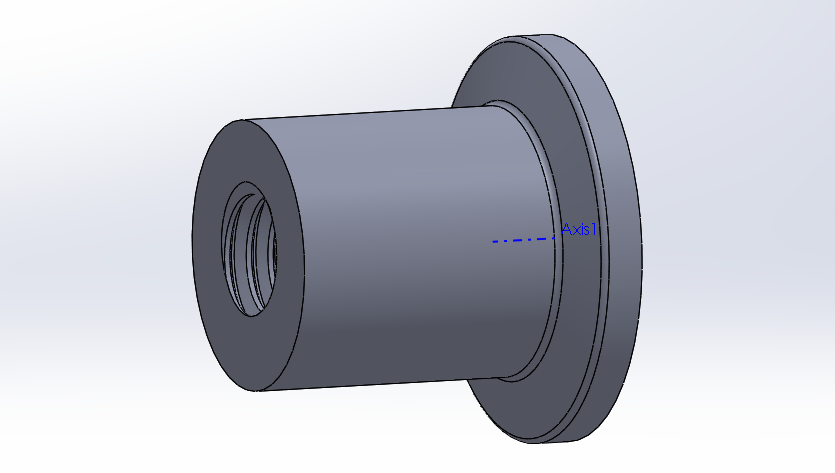
The 3D representation of the 22.5mm flange.
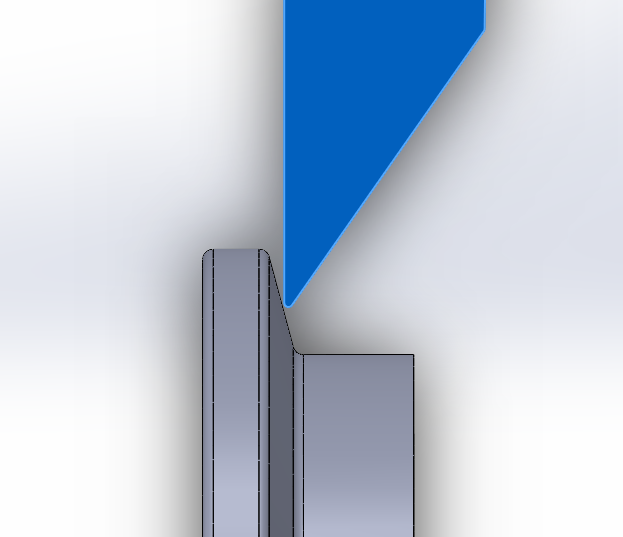
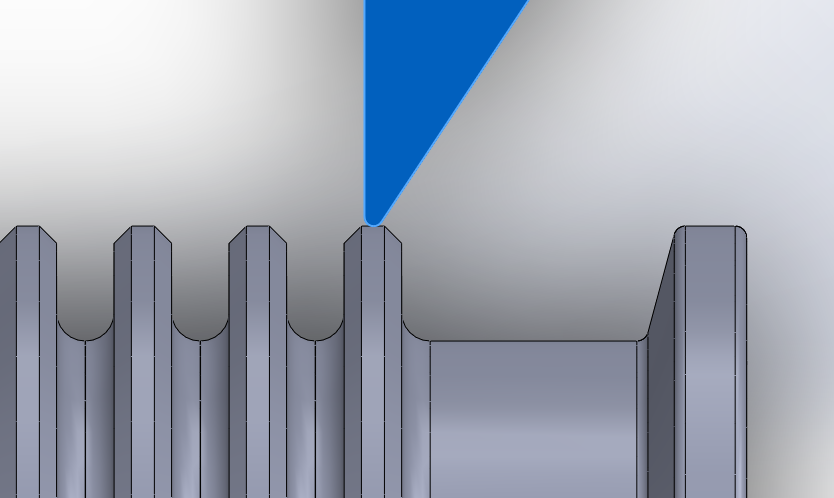
There are several ways of doing a part such as this, ideally it would be best to do it in one operation but unfortunately I only have one holder for the grooving and part off tool. Here you can see the grooving tool would be able to cut the first radius.
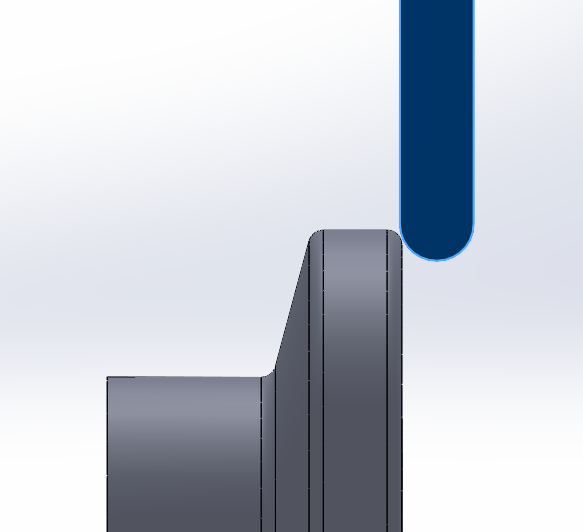
The grooving tool would also be able to cut the back section of the part.
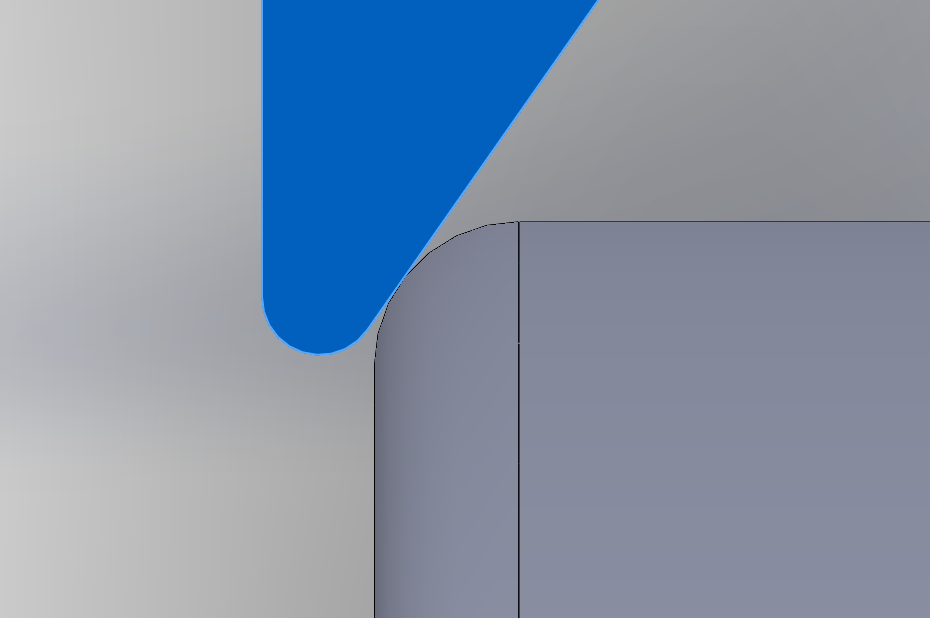
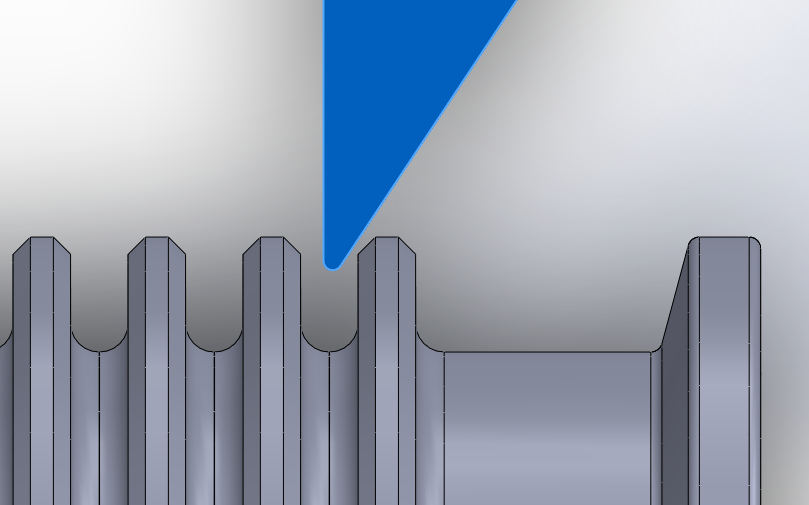
The radius of the grooving tool is too large to do this radius, it is always helpful to know the application of the part. I know that the larger radius will not affect function, normally they are chosen at a common tip radius, they are there just to break the edge.
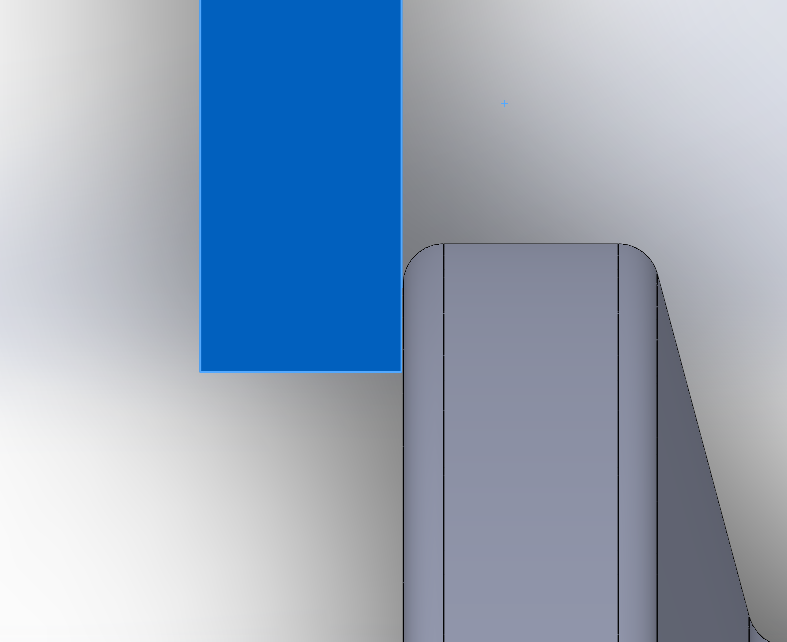
The biggest issue with using this grooving tool is that it will leave a huge burr on the part off. To use a tool without a radius would result in a terrible finish on the rest. It would be preferable to use two tools but I'm limited to one holder. Since I will have to do this part in two operations it is best to avoid the grooving tool as much as possible and use inserts that can cut faster instead.
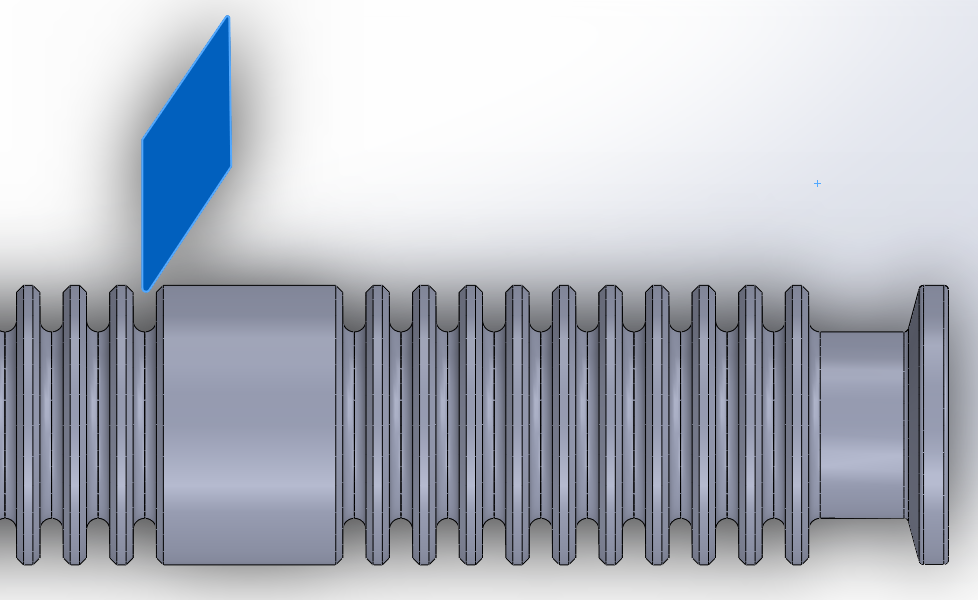
This diamond insert (VCGT 331) is a great tip for profiling and getting through aluminium quickly. This tool also cannot be used in this orientation due to the clearance angle.
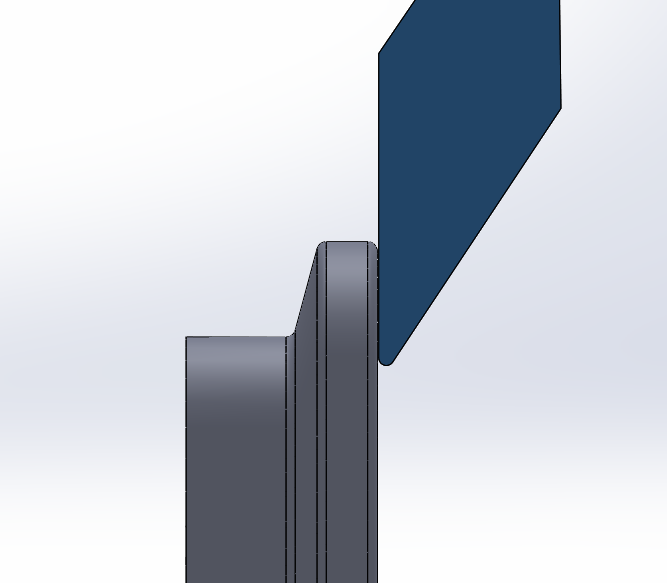
Cutting from this side is a lot more beneficial since I could only take 1mm cuts at 0.05 feed with the grooving tool. With this profile tool I can take 5mm cuts at 0.12 feed and achieve a much better finish.
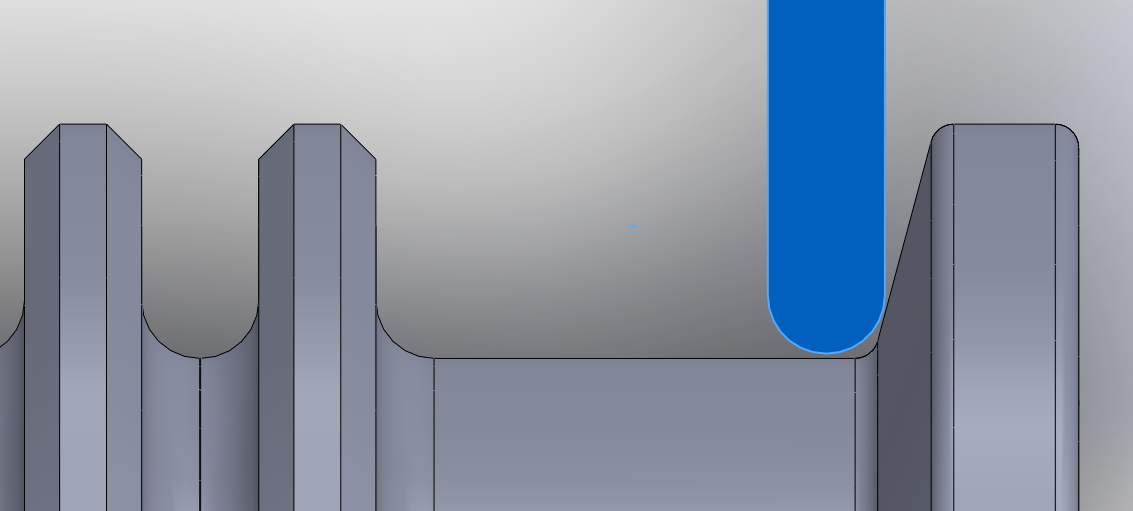
The profile tip still cannot complete the full profile but it can get really close, in this situation it would be ok since it's only to break the edge.
Here the parting tool cuts off the part, I could even use the grooving tool and turn on the back radius at the same time. It doesn't matter about the large burr left because this will be cut away in the second op.
The profile tool is used to clean the face and get it to the correct height, it should not be used to cut the radius since the part may not be concentric in the jaws. The thing to note about this part is that the bore and face must be perpendicular to each other, this is the reason why the bore should not be finished on the first op.
The final tool I used is a TCGT style insert which can even be used to bore out the part without drilling first. This tip could alternatively face the part off instead of using the previous profiling tool, this would save some time.
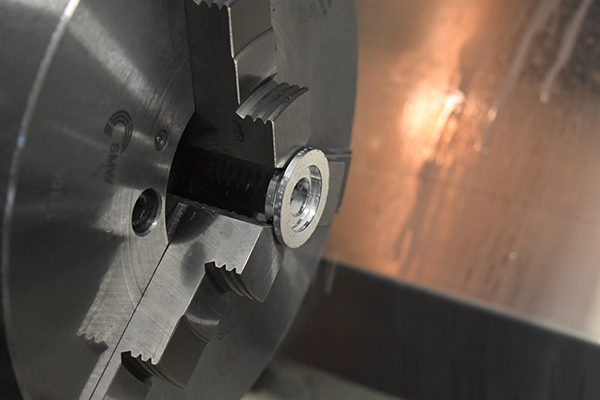
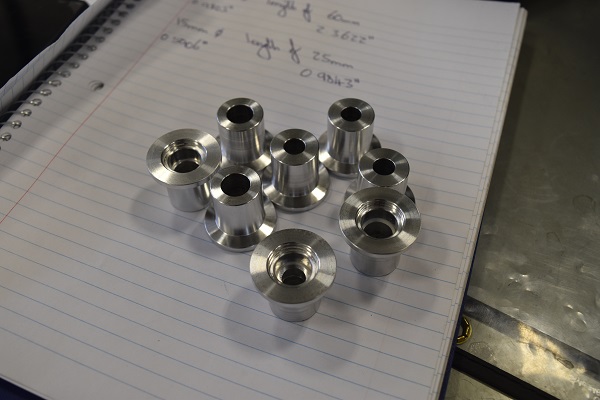
Here shows the blanks that I turned in the first operation, since I could rough pretty quickly they took no time at all. The second op didn't leave much room to hold onto but certainly a lot more than if I had used the original method. Since the part could butt against the jaws I did not need to reset the work offset, this again saved a little time.

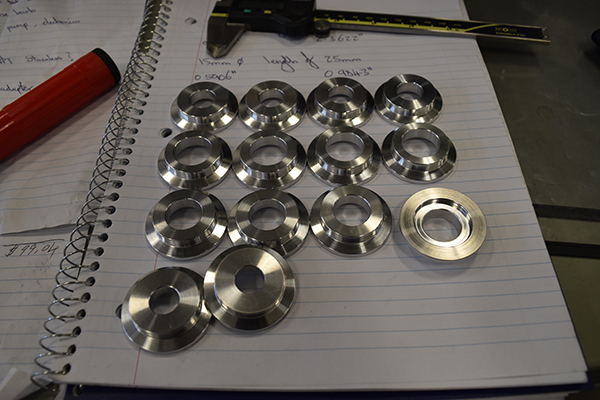
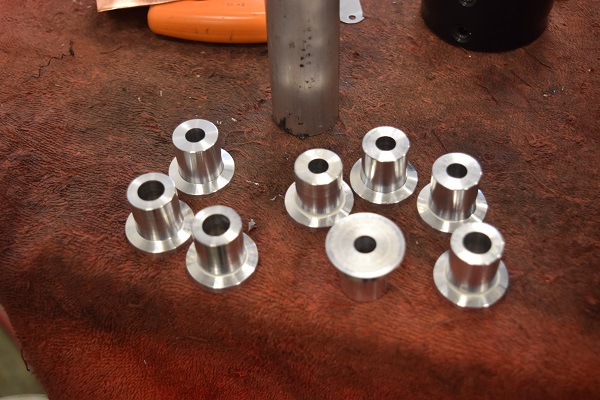
They came out real good, I also made some KF16 flanges as I had some spare metal.
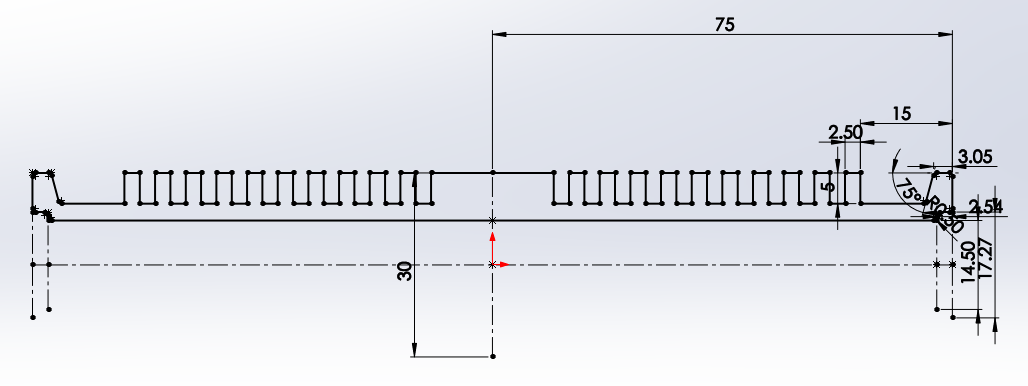
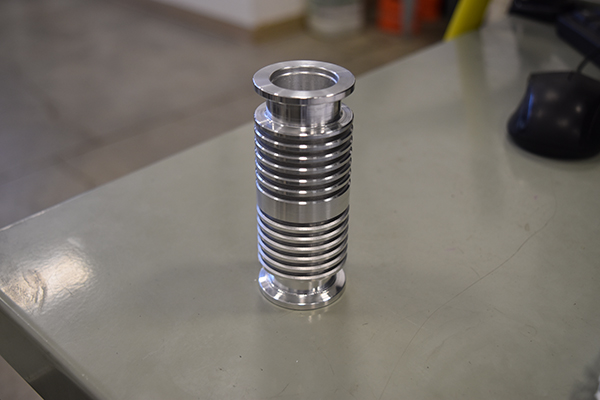
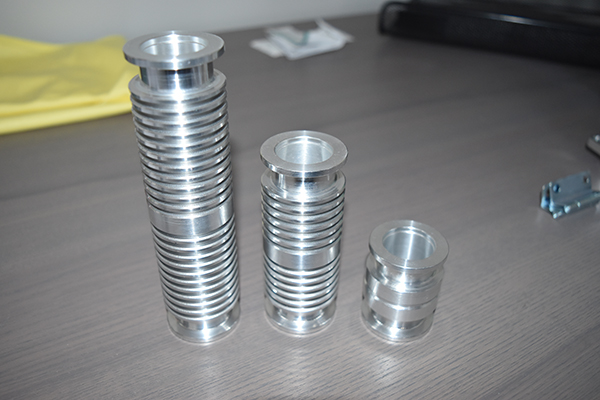
KF25 & KF16 Straight Vented Adapter
Most high vacuum systems run at high temperatures in order to bake out all gasses and unwanted media's. These adapters are so that I can connect lower temperature equipment without having them overheat. Their main purpose for me is that I will be doing some glass work and I require the turbomolecular vacuum pump attached to my fusor. When I need to seal the glasswork I want the heat to dissipate as fast as possible as to not damage seals. Making them in aluminium helps to quickly draw heat out of something which works for my glass application. Steel is a poor conductor of heat and would suit the high temperature vacuum system more.
Here is the first adapter I will be making, the machining procedures for all of the other lengths will be very similar. This is a KF16 straight at a length of 150mm.
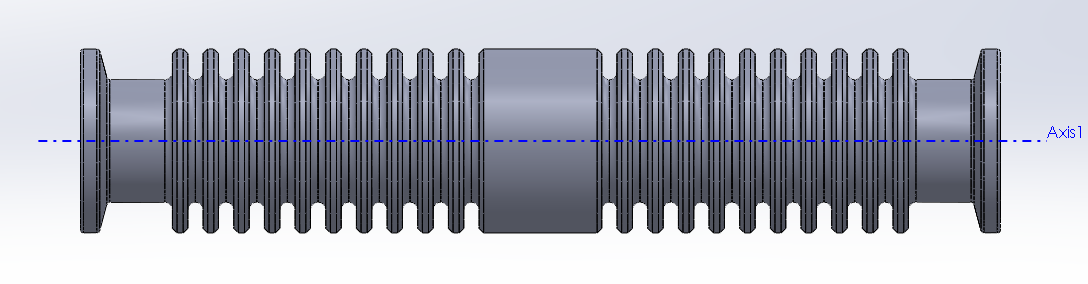
Here is the 3D representation, I added the radii and chamfers in afterwards.
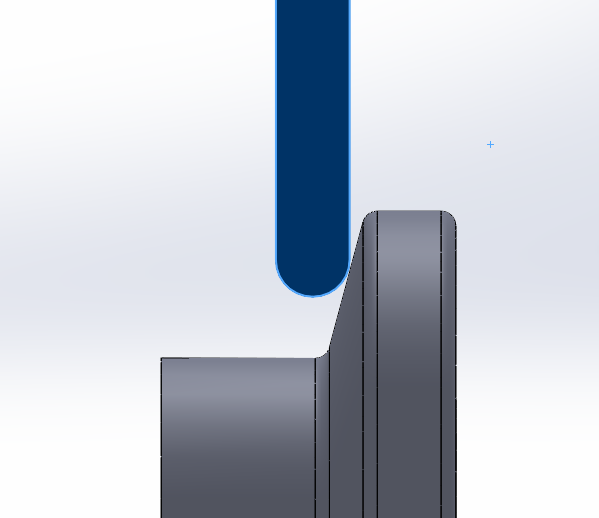
The face would be turned with the diamond profile time (VCGT 331) since this is a pretty standard tip.
The tip would turn a rough pass in the undercut since it cannot do the full profile due to clearance.
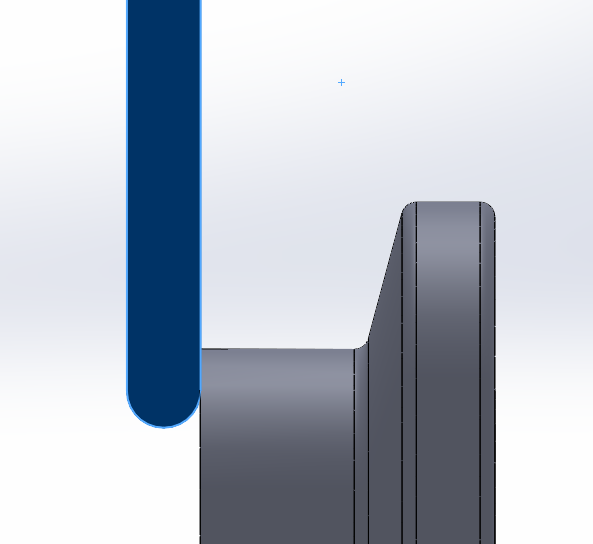
The rest of the profile turned as normal.
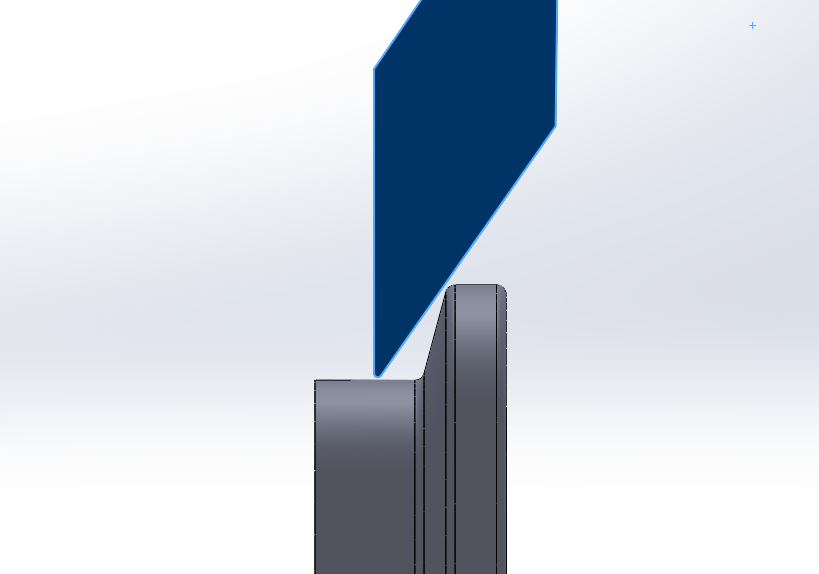
The tip cuts the 45 degree chamfers, it is always good practise to cut the chamfer larger than necessary if there is a groove in the centre, if either tip moves in the Z-axis then there still will be chamfers and no steps present.
This part has to be made in two operations, the first operation has to over cut by a little.
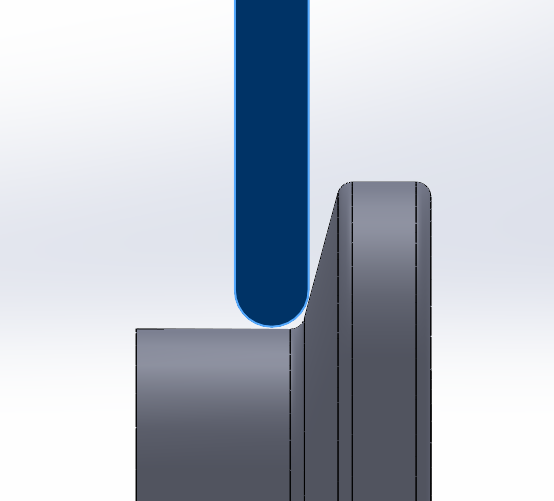
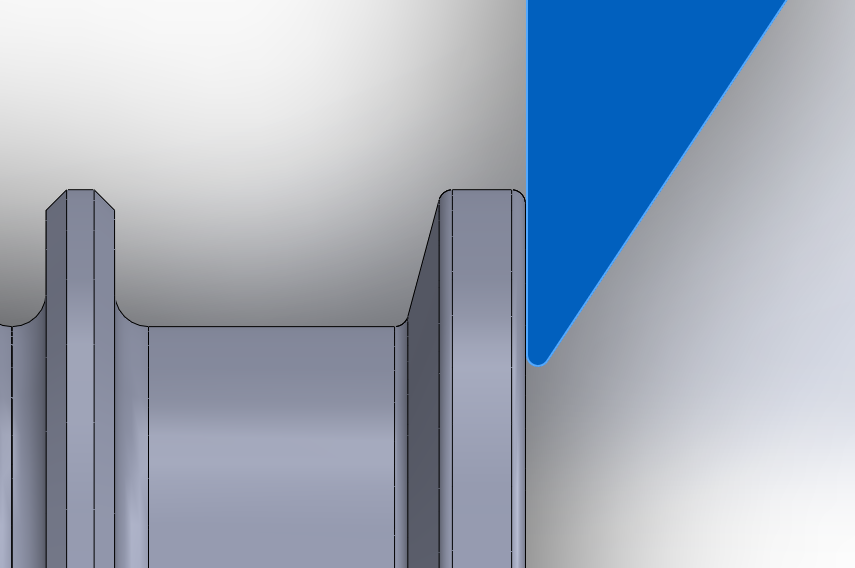
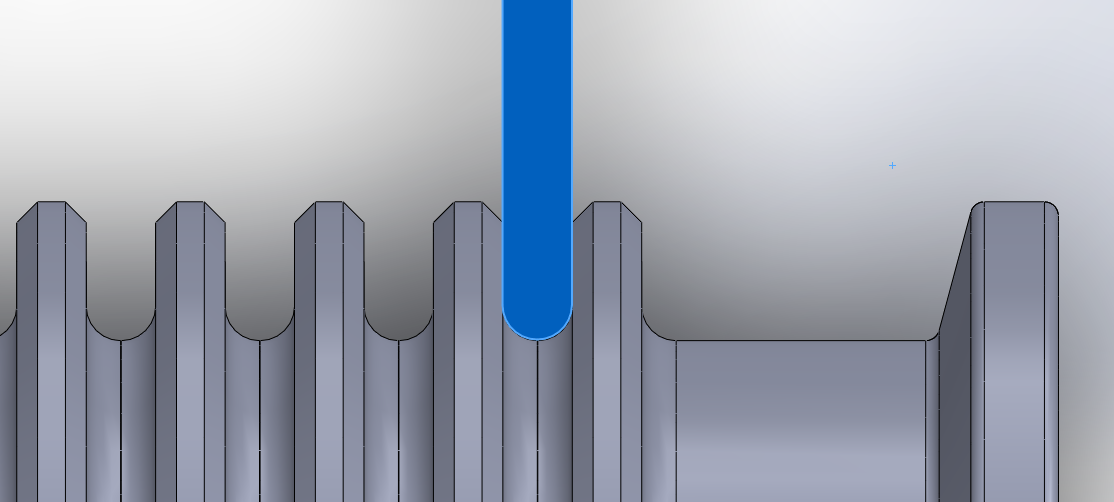
The grooving tool then has to be used for this undercut, here you can see the radius cannot be achieved. It is bad design on my part because I knew what tools were available, it doesn't matter if this radius is larger. A lot of drawings will state this radius as a typical value which basically means make it whatever you want within reason, of course it doesn't, but it does mean it's negotiable.
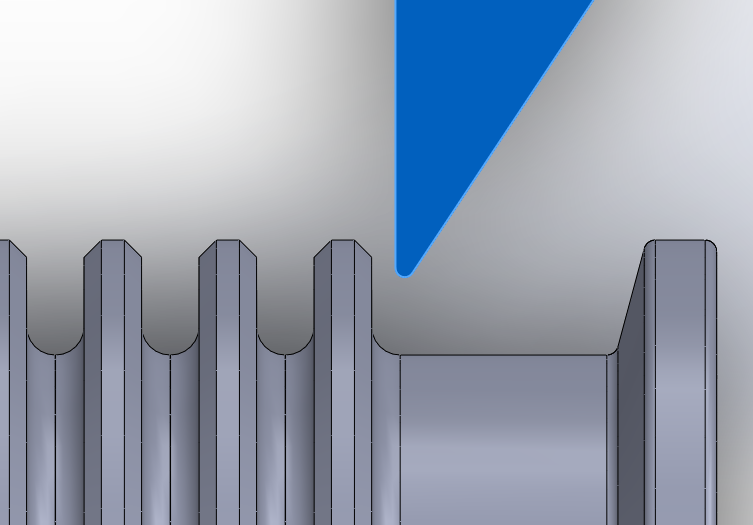
The grooving tool is then used to cut all of the fins.
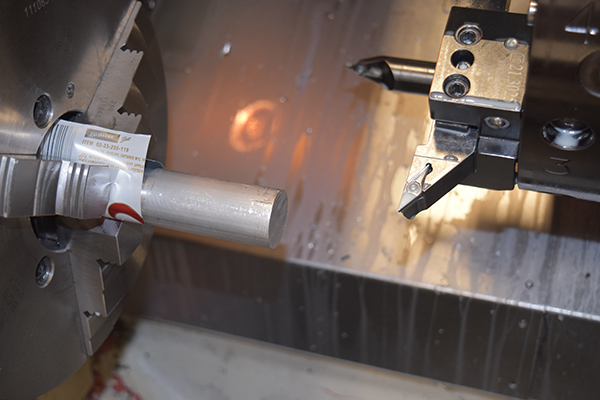
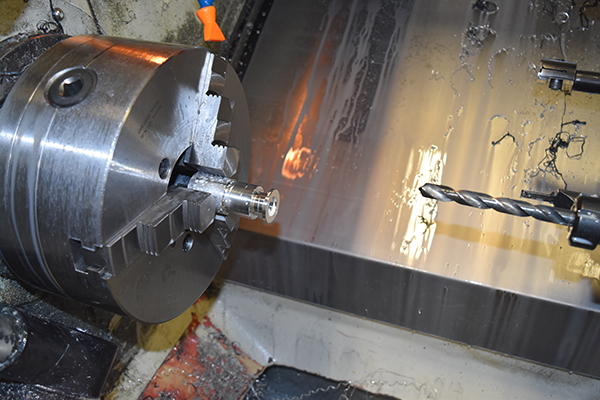
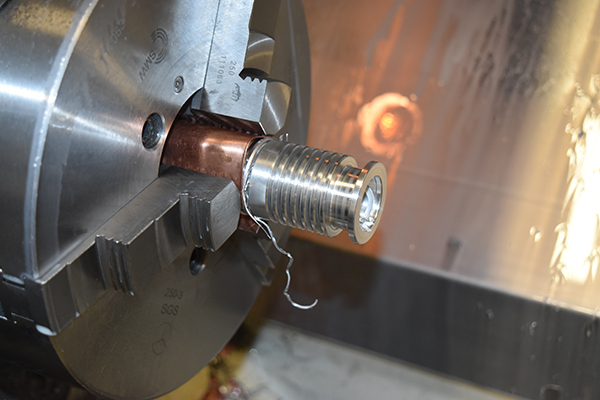
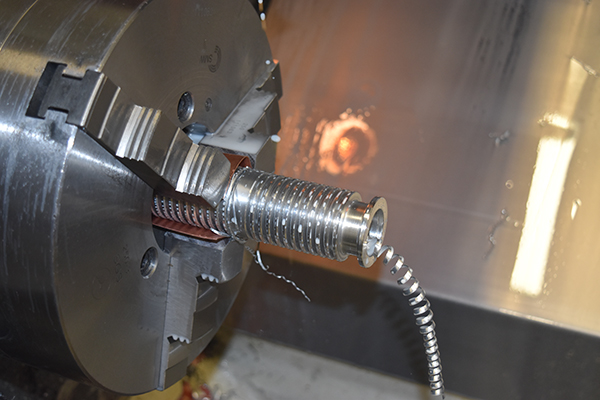
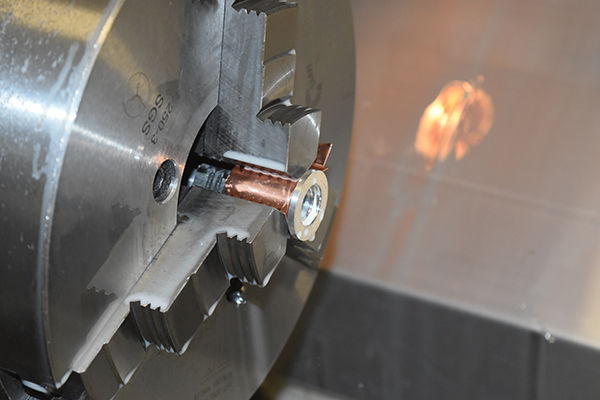
Here is the part being machined, it does vary slightly in that there are two extra grooves. I used 32mm rod and did the profile in a single pass since it was only aluminium.
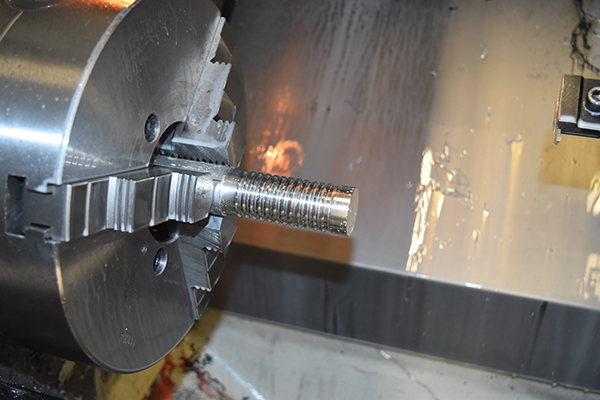
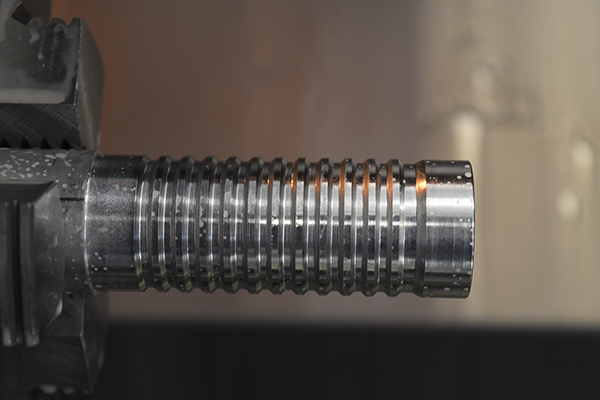
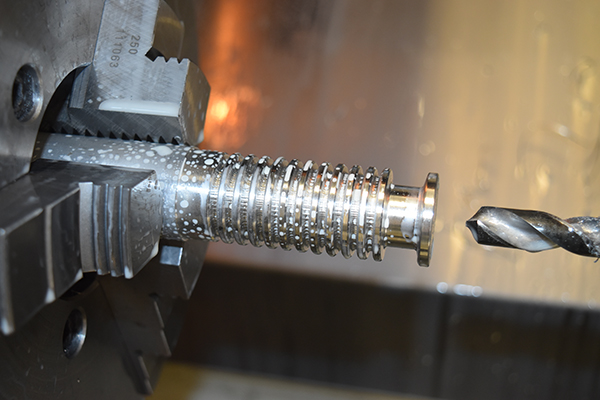
The tool I used for grooving had no rake and therefore wasn't best suited for cutting, I should have used G04 (pause) to clear some of the resonance, I did in later parts. I drilled it out to just past the middle, I wrote a pecking cycle as to not clog the drill.

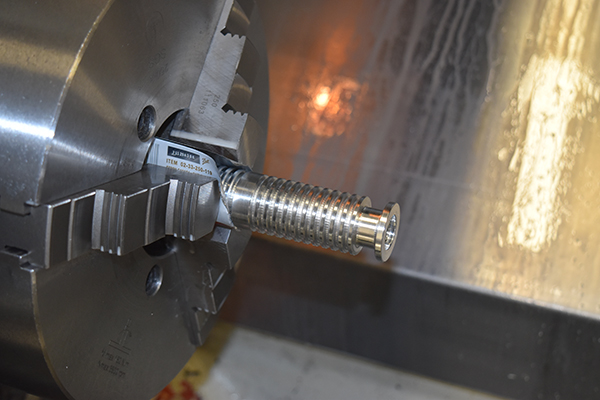
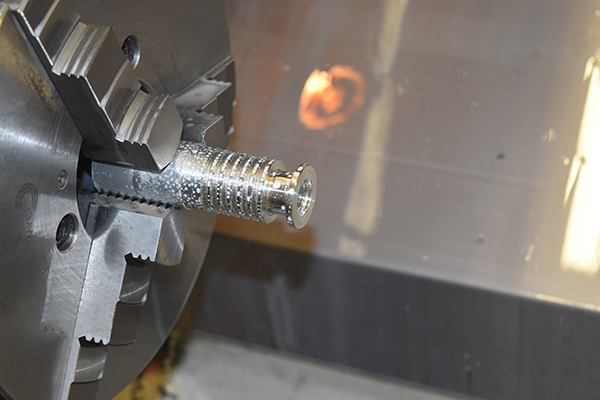
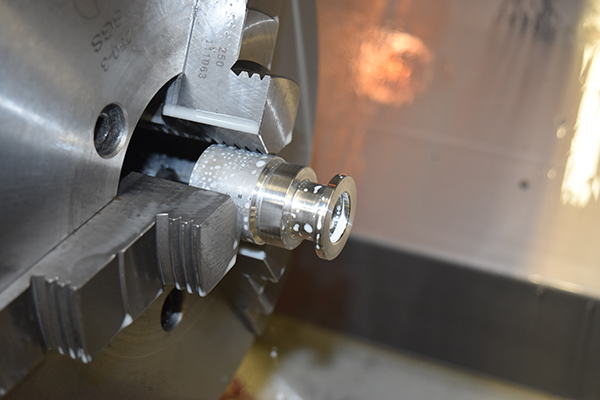
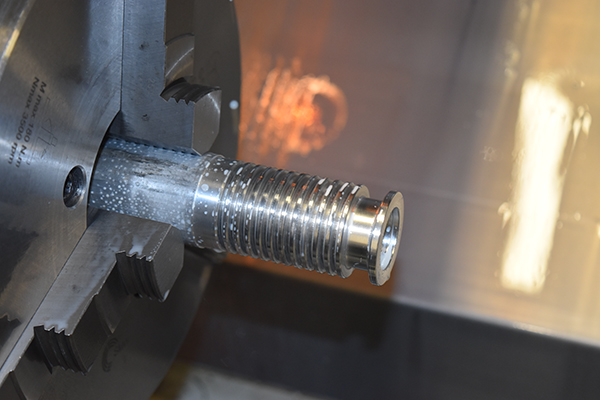
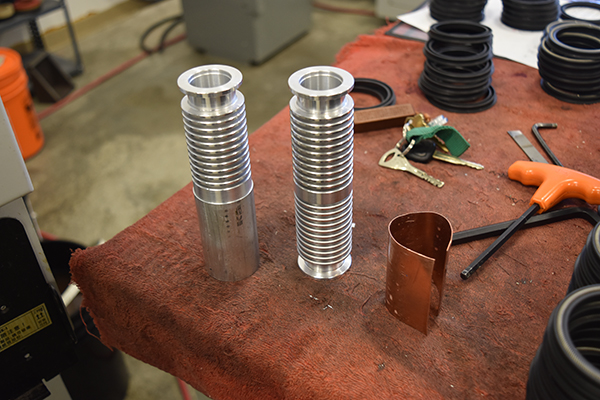
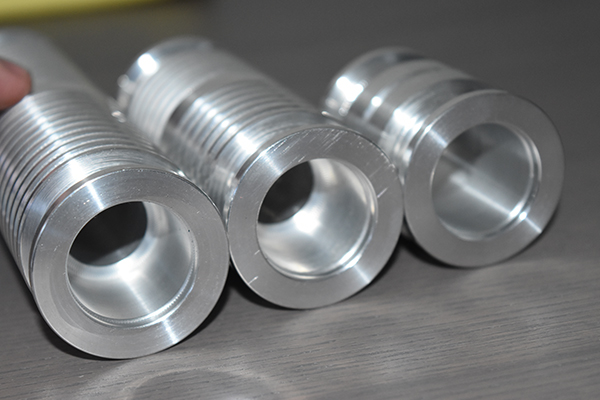
A small boring bar using the TCGT insert was used to cut the profile for the centering ring. I flipped the part to machine the other side, I used a beer can as to not mark the outside but later opted for some thicker copper sheet.

The part came out real good. I started on some at a length of 100mm, the program was copied and shortened.
Here is one at a length of 75mm, there was no reason to cut fins since this small piece would not absorb much heat. I still cut a slight groove in the middle to make it a little easier for the second op to match, even a run out of 0.01mm is quite noticeable.
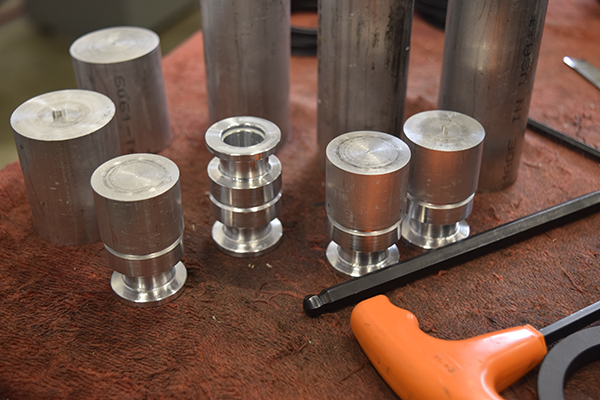
Here I completed two each of 150mm lengths, 100mm and 75mm. It took me around 1 and a half hours to design, program and machine them. I then cut some blanks in MDI mode for four adapters at 50mm. I also cut some blanks to make some KF25 adapters, two at 150mm, one at 100mm and two at 50mm.

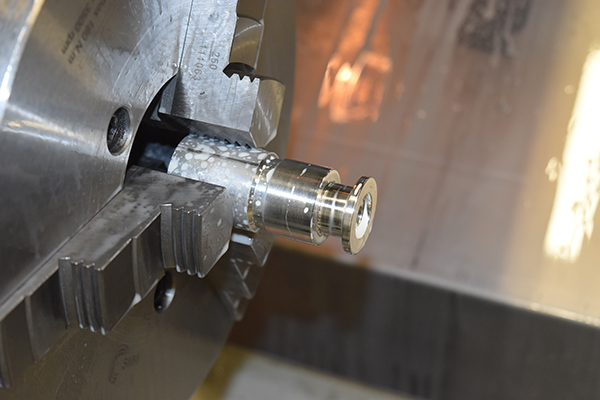
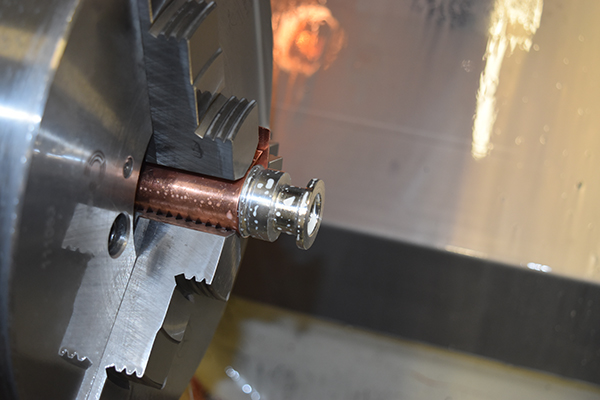
Here shows me finishing off the KF16, 50mm lengths. The thicker copper sheet worked great and it ran perfectly true.
The 50mm ones took no time at all, I then modified the diameters in the program for the KF25 pieces.

These were also really fast to machine.
To the left is a 150mm adapter, to the right is a complete 100mm adapter, the finish came out amazing.
Finishing off the 150mm lengths.
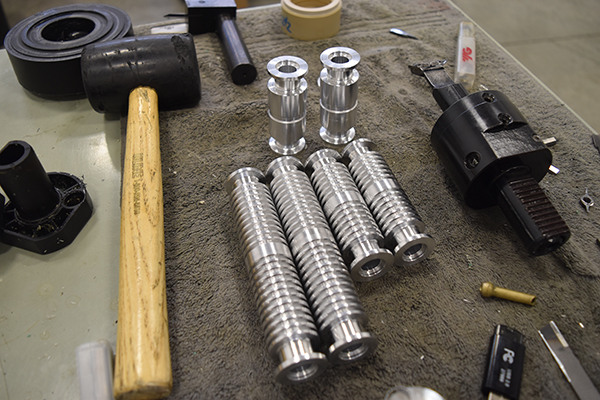
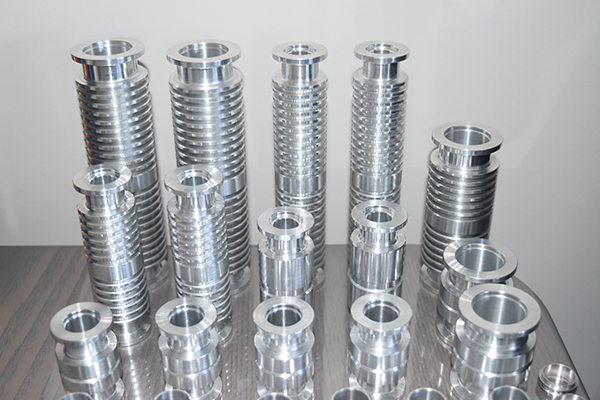
On the left the KF16 and on the right the KF25 adapters.
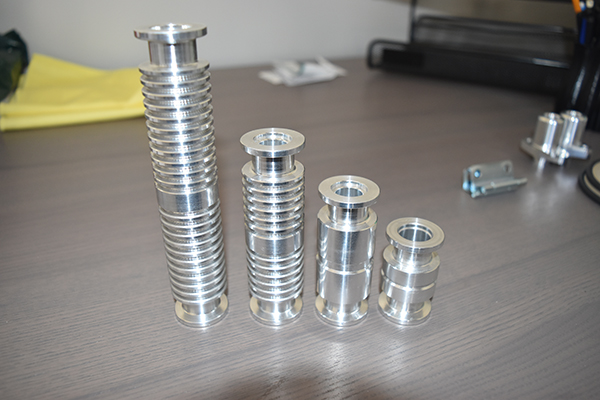
It took me around 4 hours to design, manually program and machine all of the parts to the right.
BSP / NPT Adapters
These are just a few adapters for the KF16 fitting, they will be used to connect regular valves to my fusor setup. They connect to either 1/8 NPT, 1/4 NPT and 3/8 NPT.
Here shows a 3D representation of the 1/8 NPT adapter, the only difference between them all is the internal thread.
The finished adapters still need to be threaded, I will do this at a later date since I only have the 1/8 NPT tap.
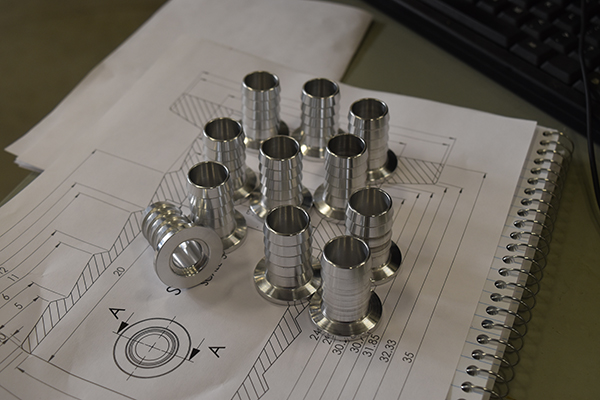
3/4" Vacuum Hose Barb, KF16
There are many different hoses for a vacuum system. I was given one that uses PVC hose as the outer and a coiled spring on the inside to stop it from collapsing. This means that just a standard hose barb will not work, there needs to be a recess for the spring to fit. On the right picture you can see that the hole all the way through is about 8mm whereas the recess is about 16mm.

These had to be done in two operations, they came out really nice. You can see the original drawing on the right under the pieces, I always make one of these as I always program manually.
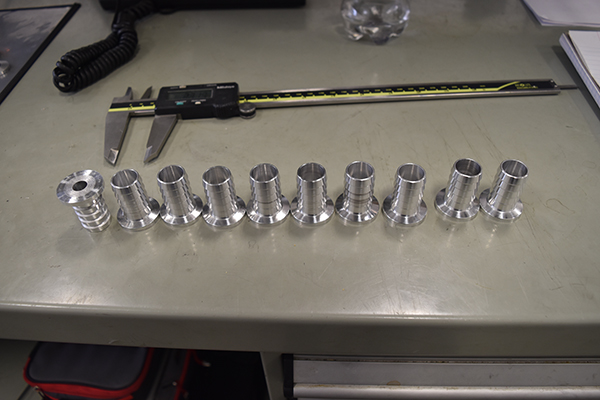
Here are all of the pieces I machined in total (not including the parts to the left on their own and the parts with O-rings on).
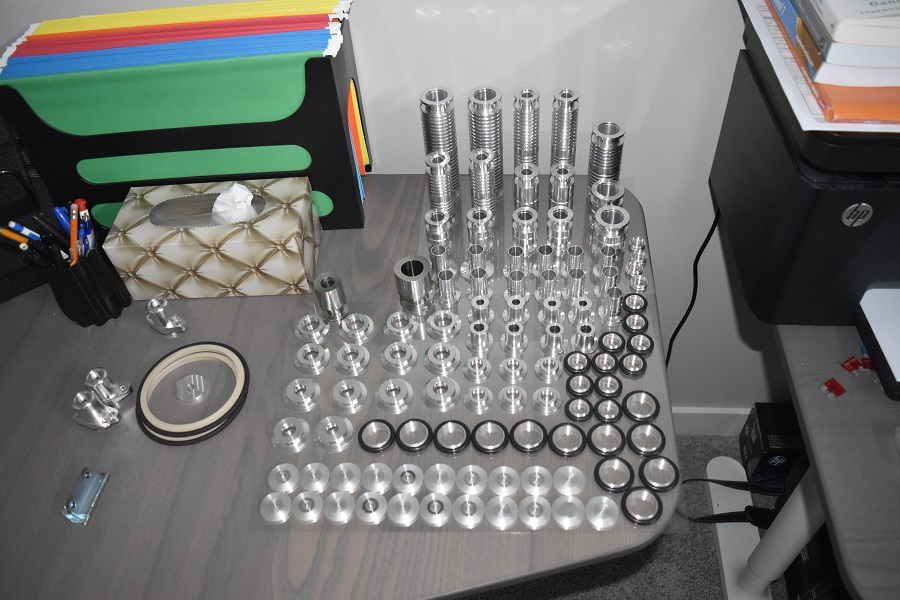
There wasn't a great point to the whole of this page, I just like to document most things that are not work related. Another point to show is that all of these pieces took around ten hours in total to design, program, setup and machine. Considering there are almost 20 different types of parts and I had to setup the machine on five different occasions I think I did pretty well.
Hello, if you have enjoyed reading this project, have taken an interest in another or want me to progress one further then please consider donating or even sponsoring a small amount every month, for more information on why you may like to help me out then follow the sponsor link to the left. Otherwise you can donate any amount with the link below, thank you!