Ed's Projects

Home

About

Skills

Calc's

Projects

Workshop

Contact

Legal

Bikes

Timeline

PDF's

Sponsor

Youtube

Hobby Lathe CNC Convserion - Page 2 - May 2021

This is the second page of my hobby lathe CNC converison, this will be related more to the spindle.


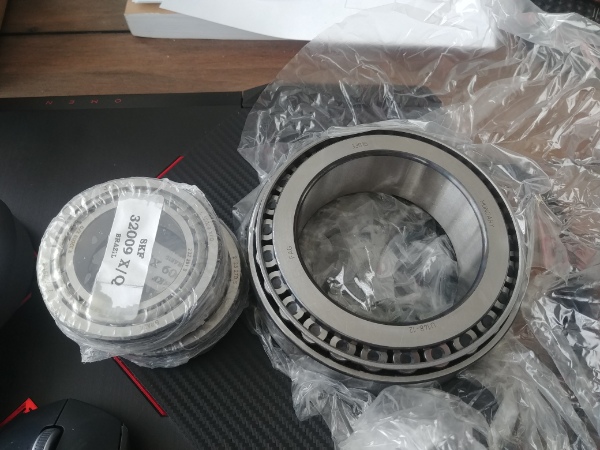
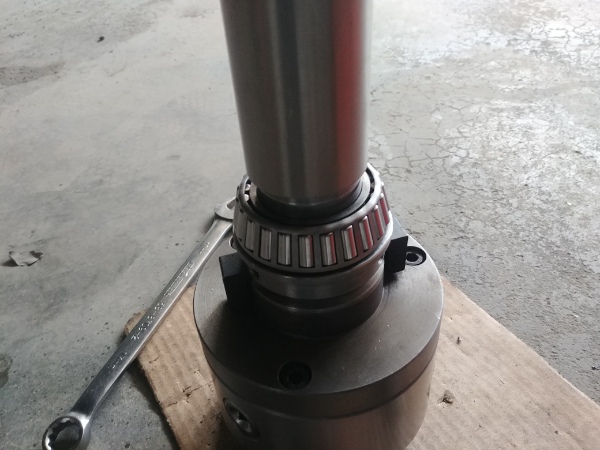
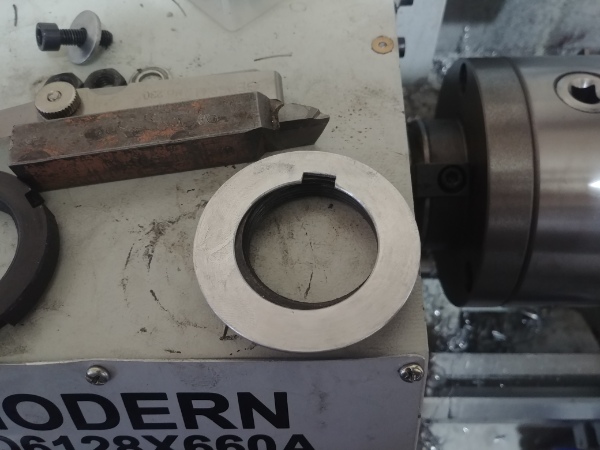
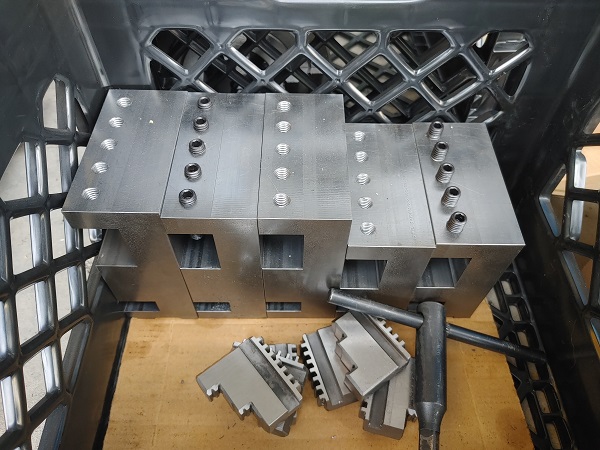
I got my bearings through the post, those on the left. The bearings on the right are what I will use on my future headstock conversion.


CNC Hobby Lathe Conversion and ModificationCNC Hobby Lathe Conversion and Modification


I used a wire brush in the grinder to remove all of the paint before removing the bearings. I destroyed the cage getting the bearing out, there was a lot of paint stuck to the grease.


CNC Hobby Lathe Conversion and ModificationCNC Hobby Lathe Conversion and Modification


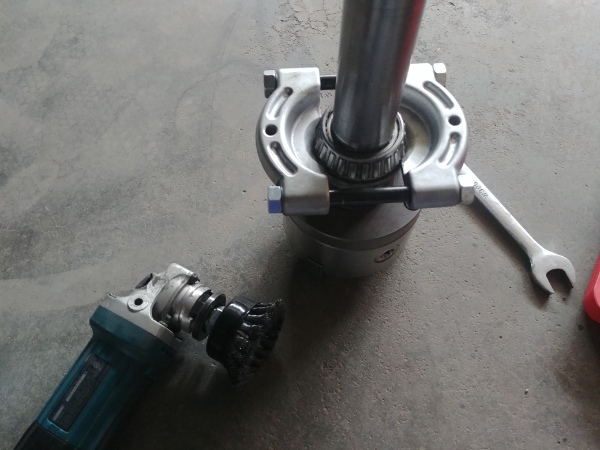
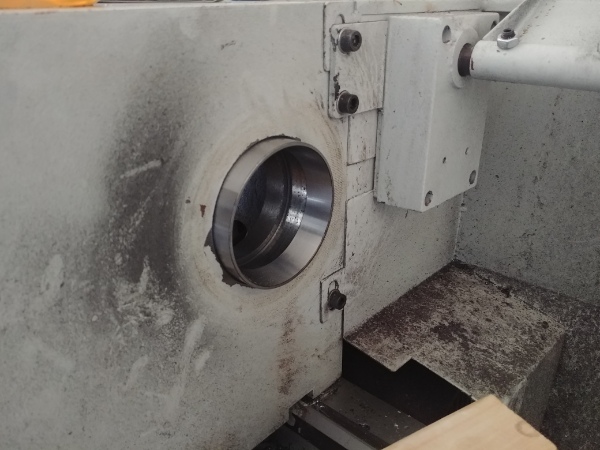
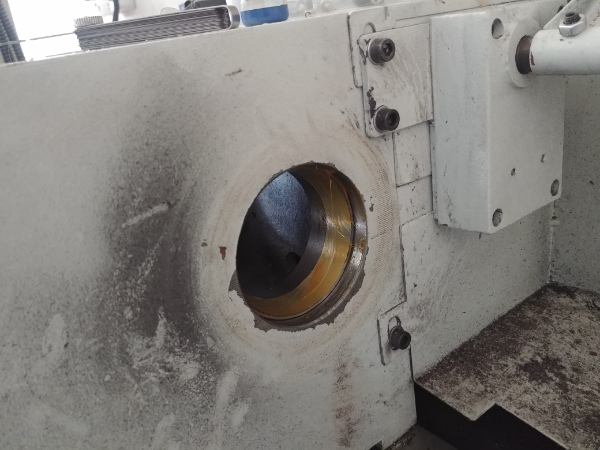
The race shells were fairly easy to remove.


CNC Hobby Lathe Conversion and ModificationCNC Hobby Lathe Conversion and Modification


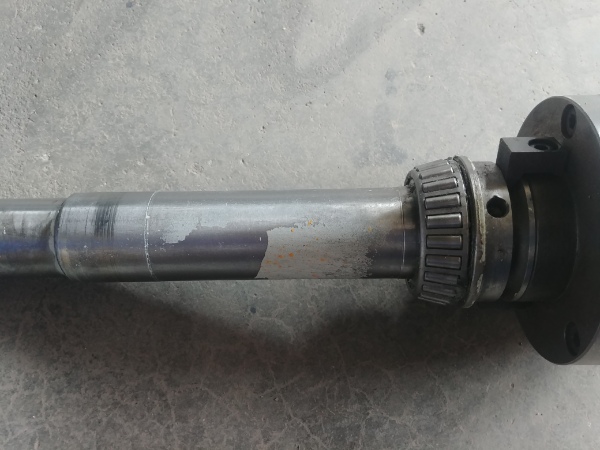
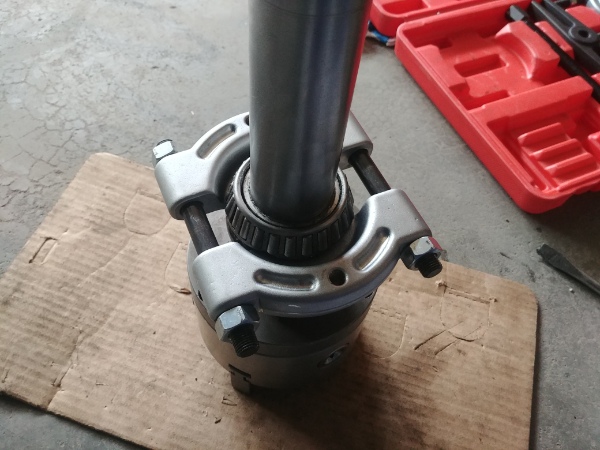
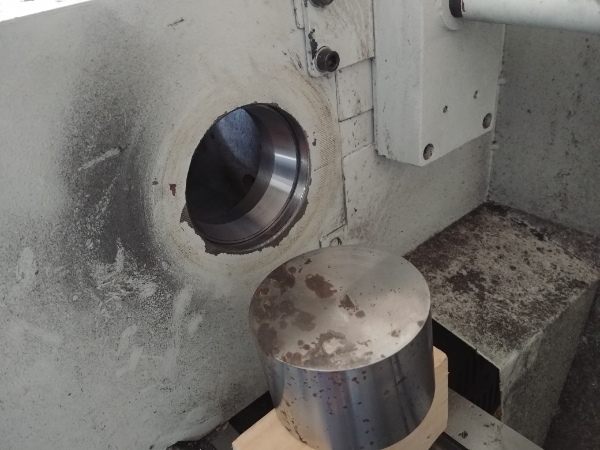
I had a piece of steel the same diameter so that made installing the new races pretty easy. I had to use a long piece of tube to install the bearing on the shaft itself.


CNC Hobby Lathe Conversion and ModificationCNC Hobby Lathe Conversion and Modification


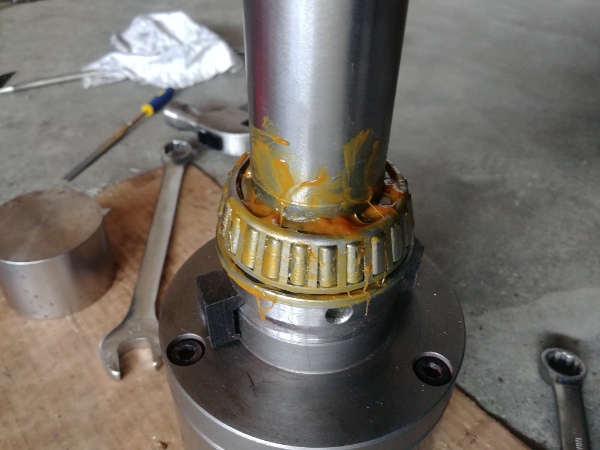
Taper roller bearings often come without grease as they are usually bathed in oil. I used some general purpose super tacky grease, it won't be running fast so does not need anything fancy.


CNC Hobby Lathe Conversion and ModificationCNC Hobby Lathe Conversion and Modification


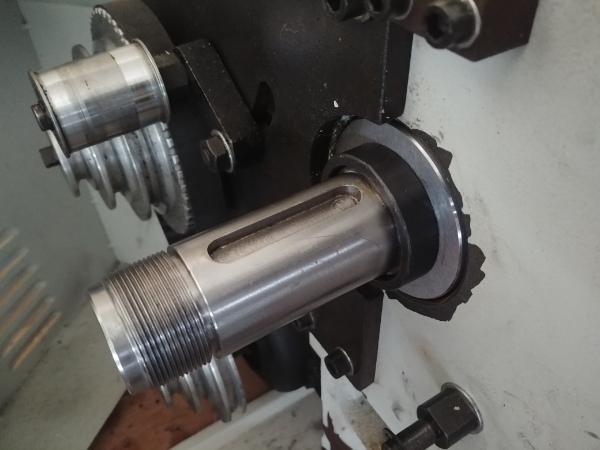
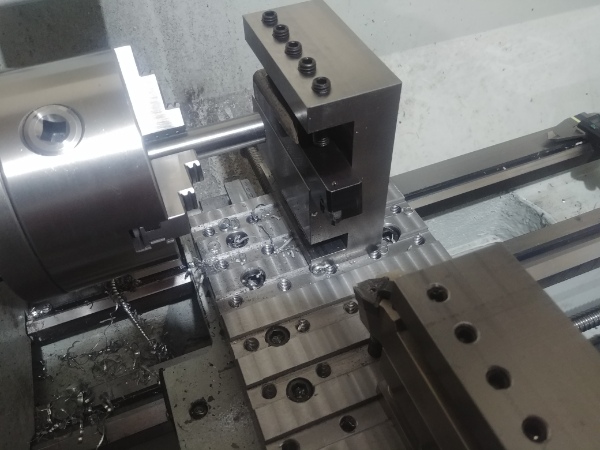
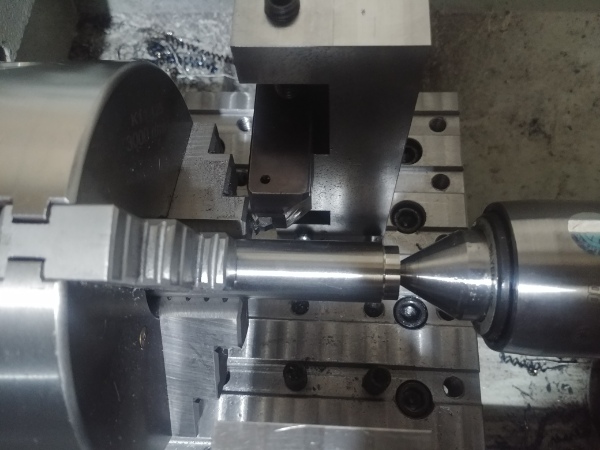
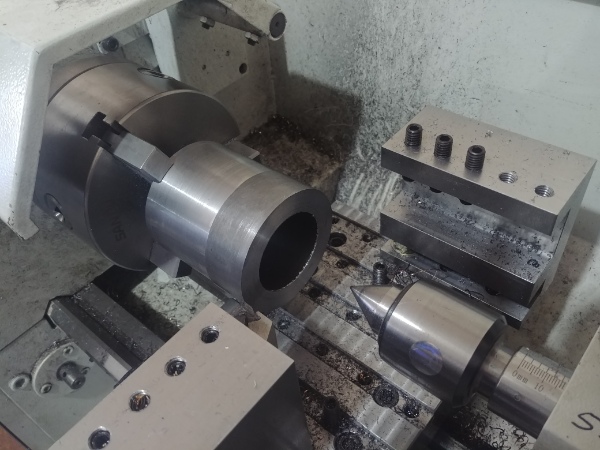
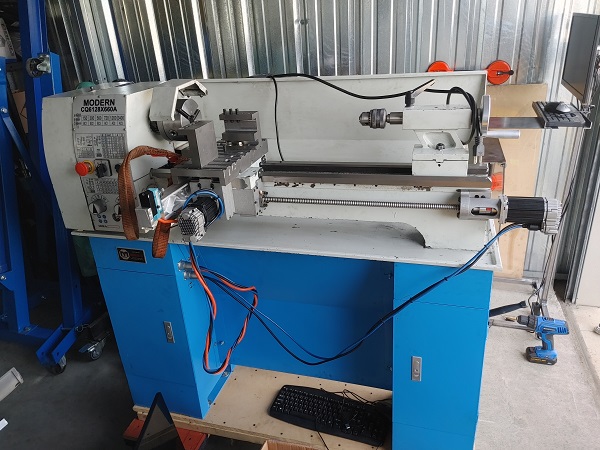
I placed the spindle into the lathe and used the tailstock to hold it in place.


CNC Hobby Lathe Conversion and ModificationCNC Hobby Lathe Conversion and Modification


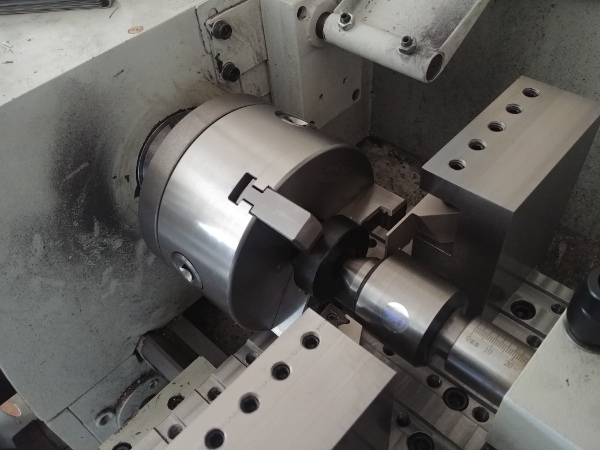
I had to use a bit of force to get the rear bearing on with a piece of tube. Once on enough I could use the locking nut to press the bearing on further.


CNC Hobby Lathe Conversion and ModificationCNC Hobby Lathe Conversion and Modification


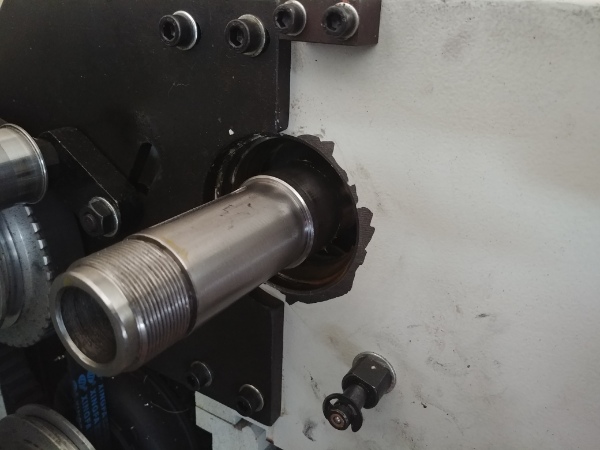
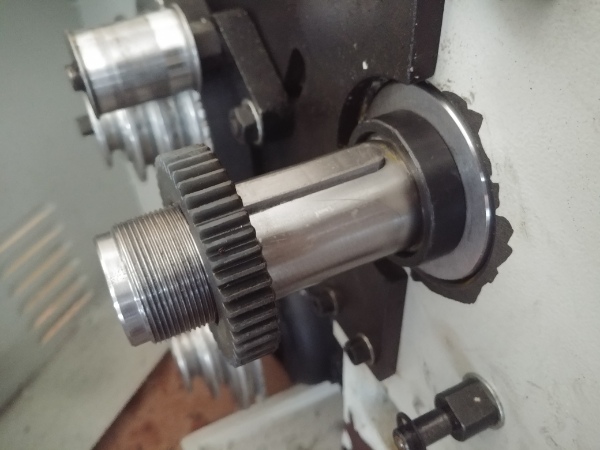
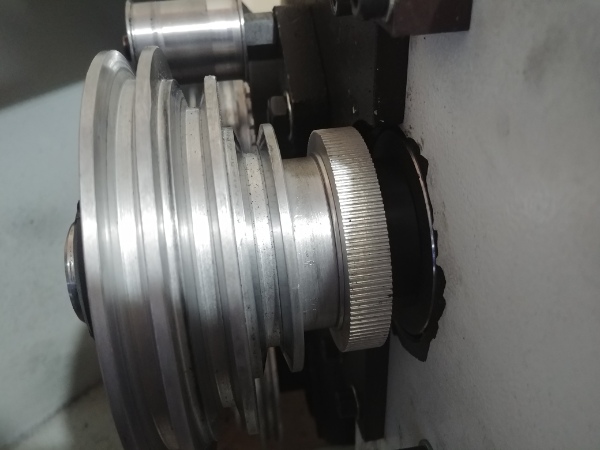
The gear used to transmit power to the leadscrew is made from nylon, a wise choice to keep noise down. The downside is that this was retaining the clamping force on the bearings, probably not enough.


CNC Hobby Lathe Conversion and ModificationCNC Hobby Lathe Conversion and Modification


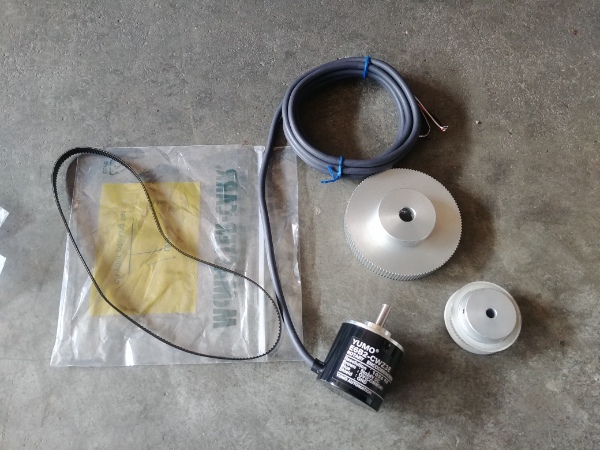
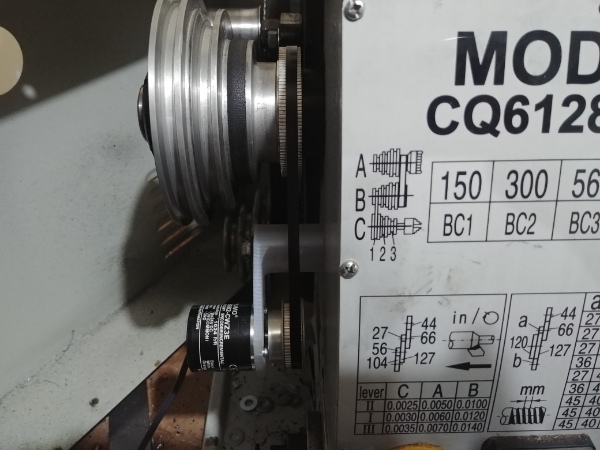
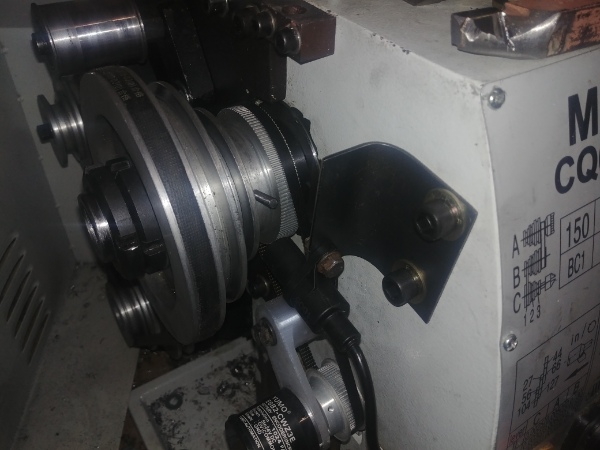
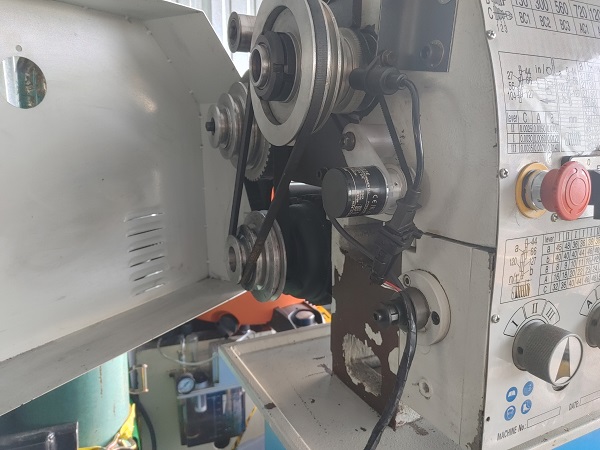
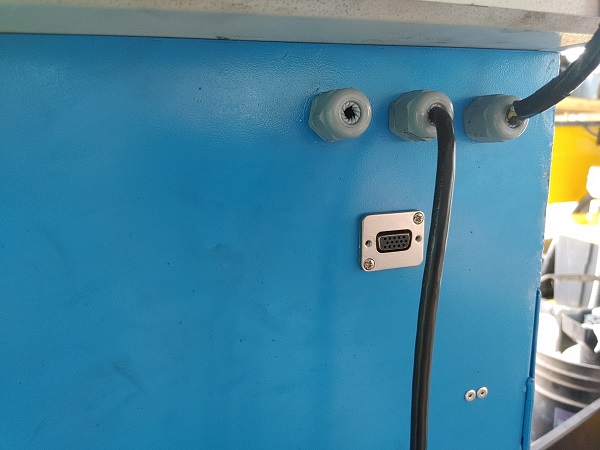
I got myself an encoder so that I would be able to do threading on the lathe.


CNC Hobby Lathe Conversion and ModificationCNC Hobby Lathe Conversion and Modification


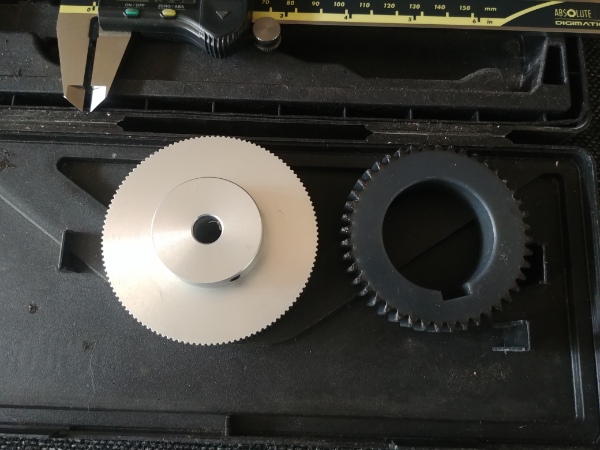
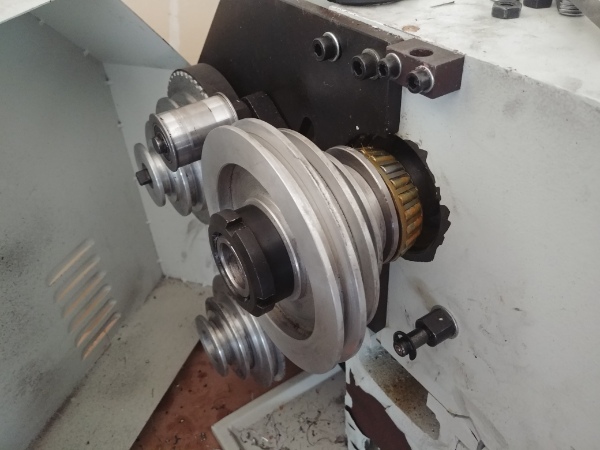
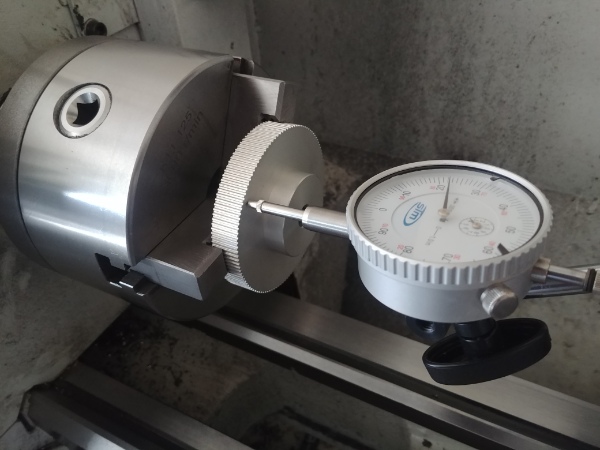
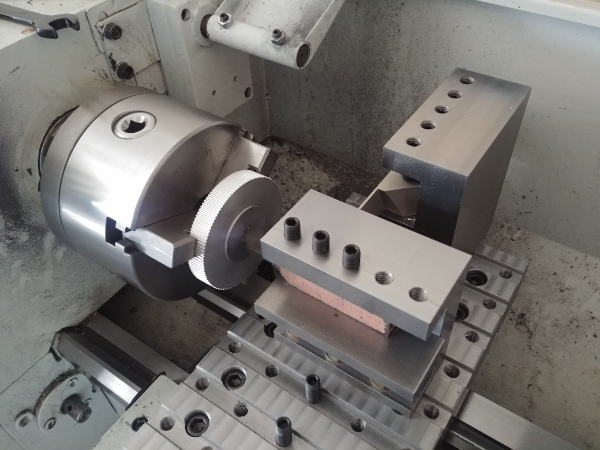
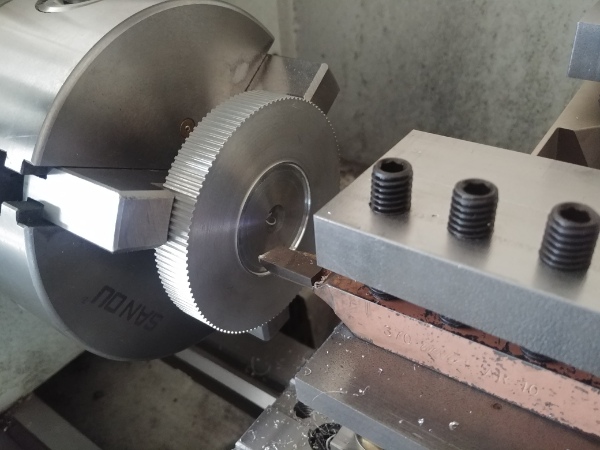
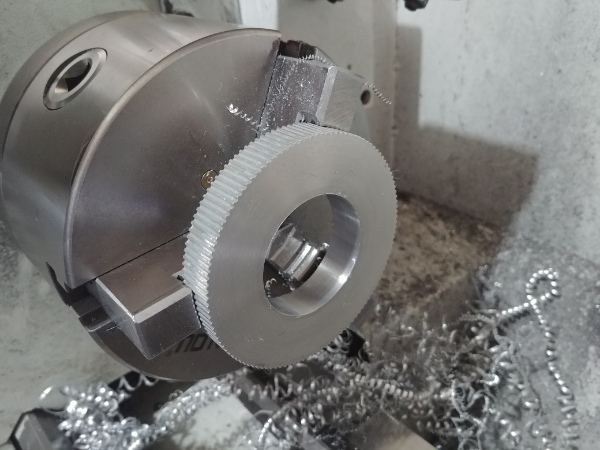
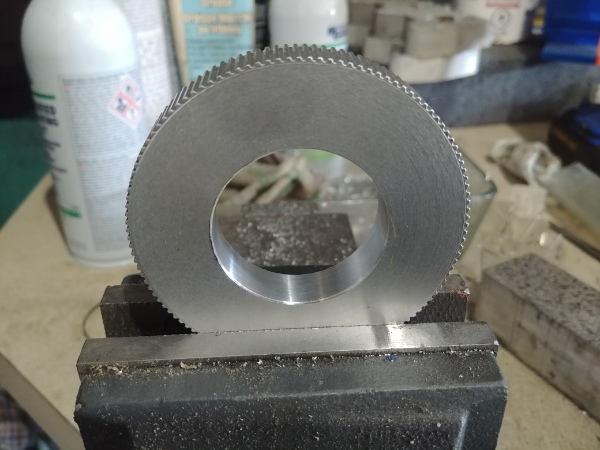
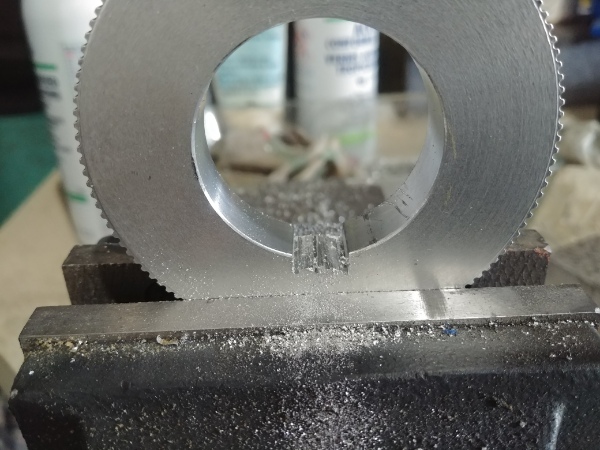
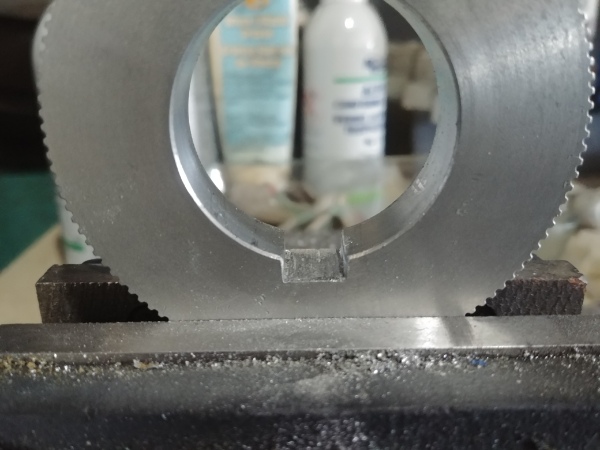
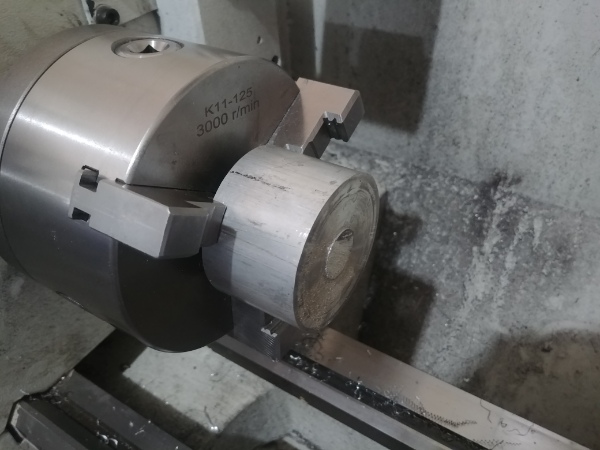
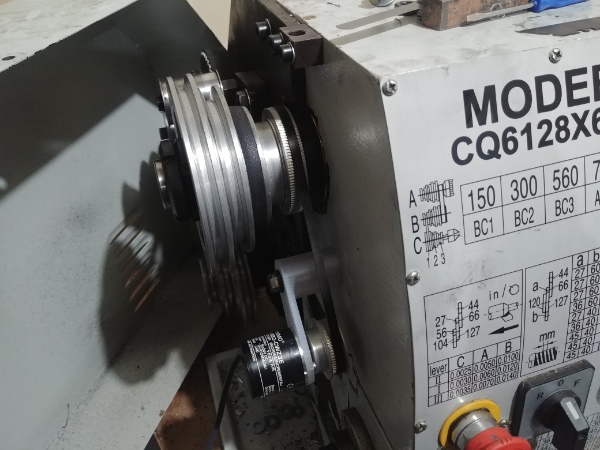
I bored out the timing gear and made a spacer for the spindle.


CNC Hobby Lathe Conversion and ModificationCNC Hobby Lathe Conversion and Modification


CNC Hobby Lathe Conversion and ModificationCNC Hobby Lathe Conversion and Modification


CNC Hobby Lathe Conversion and ModificationCNC Hobby Lathe Conversion and Modification


The


CNC Hobby Lathe Conversion and ModificationCNC Hobby Lathe Conversion and Modification


CNC Hobby Lathe Conversion and ModificationCNC Hobby Lathe Conversion and Modification


CNC Hobby Lathe Conversion and ModificationCNC Hobby Lathe Conversion and Modification


CNC Hobby Lathe Conversion and ModificationCNC Hobby Lathe Conversion and Modification


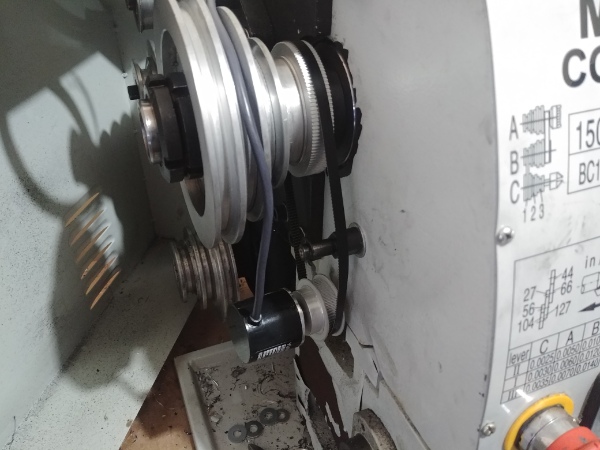
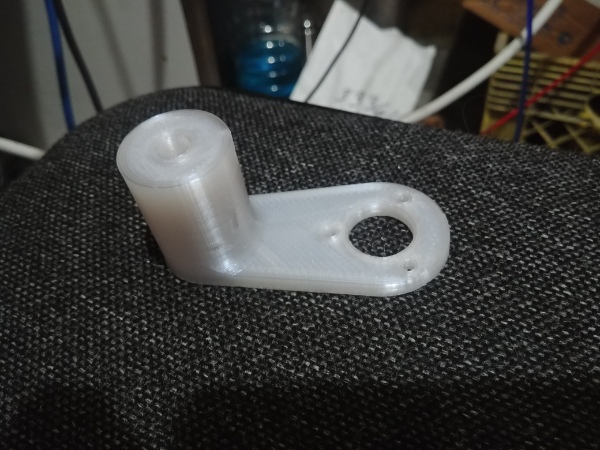
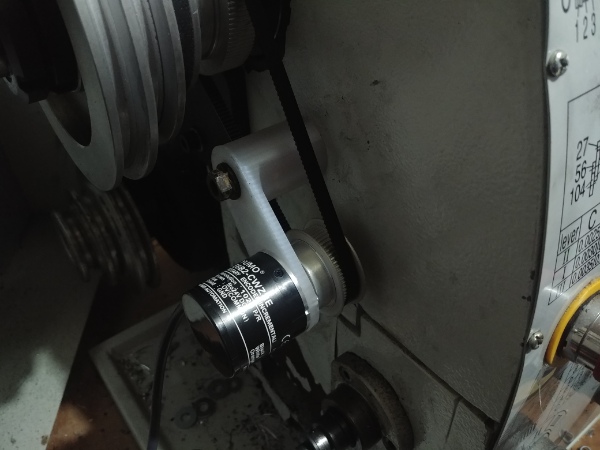
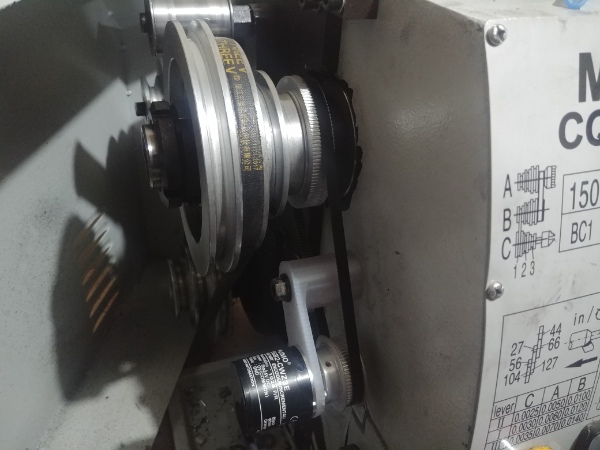
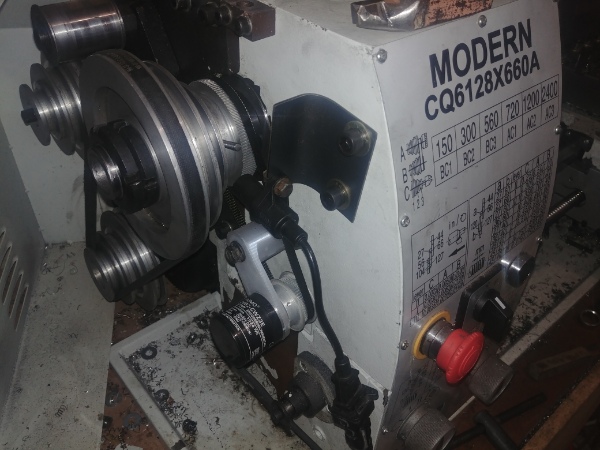
I 3D printed a mount for the encoder out of polycarbonate, it was also more convenient than making one on the mill.


CNC Hobby Lathe Conversion and ModificationCNC Hobby Lathe Conversion and Modification


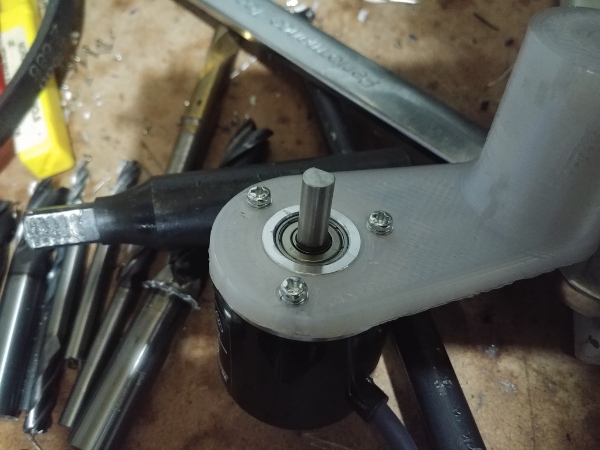
It fit really well and the belt didn't wander either.


CNC Hobby Lathe Conversion and ModificationCNC Hobby Lathe Conversion and Modification


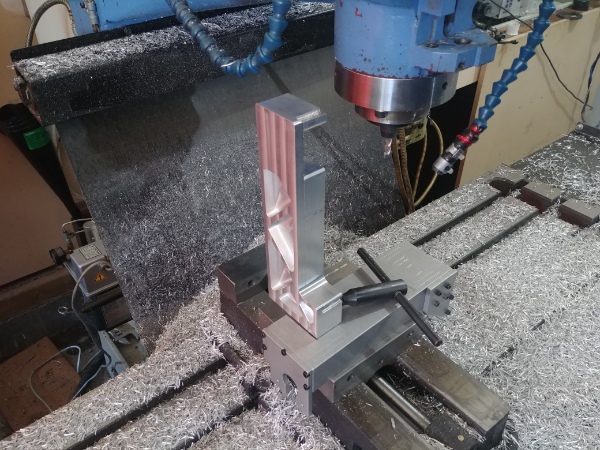
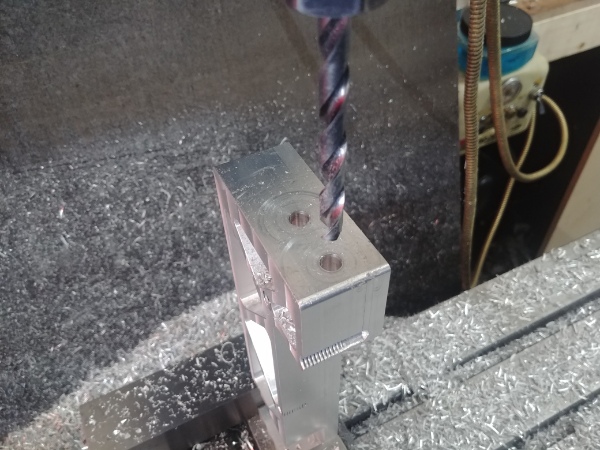
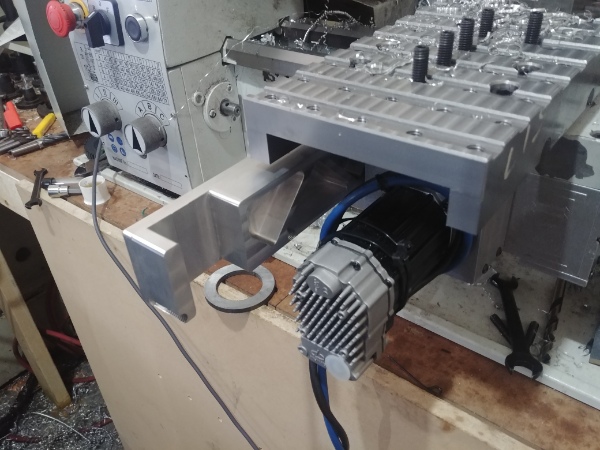
I next needed to make a homing switch for the X-axis. I did not have the right switch so had to go with a not so normal design.


CNC Hobby Lathe Conversion and ModificationCNC Hobby Lathe Conversion and Modification


CNC Hobby Lathe Conversion and ModificationCNC Hobby Lathe Conversion and Modification


CNC Hobby Lathe Conversion and ModificationCNC Hobby Lathe Conversion and Modification


CNC Hobby Lathe Conversion and ModificationCNC Hobby Lathe Conversion and Modification


CNC Hobby Lathe Conversion and ModificationCNC Hobby Lathe Conversion and Modification


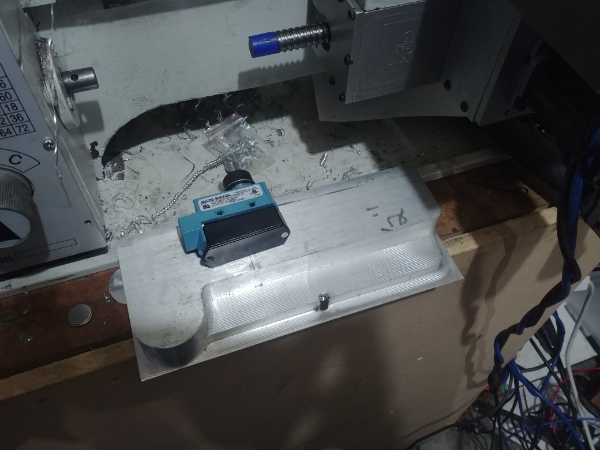
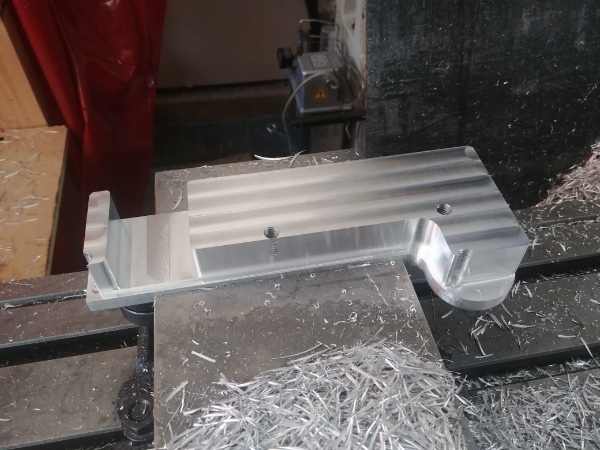
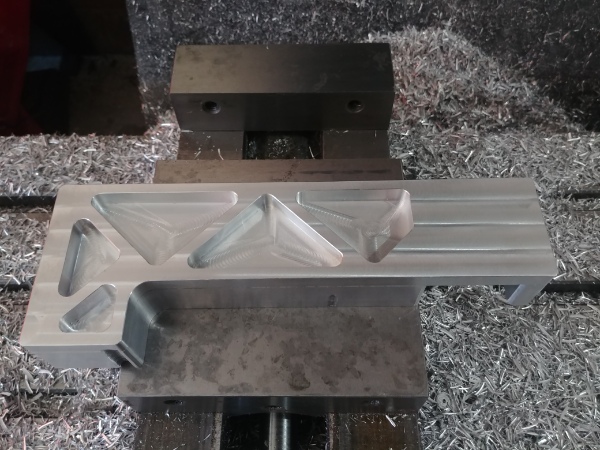
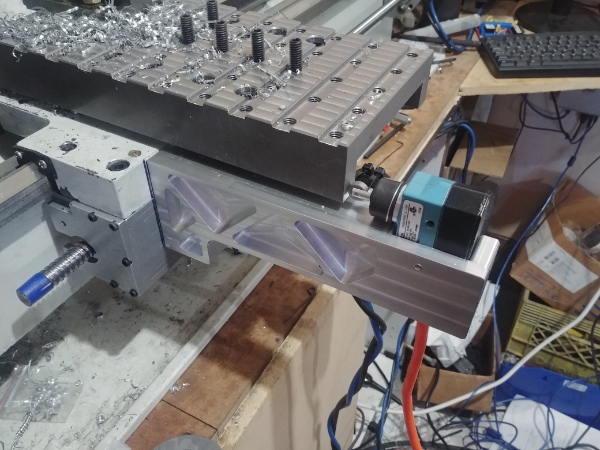
I went with the space-frame structure to reduce some weight since it will stick out from the front of the lathe, it also looks pretty cool.


CNC Hobby Lathe Conversion and ModificationCNC Hobby Lathe Conversion and Modification


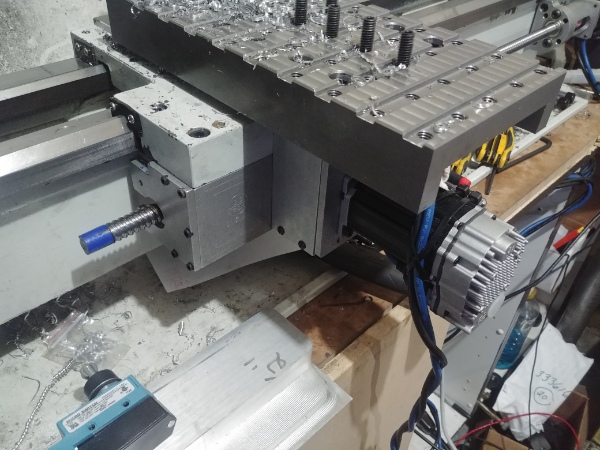
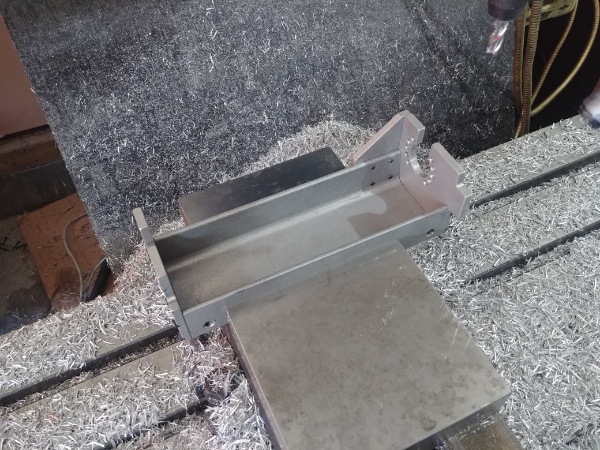
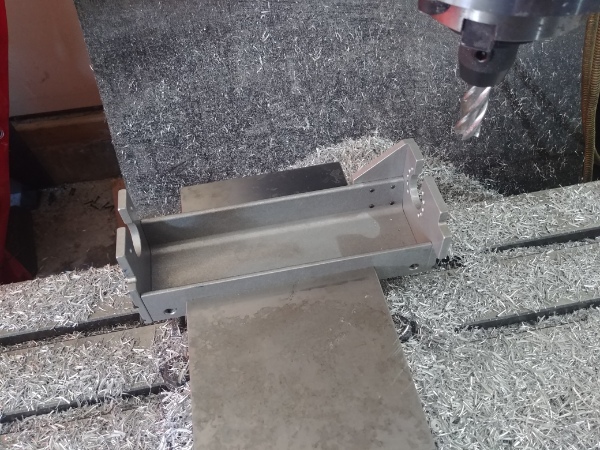
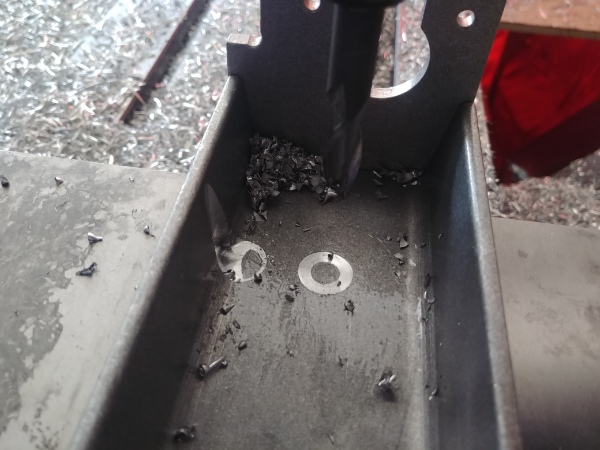
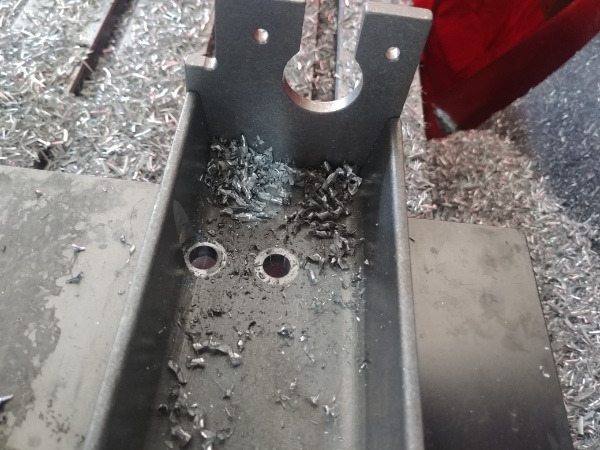
I next needed to modify the CNC conversion kit to hold my new homing switch mount.


CNC Hobby Lathe Conversion and ModificationCNC Hobby Lathe Conversion and Modification


CNC Hobby Lathe Conversion and ModificationCNC Hobby Lathe Conversion and Modification


CNC Hobby Lathe Conversion and ModificationCNC Hobby Lathe Conversion and Modification


CNC Hobby Lathe Conversion and ModificationCNC Hobby Lathe Conversion and Modification


CNC Hobby Lathe Conversion and ModificationCNC Hobby Lathe Conversion and Modification


CNC Hobby Lathe Conversion and ModificationCNC Hobby Lathe Conversion and Modification


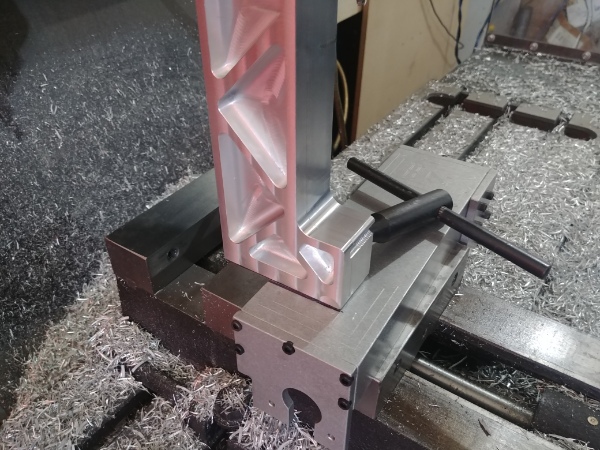
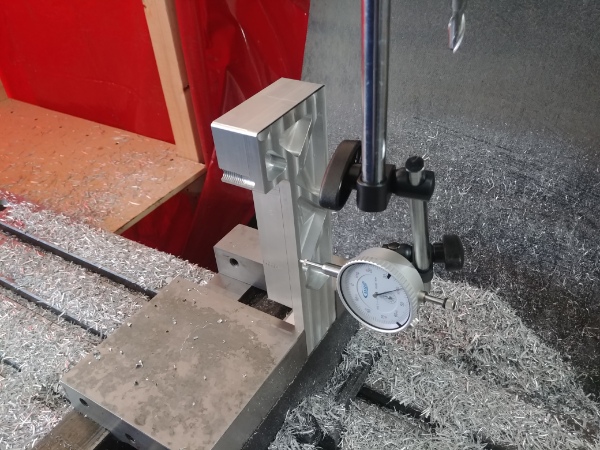
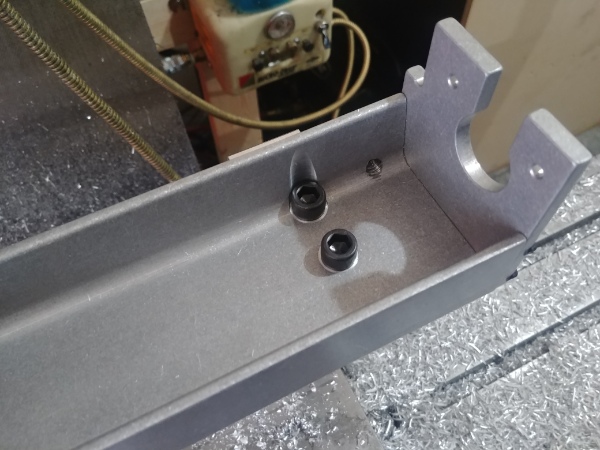
It does look quite over-kill but I was hoping the switch in this orientation would be at its most accurate, it wasn't.


CNC Hobby Lathe Conversion and ModificationCNC Hobby Lathe Conversion and Modification


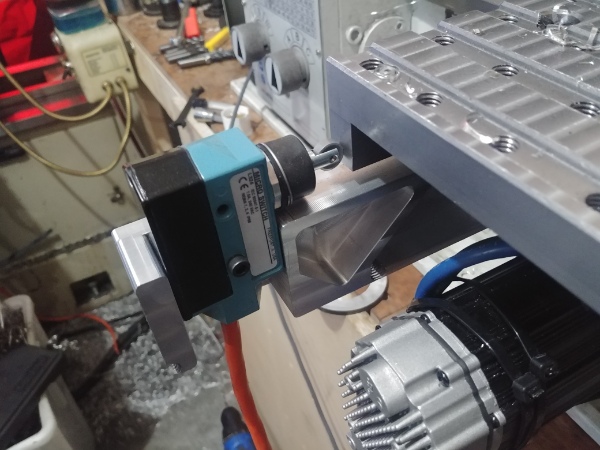
I did a test to find it would home anywhere up to 10 thou of difference, the homing speed made no difference. This is something I will resolve at a later date, but for now it is better than nothing.


CNC Hobby Lathe Conversion and ModificationCNC Hobby Lathe Conversion and Modification


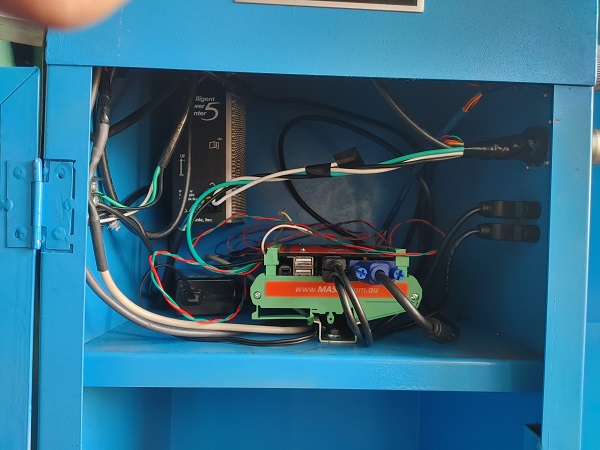
I did a quick test on threading to find my controller required just one positional pulse per revolution to start the location of the thread, the encoder itself is used only to calculate the RPM. Nearly all of the larger industrial lathes are geared in the same manor as mine, the difference is they can be programmed to read "X" amount of index pulses per revolution.


CNC Hobby Lathe Conversion and ModificationCNC Hobby Lathe Conversion and Modification


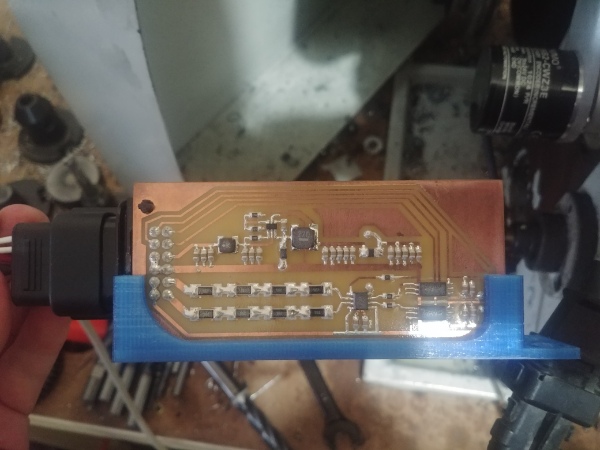
A while back I made a sensor conditioner for a crank shaft position sensor, so I used it for this application. I added a stud to the spindle pulley, and stole the sensor and conditioner from another project. The board is populated with automotive grade components and is sealed.


CNC Hobby Lathe Conversion and ModificationCNC Hobby Lathe Conversion and Modification


CNC Hobby Lathe Conversion and ModificationCNC Hobby Lathe Conversion and Modification


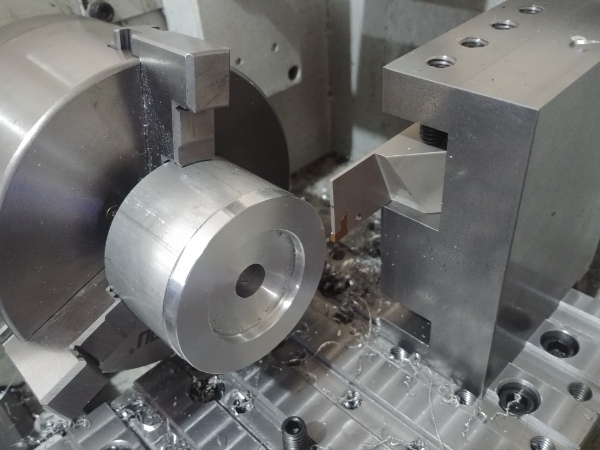
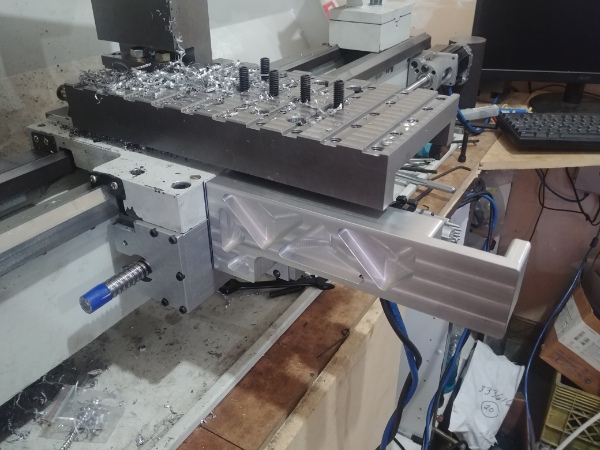
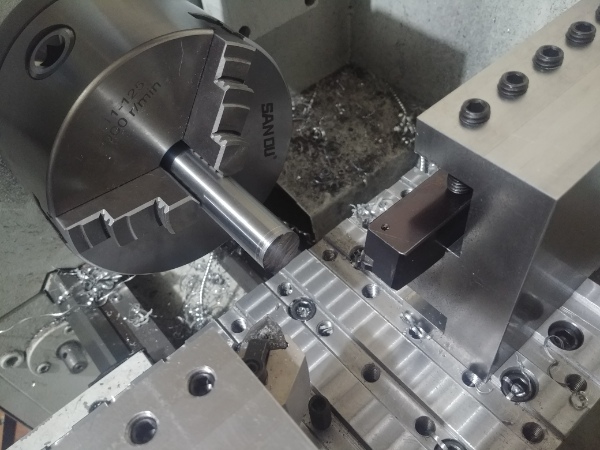
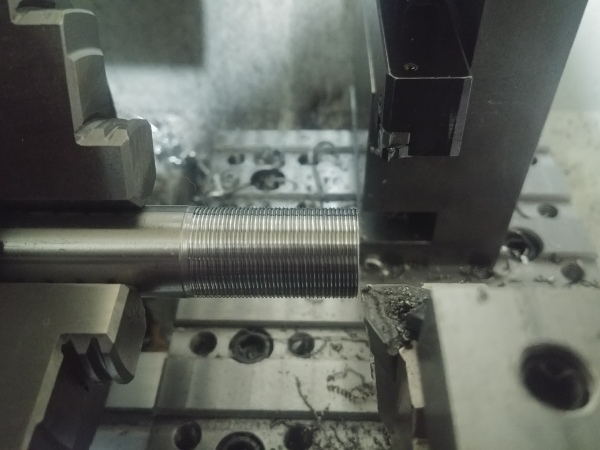
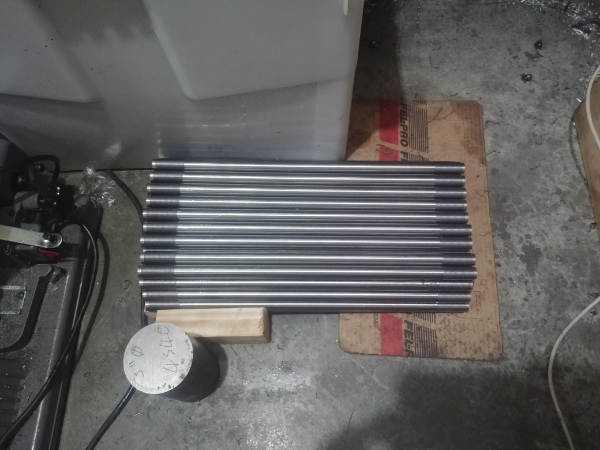
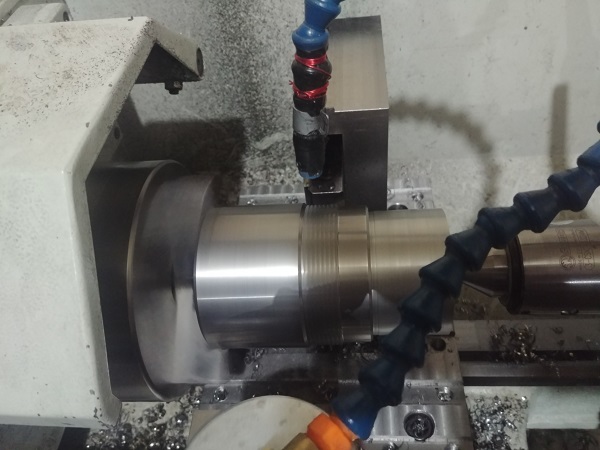
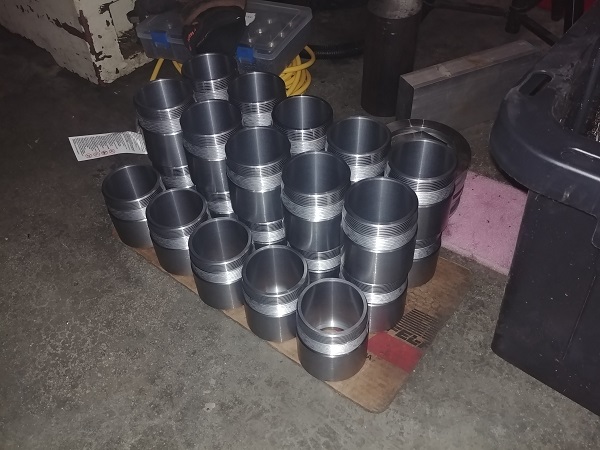
I gave the lathe a test with threading some rods, 80 of them in total with a 0.75 - 16 thread.


CNC Hobby Lathe Conversion and ModificationCNC Hobby Lathe Conversion and Modification


CNC Hobby Lathe Conversion and ModificationCNC Hobby Lathe Conversion and Modification


CNC Hobby Lathe Conversion and ModificationCNC Hobby Lathe Conversion and Modification


CNC Hobby Lathe Conversion and ModificationCNC Hobby Lathe Conversion and Modification


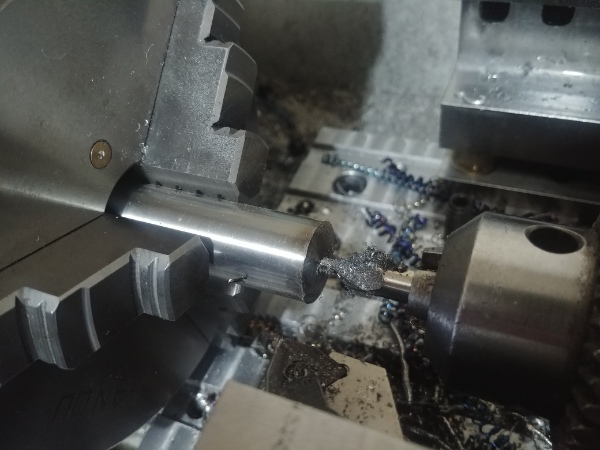
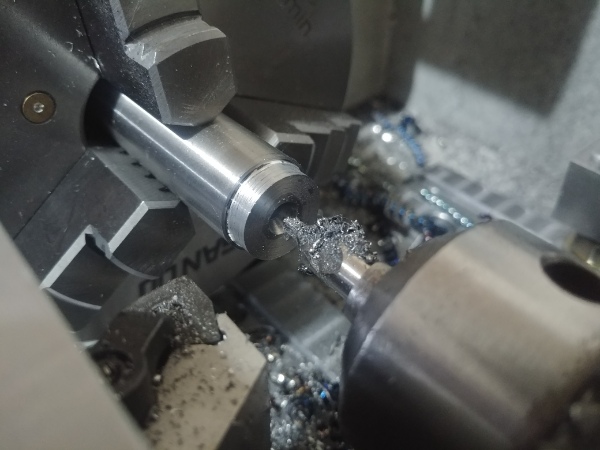
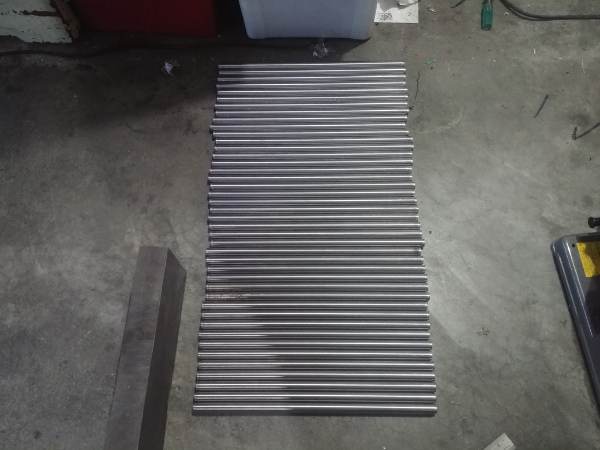
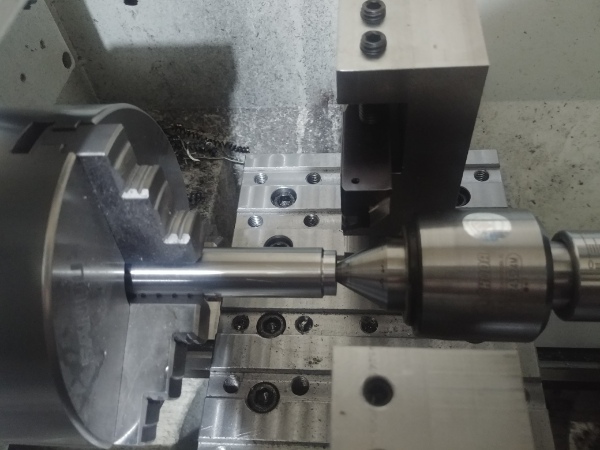
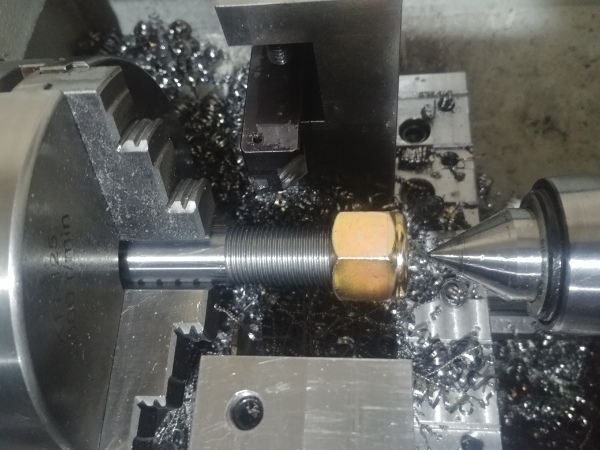
The tooling worked out really well since I had to use a single point threading insert. That meant using one tool to turn the outer diameter and then the other tool to make the thread. I could run the lathe at any speed I wanted to, but the threads finish was better on the slower speeds.


CNC Hobby Lathe Conversion and ModificationCNC Hobby Lathe Conversion and Modification


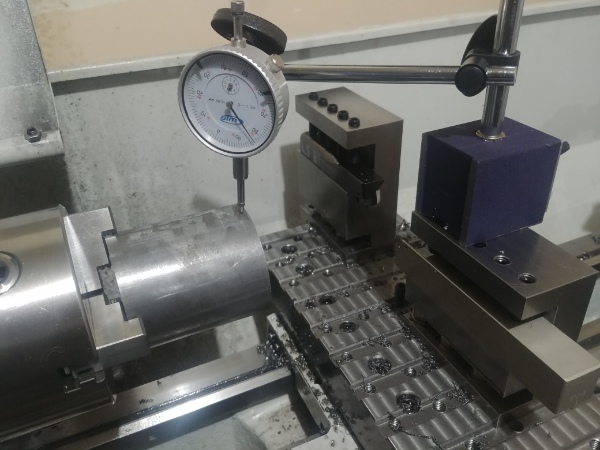
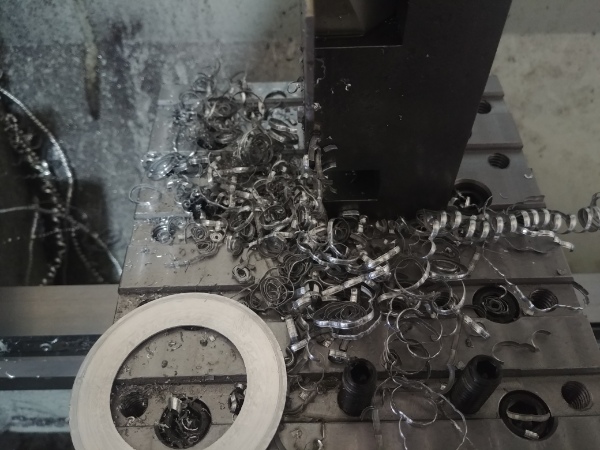
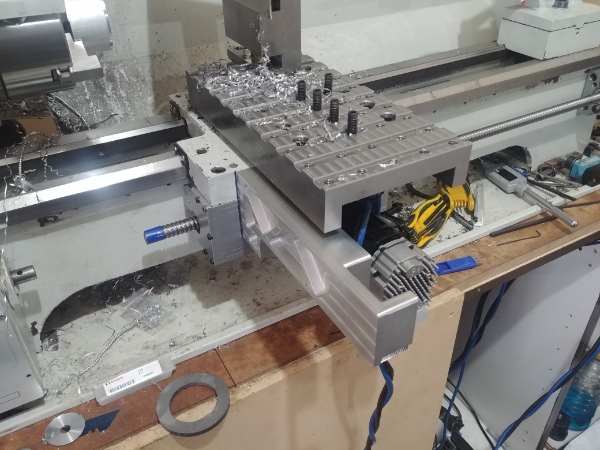
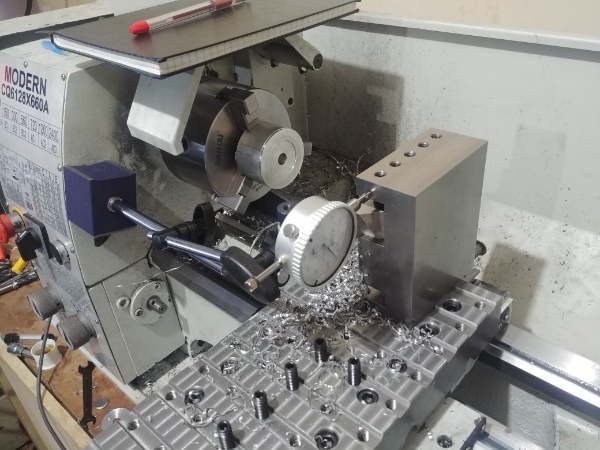
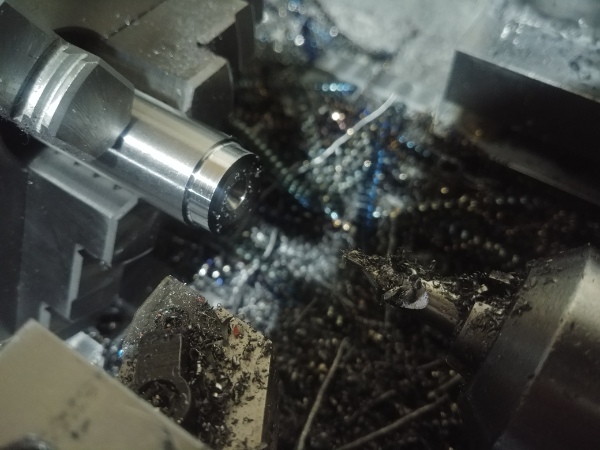
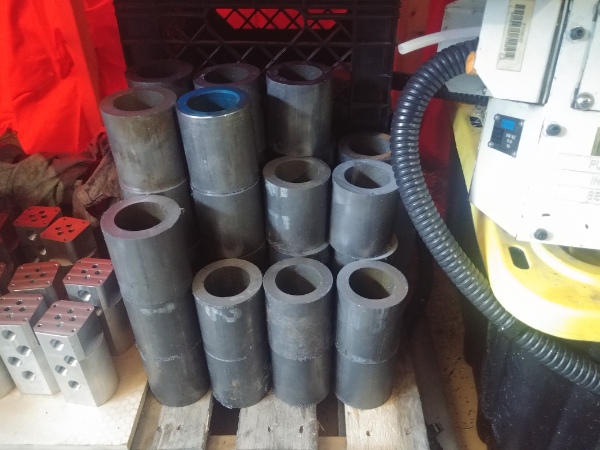
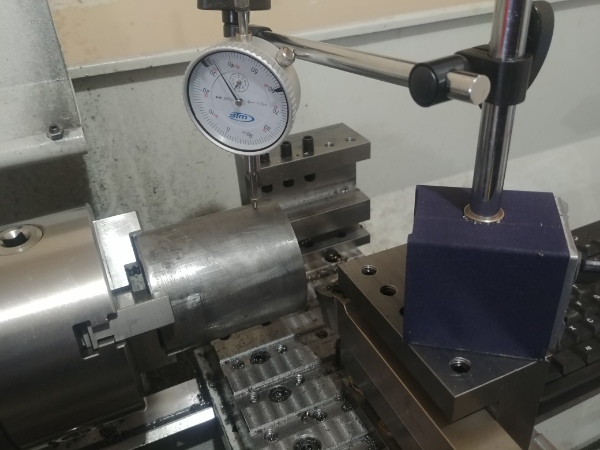
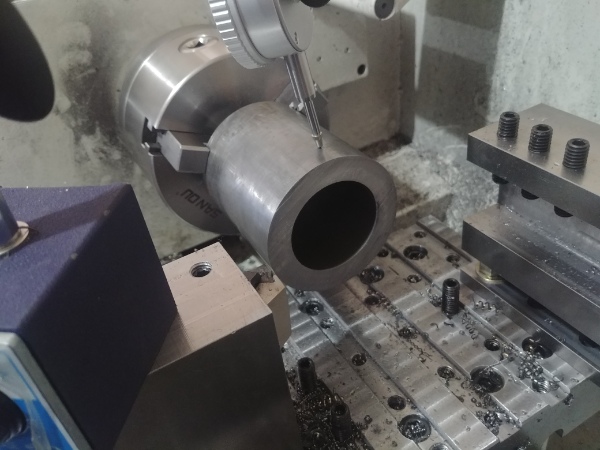
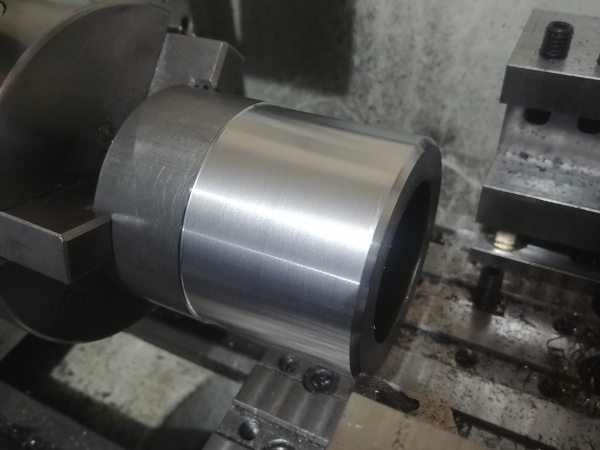
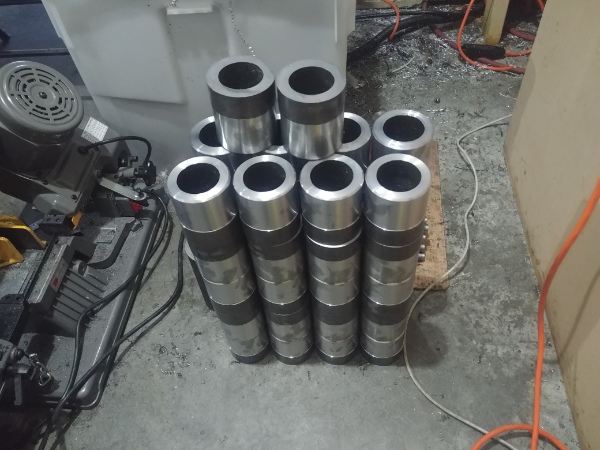
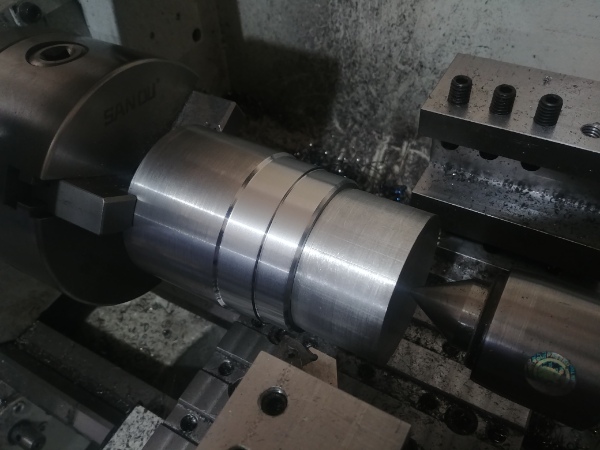
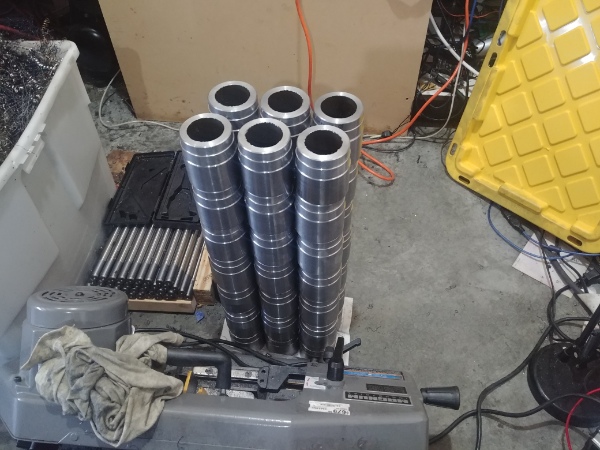
I gave the lathe a bit more of a workout with some steel tubes, these are 100ksi 1026 steel tube, 2.5 x 3.5 inches. The lathe did not have the power to chip break, I used a 30 thou radius insert, it would have been much better to use something much smaller. I did manage to keep within a thou on all of these tubes, so the lathe is very accurate.


CNC Hobby Lathe Conversion and ModificationCNC Hobby Lathe Conversion and Modification


CNC Hobby Lathe Conversion and ModificationCNC Hobby Lathe Conversion and Modification


CNC Hobby Lathe Conversion and ModificationCNC Hobby Lathe Conversion and Modification


CNC Hobby Lathe Conversion and ModificationCNC Hobby Lathe Conversion and Modification


CNC Hobby Lathe Conversion and ModificationCNC Hobby Lathe Conversion and Modification


I'm pretty pleased with the lathe so far, considering I'm expecting a lot out of it. There are many more modifications to make, but I cannot throw any more money at this project for now. The very first modification will be the homing sensor, and then maybe a larger headstock.


I had to put the whole workshop into storage so cleaned up the lathe. I made the decision to sell the lathe in order to put some funds to starting up my business, with that I made some modifications.


CNC Hobby Lathe Conversion and ModificationCNC Hobby Lathe Conversion and Modification


CNC Hobby Lathe Conversion and ModificationCNC Hobby Lathe Conversion and Modification


CNC Hobby Lathe Conversion and ModificationCNC Hobby Lathe Conversion and Modification


At the current time of writing this the lathe has not sold yet, I am in two minds of keeping it. Scratch that, the lathe sold. I did a demonstration running off a generator, which the generator fried the power supply for the servos. Thankfully the buyer accepted they saw it working and was happy for me to discount the cost of the power supply.


Back to Projects


Hello, if you have enjoyed reading this project, have taken an interest in another or want me to progress one further then please consider donating or even sponsoring a small amount every month, for more information on why you may like to help me out then follow the sponsor link to the left. Otherwise you can donate any amount with the link below, thank you!