Pie / Lobster Cut Saw
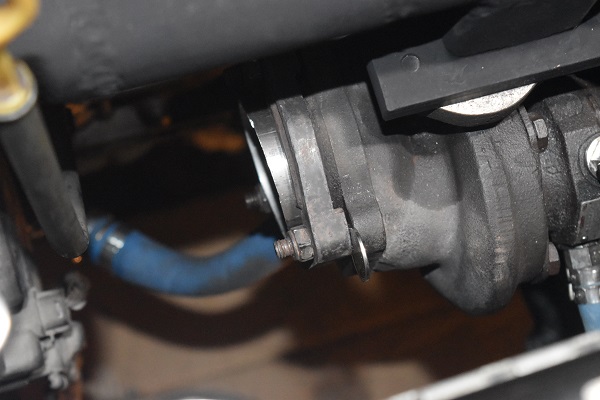
A while back I was in the process of making a turbo down pipe, the only tool I had was an angle grinder. Since I wanted to do it as cheap as possible I chose to make the bends via pie cuts, it was not easy nor accurate cutting them with an angle grinder. The idea of this project is to build a saw that will accurately cut slices in stainless tube, it will also serve as a general metal cutting saw.
There are many different kinds of saws but the easiest and cheapest to construct would be a circular saw. There are three main types; an abrasive chop saw, a dry saw and a cold saw. They range from cheap, inaccurate to the complete opposite. I know that from my past experience an abrasive chop saw produces a lot of heat meaning it leaves a nasty bur, it is very inaccurate due to blade deflection. A dry saw is a circular saw that spins at around 1500rpm and uses a carbide toothed blade. The dry saw can only cut tube and thin material simply because the surface speed is far too fast, it would result in the teeth being destroyed. The last is a cold saw which only spins at around 50rpm, they are super accurate but extremely expensive.
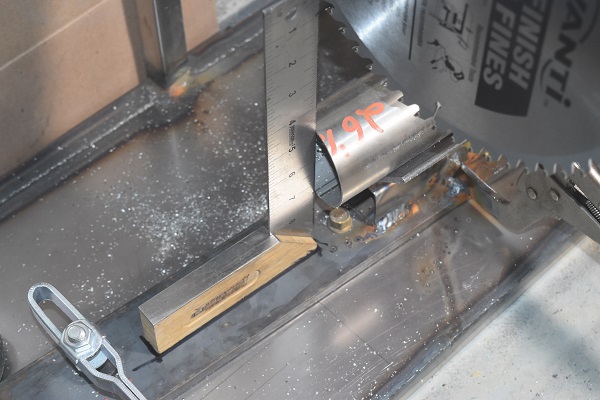
I will be cutting stainless steel with a carbide toothed disc at around 10 inches of diameter, I know that the maximum surface speed should be around 500fpm. Some calculations and this equates to around 190 rpm. The goal is to make a chop saw that can use the cheap wood cutting carbide blades while being able to accurately cut any material thrown at it. The reason I can use wood saw blades is simply because I'm running carbide within it's cutting parameters.
Design
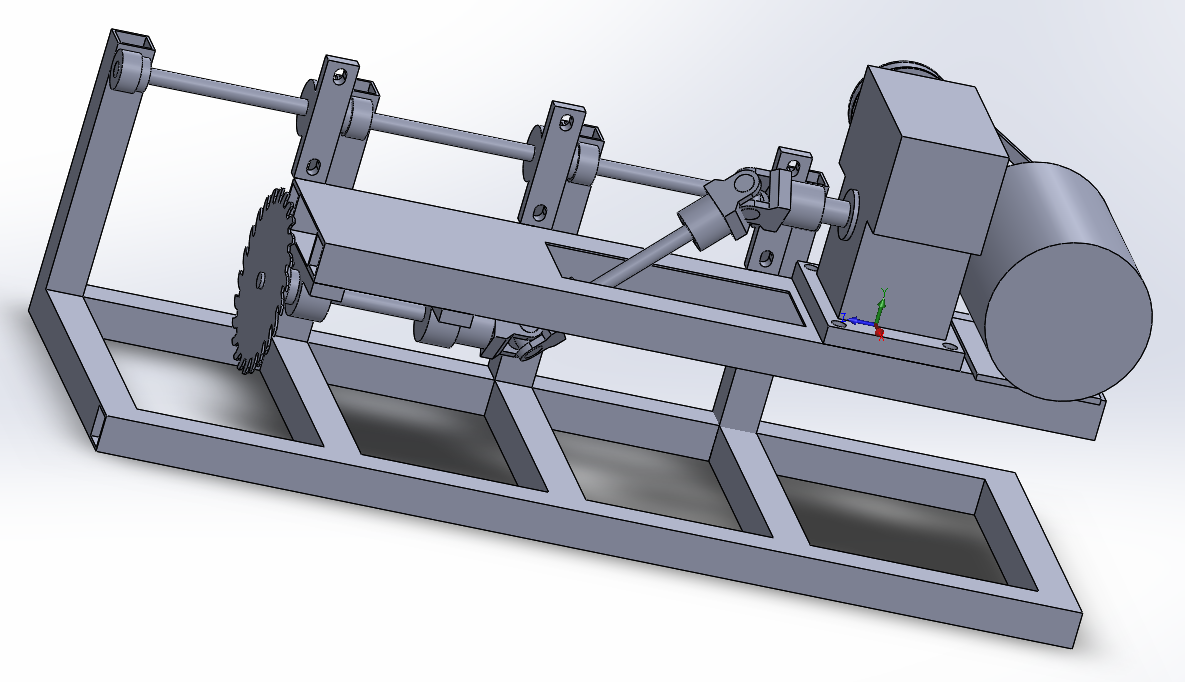
The first step was to make a design, this was difficult because I could not make one without knowing what parts I would use. The benefit to a design is that it helps with making the frame and seeing any obvious design flaws that I may have missed. I will also add that the saw will not be hand operated, it will use an electronic actuator to maximise efficiency.
Construction
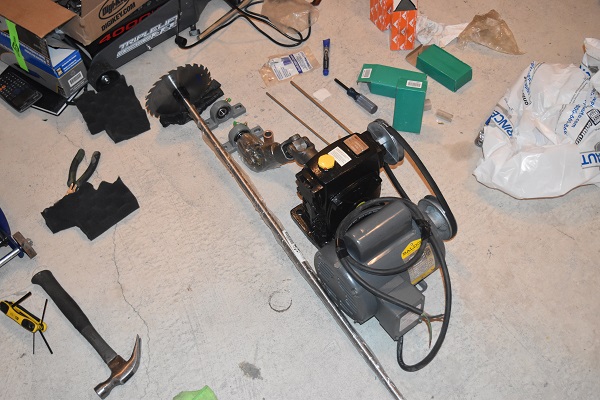
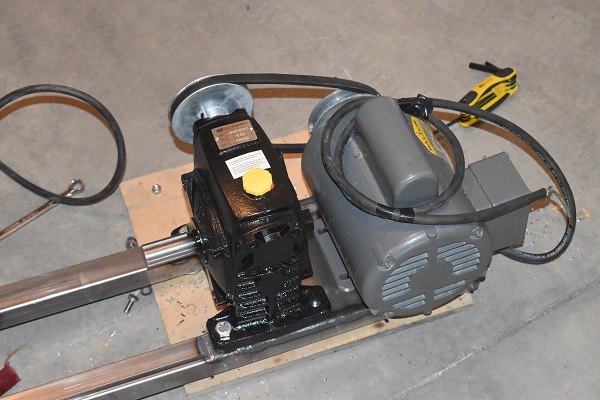
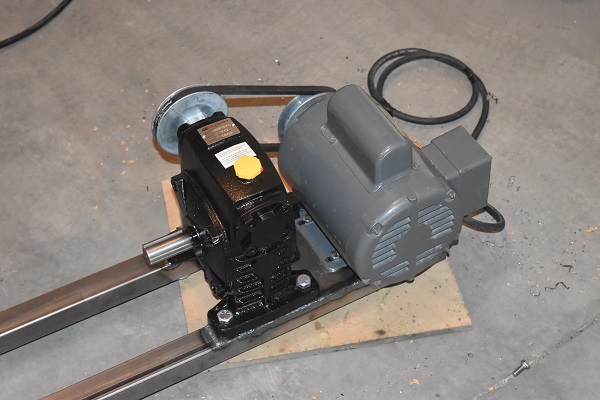
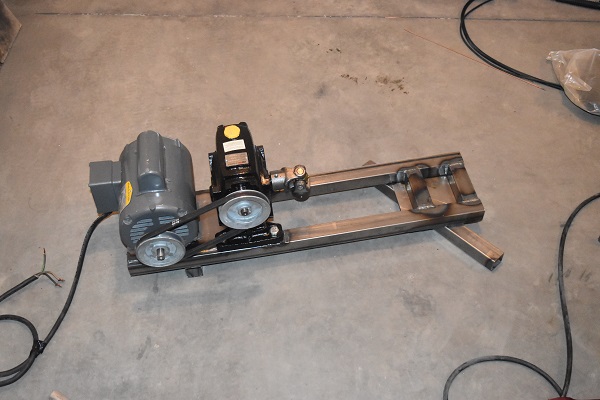
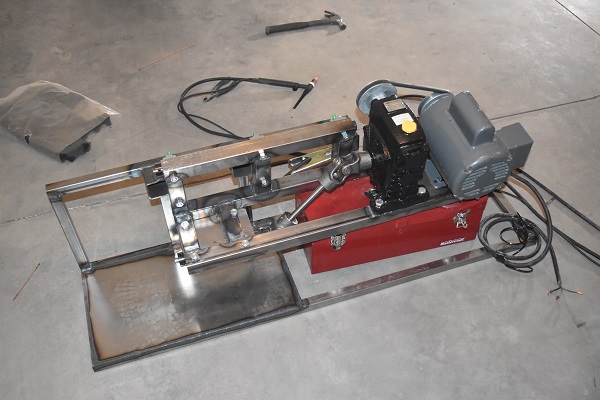
17 September 2018 - The next step was to get all of the parts together and start building it. At the end of this page will be a costing table, the objective is to be a lot cheaper than buying a saw. I first got a 1HP motor second hand since they're rather expensive new. The output rpm of the motor is 1750. I found a worm gearbox that has a maximum input speed of 1800rpm, 2HP and a ratio of 10:1. I believe 175rpm should be sufficient for my cutting needs, it's well within the limits of carbide but also not too slow that I'm wasting time. What I like with this particular gear drive is that I could swap the input shaft to the opposite side, which I had to.
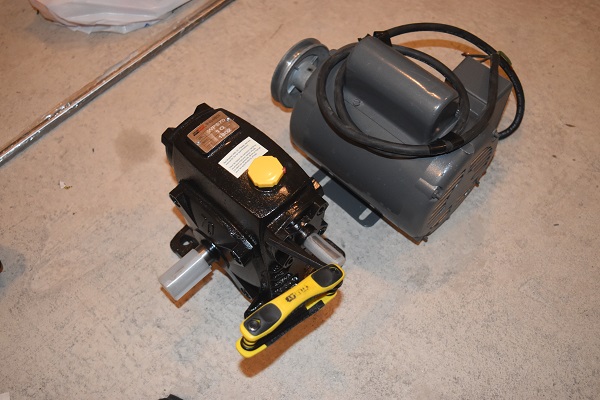
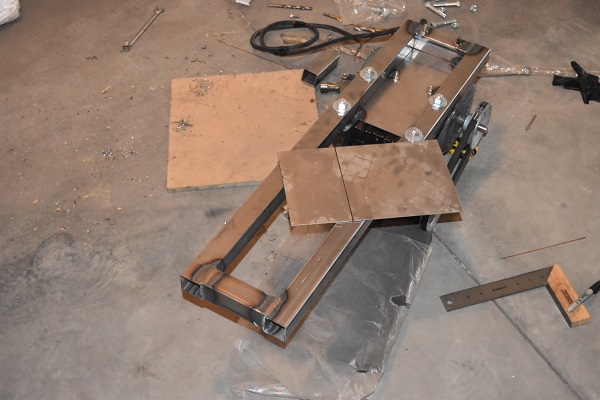
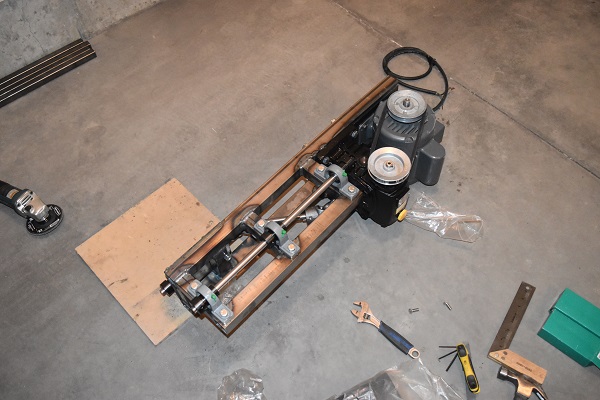
Here are some parts that I assembled together, I actually got these before I came up with a design. I didn't want to make the footprint of the saw too large, I figured making it wide but slim would be a suitable option. Another reason is that I wanted to incorporate a belt to the drive motor, it helps to protect the system if there is a lock up.
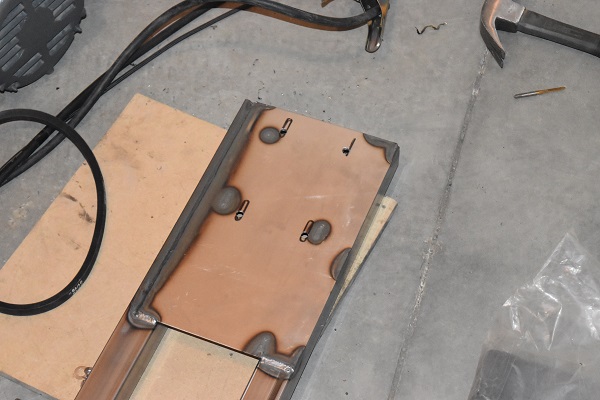
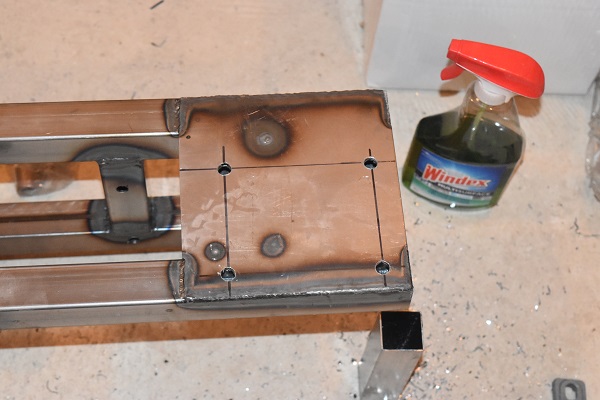
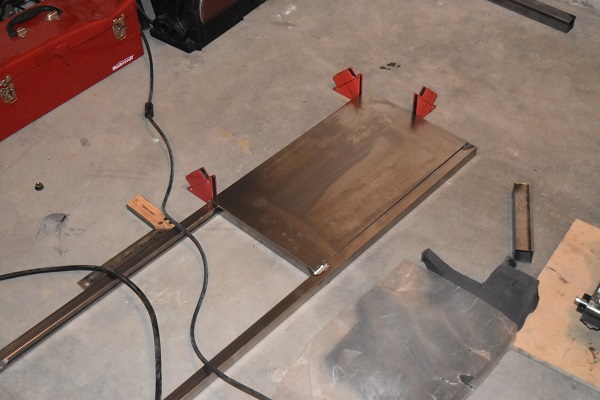
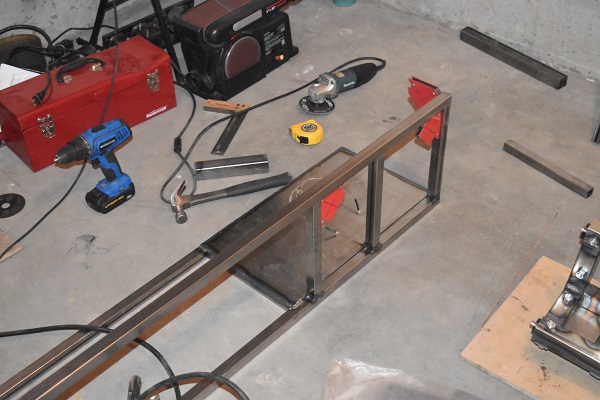
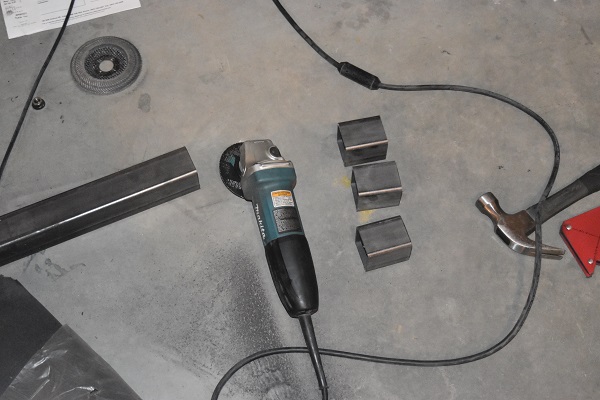
21 September 2018 - From the design I then decided what metal I should get, it was pretty loose so I got most of it from the scrap bin. The only parts that I had cut to size were some sheets, one of them was cut wrong as seen in the picture on the right, it should have been 7.5 inch. I only have a TIG welder so the whole of the construction will utilise that.
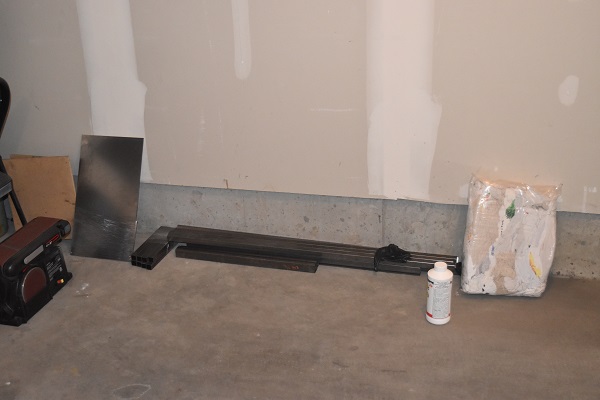

Even though the plate had been cut to the wrong size I could still use it.
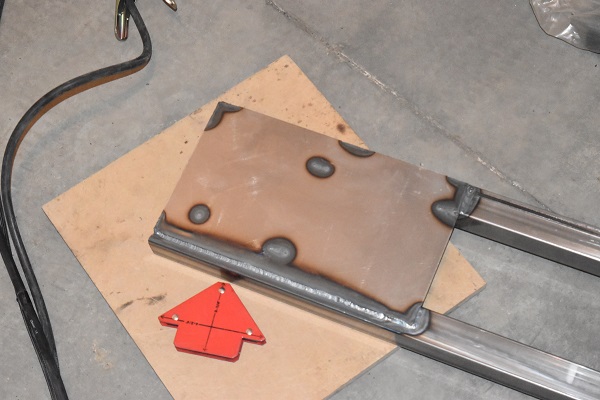
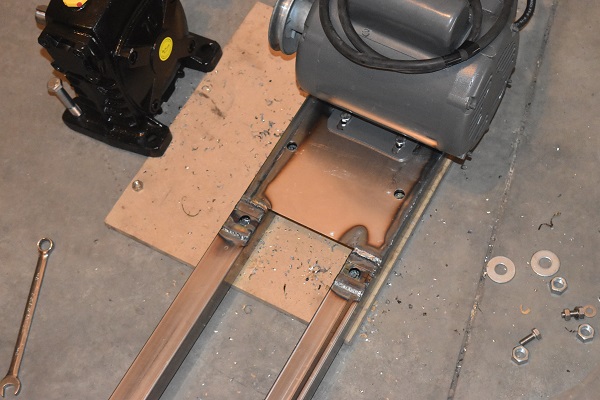
I pretty much did everything by eye since it didn't have to be all that accurate. I also had to weld in some insert pieces so that the gearbox feet would be level.
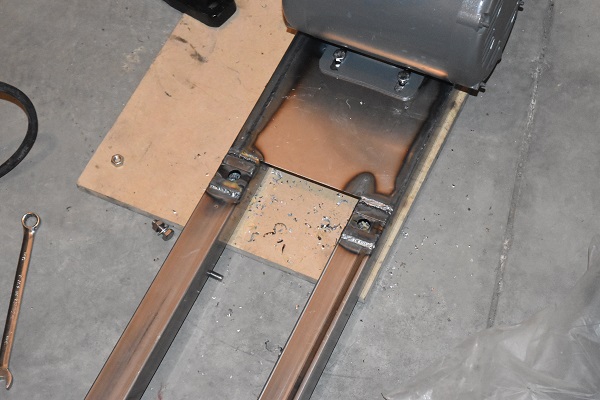
Using the gearbox to mark out it's rear mounting holes.
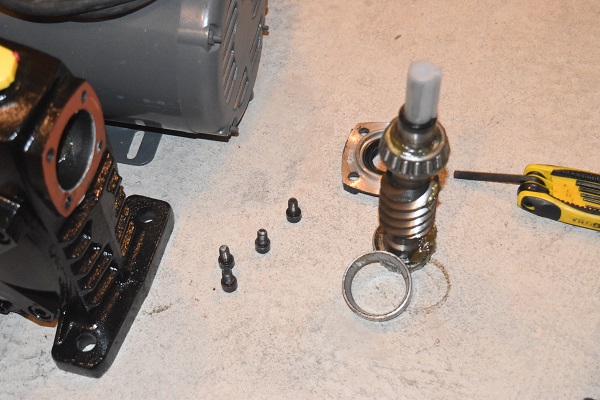
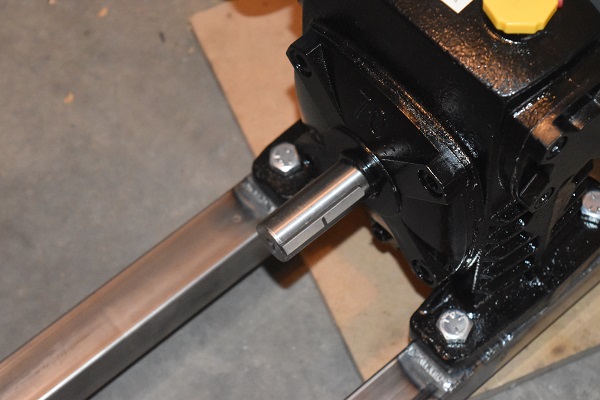
So far all is going well. To save on some space I cut down the output shaft on the gearbox.
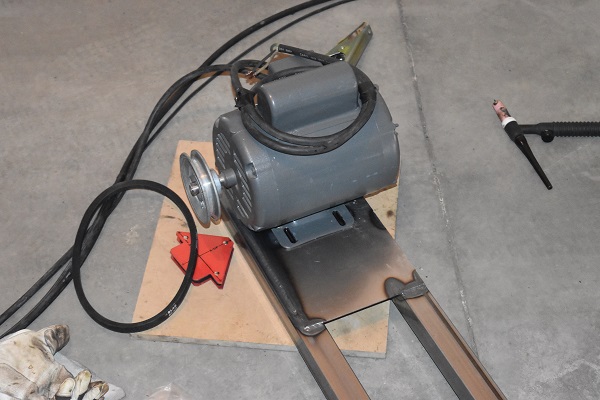
I welded in a beam that will serve as the end mount for a bearing block.
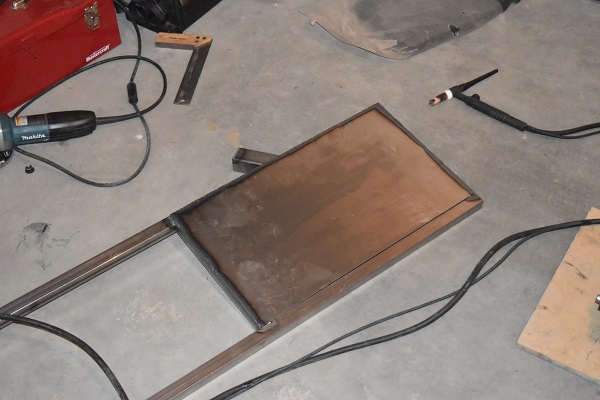
Since I used pieces of metal from the scrap bin it meant that I had to cut it to size, it also meant I could be flexible on the design if needed. Here I cut some sheet to the correct size, I ordered two of these originally but it seems they forgot to do the last cut.
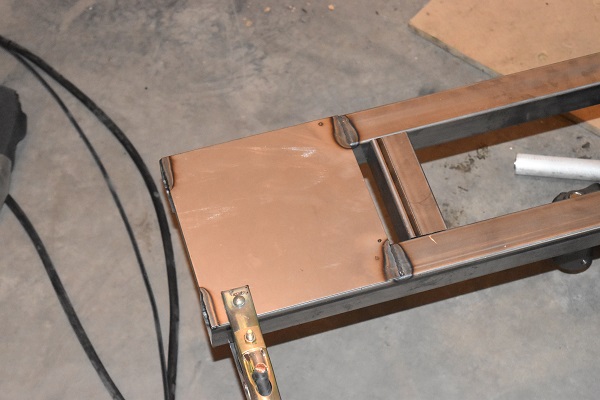
Seeing where the bearing blocks would go before doing more welding.
I then welded in the beam for the second bearing block.
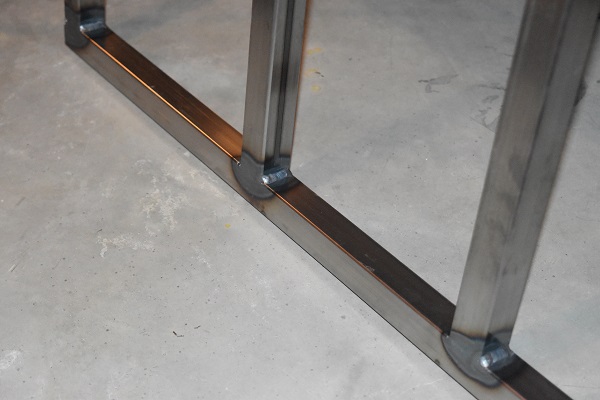
I started construction on the frame that will hold the bearing blocks so the whole head of the saw can pivot.
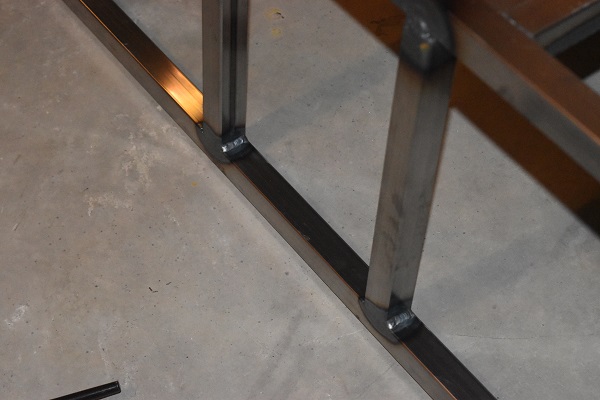
Tack welding it all in place before I do the big welds. Welds shrink when they cool, a tack weld allows the fabricator to bend the metal back in the correct position, a tack on the opposite side holds it in place.

I really like using the TIG welder since the welds are so much cleaner and there is no spatter to clean off afterwards.
I cut off the excess and then proceeded to drill some holes for the bearing blocks.
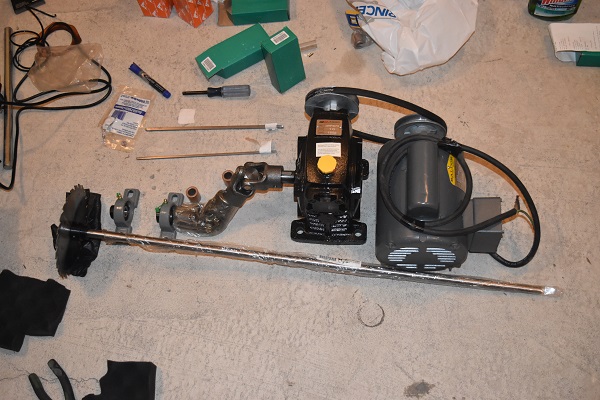
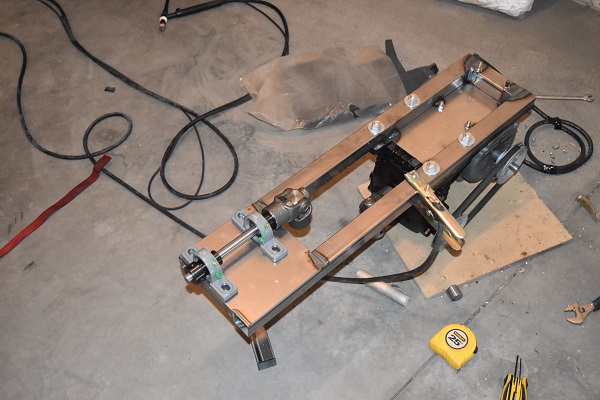
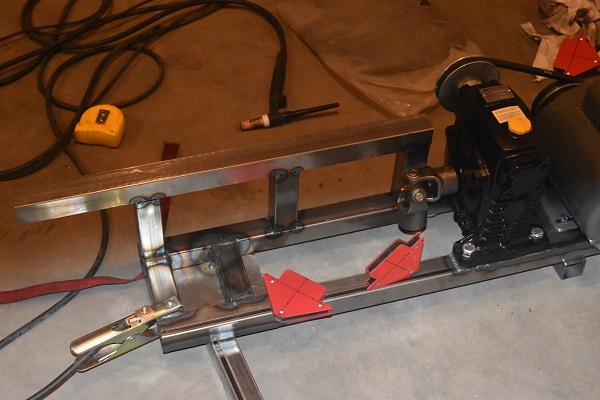
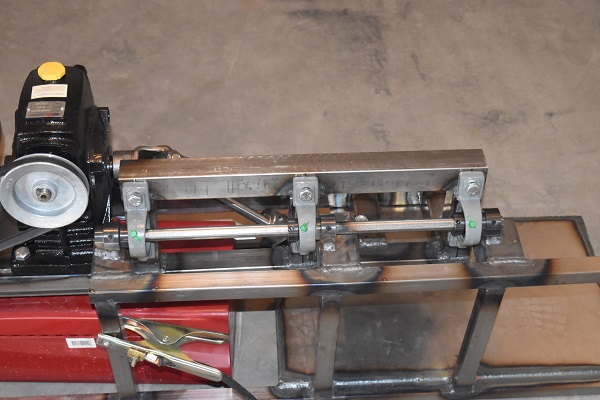
I bolted the blocks in place for the blade spindle. The blocks are self aligning and have a little bit of wiggle room in regard to the mounting bolts, afterall the holes were done with a hand drill. I bought a 3ft length of 5/8 inch keyed bar since it was the same diameter as the saw blade bore. The CV joints and the shaft on the motor were all 1 inch. It was more cost effective to use the 5/8 rod for everything and use bronze bushes, it was as easy as cutting a slot in them with the angle grinder.
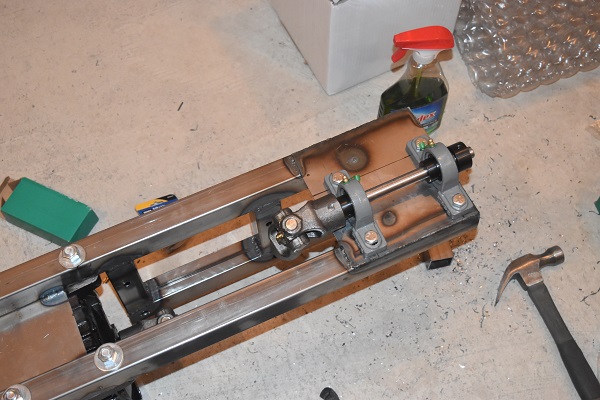
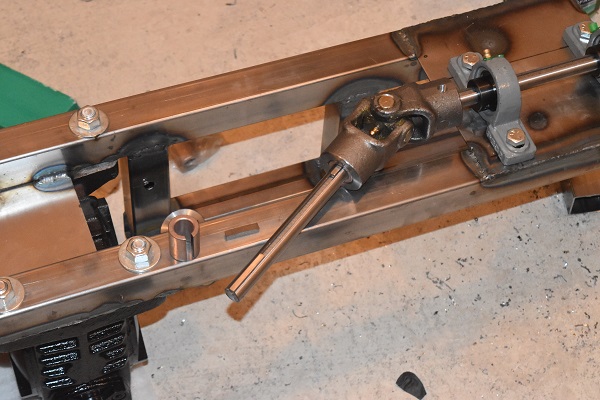
The drive shaft assembly is complete and I just managed to keep the CV's at less than 45 degrees. I then ground a couple of my welds back to make room for the bearing blocks for the pivot.

The rest of the 5/8 bar was used for the pivot. The top half of the saw is pretty much complete, I cannot do anymore until I have finished the bottom half.
22 September 2018 - The next step was to make the bottom frame, this was made from thinner tube since it did not require the strength. The top half of the saw used thicker section to stop it from twisting, the gearbox will provide a surprising amount of torque, that combined with the CV joints will put quite a bit of force on the frame. I also forgot to mention that I had to wipe down all of the steel with acetone to remove oil, it is near impossible to get away with dirt and impurities when TIG welding.

The plate that the saw will be cutting down onto is 1/8 inch thick to prevent any kind of distortion. I will also be making a modular clamping system for the saw as you'll see later, it cannot be flimsy.
It is surprising how much oil steel can retain, luckily for the most I did not encounter many impurities. The best way to remove impurities is to use a dedicated grinding disc to reveal bare metal, however solvents are fairly reliable.

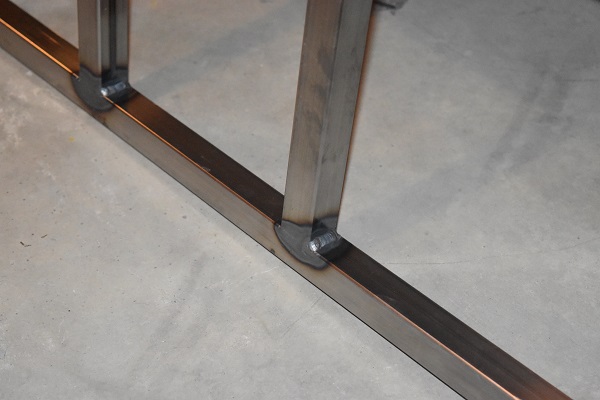
The welds were coming out really good, I had to be careful as to not burn holes. I was running out of gas so chose to turn up the current and speed up my welding, not always a wise choice as a hole can lead to even more gas being used.
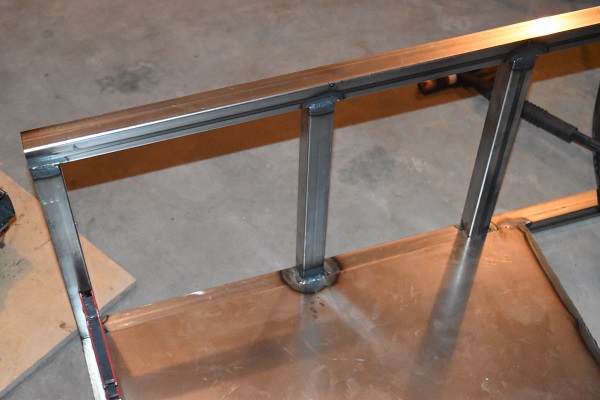
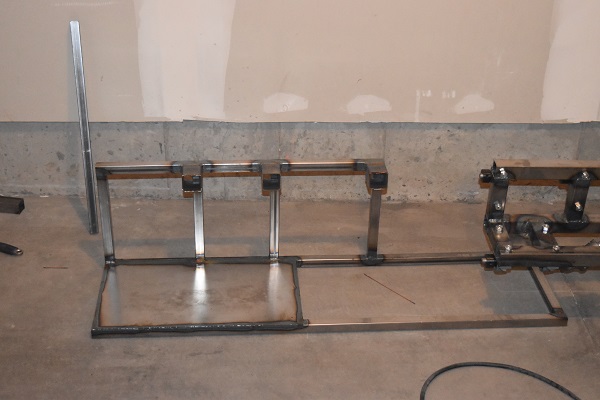
The frame coming along nicely, the excess trimmed. The original length of the bottom part of the frame was 39 inches (1000mm) whereas the pieces I picked up were 48 inch, the design was flexible so I chose not to cut them down.
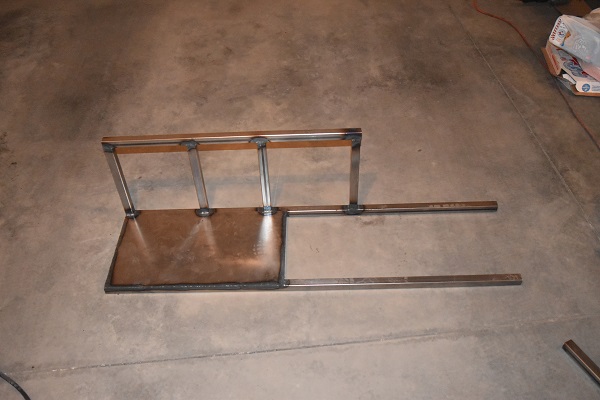
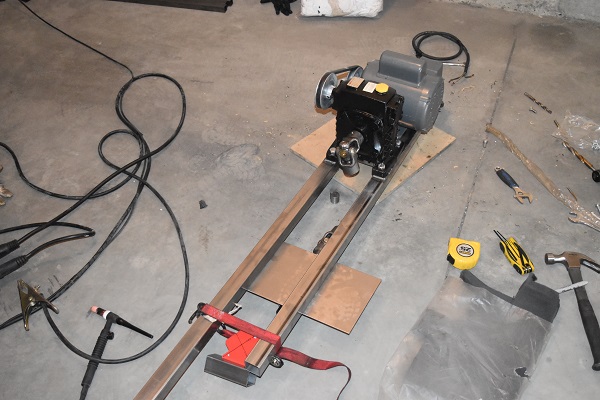
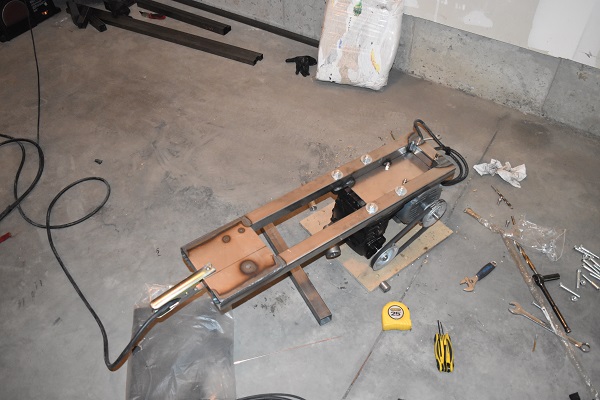
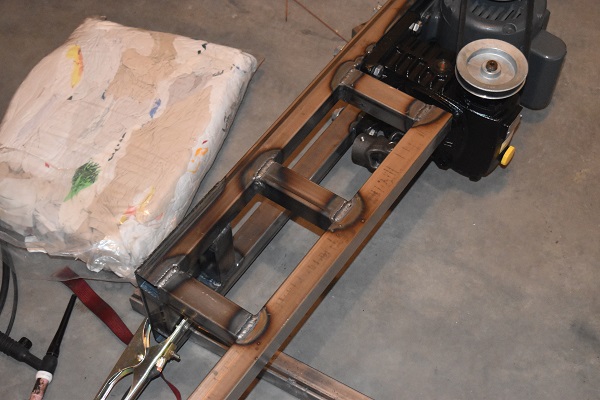
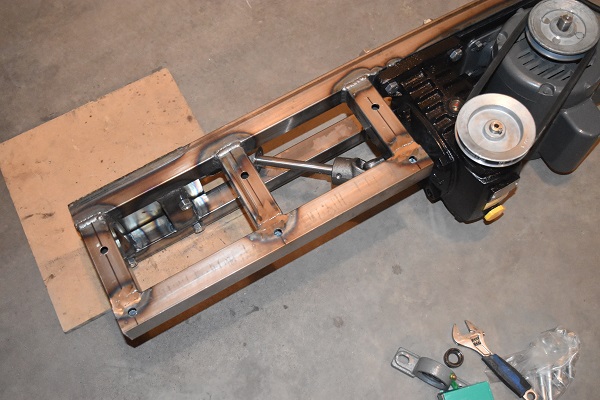
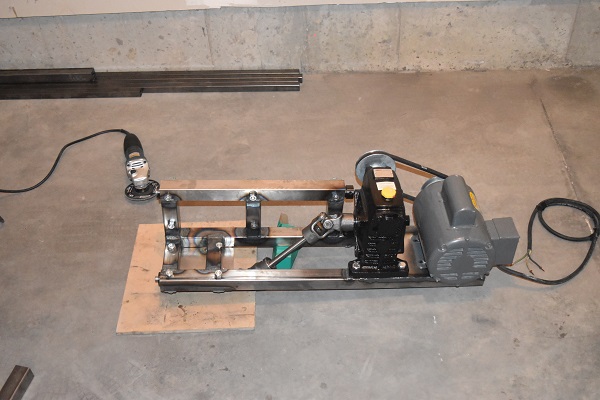
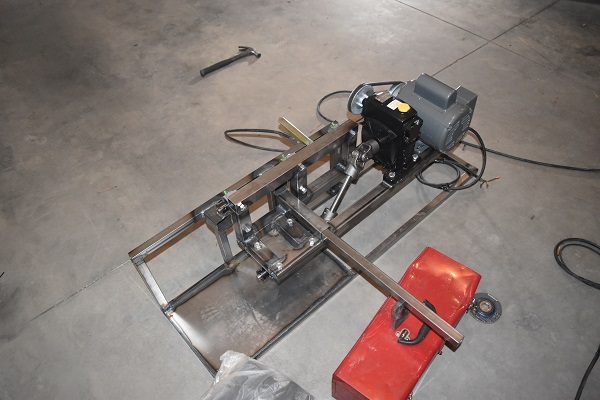
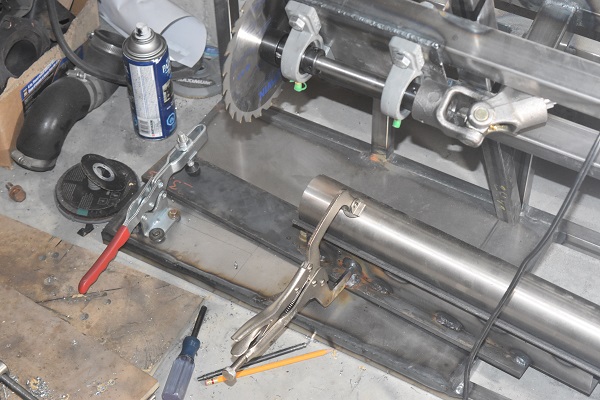
Here is a mockup of how the saw will assemble together, it's amazing how heavy this thing is but hopefully it should be rigid. I intend to place this saw on my storage rack, since it runs at such a slow speed I shouldn't get any vibrations.
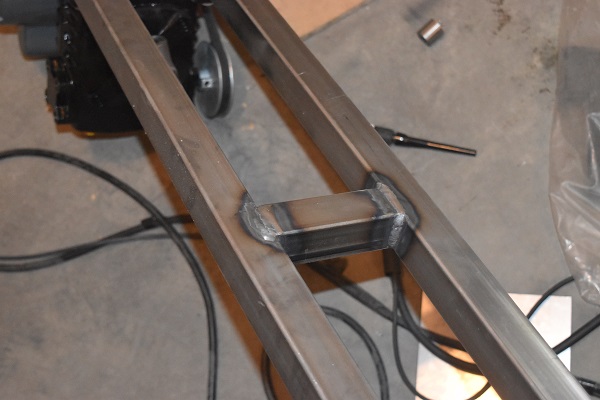
I cut some heavy walled box section that will be used to hold some mounts for the top half. The mounts are to be welded in place, using thicker tube will also allow me to turn up the welding current.

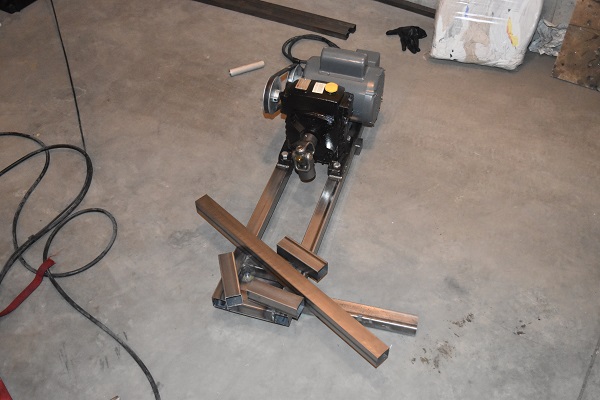
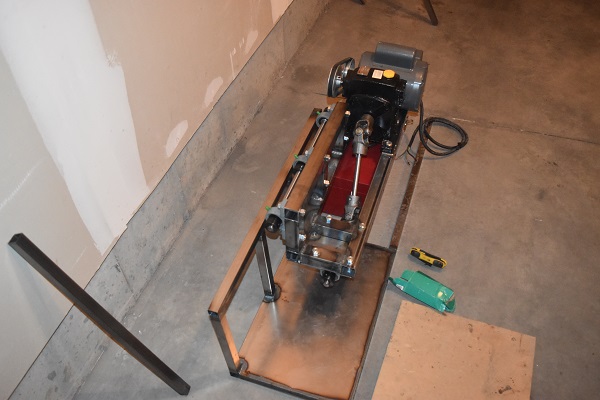
Here it is, just got to weld the mounts in order to join the two halves. And.... I ran out of gas.
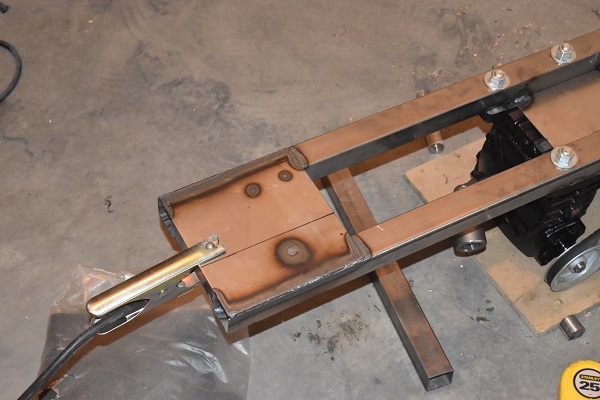
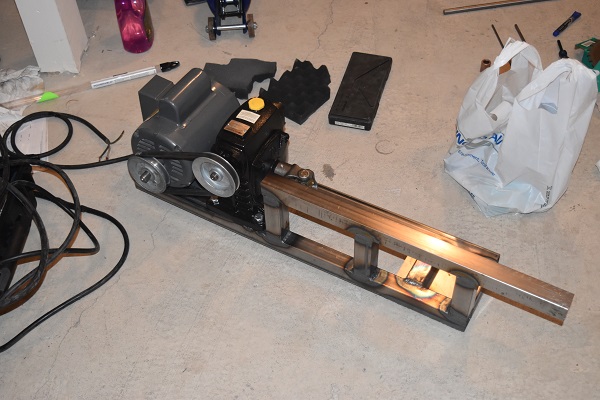
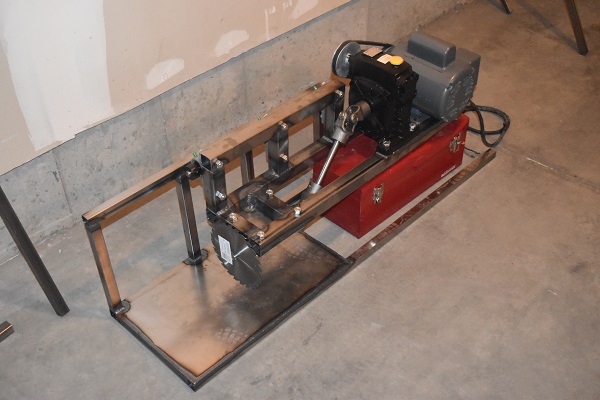
24 September 2018 - I have gas! Argon gas. I welded the mounts to the main frame, it is now one complete piece.
I welded in a small piece of box section so I could insert a handle as shown. I will get the saw automated, but for now I simply cannot afford to do it.
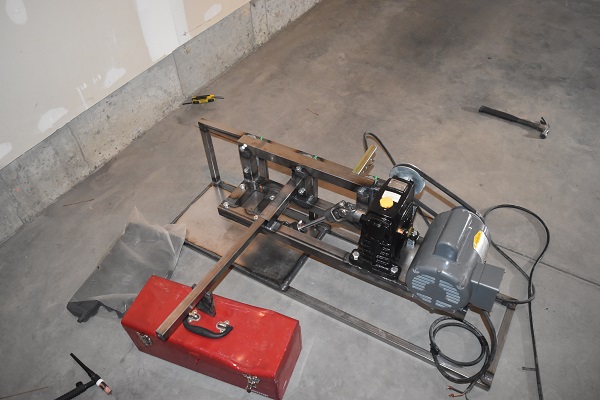
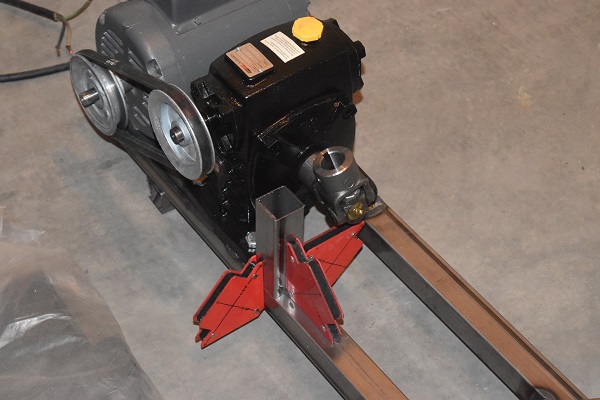
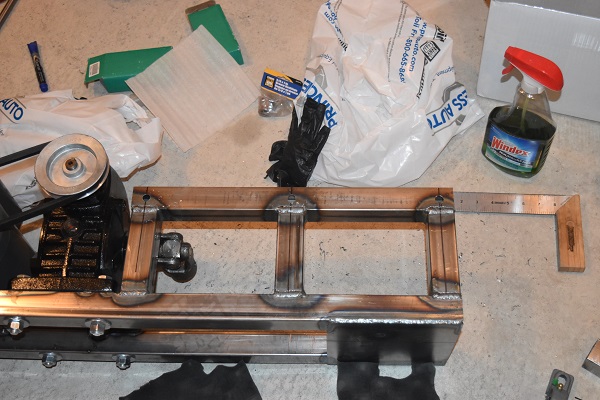
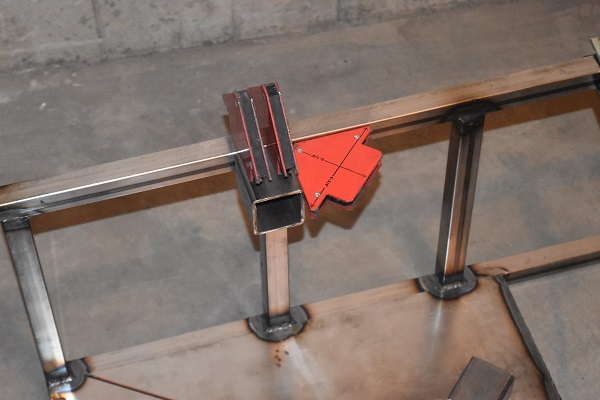
04 November 2018 - It has been quite a while since I got some work done on this saw, I now need to finish off my car with the exhaust. I first 3D printed a template in order to drill holes for mounting it. I wanted to make the saw adjustable so I could also use it as a regular saw, the clamp allows the angle to be changed quickly.
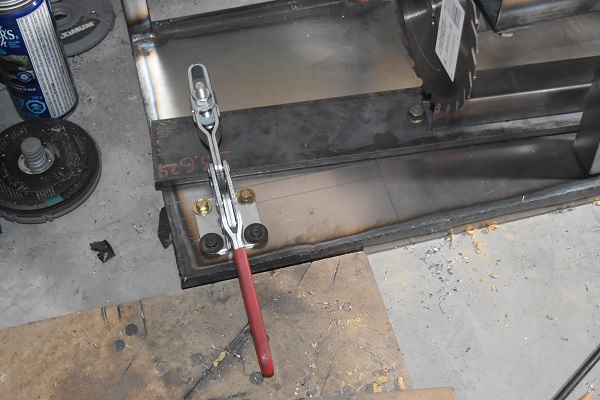
I welded a clamp in place for holding the material, I think I may need two of these eventually.


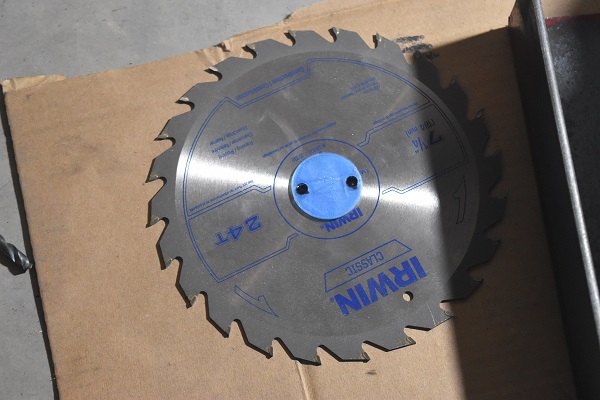
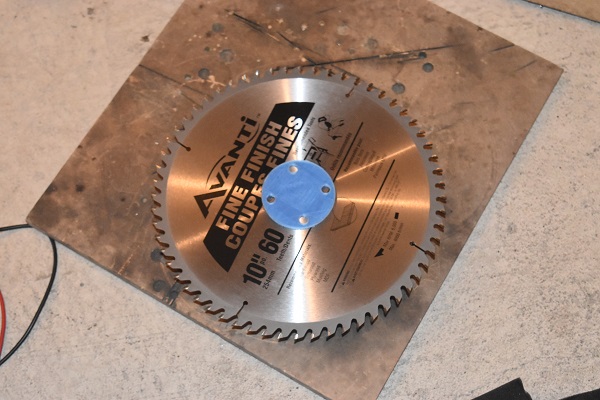
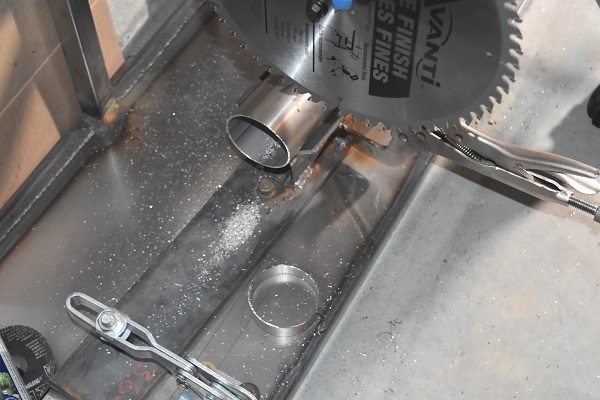
I had a go with the saw but it was quite terrifying, I thought going to a larger blade with a finer pitch would be a suitable idea.
The saw cuts the material but there is a serious lack of rigidity, it seems to grab quite a lot and is rather noisy.
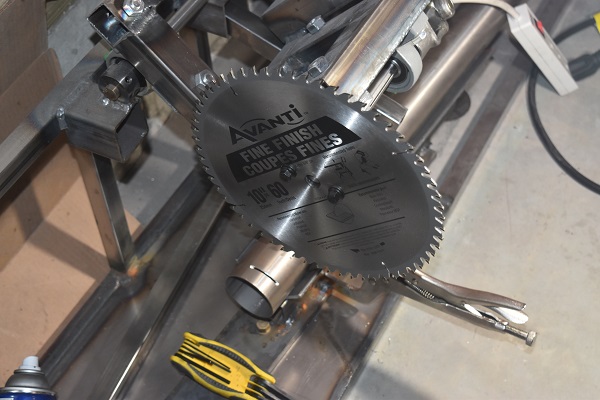
I chose to make the saw a lot more rigid by welding it at a fixed angle. The rigidity issue was fixed but the performance of the saw was still quite poor.


There are a few issues with this saw, the main one is the universal joints. The joints have quite a lot of slack in them, it doesn't make for smooth cutting and is very noisy. The rigidity issue has been resolved but the saw is quite slow due to the joints. So for now I would say that the saw is a success in that it does work but it is certainly not ideal, I'm not impressed.
Below is a costing table of the saw, it still works out to be a quarter the price of a cold saw and the same price of a dry saw. I can return the gearbox and the universal joints to bring the total to just under $400 (Canadian).
| Description | Quantity | Cost ($) | Total ($) |
| 1HP 120/240V Motor 1750rpm | 1 | 80.00 | 80.00 |
| 10:1 Gear Reducer | 1 | 140.00 | 140.00 |
| 5/8 Bearing Block | 5 | 13.00 | 65.00 |
| 5/8 Key Shaft 3ft | 1 | 25.50 | 25.50 |
| A26 V-belt | 1 | 5.00 | 5.00 |
| 3/16 Key | 1 | 3.00 | 3.00 |
| 5/8 Hub | 4 | 7.00 | 28.00 |
| 4" OD Pulley | 1 | 18.00 | 18.00 |
| Various Bolts | 1 | 16.40 | 16.40 |
| Various Steel | 1 | 124.00 | 124.00 |
| 1 inch Universal Joint | 2 | 40.00 | 80.00 |
| 5/8 x 1 x 1 1/4 Bronze Bush, 4 pack | 1 | 15.00 | 15.00 |
| 1/4 Key | 1 | 3.50 | 3.50 |
| Carbide 7 1/4 inch blade | 1 | 8.00 | 8.00 |
| 611.40 |
Please check out the rest of my projects as I will be modifying this saw in order for it to cut properly.
Hello, if you have enjoyed reading this project, have taken an interest in another or want me to progress one further then please consider donating or even sponsoring a small amount every month, for more information on why you may like to help me out then follow the sponsor link to the left. Otherwise you can donate any amount with the link below, thank you!