Test Engine
One of my projects is to build a modular engine control system. This project will be the final test of that system, a working engine. I decided to use the same engine that is in my Hyundai Tiburon turbo project as I'm familiar with it. I will also be able to compare the tune of my system to that of the ECU installed in my car.
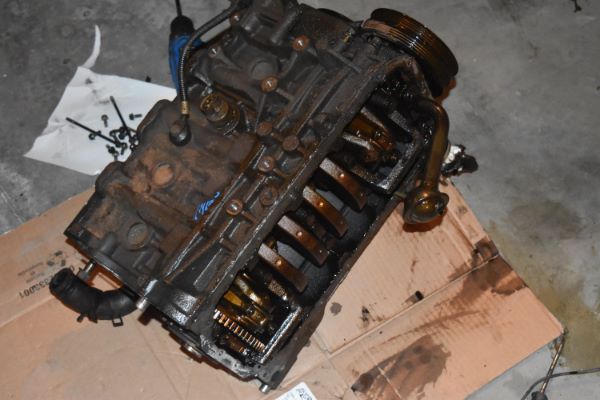
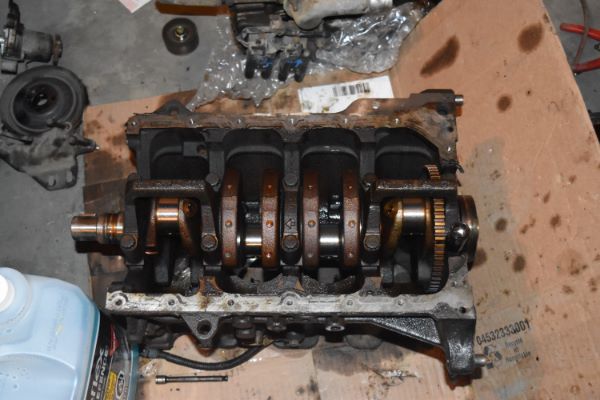
The first step was to get an engine and transmission from the scrapyard, I found a rather dirty one at that. I had to dismantle the engine at the yard because it was far too heavy for me to lift in one, I also made sure it turned over, and that the valves and head were good.

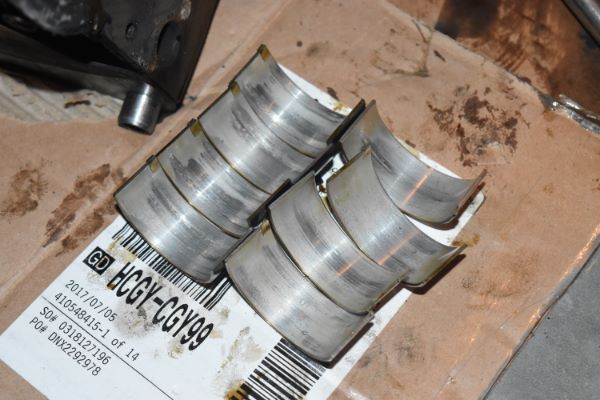
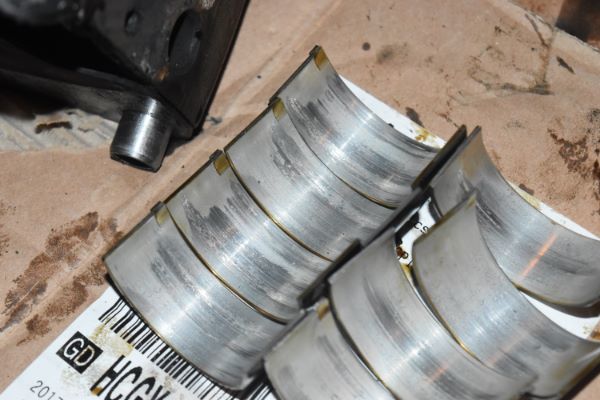
I had already taken the bottom off the engine to make sure the crank was in good condition before I took it. The connecting rod bearing shells had a normal amount of wear, surprisingly all this wear happens on starting the engine.
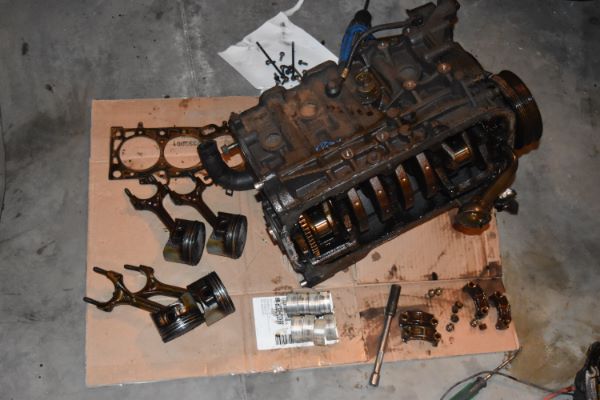

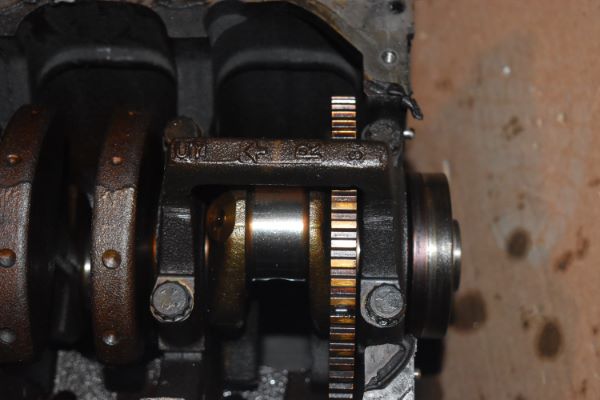
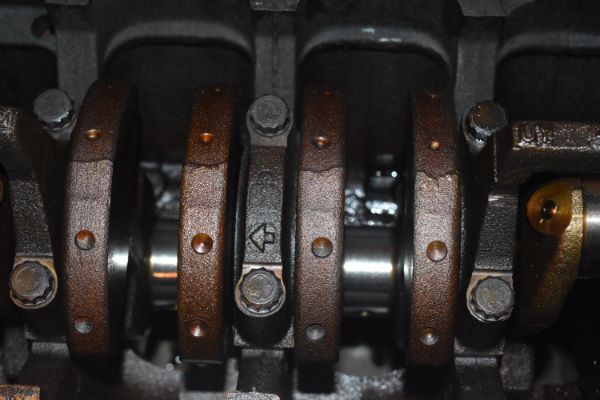
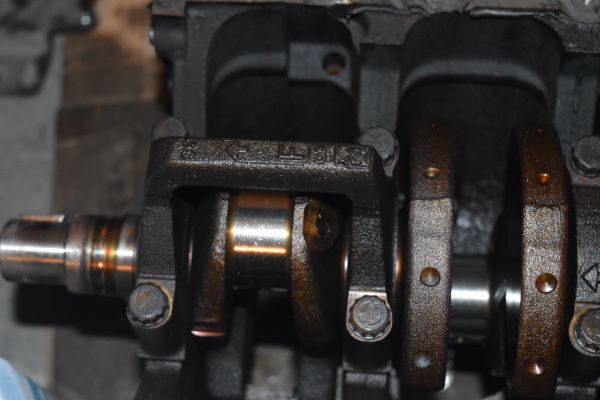
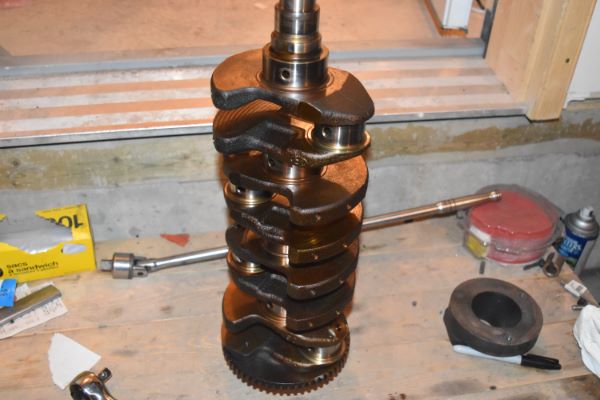
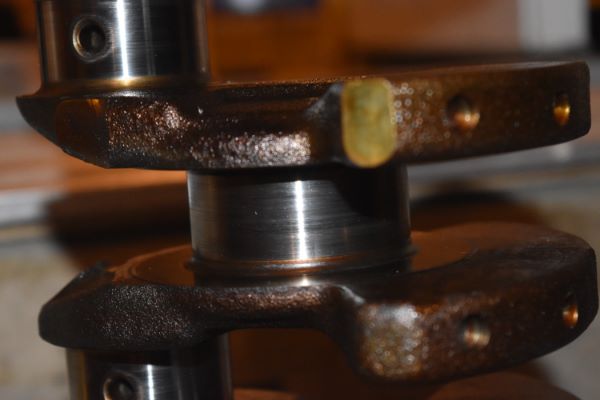
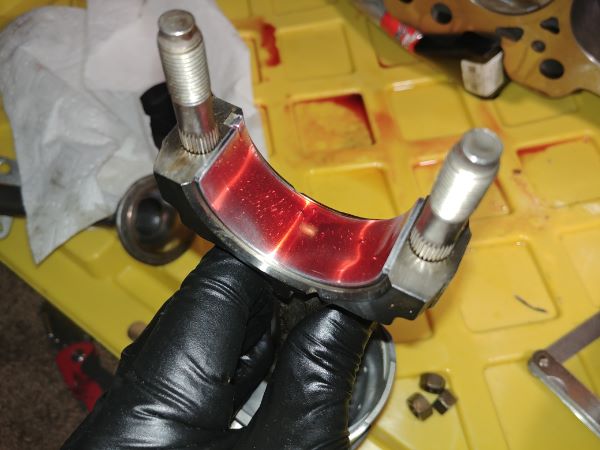
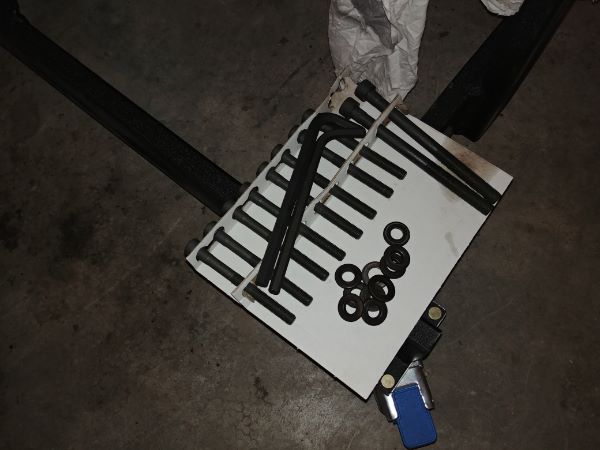
I took a few pictures of the main bearing caps to ensure I would not get them the wrong way around back on installation.
I did not remove the crank at the scrap yard because it turned over freely, I was however quite shocked at the condition of the bearings.
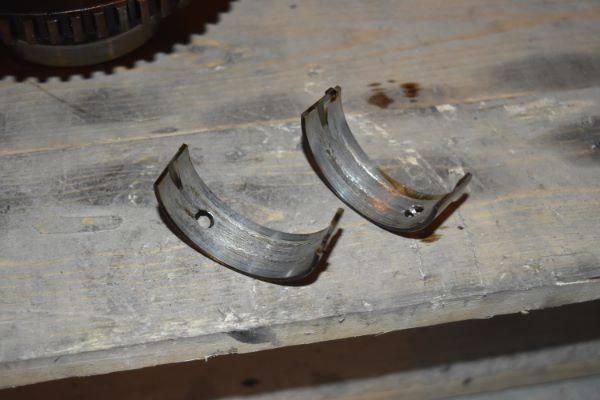
Thankfully all of the journals were in good condition.
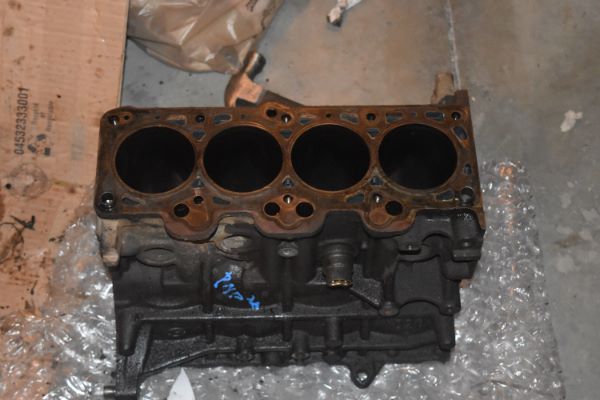
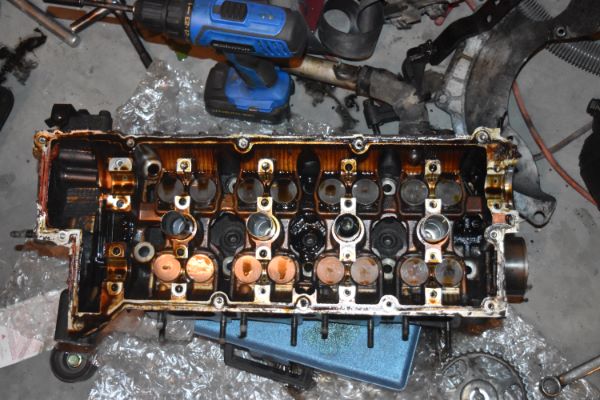
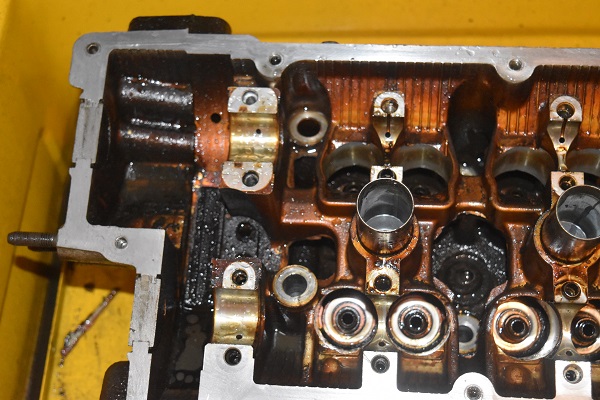
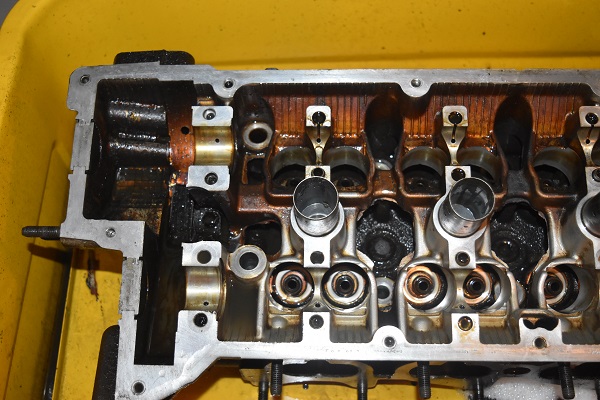
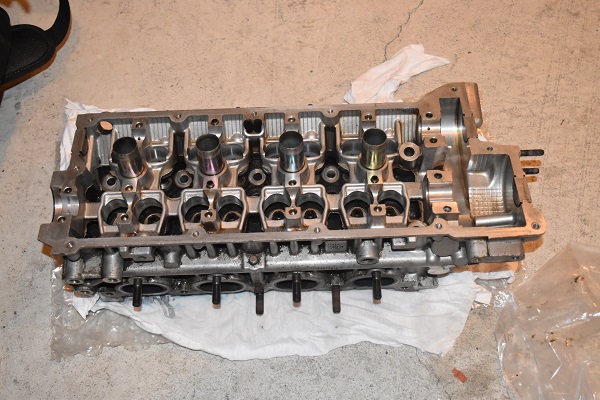
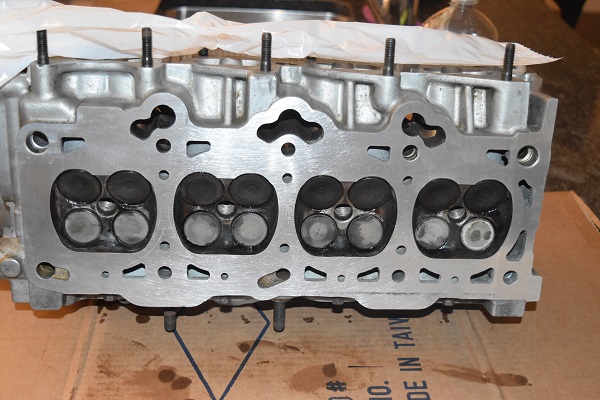
The head and block were very dirty, most of it oily residue. I chose to work on the head first.
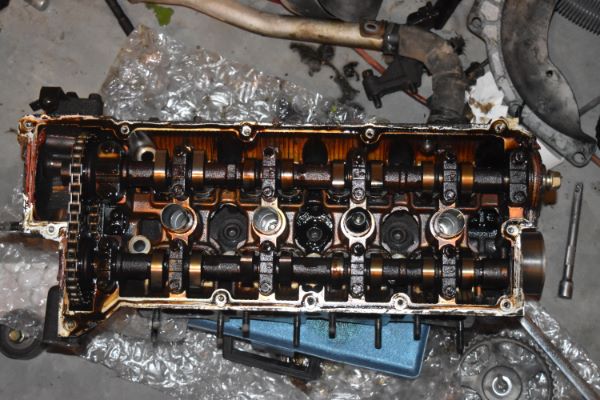
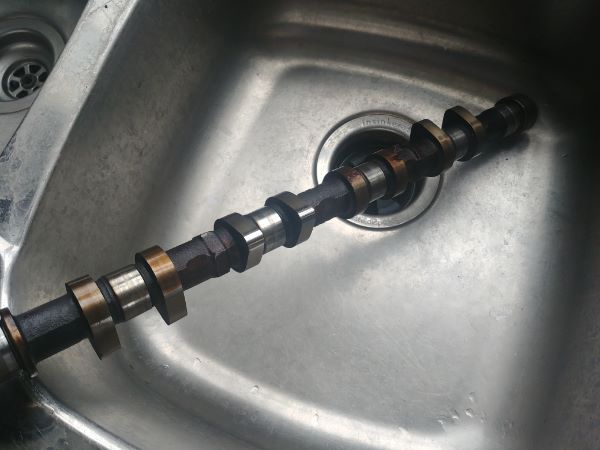
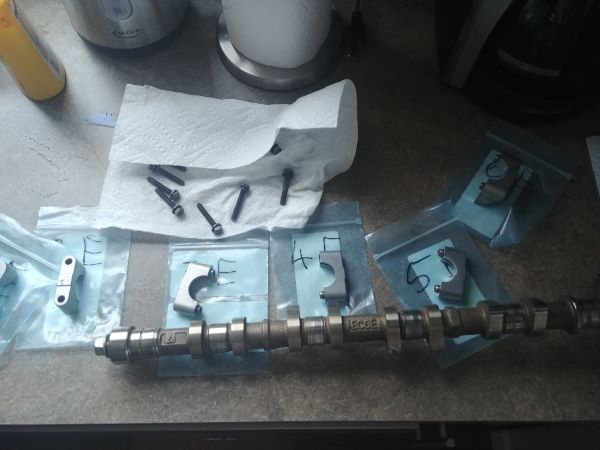
There was a lot of baked on oil residue but the cams seemed to be in very good shape. I removed the cam caps, these had a very thick buildup of oil on them.
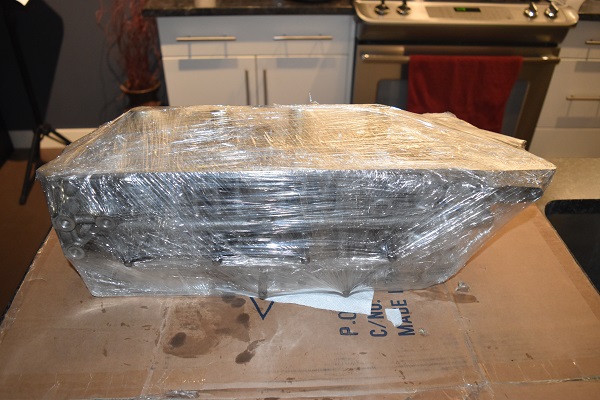
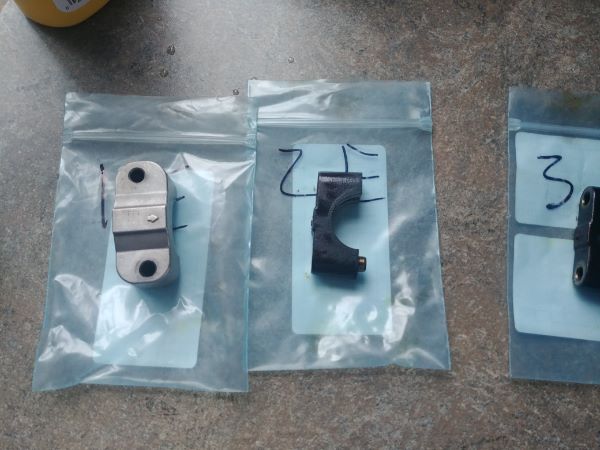
I knew that I would not be assembling this engine for quite a while so cleaned the parts and wrapped them in film.
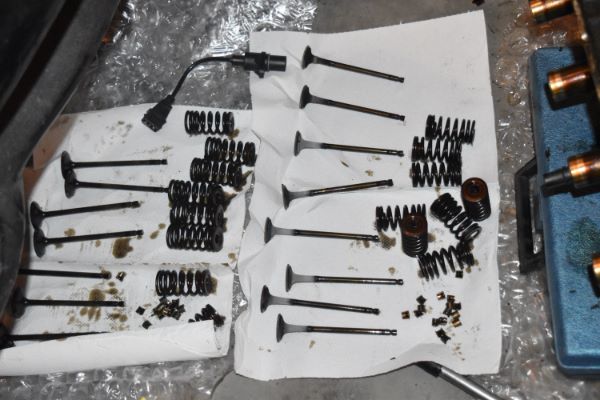
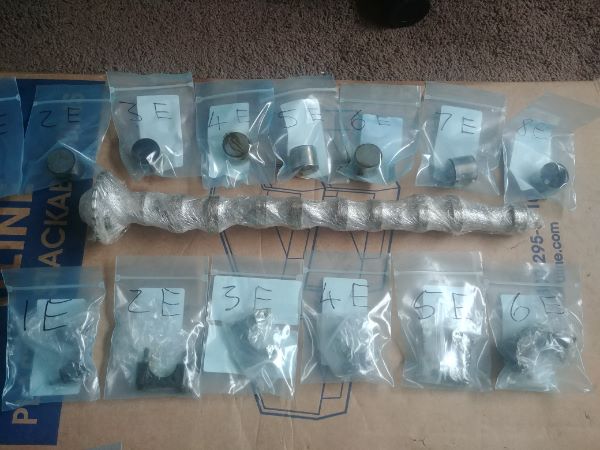
I tried to remove the valve spring retainers by hand but in the end had to resort to a valve clamp.

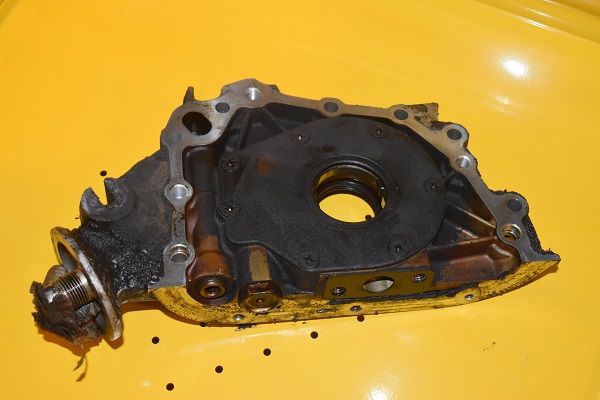
The valves were all in very good condition and had little carbon buildup, I labelled and bagged them separately. The oil pump was in a terrible state, I was not even sure I should salvage it.
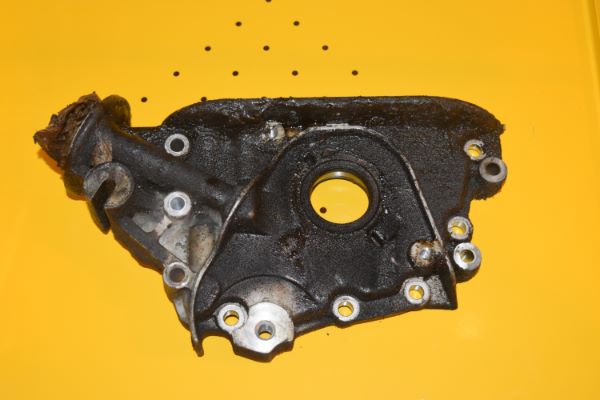
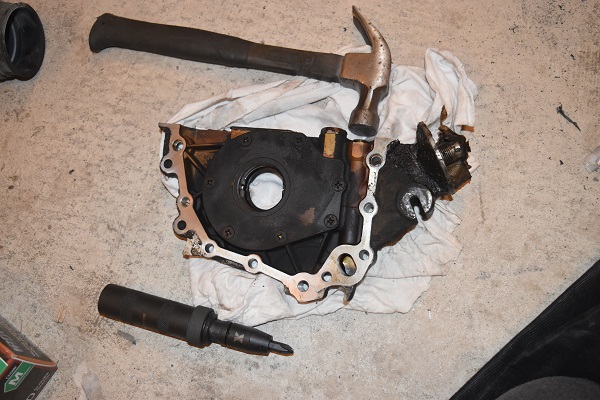
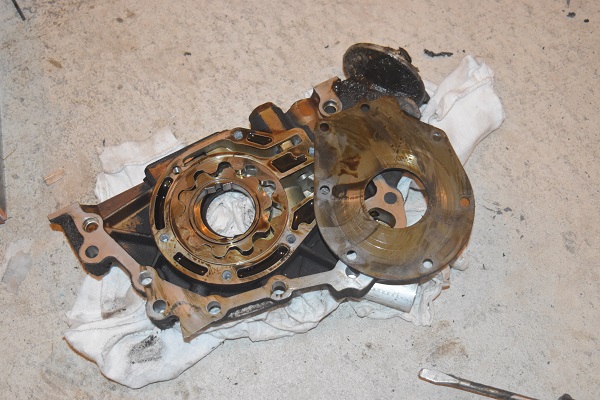
I chose to dismantle the pump and give it a clean. Even if I choose to get a new pump I can always keep this as spare parts or even make an external pump out of it.
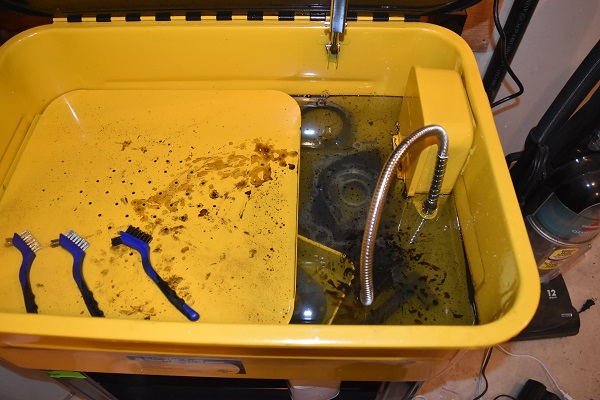
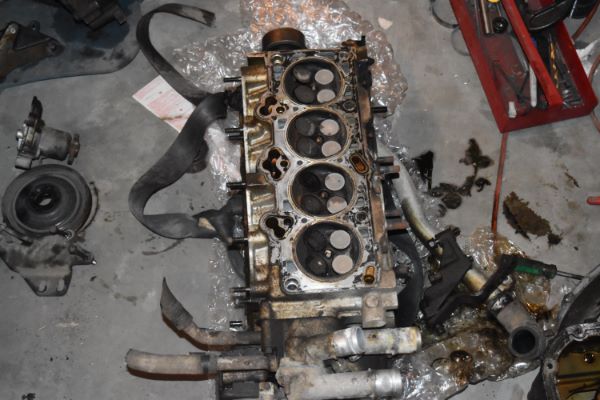
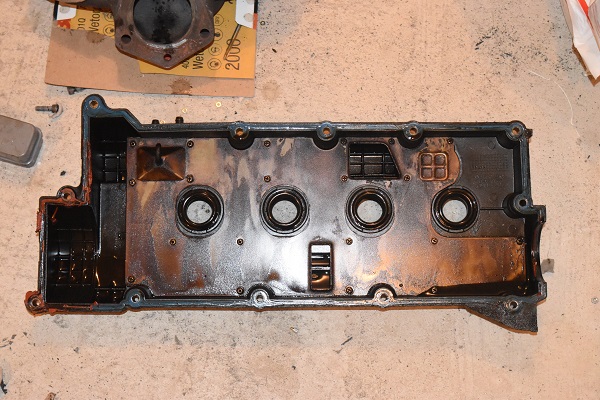
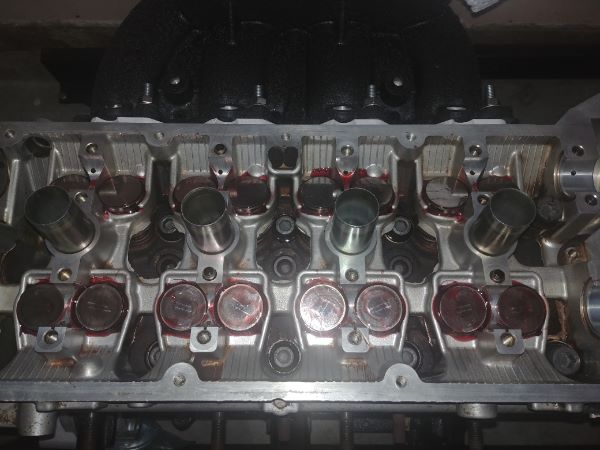
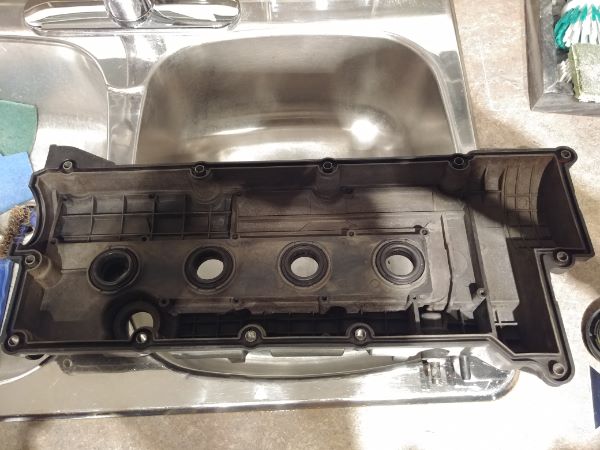
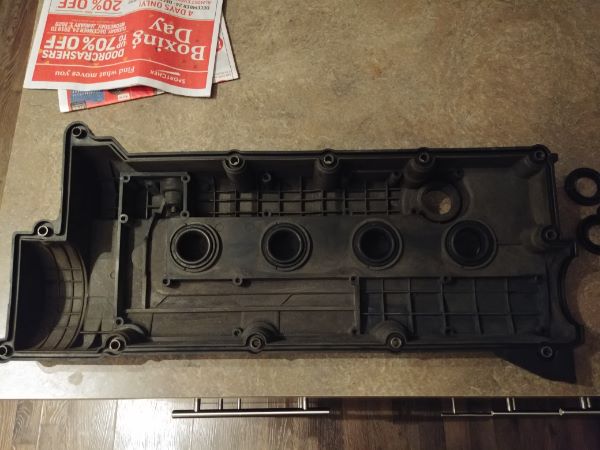
The valve cover was in a very sorry state, below just shows the amount of oil buildup. There are two different heads for this engine, one with and without VVTI, this one without. The cover gaskets are slightly different for both in one section. It seems someone got the wrong gasket and chose to try and make it work with silicone. I believe this created a small oil leak and that is why the engine is in such dirty condition.
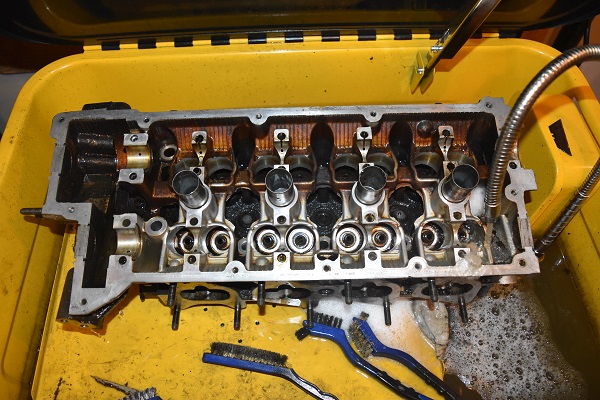
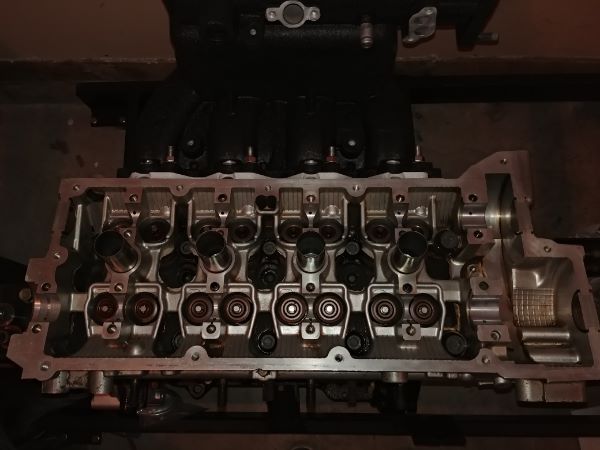
I spent a lot of time cleaning the head, both inside and out. In the end it came out looking great and thankfully all of the bearings were in good condition.
The head surface looked to be in good condition but as a precaution I chose to resurface it. There are many DIY methods to surfacing a head or a block, the key point is that the surface must be flat. I used probably the flatest thing possible, a measuring block and stuck some adhesive sanding pads to it.
The pads were oiled and the head moved around in a circular motion.
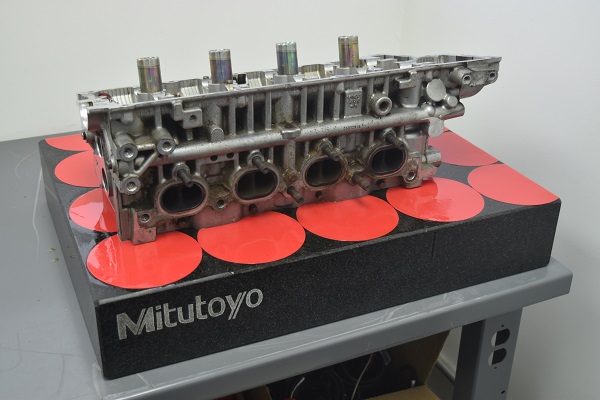
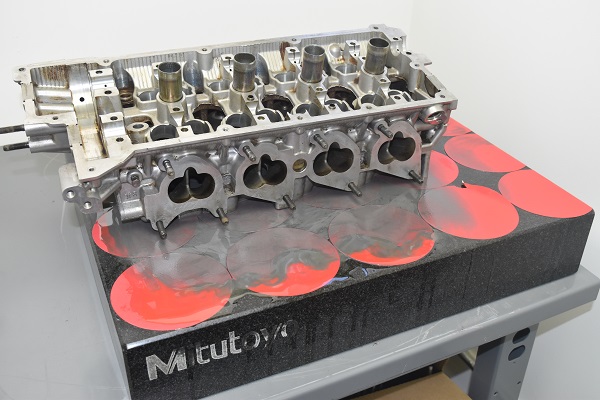
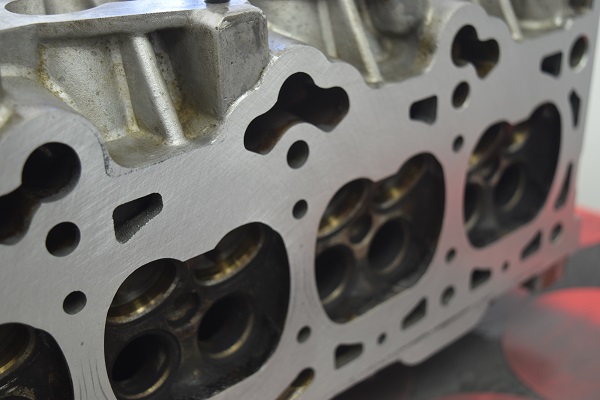
The surface came out really good, there was still a slight amount of discolouration from the previous gasket. The head gasket slightly bites into the head and compacts the metal, it causes a slight change in colour, it cannot even be felt because it is flat.
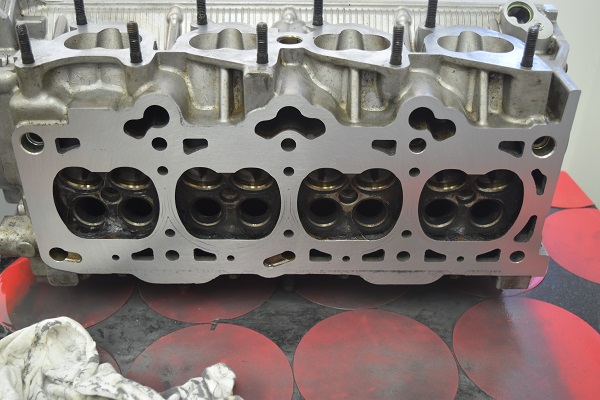
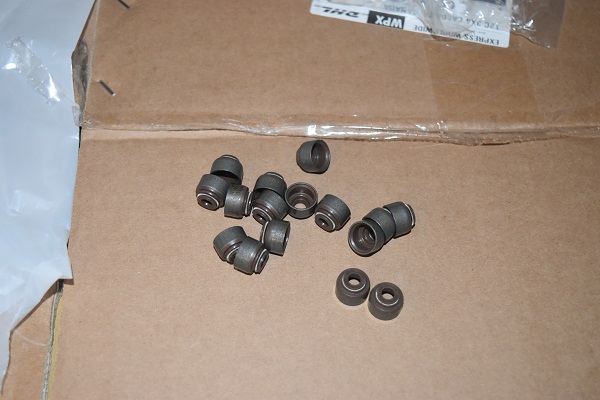
The one step I chose to skip was lapping the valves, I'm not entirely sure if I'll regret it. Either way I put the valves back in their original places so they should seat properly, not before giving them a thorough clean. I also replaced the valve stem seals as I had some spare.
The valve retainers were placed in by hand, using a socket. It may have been easier to use the clamp but it takes so much more extra time.
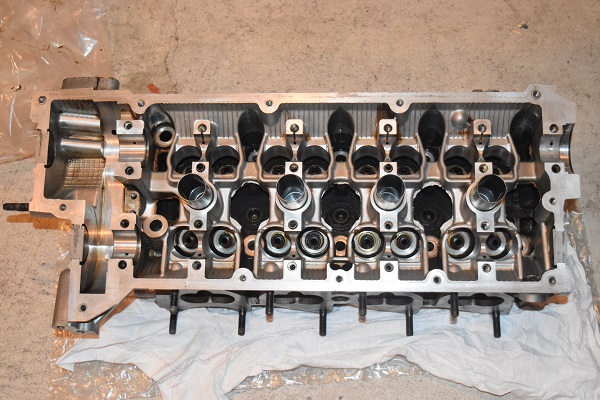
I thoroughly washed the head, dried it in the oven and then wrapped it in film.
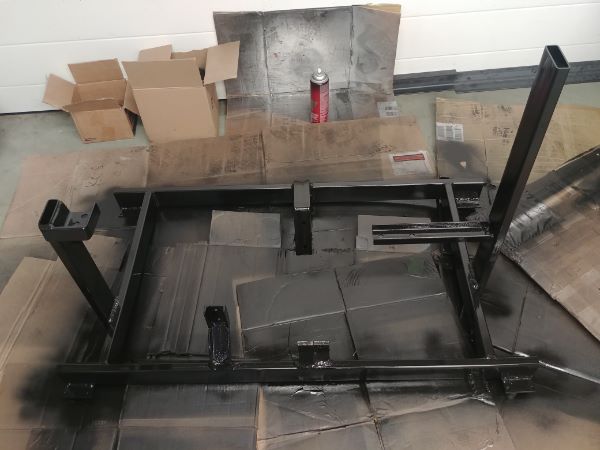
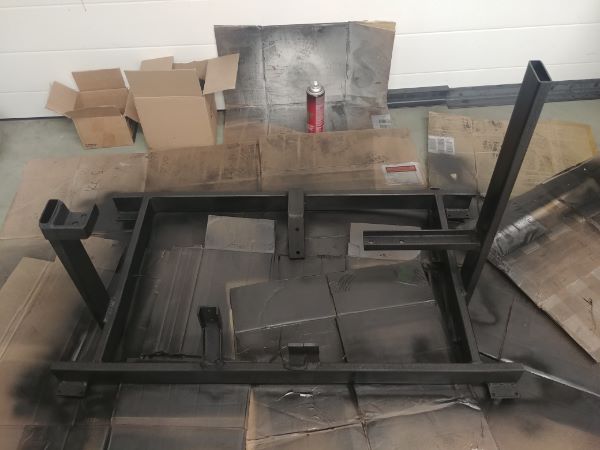
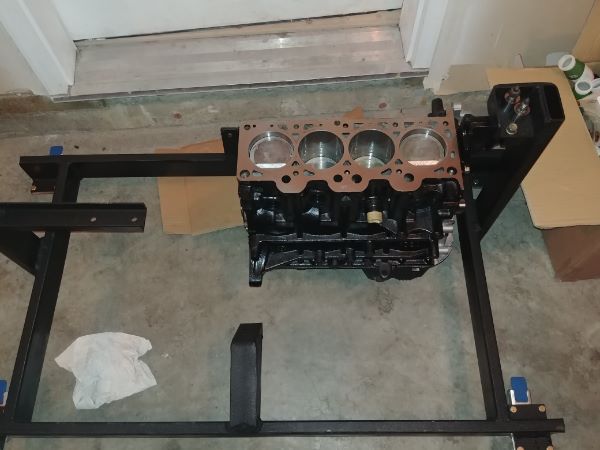
Almost a year passed since I started the work on this engine. The next step was to make a stand for the engine and transmission to sit on and be sturdy enough to allow it to run.
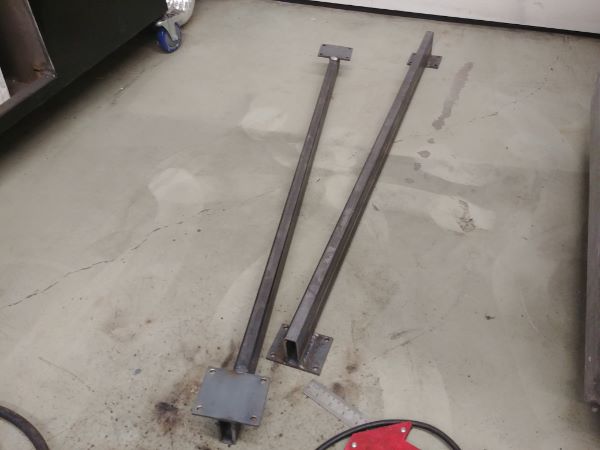
In between this I sand blasted the outside of the block, painted it with brake caliper paint and then cured it in an oven. I chose to place the frame on locking castors so that I could easily move it around if I had to.
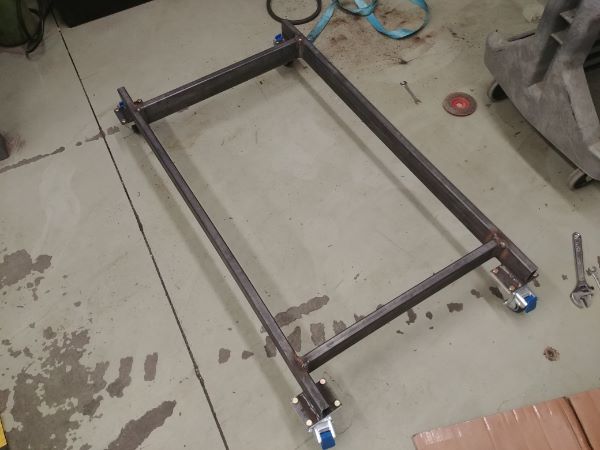
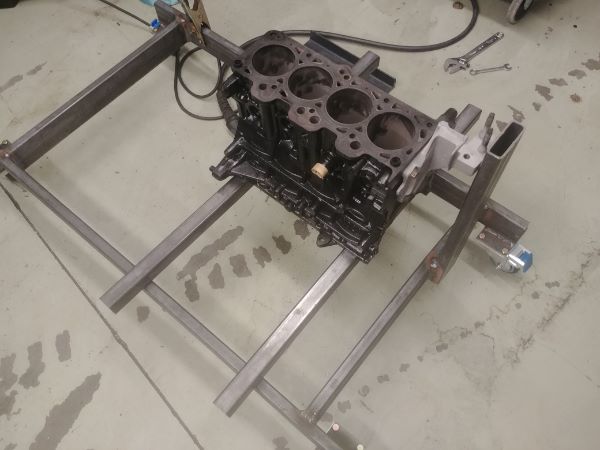

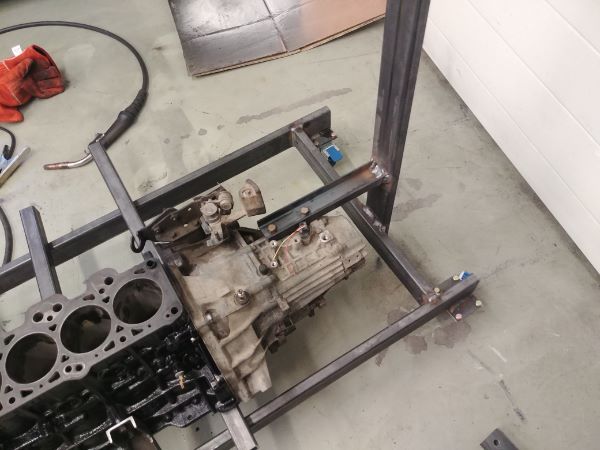
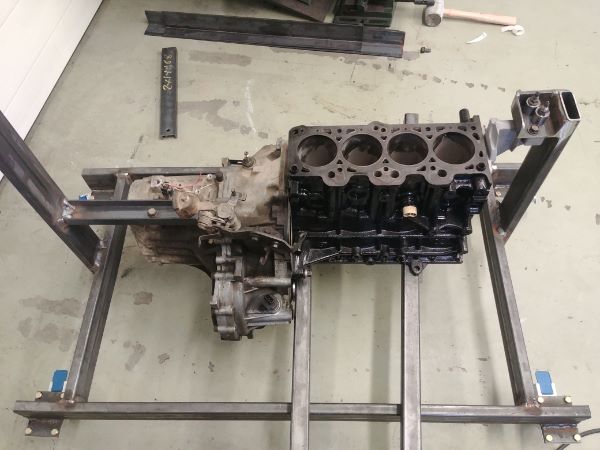
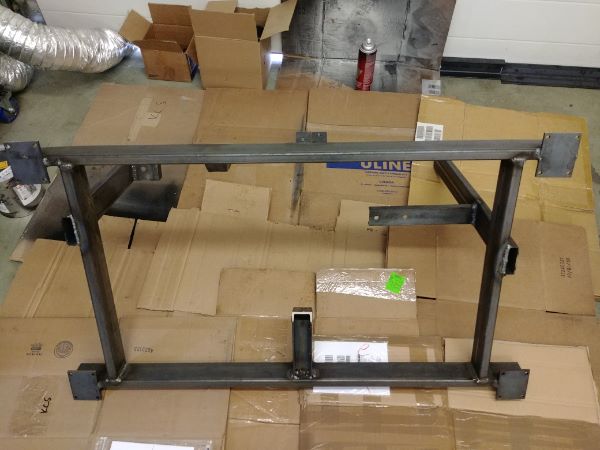
I completed the frame and painted it.
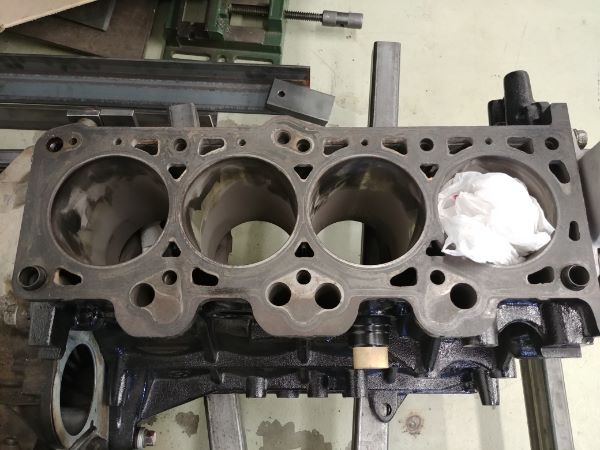
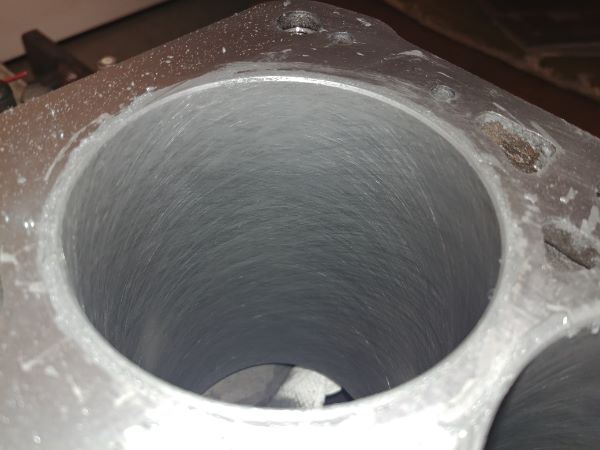
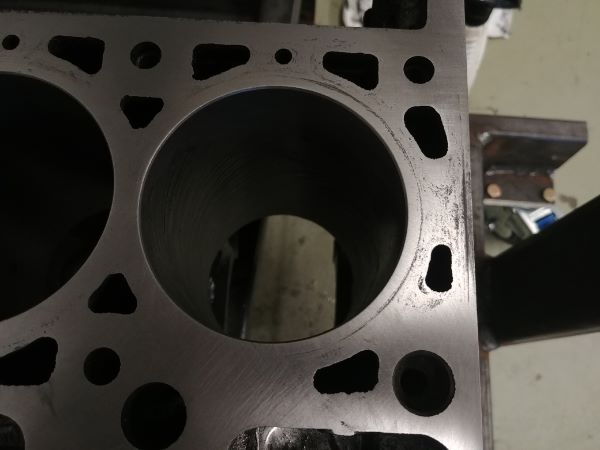
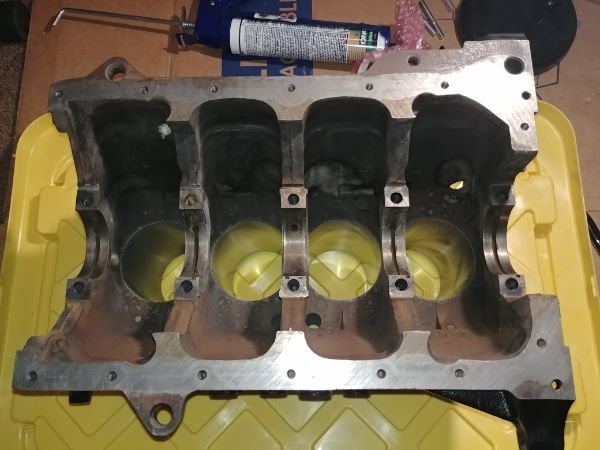
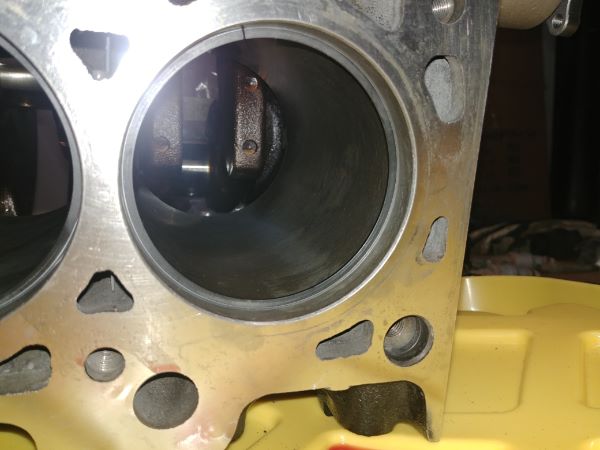
The bores of the block were glazed, literally a mirror finish. The rings I would be installing are stock steel and cast iron ones. In order for the rings to seal properly they must "bed" into the bore. To acheive this the bores have to be honed, this scores the surface making it rough. When the rings are sufficiently bedded the honing will still be present, it also helps to hold oil in the surface.
Here is the bore honed, see the cross-hatching pattern. In a higher performance engine the top ring will often be chrome plated, these rings simply do not bed and it is the cast iron ring below it that does. Some of the top drag engines will even polish the bore and use chrome rings to reduce friction, these don't seal all that well and make starting compression rather low.
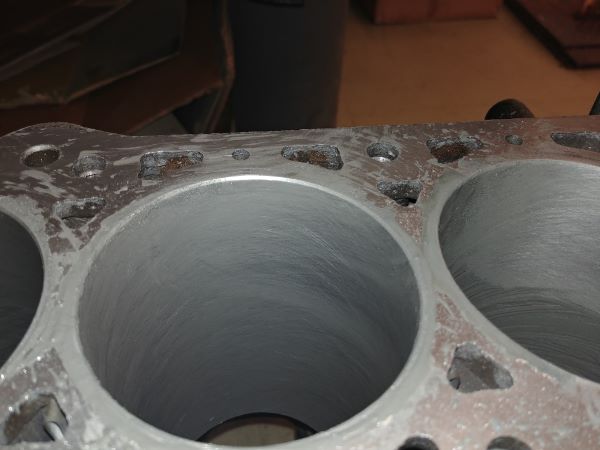
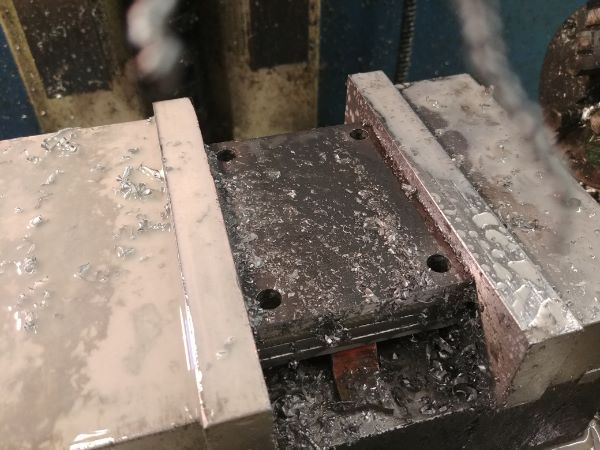
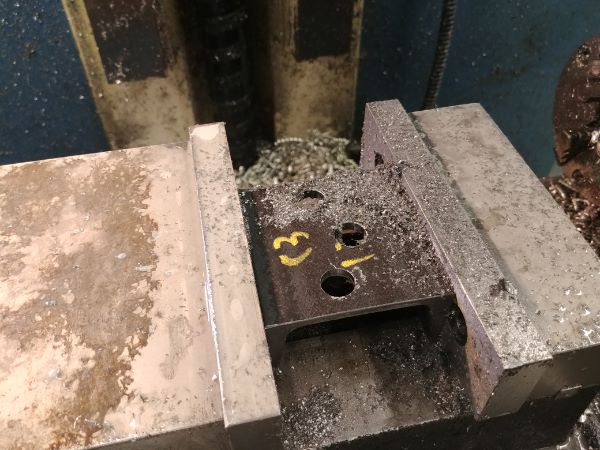
I noticed there was quite a bit of corrosion on the block deck, around the coolant chanels and knew I would need to resurface it. I could take it to a machine shop or do it myself for free. The first step was to 3D print some knobs to hold onto, these were in PLA. I had some sheets of glass from a couple of photo-copiers and glued them together.
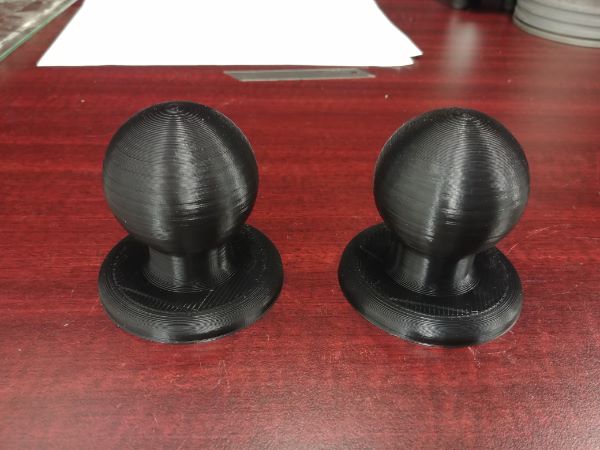
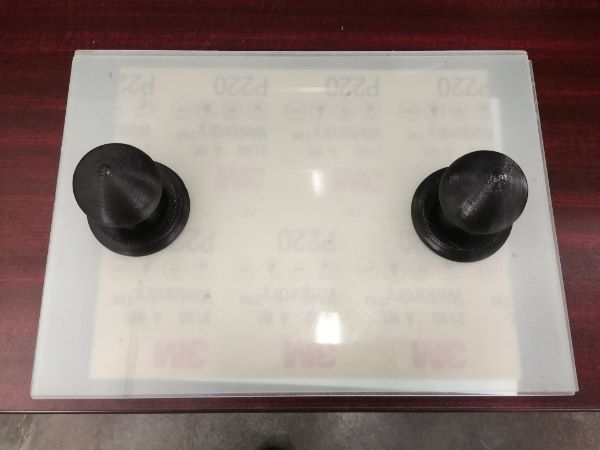
The knobs were glued to one side and a sheet of sanding paper on the other. The reason for layering the glass was to make sure I would not break it, three layers in total. I removed the engine dowels and gave the surface one last scrape.

The corrosion is bad enough that it can be felt. In a stock application this would probably be ok, not ideal, but would work. Since this engine will likely be boosted in the future it would be a weak point. I will also say if this was going into a car then I would almost certainly get a machine shop to surface it for me.
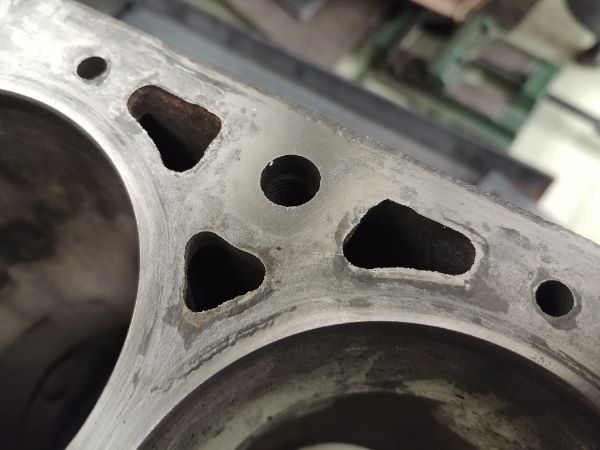
I attacked the block for around two hours before I gave up, this material is self lubricating afterall. The end result came out really good, but not perfect. The discolouration can still be seen from the corrosion but the depth is so minimal that it will have no issues in sealing.
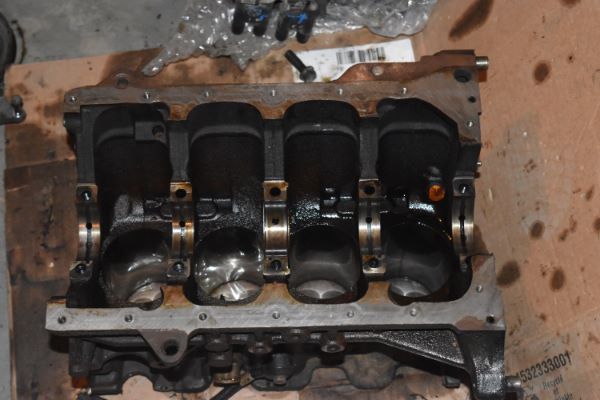
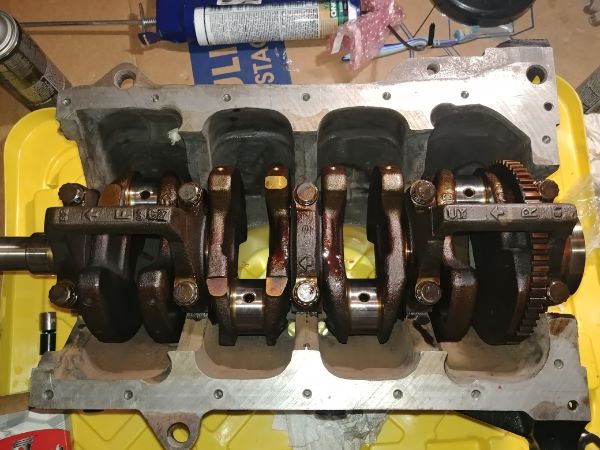
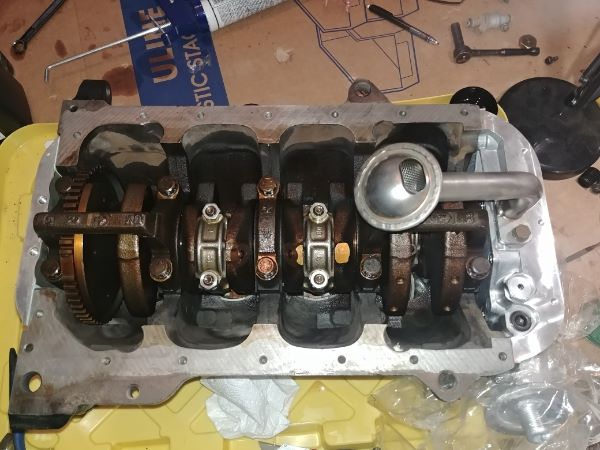
The block was thoroughly cleaned to ensure no sand was present from the blasting. I then proceeded to start assembling the components, the first being the crank shaft. I used new bearings and a sparing amount of assembly lubricant, this is very sticky stuff.
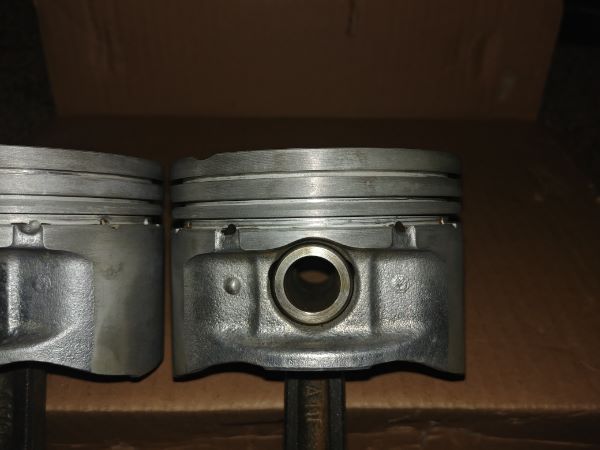
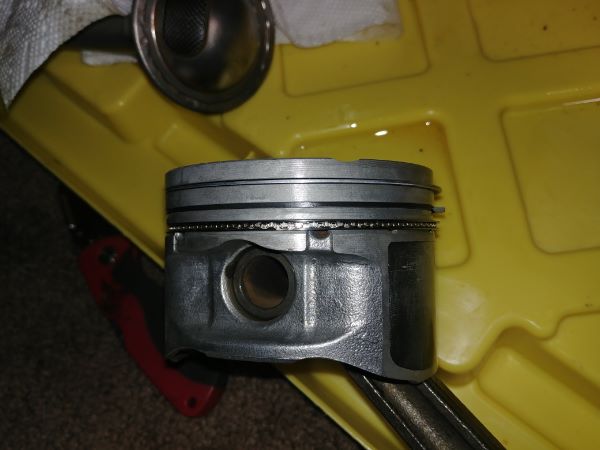
The pistons had a terrible amount of carbon build up and oil staining. I spent quite a lot of time cleaning them. In the end I chose to use some oven cleaner to remove all discolouration. Oven cleaner is sodium hydroxide which will quickly react with aluminium. The cleaner removed the stains almost instantly, I was quick to wash them since they were fizzing. If this was my daily driver or a performance engine then I would have them ultrasonic cleaned instead.
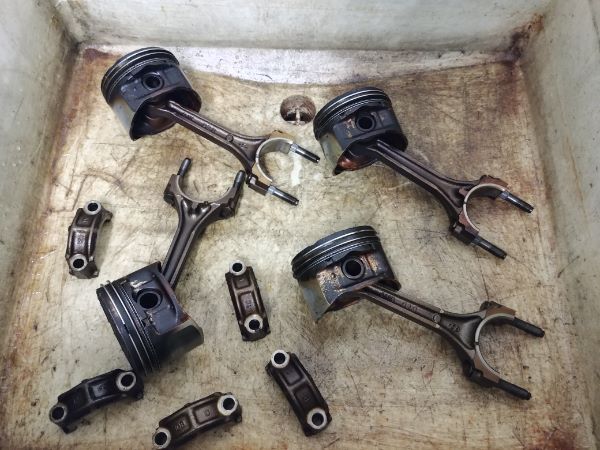
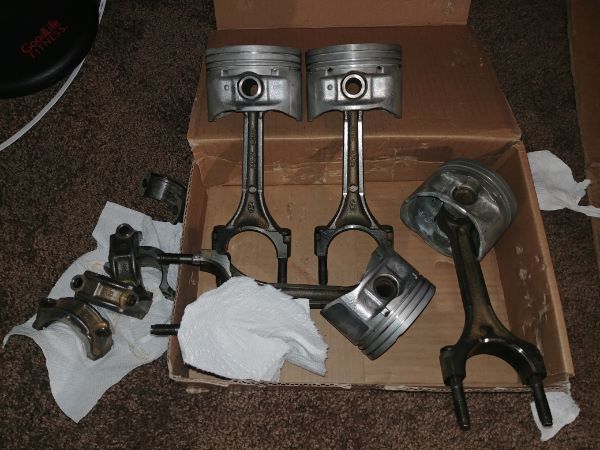
I was quite surprised to find the replacement rings were already gapped at 18 thou. I would think this gap would be a little too much for a stock engine, this is what I gapped my turbo engine rings at. The second ring had to be opened out to 25 thou. Often the biggest killer of a boosted stock engine is that the ring gaps are not enough, this won't be a problem.
I used assembly lubricant on the connecting rod bearings and used engine oil for the piston. Assembly oil is very thick and sticky so that surfaces are lubricated while the oil pump is filling the passages. I would not reccommend it on the pistons as it may not wash away as easy and possibly cause stuck rings.
All of the bolts were torqued to specification and the oil strainer installed. The oil pan was ready for installation, this had been blasted a few months ago, the reason it is so clean.
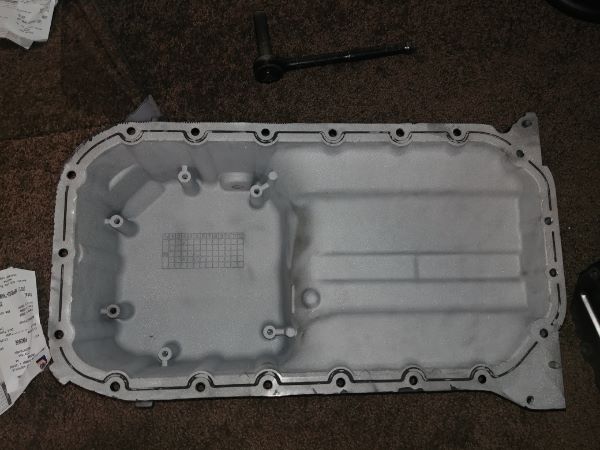
The sump baffle installed and some sealant placed around the sump lip.
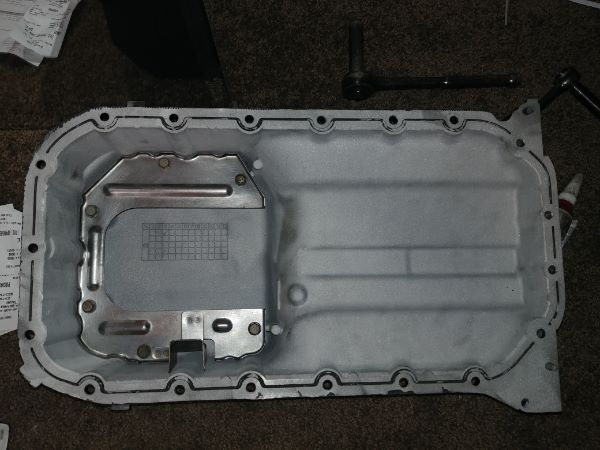
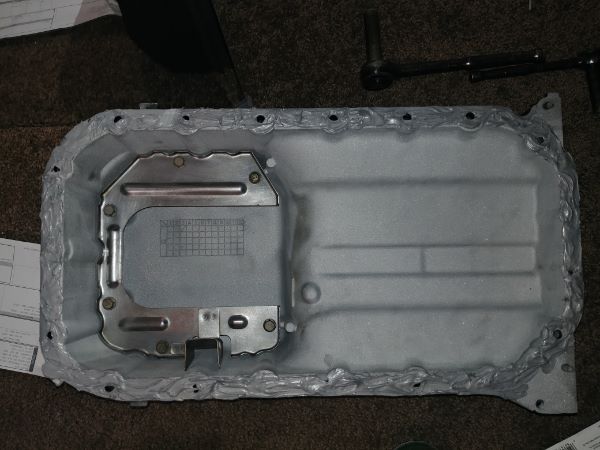
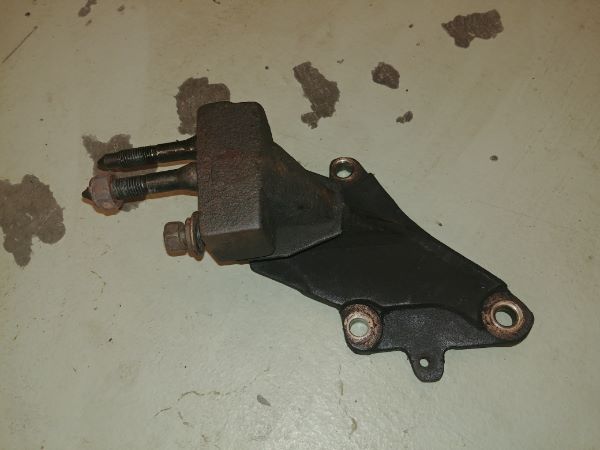
The sump bolted to the engine block. I had not taken any pictures of the original sump but it was so bad that I had to sand blast it. To keep it looking nice I chose to paint it. To the right is a dirty engine mount, it's not even painted.
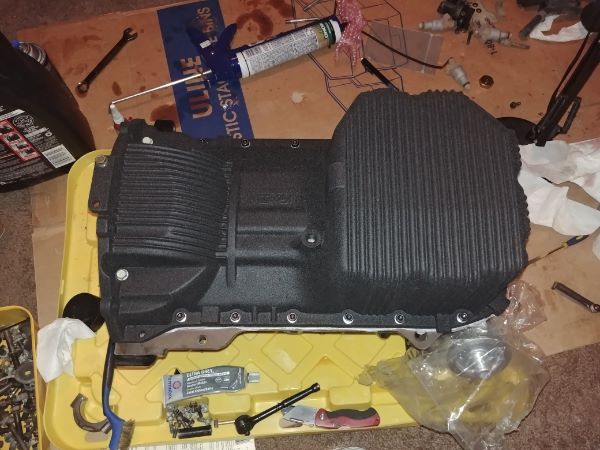
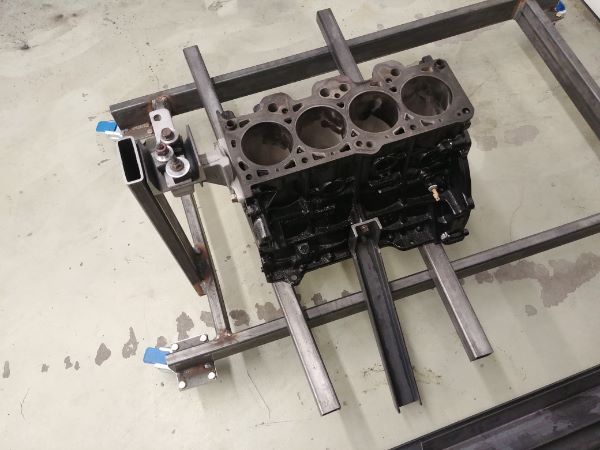
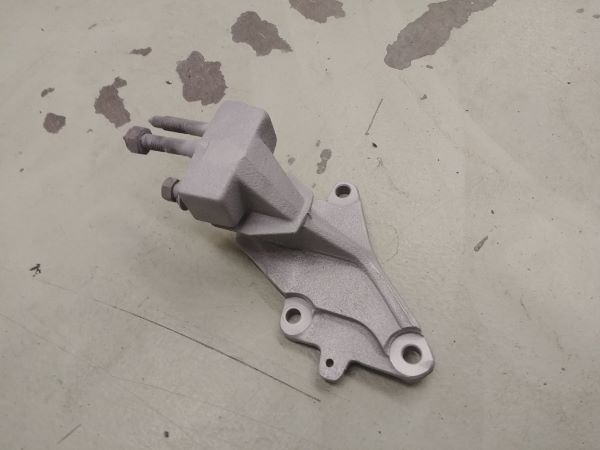
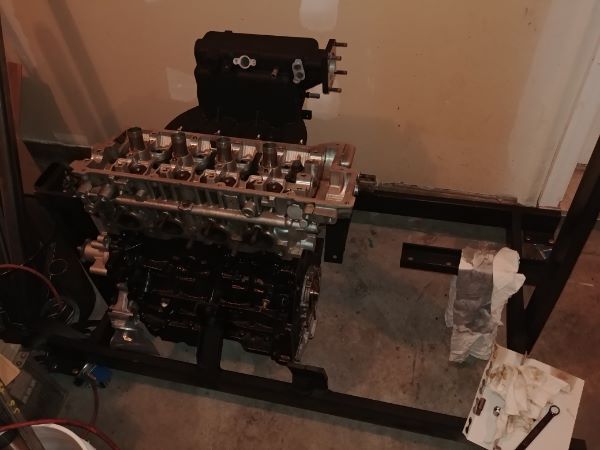
After blasting it looks totally different, this part I painted with caliper paint and cured it. I bolted the block to the engine stand.
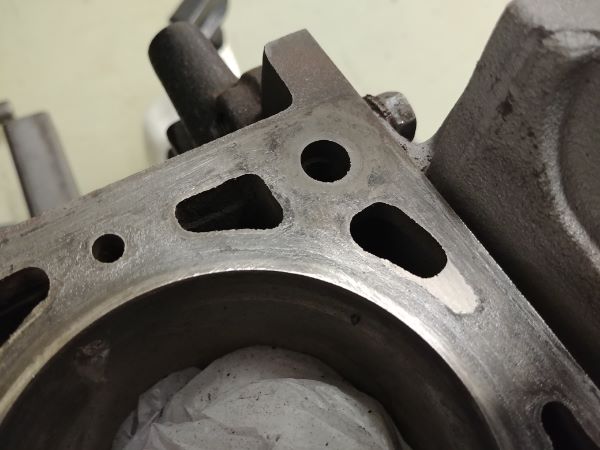
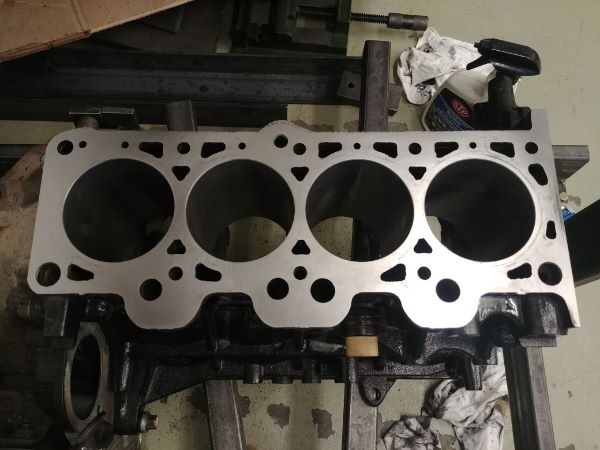
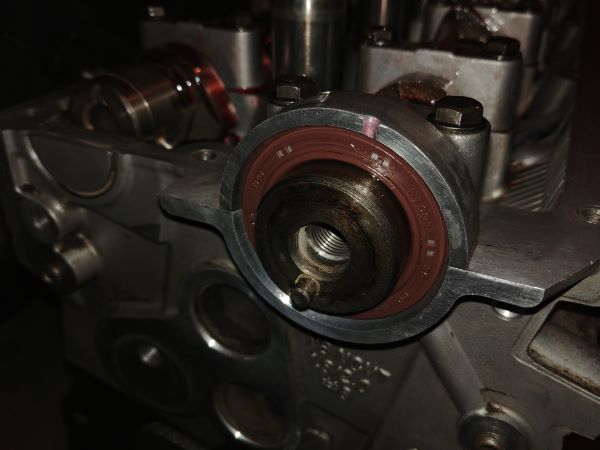
The block deck was cleaned, the dowels inserted and a new head gasket installed.
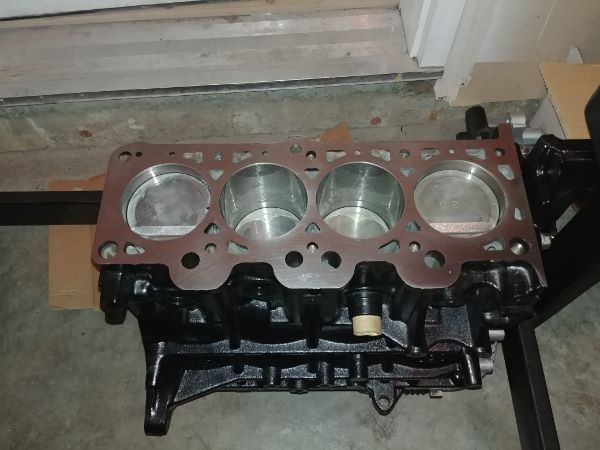
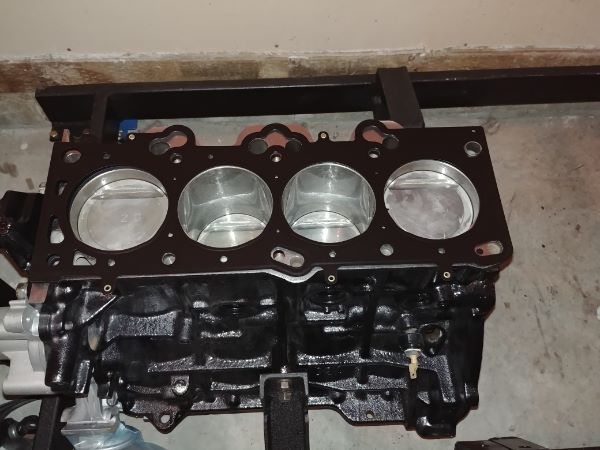
The head was also cleaned and installed with some new head bolts. The stock bolts are known as "torqued to yield", this means they are stretched to yield slightly. These bolts are in most OEM applications since they are so reliable and rarely do they fail. They are a one time use and should not be used again, aftermarket bolts such as those in my turbo engine can be used again.
The head bolted on and torqued to specification.
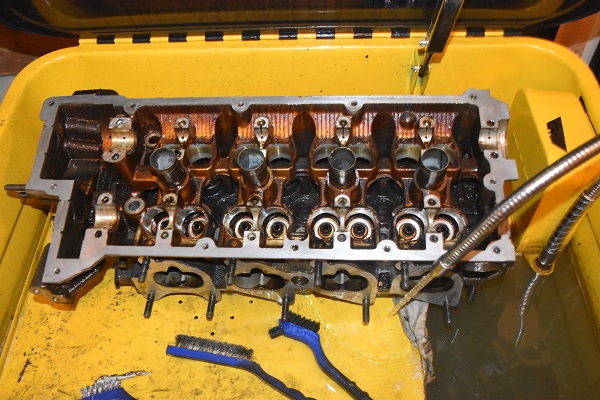
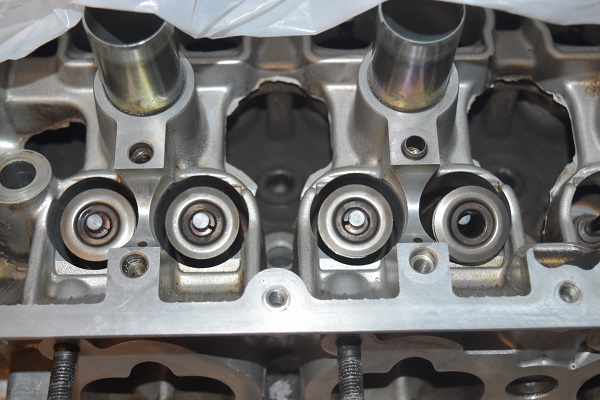
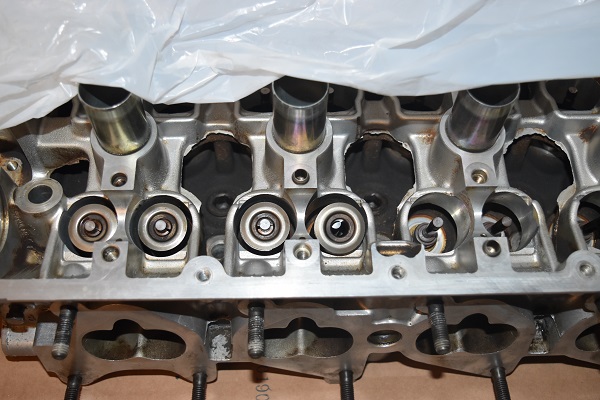
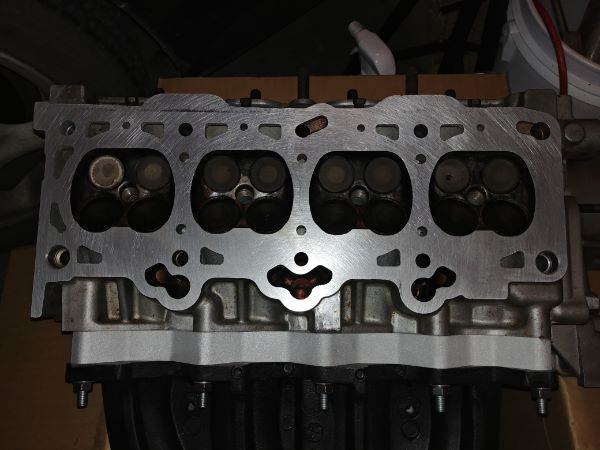
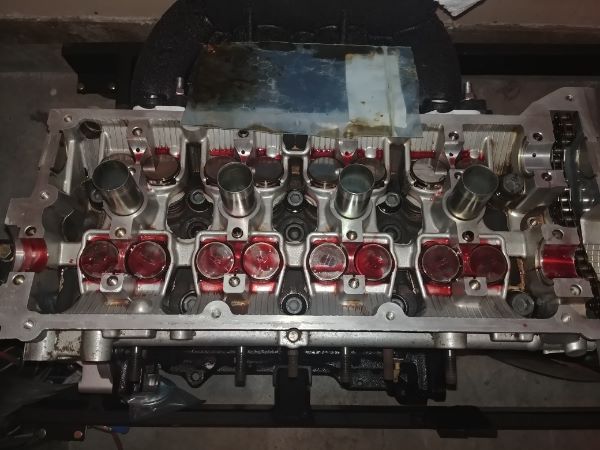
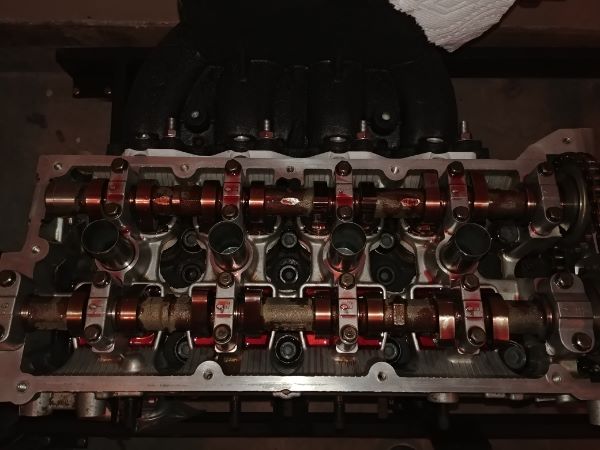
I had labelled all of the lifter buckets and the bearing caps. Another reason I did not lap the valves is because I would have to check the valve clearances and almost certainly need some different shims.

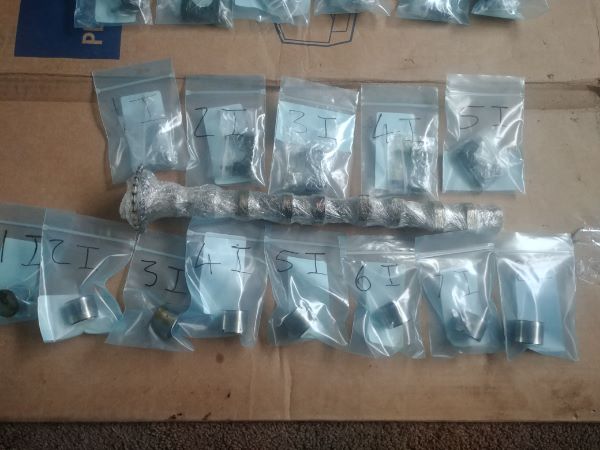

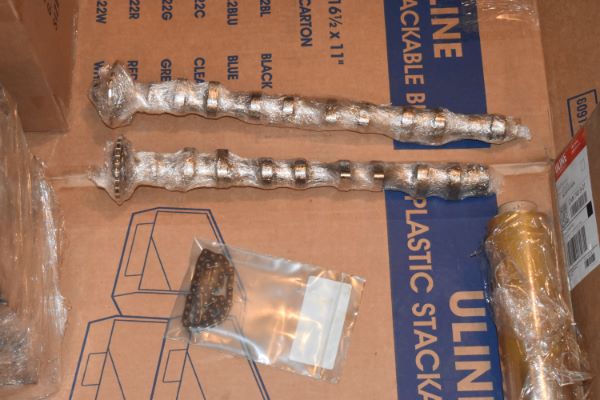
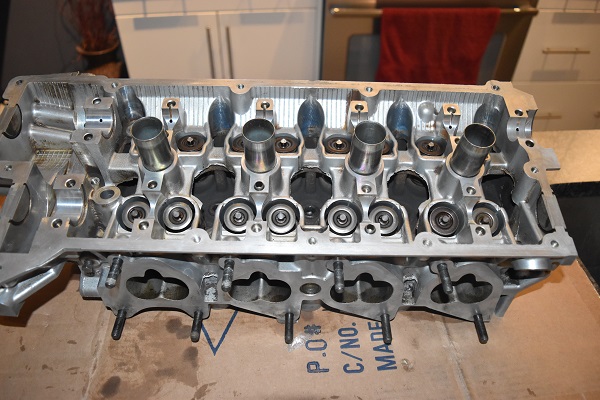
After installing all of the buckets in their original places I turned to cleaning up the cams.
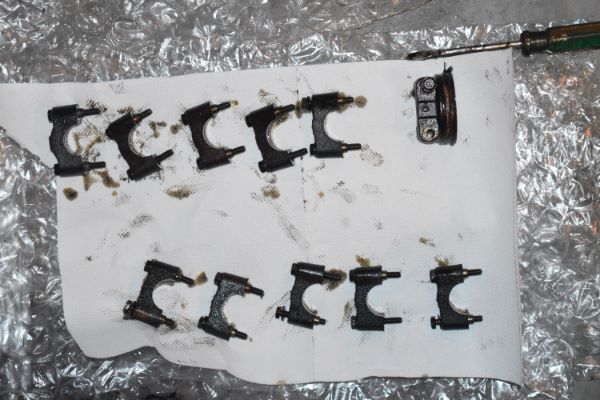
The bearing caps for the cams were so dirty that I didn't even know they had numbers on.
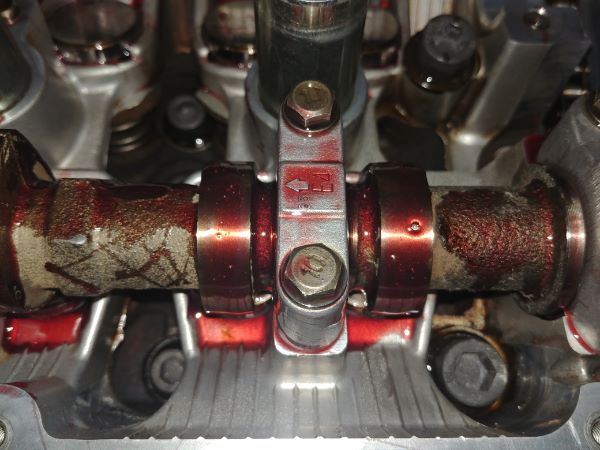
I applied lots of assembly lubricant to all bearing surfaces and installed the cams.
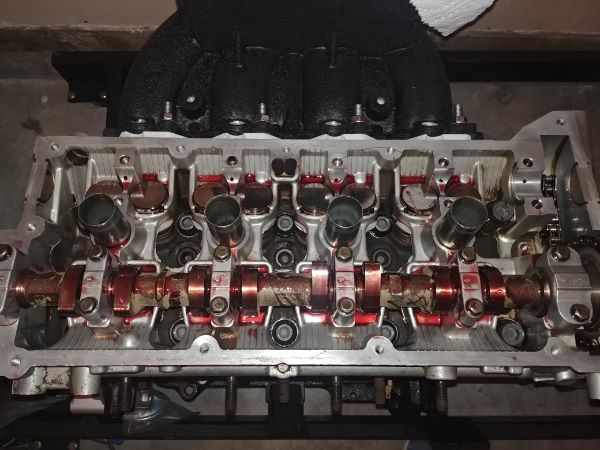
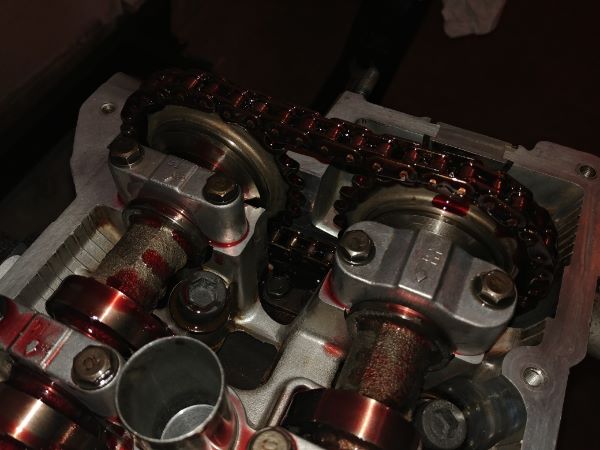
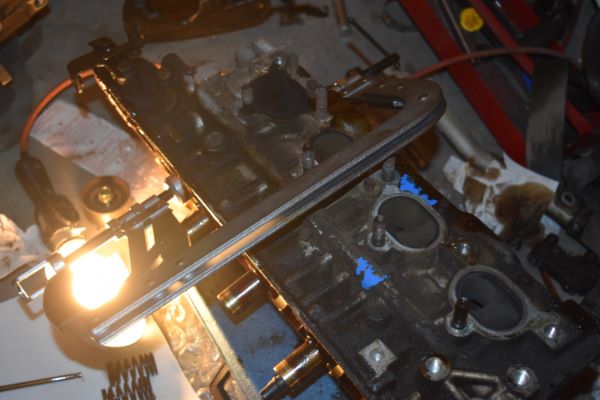
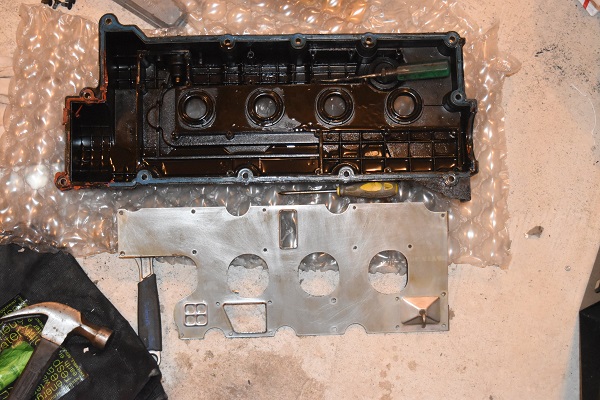
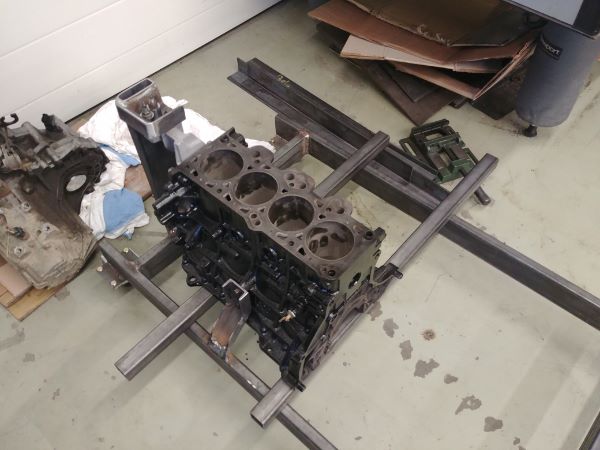
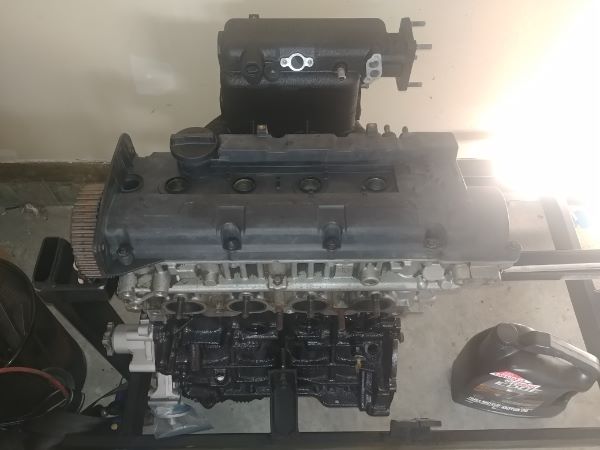
The timing pulley was torqued to spec and the cams were turned over. I made sure that the pistons were level so I wouldn't crash any valves, thankfully there were no tight spots. I then spent a lot of time cleaning the valve cover, a real lot of time.
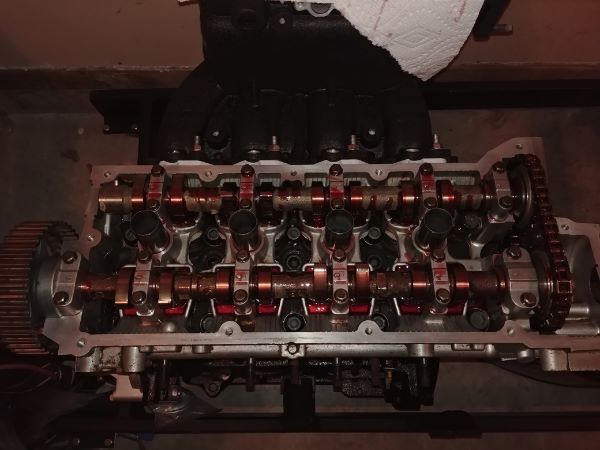
I wish I had taken a before picture of the inside and outside of the cover because it was in such dirty condition. I had to use sodium hydroxide (oven cleaner) to remove all of the oil staining, it still took me over an hour. Since I had to use such harsh chemicals it turned the plastic dull, I will later paint this to make it look a little better.
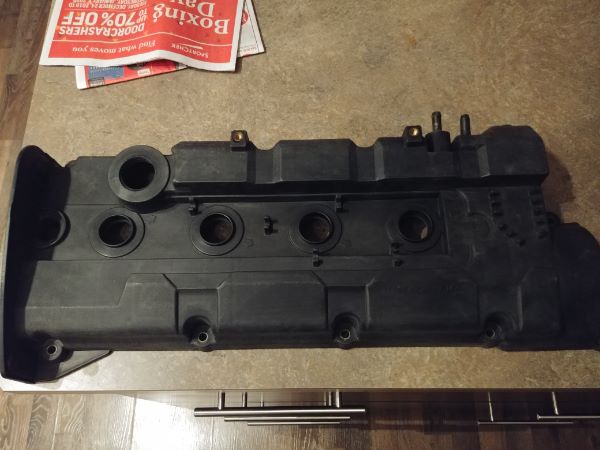
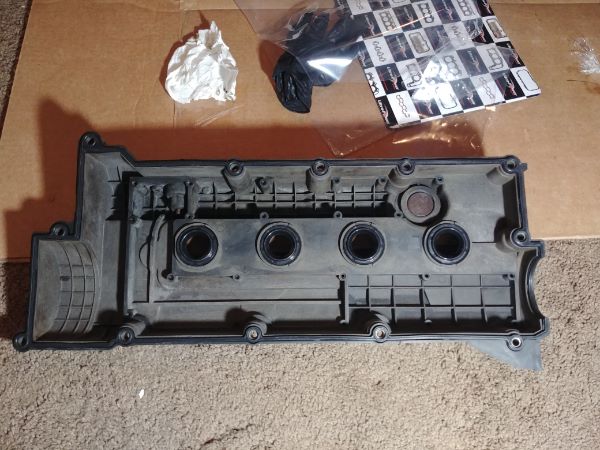
The cover installed on the engine. I had so thoroughly cleaned the inside of the head that I failed to make a good job of the outside, I will definately fix this.
Left to Complete
Timing Belt / Idler Pulleys
Remote Oil Cooler - No room for original filter
Clean Head / Paint Valve Cover
Thermostat Housing
Intake Spacer Sealant
Flywheel / Clutch / Transmission
Starter Motor
Cooling System / Radiator
Fueling System
Exhaust System
Ignition System
There is still quite a list of work to do on the engine, that will progress on the next page.
Hello, if you have enjoyed reading this project, have taken an interest in another or want me to progress one further then please consider donating or even sponsoring a small amount every month, for more information on why you may like to help me out then follow the sponsor link to the left. Otherwise you can donate any amount with the link below, thank you!