May 2011
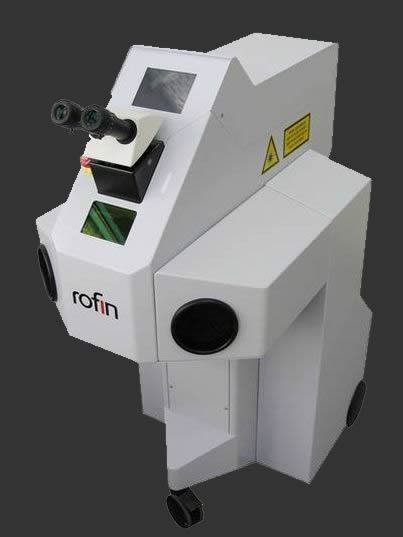 At my current place of work we use a small laser welding machine to weld springs together for seals, May 2011 it failed to switch on, at the same time an expensive order came in that needed these springs. So the managing director phoned the manufacturer of the machine, they quoted a £1200 fee to fix it. I knew a bit about how they worked and thought that I could give it a shot fixing it, but my boss said it was better to get it professionally repaired. Couple of hours later when my boss had left the premesis the managing director asked me if I could take a look, so I went home, picked up some tools and bought a decent multimeter on my way back.
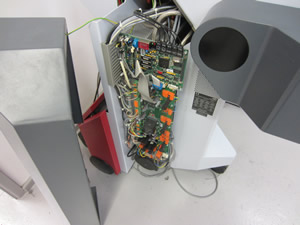
The first step was to see what the machine was not doing, simply when switching it on nothing happened. The fuse in the plug had already been checked so the most likely cause would be an internal glass fuse that had blown, usually electronic machines such as these will have several fuses for different parts of the circuitry. I removed the case and located a total of four fuses on the main circuit board, these were all fine which meant that it would be a component that had failed. When components such as transistors and microchips fail they short their internals which leads to a fuse blowing. Resistors almost never fail, when they do, they usually burnt out and will be darkened in colour, they all looked fine. Electrolytic capacitors rupture when they fail, they were all fine. Now that a quick visual inspection had been done it could only be a couple of factors; a track broken on the circuit board, the power relay failed, key switch failed or a broken wire.
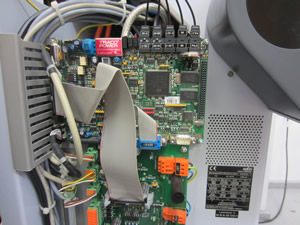
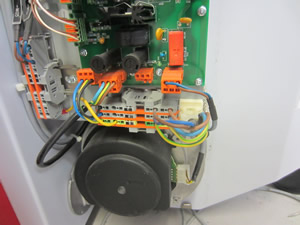
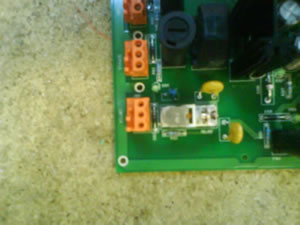
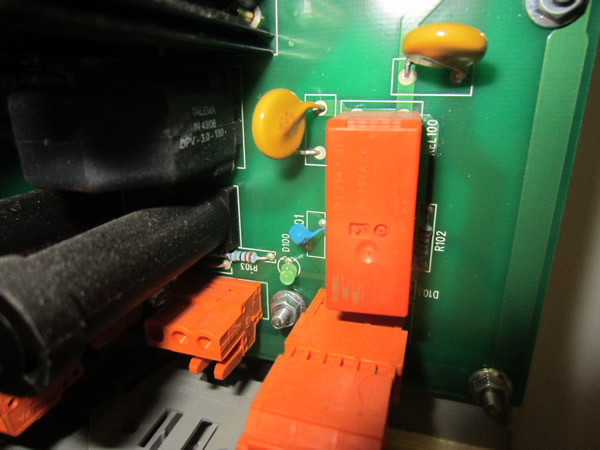
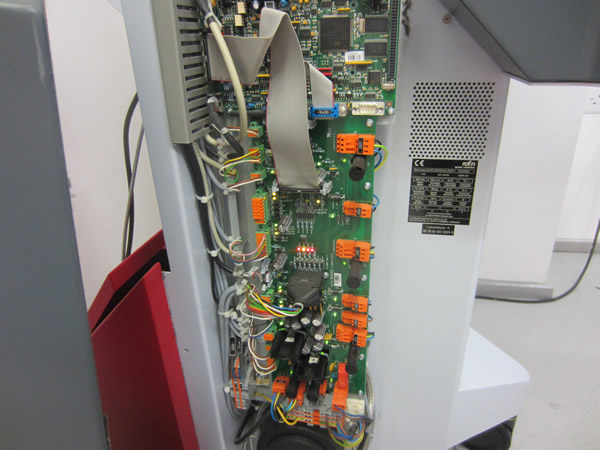
If a service engineer was to be called out then they would replace the main circuit board and the keyswitch which means that they would cut the tie-wraps and remove the board, meaning it wouldn't matter if I did it all before them. So I removed all the panels, cut most of the tie-wraps so that I could trace every wire and get an idea how it works. Basically power from the plug is sent to an isolator, then straight to the main circuit board, to a power relay on the board, power from this relay is then sent to all the fuses and then all of the power supplies. The power before the relay is sent to the keyswitch and then back to the relays coil. Using the continuity meter there were no breaks, and the keyswitch worked, this meant that it was either; the relay coil, relay contacts, a resetting fuse in series with the relay coil or the power supplies after the relay. I plugged the machine in to the mains and turned on the isolator and the keyswitch, the relay did not turn on, also on the circuit board there were loads of LED's indicating if power was present, it indicated power before the relay but not after (as shown in third picture above). So this told me it was the relay or the resetting fuse, I removed the cover on the relay and pushed the contacts together just to make sure this was the issue, the machine all lit up and functioned. It had to be the relay coil or the resetting fuse, so I removed the power and tested the resistance of the relay coil, it was 200ohm, a coil should be about 17kohm for its voltage rating.
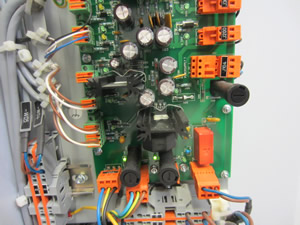
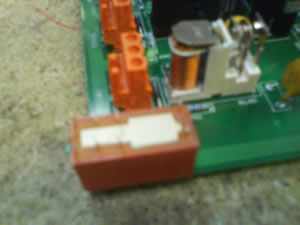
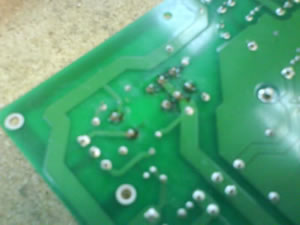
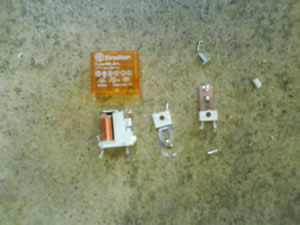
I had found the problem, a faulty relay, about a £4 component. Fixing the machine was urgent so I traveled around to a couple of component suppliers, not one of them had a relay to fit. I went back to work and measured it up and trawled the internet, I managed to order one for next day delivery, unfortunately there was minimum order and postage cost, so I ordered 5 of them and it cost about £35. The next day I received the component through the post and brought it into work, removed all of the cases on the machine and at the same time an engineer arrived to fix the machine. Frustrated I thought I would go back on my CNC machine and carry on with the day to day work. About 10 minutes after this the managing director asked me if I could finish what I was doing, so I did. I desoldered the original part and soldered in the new one, connected it all up and switched it on - it worked.
After all of this it cost me about £50 for a multimeter, £35 for the part and about £10 in petrol. I was paid the £35 but the £60 came out of my pocket, as you can guess I wasn't best pleased. I save them almost £1200 and I get repaid by a loss from my pocket! I was told by my boss that it was the pleasure of fixing the machine. I really wouldn't have wanted anything for doing the job as it was in work time and I did enjoy solving the repair, but I should have been reinbursed and it shouldn't have cost me money.
Hello, if you have enjoyed reading this project, have taken an interest in another or want me to progress one further then please consider donating or even sponsoring a small amount every month, for more information on why you may like to help me out then follow the sponsor link to the left. Otherwise you can donate any amount with the link below, thank you!