Dual Fuel Rail Injector Spacer - Version 2
This is a spacer that allows an additional row of injectors for the Hyundai Beta Engine. You may have found the previous revision in one of my past projects in which I had it waterjet cut and then I milled the injection ports on a less than adequate milling machine. The first version came out pretty good but I had to wait a long time for it to be made at a reasonable price. At the time of writing this page I finally got access to a CNC mill, I also needed one for a second engine that I was building. Below is the first revision that I installed onto my engine, it has worked perfect.
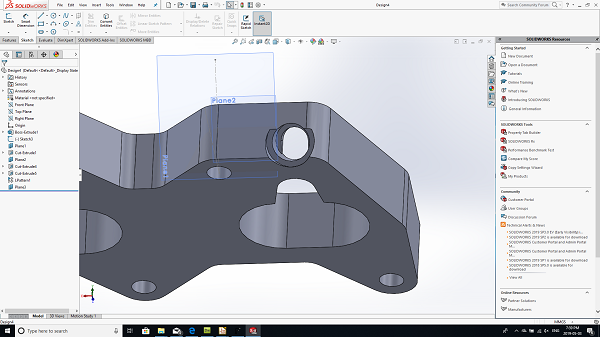
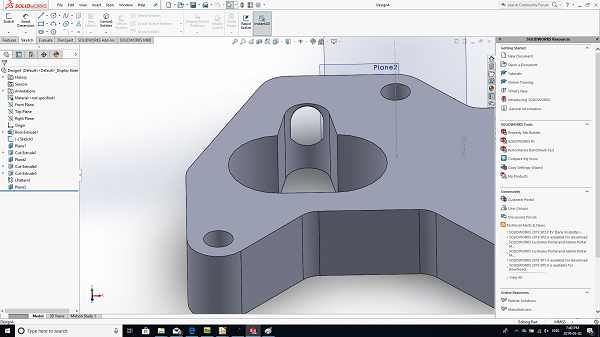
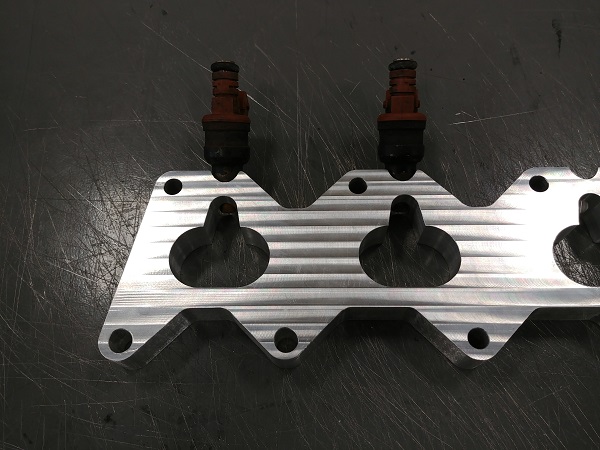
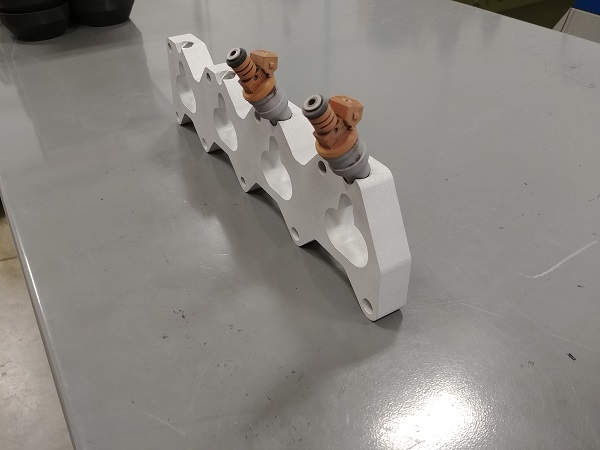
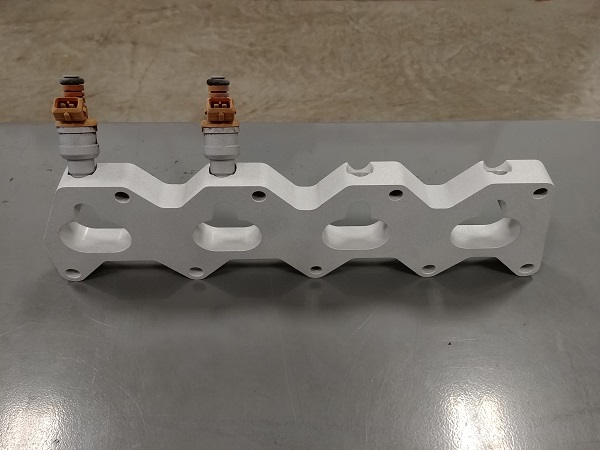
I decided to revise the design very slightly. The only change I made was to the angle of the injection port and also the shape of it. The are also two different injectors for the beta 1 and beta 2 engines. This spacer was designed for the beta 1 injectors (brown ones) which are a lot longer than the beta 2 injectors (pale green ones).
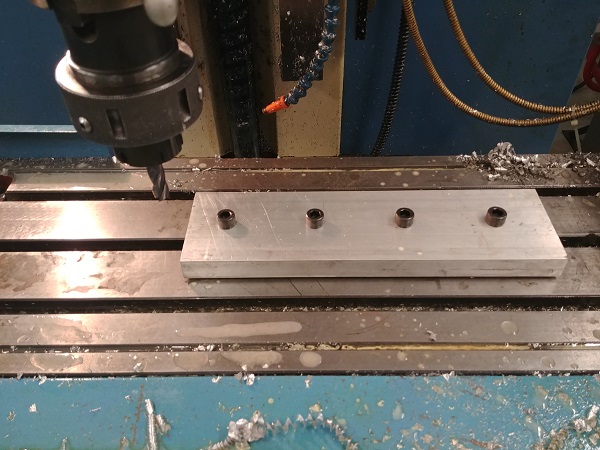
I picked up three pieces of metal, one for me, one as a trial just incase I made a mistake and the last one for if someone wants to buy one (helps to cover the cost of material and tools). I started out by clocking the vice parallel to the bed of the mill, and then clocked the piece of metal flat. I set the mills geometry and then proceeded to drill four holes central to the ports.
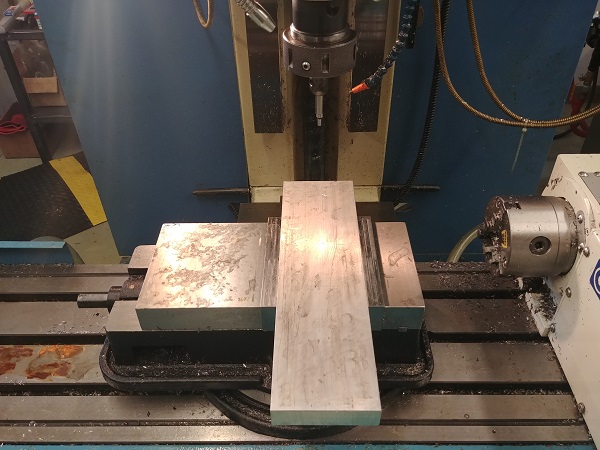
I made some steel spacers that will stand off the plate from the bed of the mill. I made the diameter of the spacers as large as possible in order to keep it rigid. I then set the mills geometry / work offset.
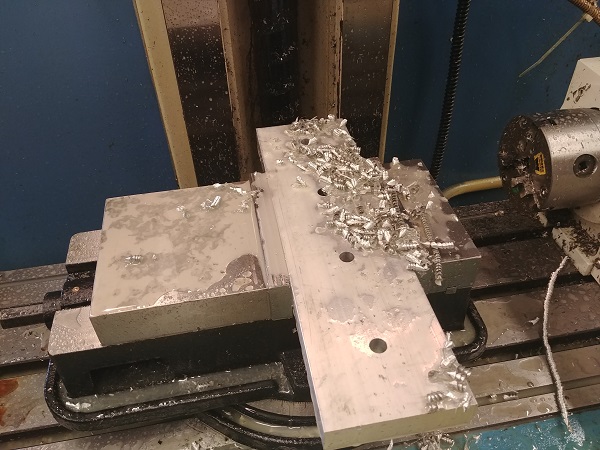
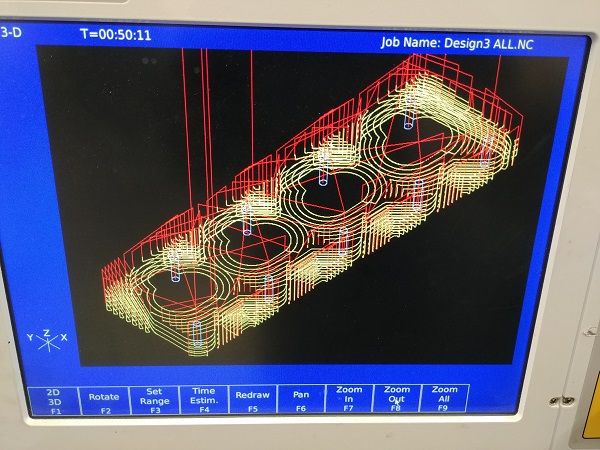
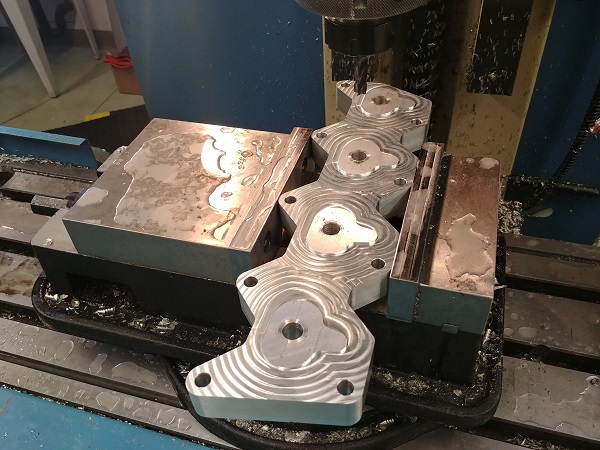
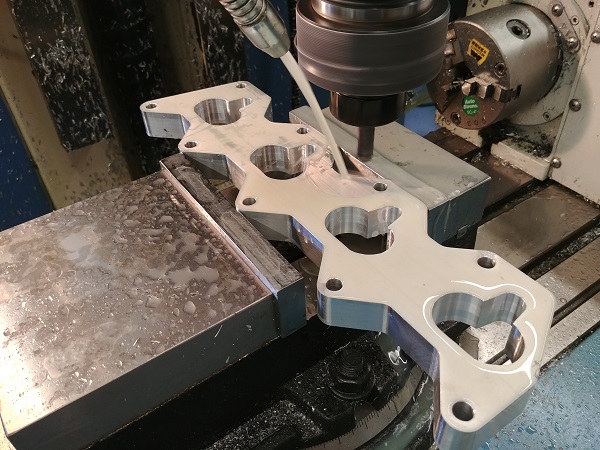
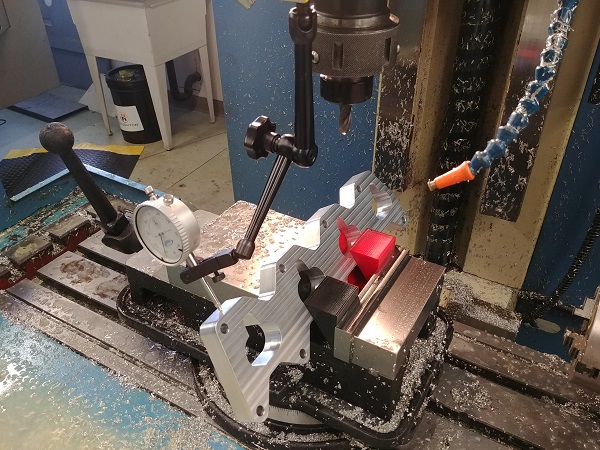
I created a milling path on my CAM software, I was pretty new to using it at the time of writing this so I'm sure it could have been done a faster way. I decided to go on the cautious side just because I did not know how capable the mill would be, just under an hour it came out at. The one thing I knew straight away which could be a problem would be the contour of the ports since I would need to get it perfectly aligned for the next operation to minimise the chance of uncut material. The milling path was generated from the CAD file I loaded, it may have been wise to suppress the ports in the geometry and then manually draw in the bolts heads as avoidance features.
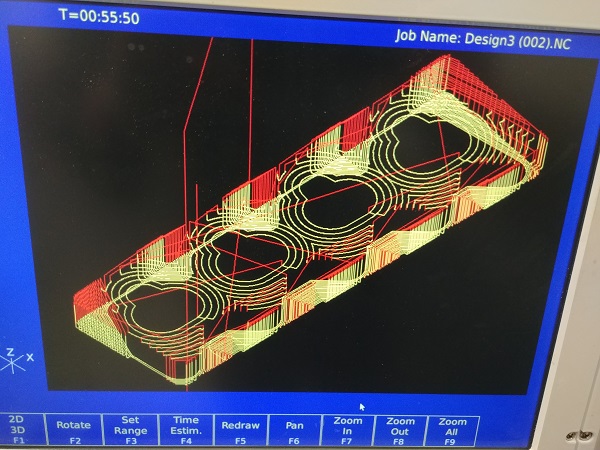
While this was running I played around with some larger depths of cut and higher feeds. I managed to reduce it by almost six minutes and also added some holes to be drilled on top. This one ran pretty good too so I increased everything further and managed to get it down to just 35 minutes including the drilled holes. If I was doing something like this for a production run then I would be sure to make a fixture that would allow me to machine as many features in one operation as possible.
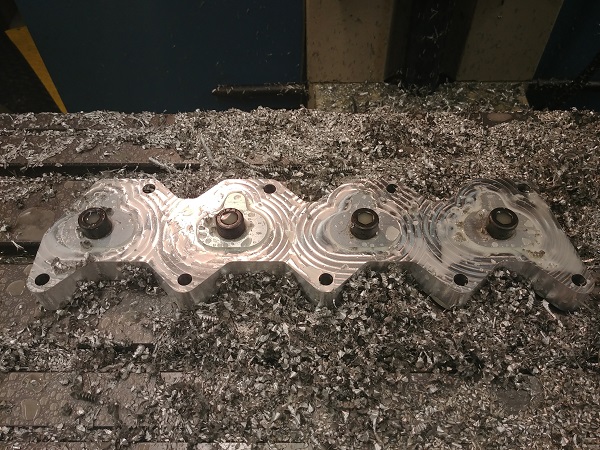
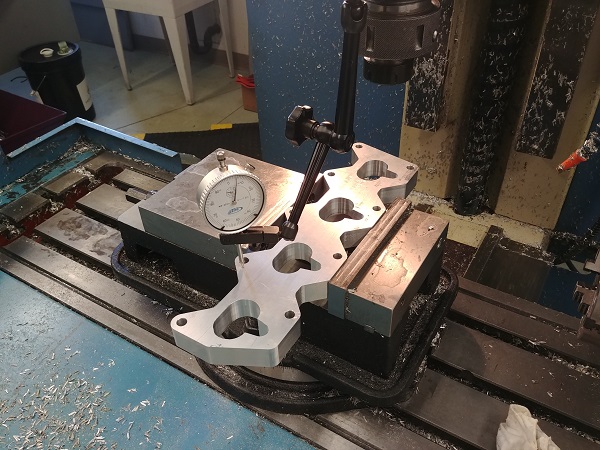
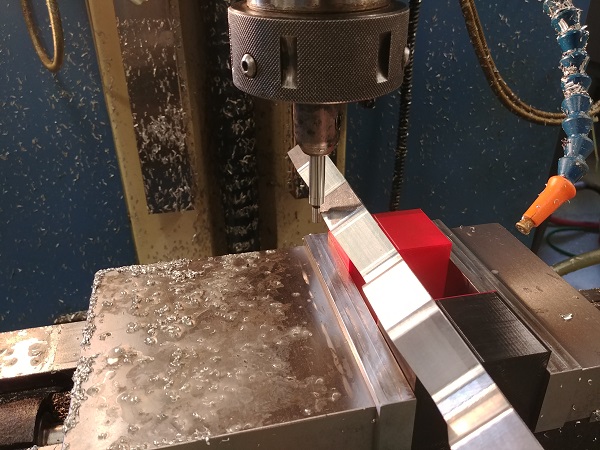
I clocked up the vice and then placed the part in, also clocking it flat. I would have to be super accurate in order for the ports to align, otherwise I would end up with uncut material.


This is not a particularly great way of holding the part. If I was to make another then I would have drilled out the nine holes on the circumference along with the four holes in the middle first. I would mill the part to the correct height using the four fixture holes in the middle, flipping it to machine the other side. I would have then setup the nine holes on a fixture to machine the outside contour along with the port contour.
Thankfully I did a good job on setup and the port aligned perfectly. I then flipped the part, clocked it flat and then milled it to the correct height.
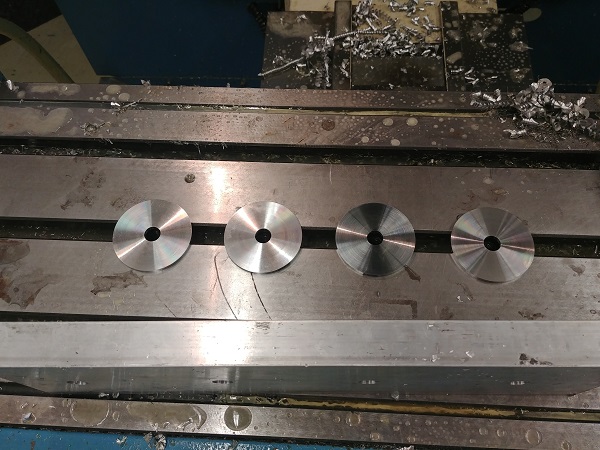
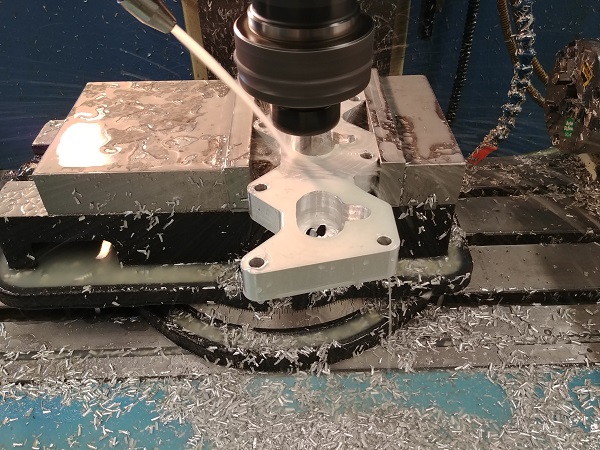
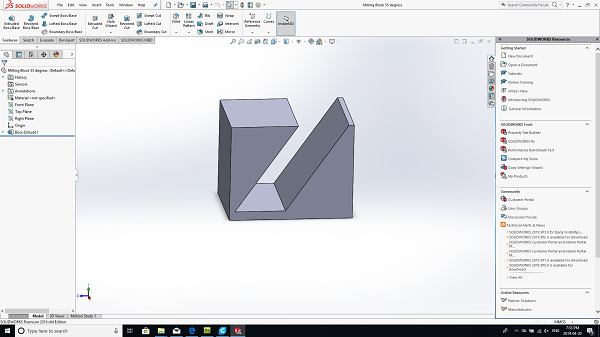
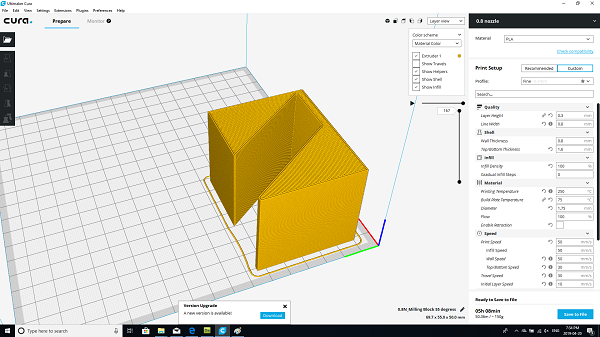
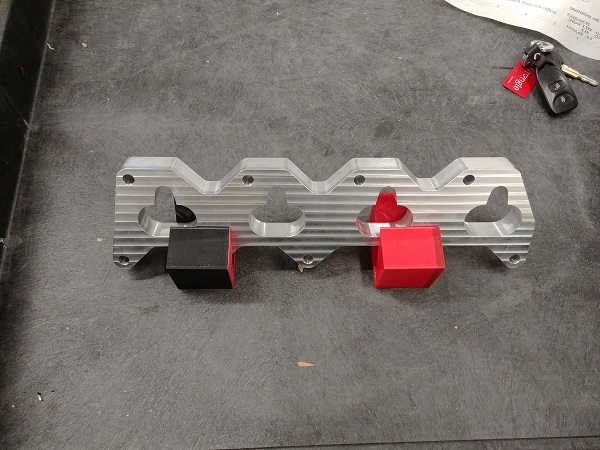
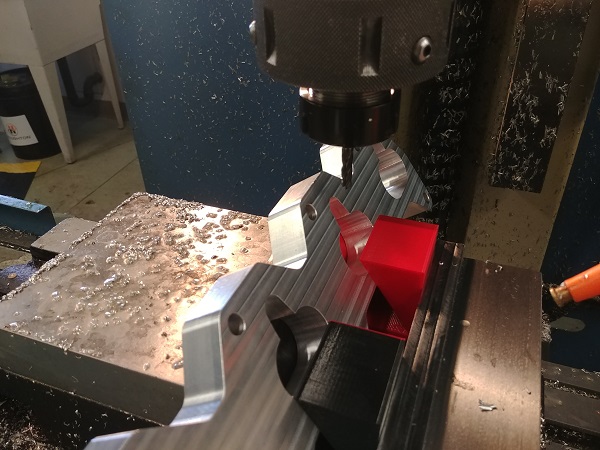
The next step was to make some angled fixtures for the injector holes. I did not have an angled vice nor did I want to spend the time making some metal fixtures. I instead chose to 3D print some in solid PETG. I had three almost empty spools and a full one. I managed to splice them together with a lighter, it worked perfectly. The one on the left is two shades of red and the one on the right is red and two shades of black.

The design was pretty simple, I angled the slot at 35 degrees. Since the injector holes were pretty small I didn't think I would have any issue using these to hold the part. I of course went with a solid fill.
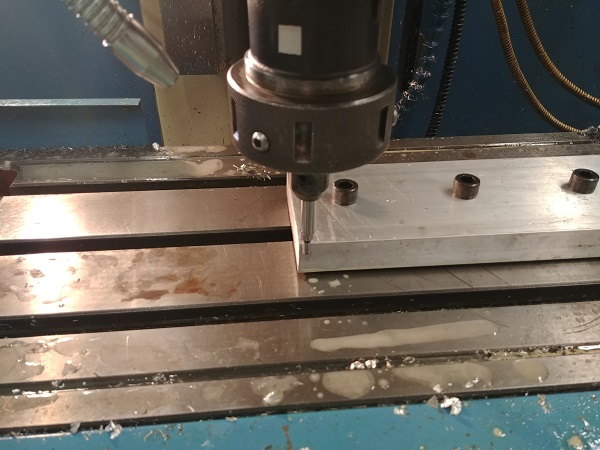
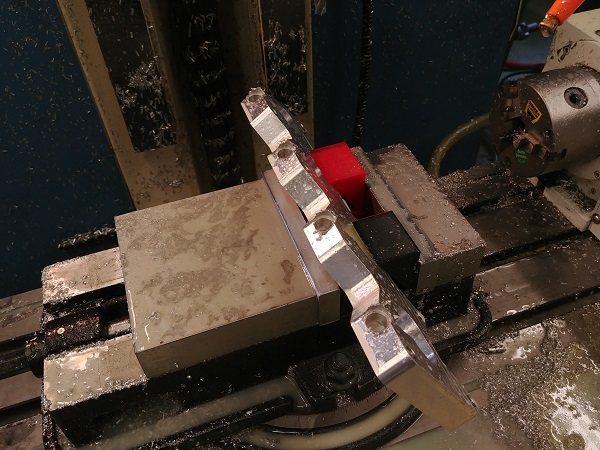
I clocked the part in the mill, the fixtures seemed to hold the part firmly.
I had to do a bit of thinking of how to set the zero point accurately.

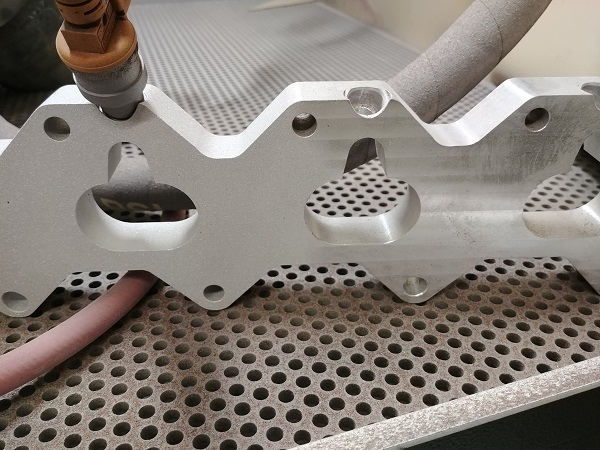
I went ahead with a 1/4 inch end mill which took around an hour to do the holes. It was an old end mill and the fact that I was holding on via plastic I chose to go very cautious.
The milling cutter was in quite bad condition so I ended up with some nasty burrs, not a major issue however.
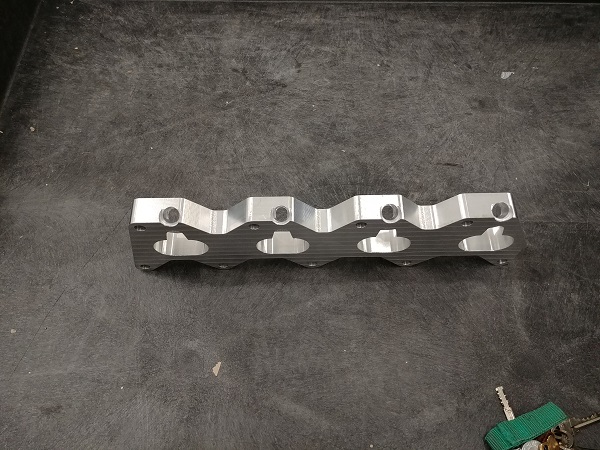
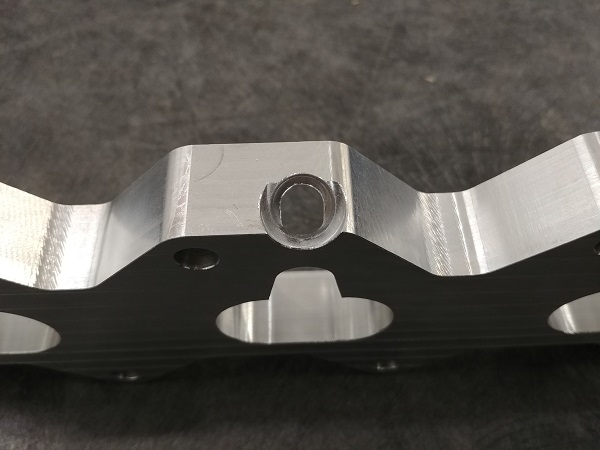
All of the concave radii in the design were made to a radius of 0.28, the cutter used was 0.25. The issue with this is tool chatter because I'm cutting on a large portion of the end mill. If I had changed the design to something like 0.35 rad corners with a half inch cutter then I'm sure it would have come out perfect, something I completely over-looked. There were also no lead chamfers for the injector O-rings, this was so much easier to put in by hand since the mill did not have an automatic tool changer.
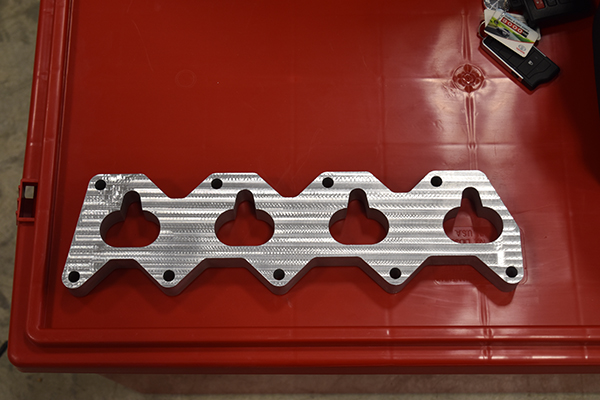
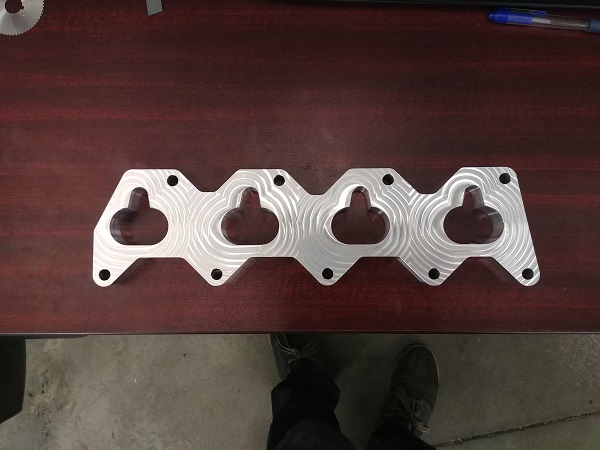
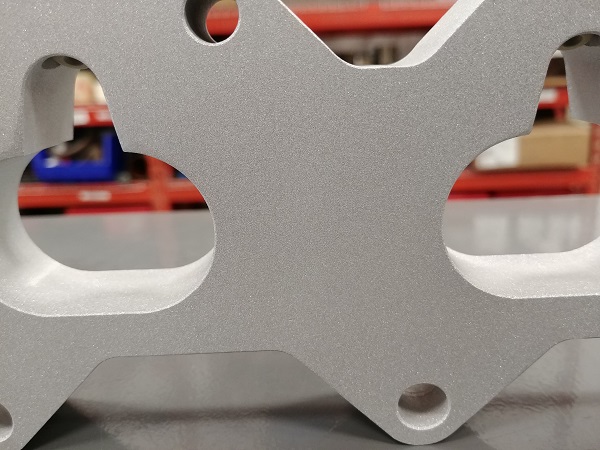
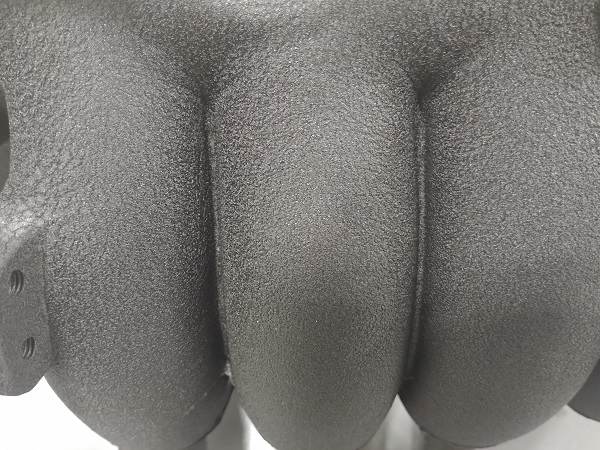
Some people like a machined finish and some like a consistent finish. I do like either but a textured finish hides the flaws and scratches so much better, for an engine bay a textured finish is much wiser. The other issue was the tool chatter, so I threw it in the sand blasting cabinet.

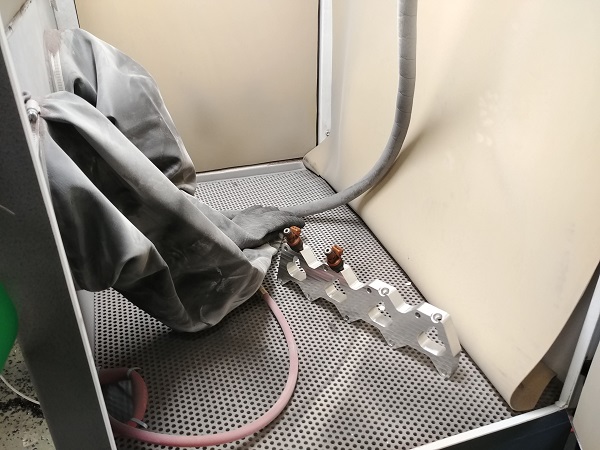
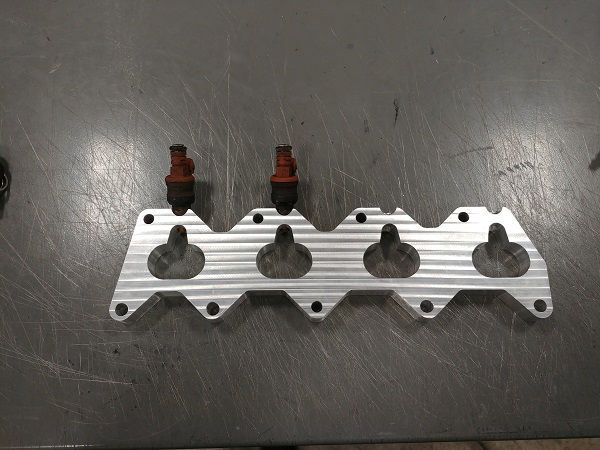
I placed some old injectors in the holes so that the finish would not be damaged. O-rings require a very good surface finish if working under low pressure, especially a vacuum.
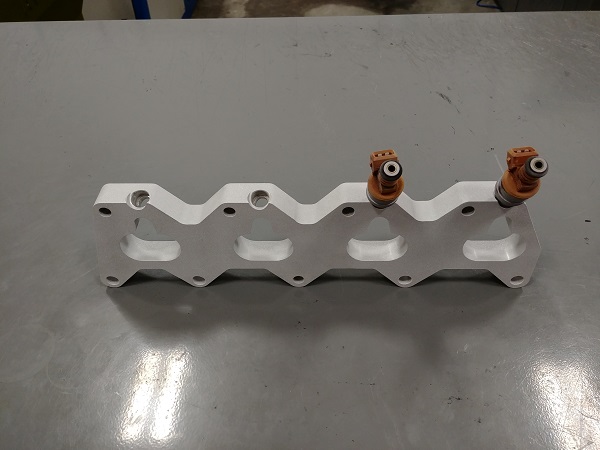
I think the part looks a lot more professional looking. The stock intake uses a very thick paper gasket for sealing. I always choose to discard the gasket and go with a sealant, the texture allows it to seal to very high pressures, the consequence is that it makes it very hard to remove.
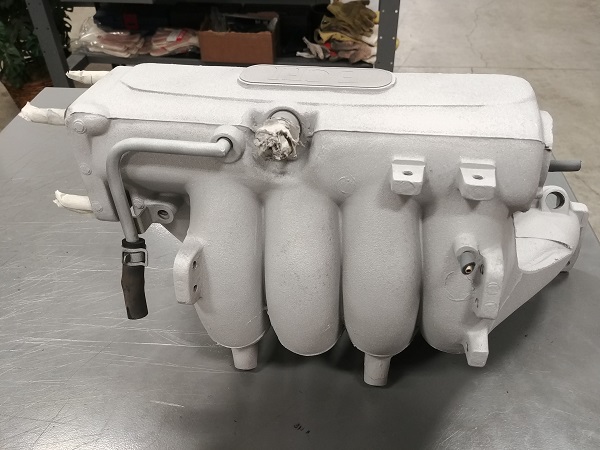
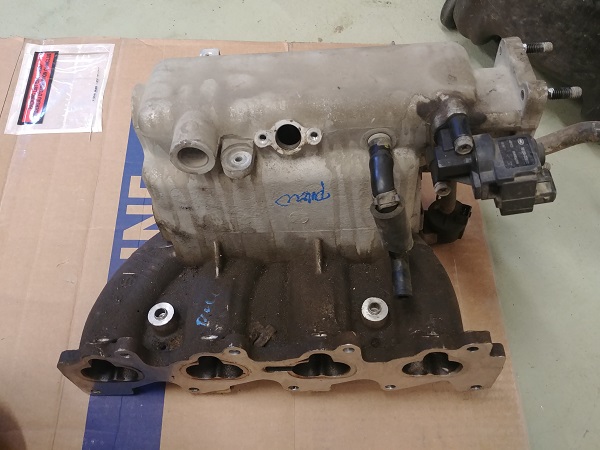
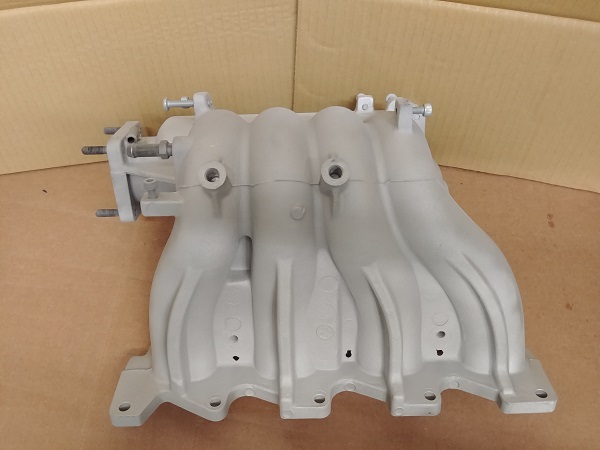
The finish came out looking great, I used a very fine media. There are two main styles of intake for this car, this one below is for the beta 1 engine and uses the brown injectors. This is the original intake I designed this spacer for, unfortunately for the second style the injectors are much smaller in length.
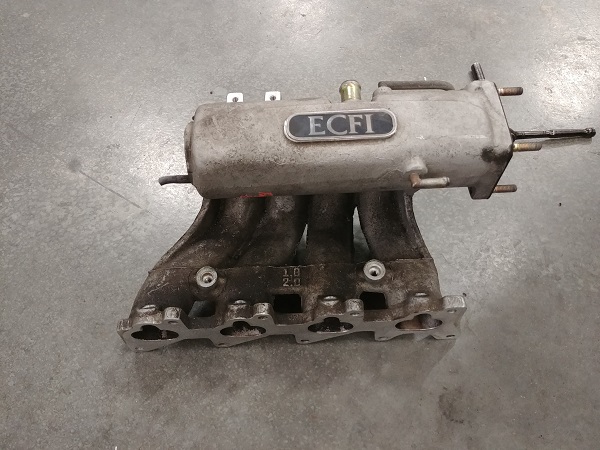
This older style of intake is much harder to find along with the injectors. My intention is to make both styles of intake work with the newer style of injector, this will probably mean making a new fuel rail.
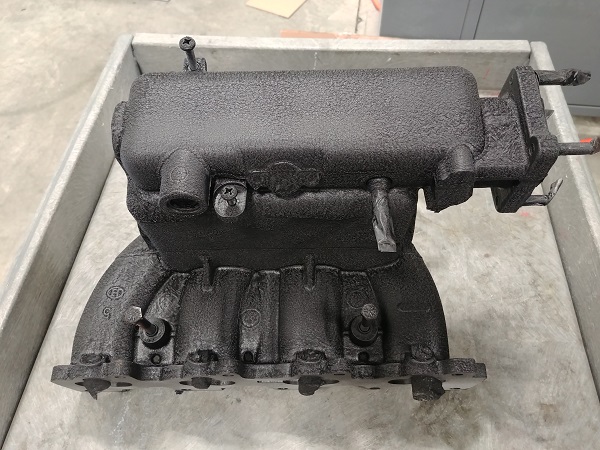
I sand blasted the intake to prepare it for painting. I chose to go with a wrinkle finish paint since it's amazing at hiding flaws, it's also extremely durable.
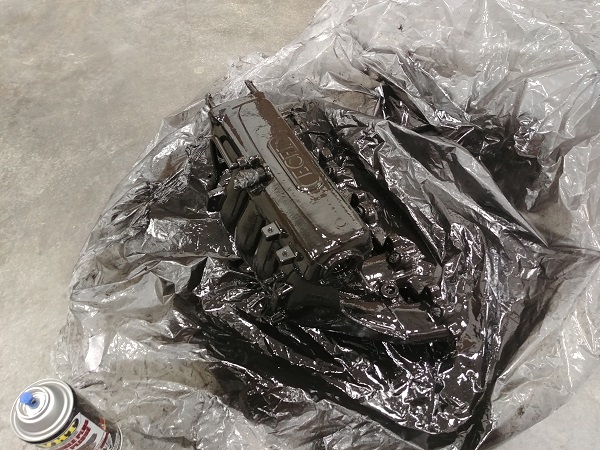
I threw it in the oven for a couple of hours to cure.
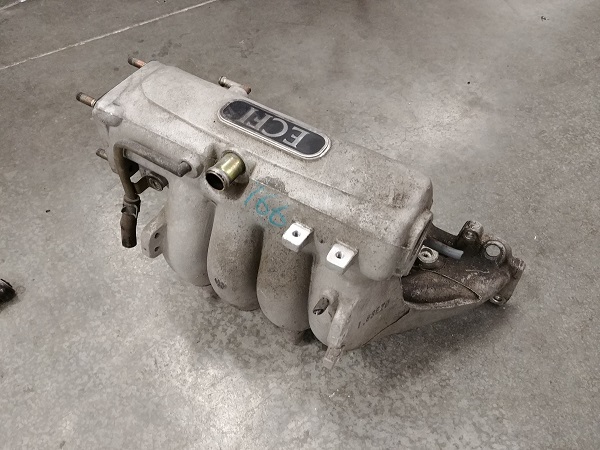
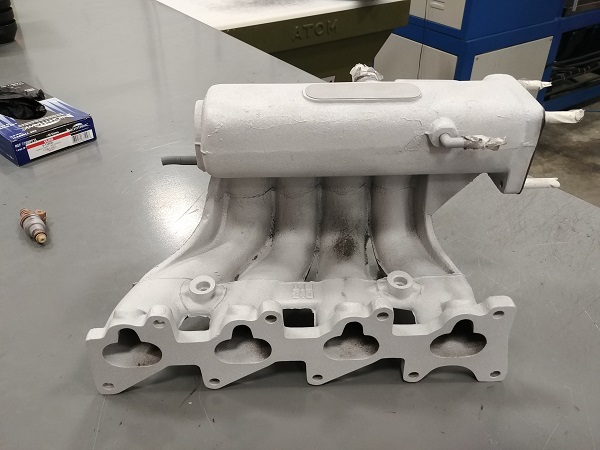
There are two intakes for this particular engine, I had painted the older version. I decided that I should lean towards the newer parts since they're easier to source, so I set to cleaning up another intake manifold.
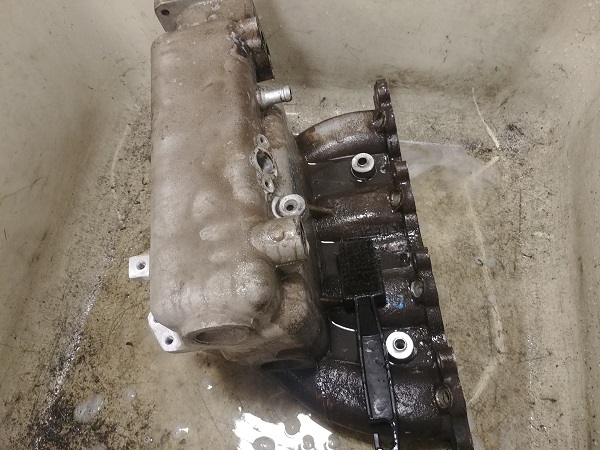
After spending quite a bit of time degreasing the manifold it was placed in the sand blaster.
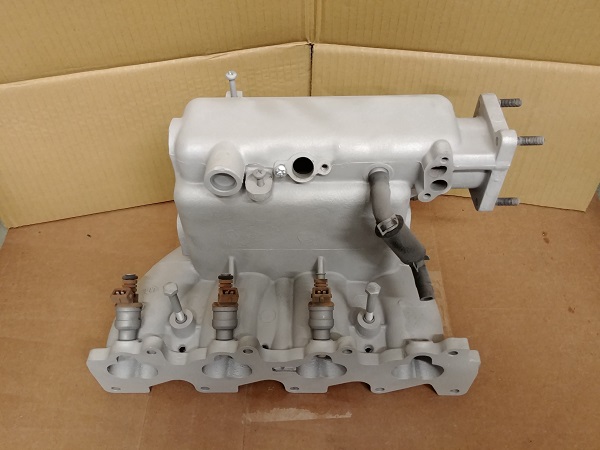
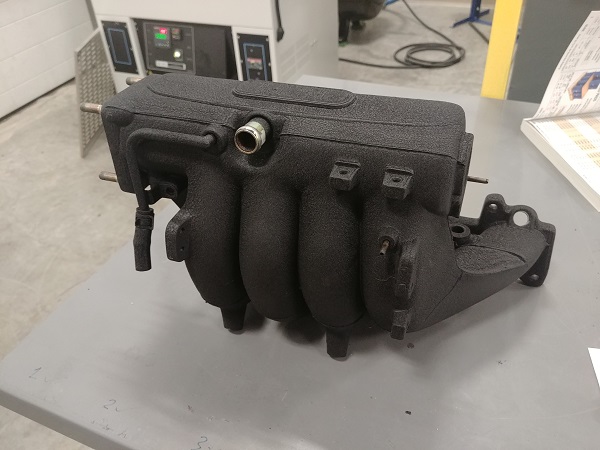
All of the threads and holes were protected before painting, again a wrinkle paint that is cured in an oven.

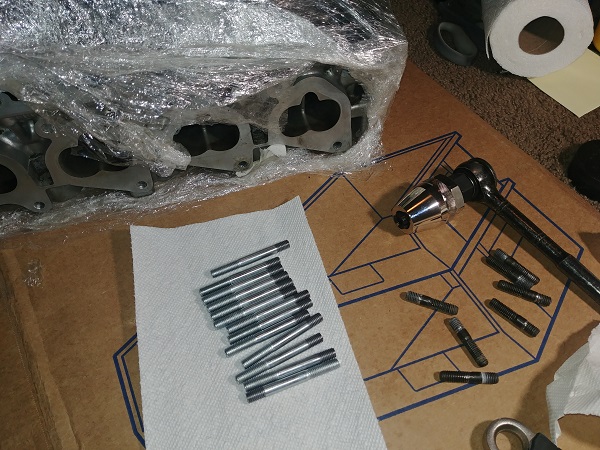
I originally had to make some longer studs for the cylinder head. This time I wanted to make a better job of them but did not have access to a manual lathe nor did I have the right tooling for a CNC. So instead I would use a manual threading die and 3D print a jig that would ensure a perfectly concentric thread.
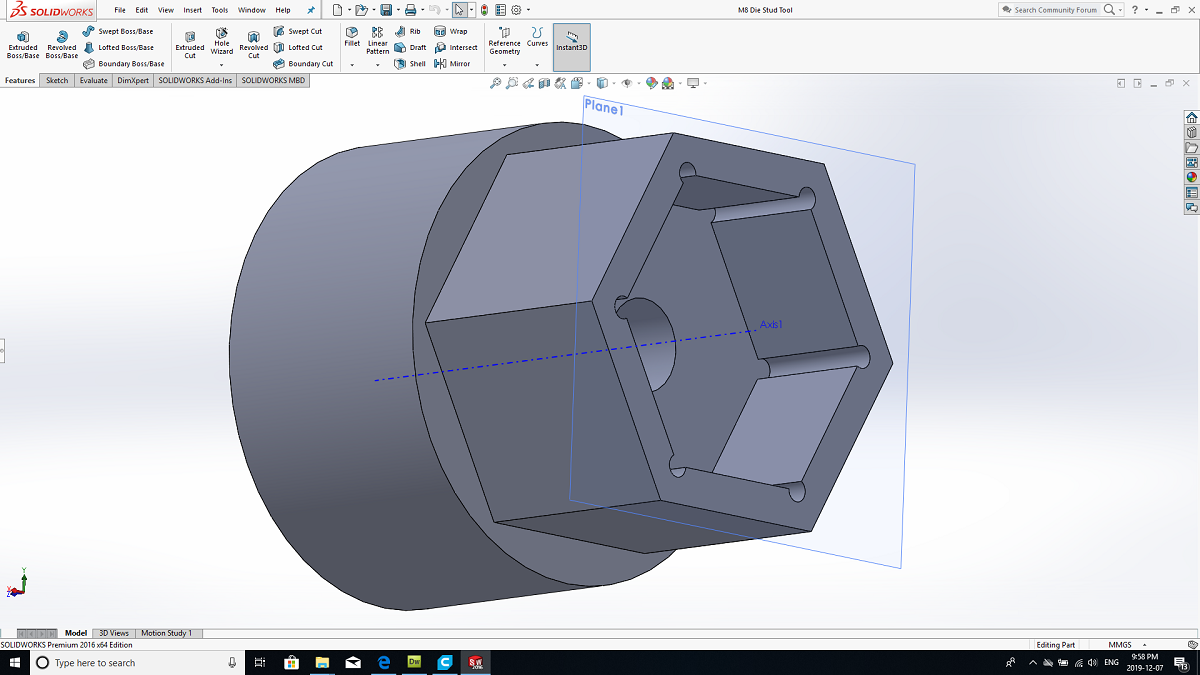
The jig was 3D printed in polycarbonate and made to suit a 1 inch die and 32mm socket. Using the jig ensured that the threads were perfectly aligned, an issue present with my previous studs. I then removed the existing studs from the cylinder head.
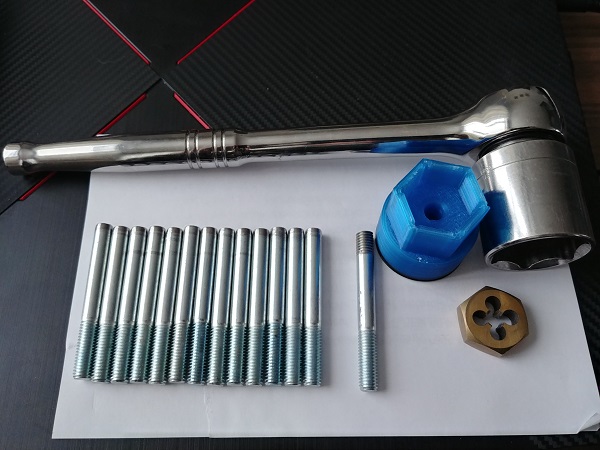
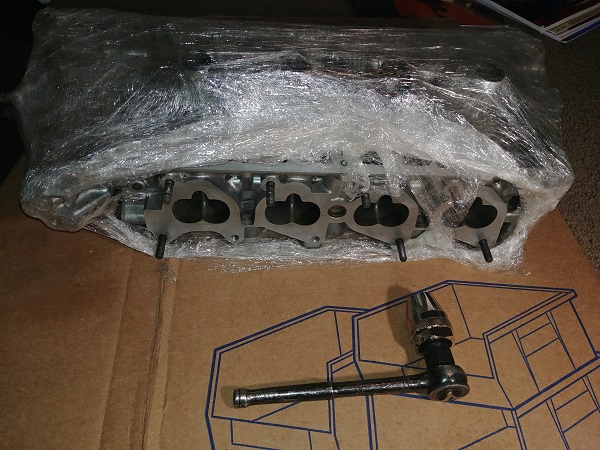
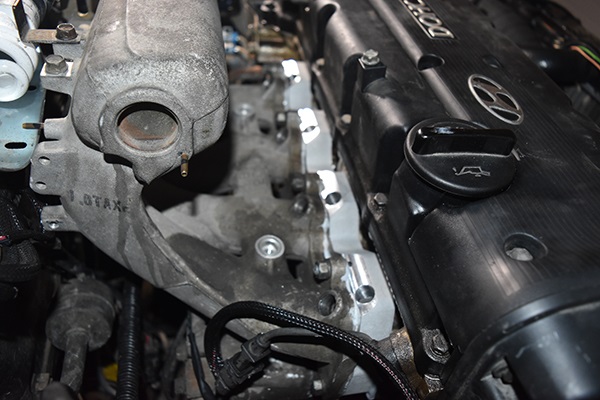
The old studs removed and the new ones installed.
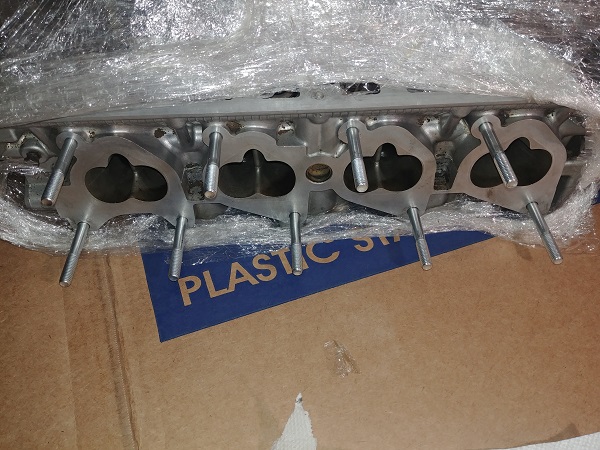
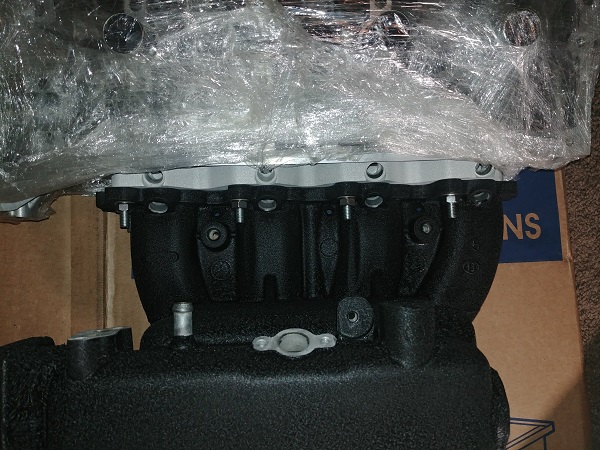
The intake along with the injector spacer bolted to the cylinder head.
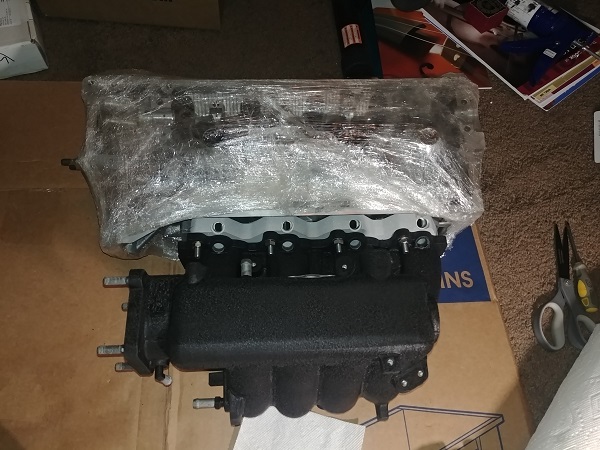
Keep checking through my other projects as you'll see this injector spacer used along with a custom fuel rail for it.
Hello, if you have enjoyed reading this project, have taken an interest in another or want me to progress one further then please consider donating or even sponsoring a small amount every month, for more information on why you may like to help me out then follow the sponsor link to the left. Otherwise you can donate any amount with the link below, thank you!