Billet Connecting Rods and Pistons - Page 2
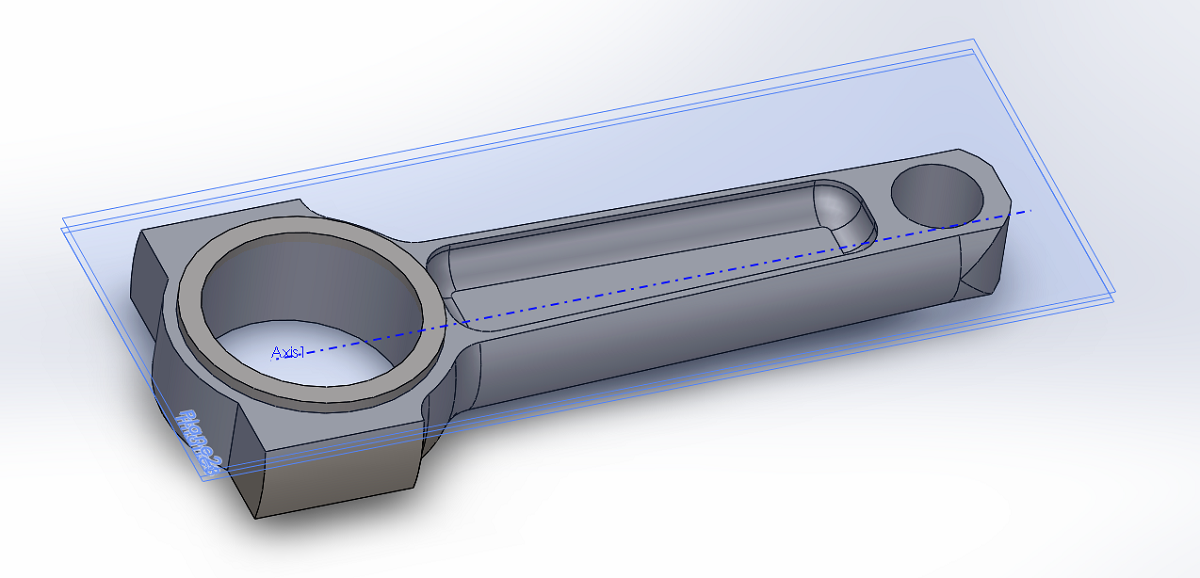
This is the second page on making my own billet connecting rods and pistons. I originally wanted to do all of the operations requiring accuracy on the lathe, unfortunately this was not the case. I decided that I would make use of the CNC mill and just see what happens. I also revised the design to something that can handle much more power while conserving weight. These rods will not raise the redline RPM all that much, probably to around 7000 at the most. They will greatly increase the amount of torque potential and they should withstand around 1200 bhp.
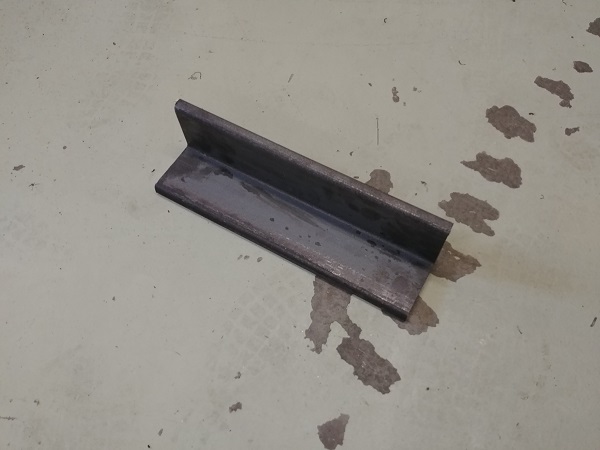
The first step was to make some jigs to hold the rods in the mill. I started out with some 3 inch angle, 0.5 inch wall.
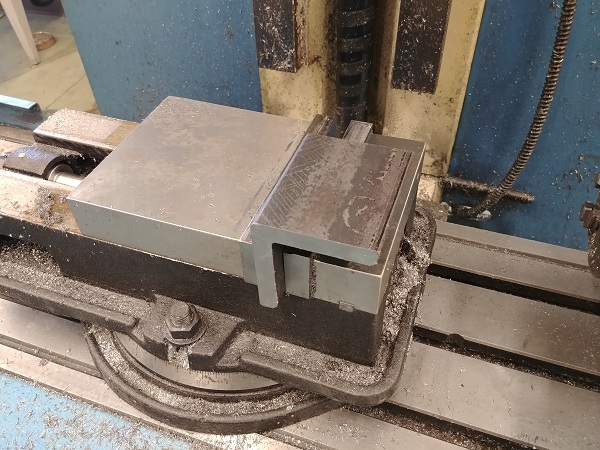
Both of the faces were milled flat to ensure it was at a perfect right angle.
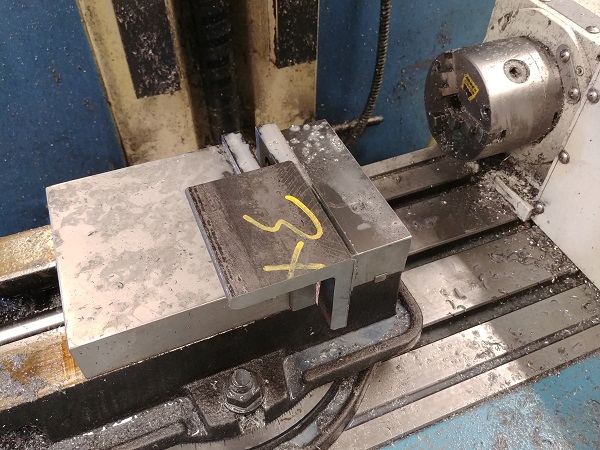
I created a milling path on the CAM software to cut a slot that will hold the bottom of the rod.
The rod bolted to it nicely, I also torqued the bolts down to specification.
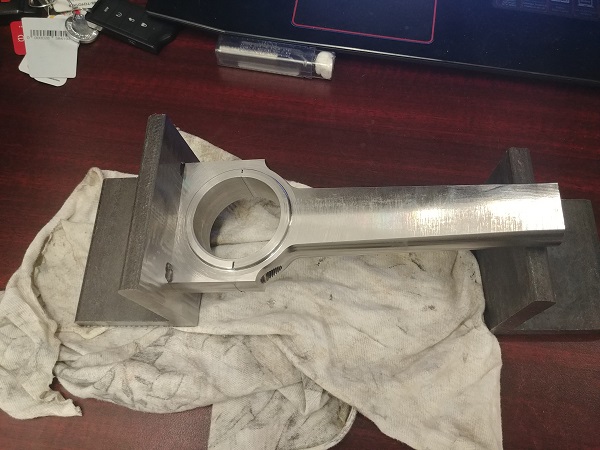
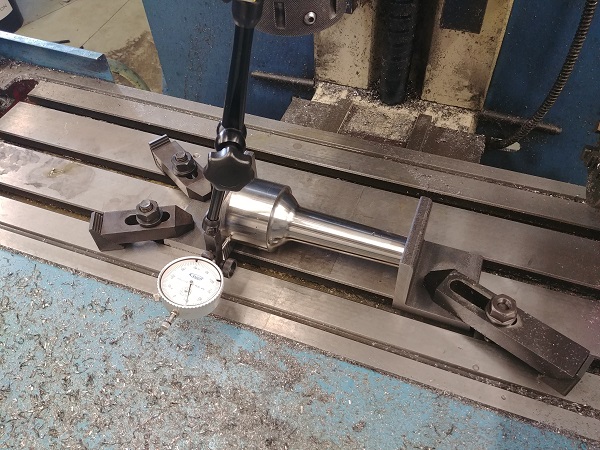
The next step was to make a jig to hold the other side of the rod.
I chose to make the hole a press fit, this should be ample support. I made sure to clock it perfectly straight on the mill bed.
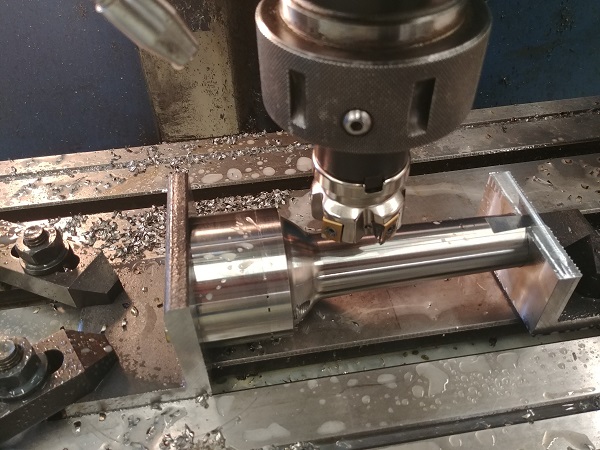
I milled away part of the jig manually so that I could use the end as a reference point.
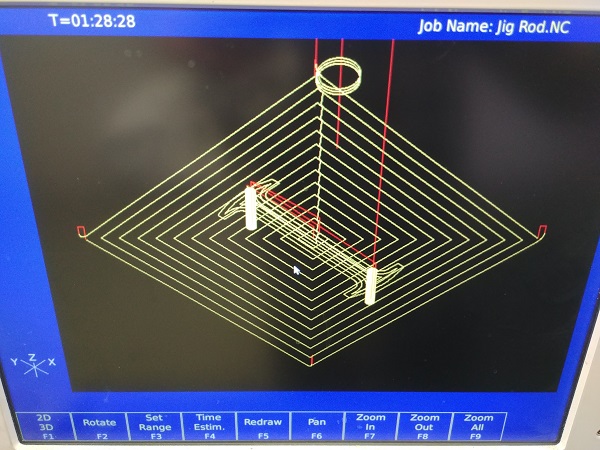
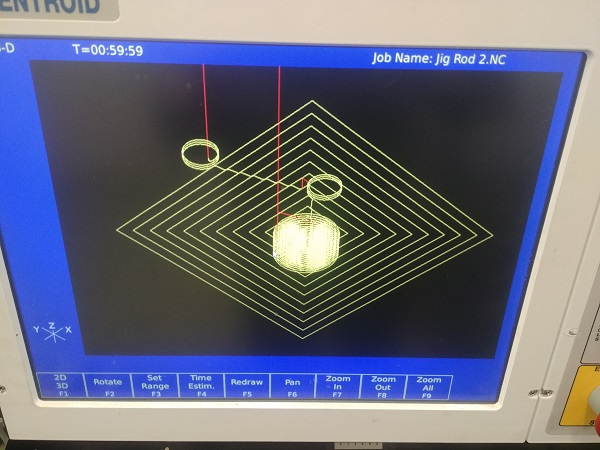
I set the zero point and created a milling path on CAM.
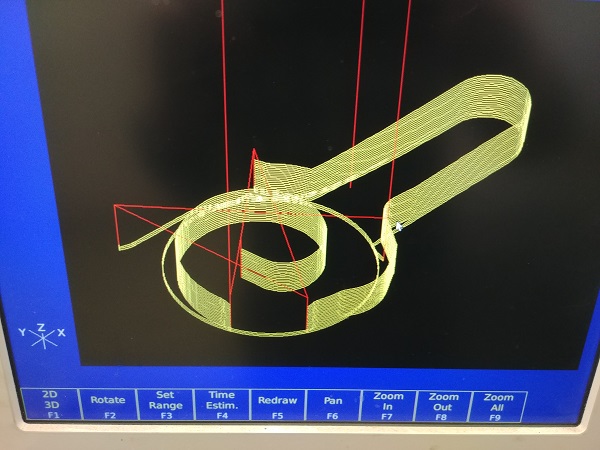
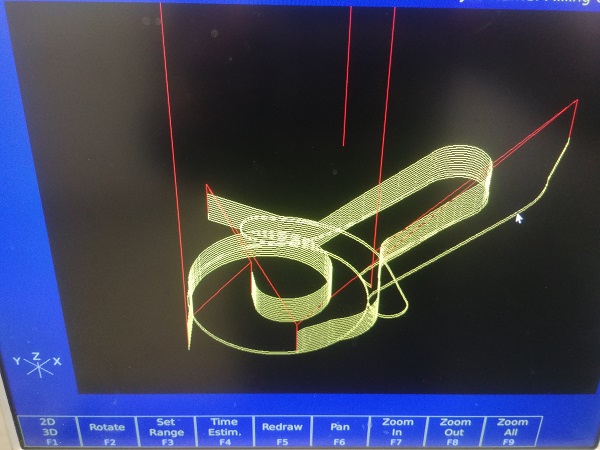
Over the course of milling this part I played around on the CAM software to reduce the number of passes and therefore time. There was quite a number of fresh air cuts, I managed to remove all of these and get it down to 38 minutes.
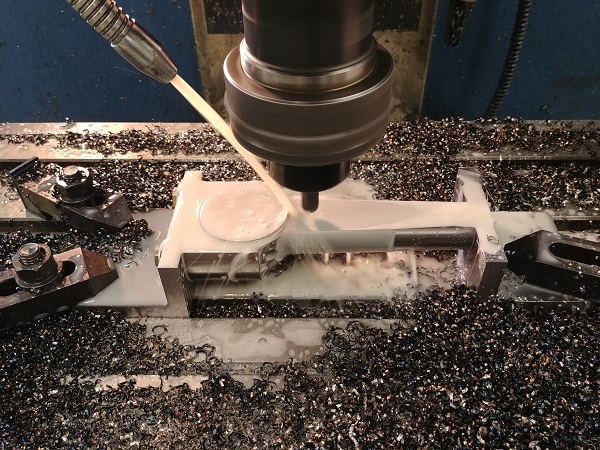
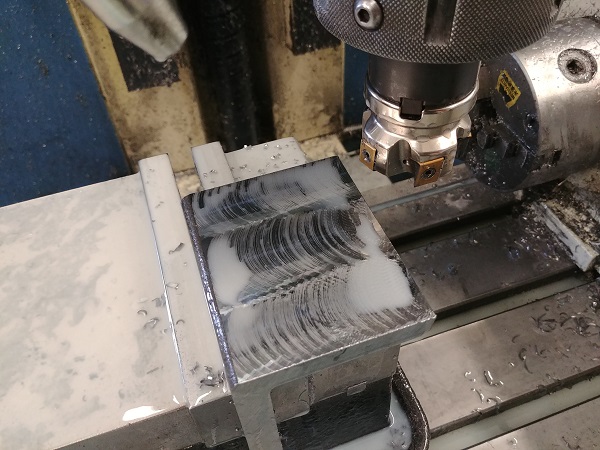
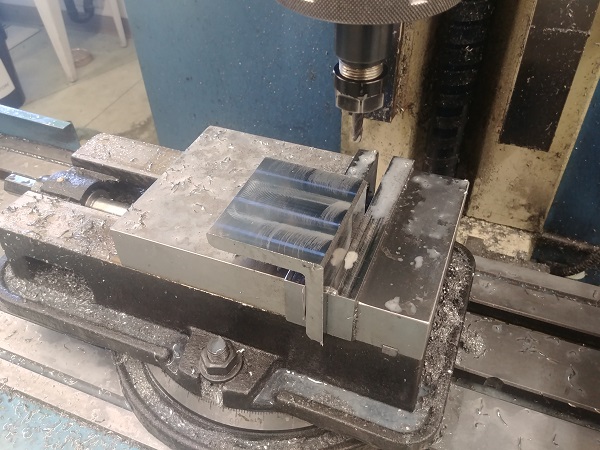
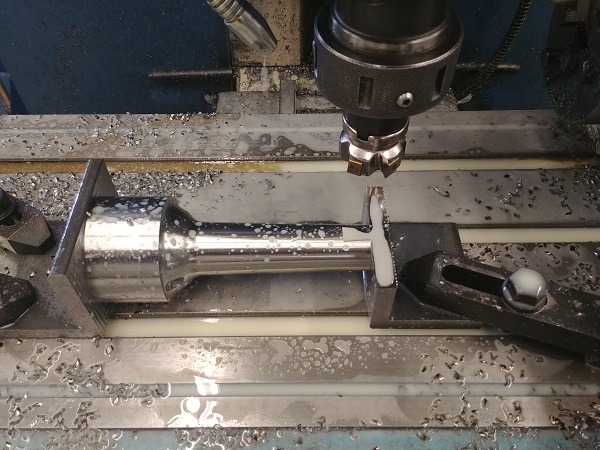
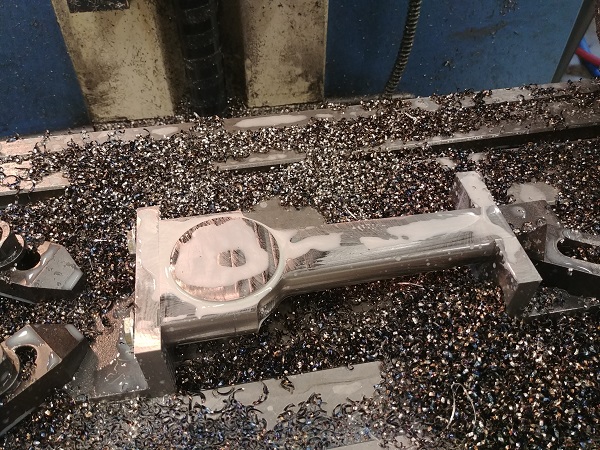
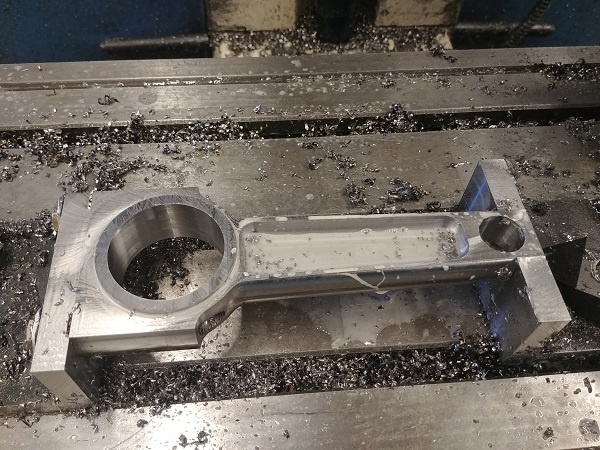
I roughed out the slot before attacking it with a ball nose cutter.
There was a lot of chatter and I chipped the edges of the cutter, I learnt from my mistake. The part was flipped in the fixtures, torqued and then aligned.


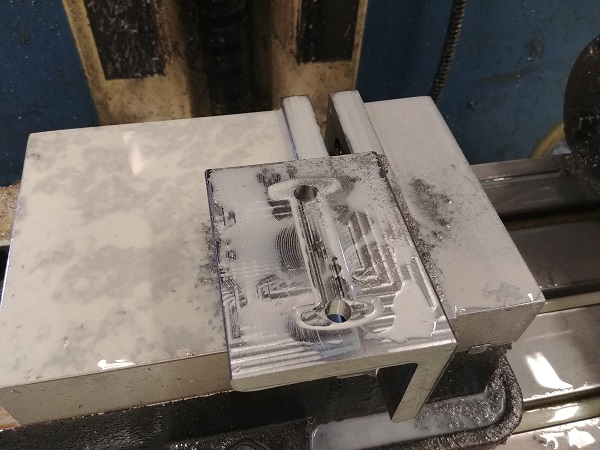
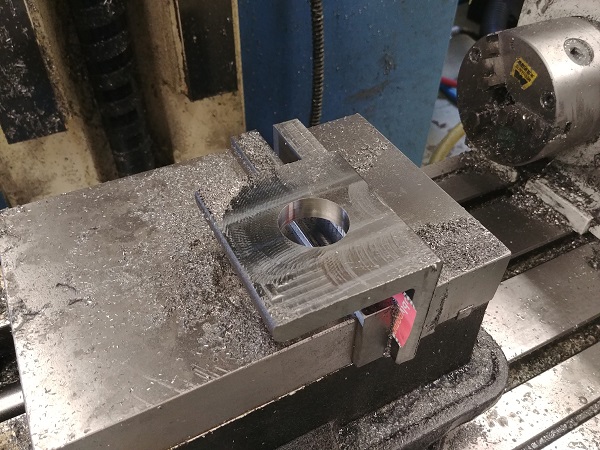
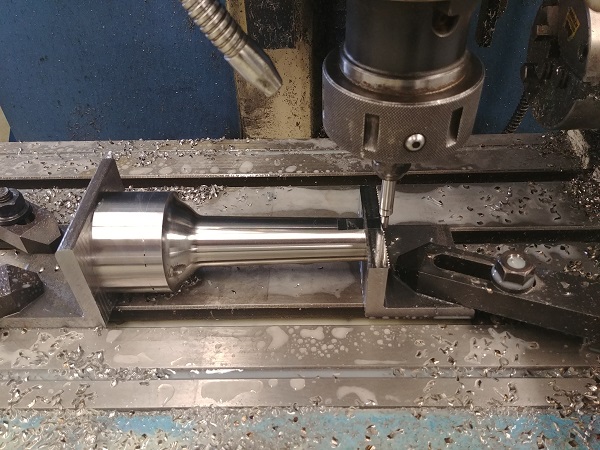
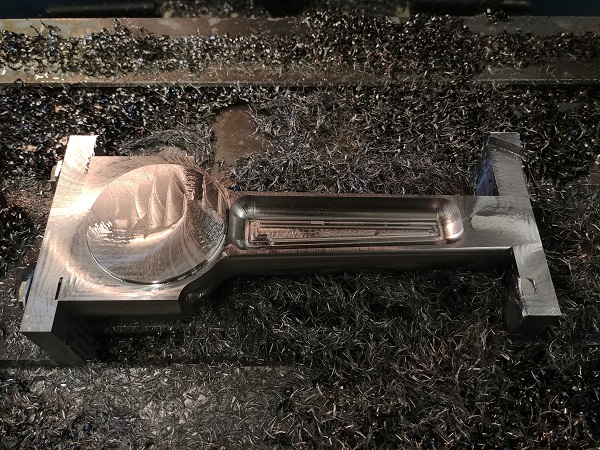
This time I roughed a lot more of the slot out, this required quite a bit of playing around on the design as I only had 2D milling paths available.
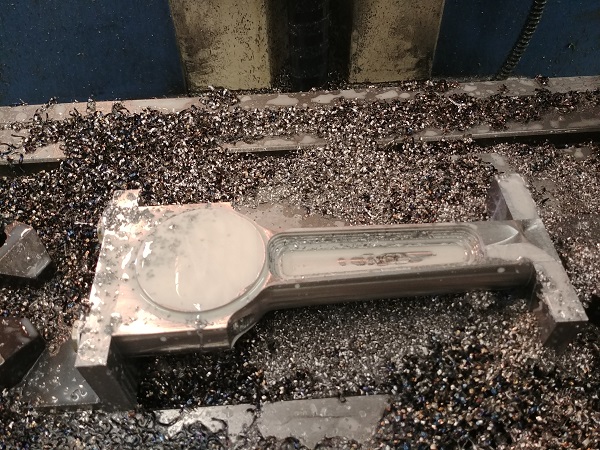
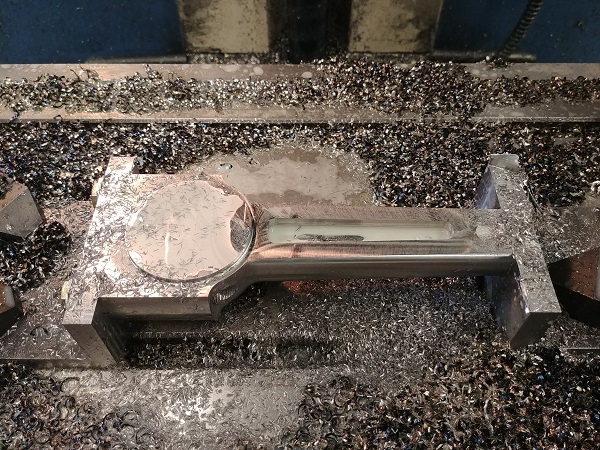
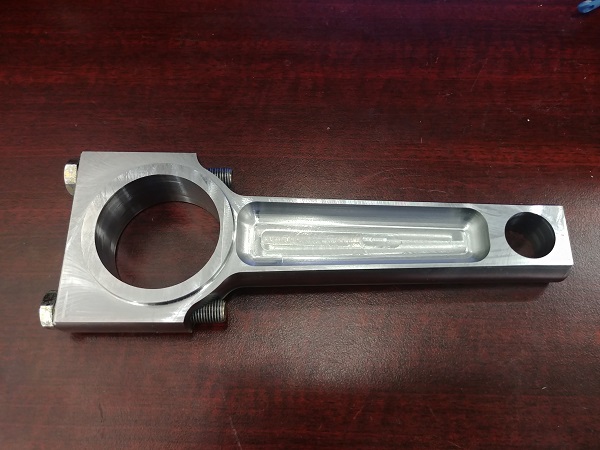
This time the ball nose cutter made no noise at all, it came out great. The one thing I was a little nervous about would be the accuracy of the big end, or more it's roundness. The mill did an ok job but still not suitable for my engine, luckily it was still undersize. The wrist pin bore would have to be reamed in order to get it the right size, hopefully I can borrow one. I should be able to chuck the big end in the lathe and finish off the bore that way.
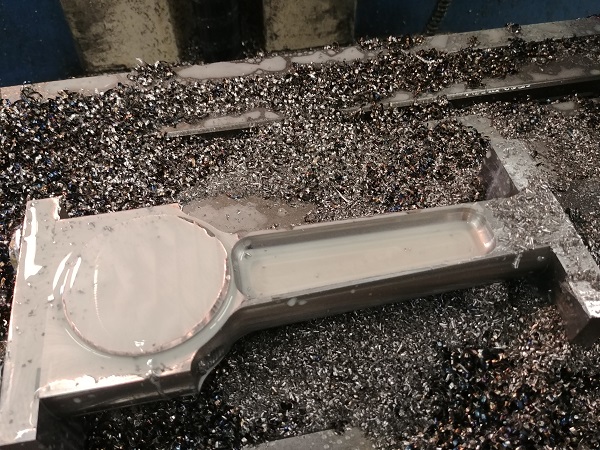
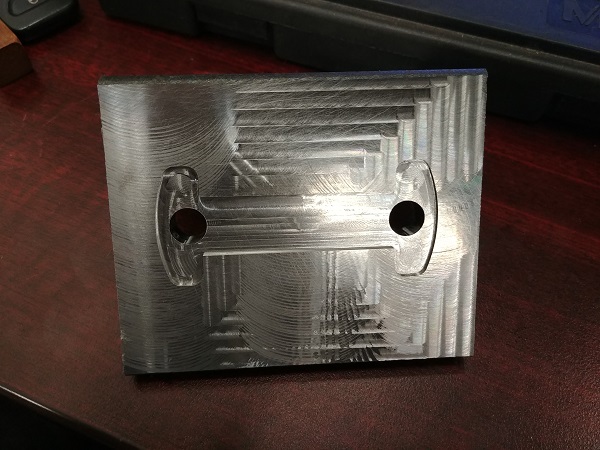
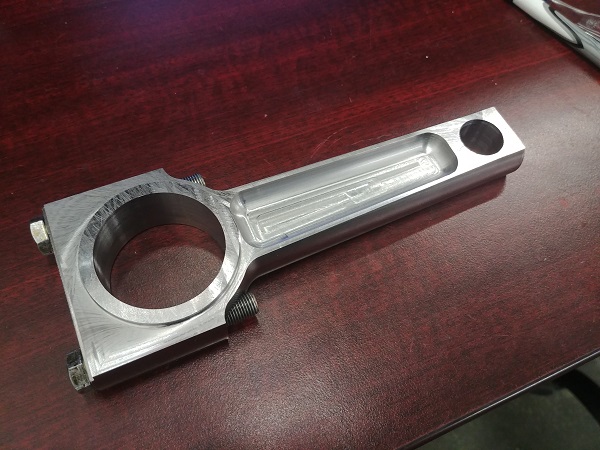
I removed the rod from the mill to see how the part came out, luckily pretty good.
So I tried to fit these rods in around work the best I could, I spent a lot of hours and late nights working on these. The big issue at the moment is that I simply don't have the time to work on them. I cannot stay after hours anymore, that was the only reason I returned to this job and not any old other job. To machine each side of the rod it will take me around 90 minutes, these will take me weeks to complete at this pace. I have invested around $500 in metal and milling cutters, plus there is some aluminium I bought for the pistons, another $180.
So what should I do? well there isn't a lot I can do for now. On a side note I have spent many many hours doing research into similar rods and getting quotes from China. To have some made is simply out of the question and far too expensive. I have thought of some very interesting solutions which I believe no one has tried before.
So it's pretty common knowledge that reducing compression ratio will allow you to run worse fuel, or more boost or even a bad tune. If I was to reduce the rod length by just 3mm then I would drop the compression ratio to 7.8 : 1. This low ratio means it will greatly reduce the low end torque but allow me to run stock pistons up to around 500bhp. There are some very cheap Honda forged rods rated at 1000bhp, 8000rpm for just $300. The difference is that these rods use floating pins as opposed to pressed and have different dimensions. The rod width is 2mm thinner and the bore is 3mm larger.
I can make some shells to place in the big end that will not only increase the width but reduce the bore to the correct size. The only thing I have to be sure about is that I pin the shells in place to stop them from spinning. I also learnt that the side clearance on the big end does not matter all that much, if I used the correct bore rod, which I have found for $500 then I could use the pistons to centre the rods. Overall I need solutions that I don't require a CNC workshop, just a basic manual lathe will suffice (and ideally a mill).
Watch this space because I do intend to finish these rods if I can. I will likely use the aluminium for my billet dry sump system I have designed. Otherwise I have found a cheaper solution, I just don't have the money to invest in it yet. I put this project to a close July 2019.
Hello, if you have enjoyed reading this project, have taken an interest in another or want me to progress one further then please consider donating or even sponsoring a small amount every month, for more information on why you may like to help me out then follow the sponsor link to the left. Otherwise you can donate any amount with the link below, thank you!