Oil Filter Relocation
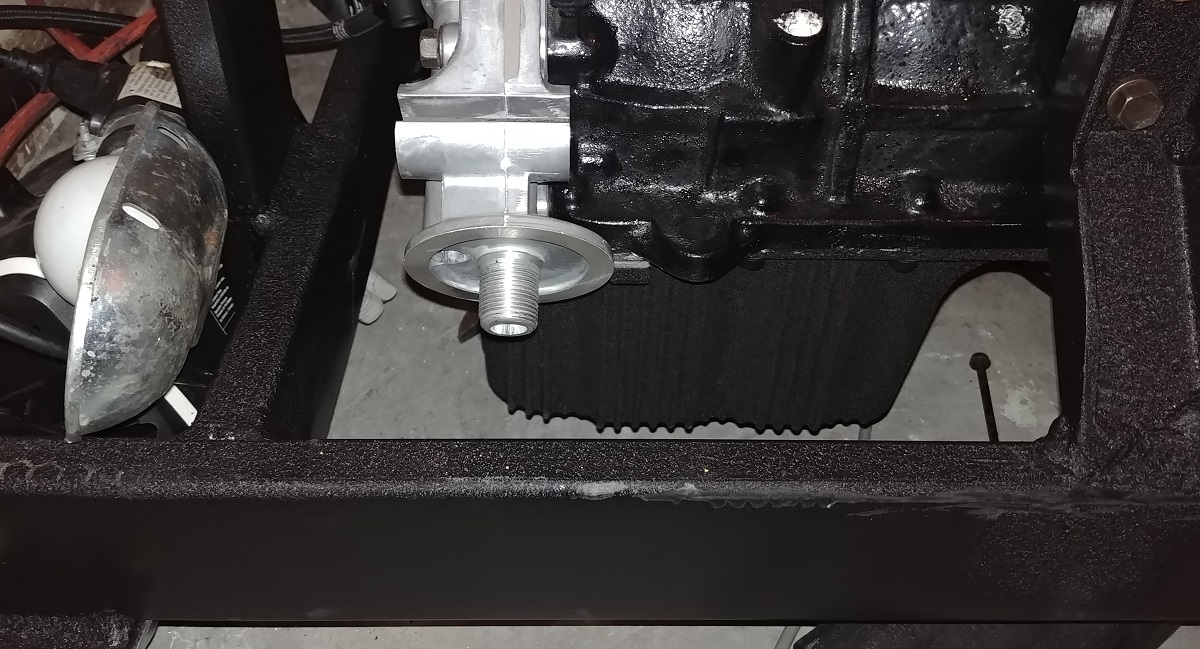
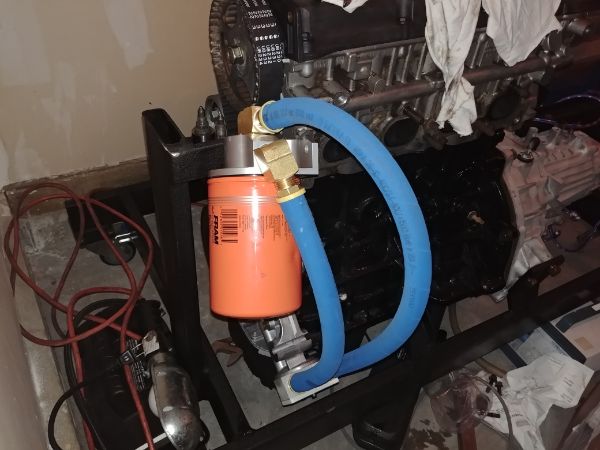
I chose to make an engine test stand for my second Hyundai Tiburon engine. The stands purpose will be to develop my engine computer and various other parts I choose to make. I Made the stand basing it on the short block and the transmission. What I did not account for was the oil filter, and as can be seen in the below picture, there is simply no room for a filter. So the second option was to buy a kit to relocate the filter, but this was a very expensive option. So the idea of this project is to make some parts to relocate the filter for both my current engine and this test engine.
There are a lot of universal parts out there for different applications. There are also cheap kits to relocate the filter, however the quality of the parts are questionable since they are bulk cast products. I found that the plate that adapts the oil filter was the most difficult to find for my low clearance application, with prices starting around $150 CAD. The oil filter adapter however was quite a simple and cheap find. It cost me just under $200 CAD to find two billet filter mounts and two extra large performance oil filters. I knew I would not be able to compete on that price, it would probably cost me more in tooling.
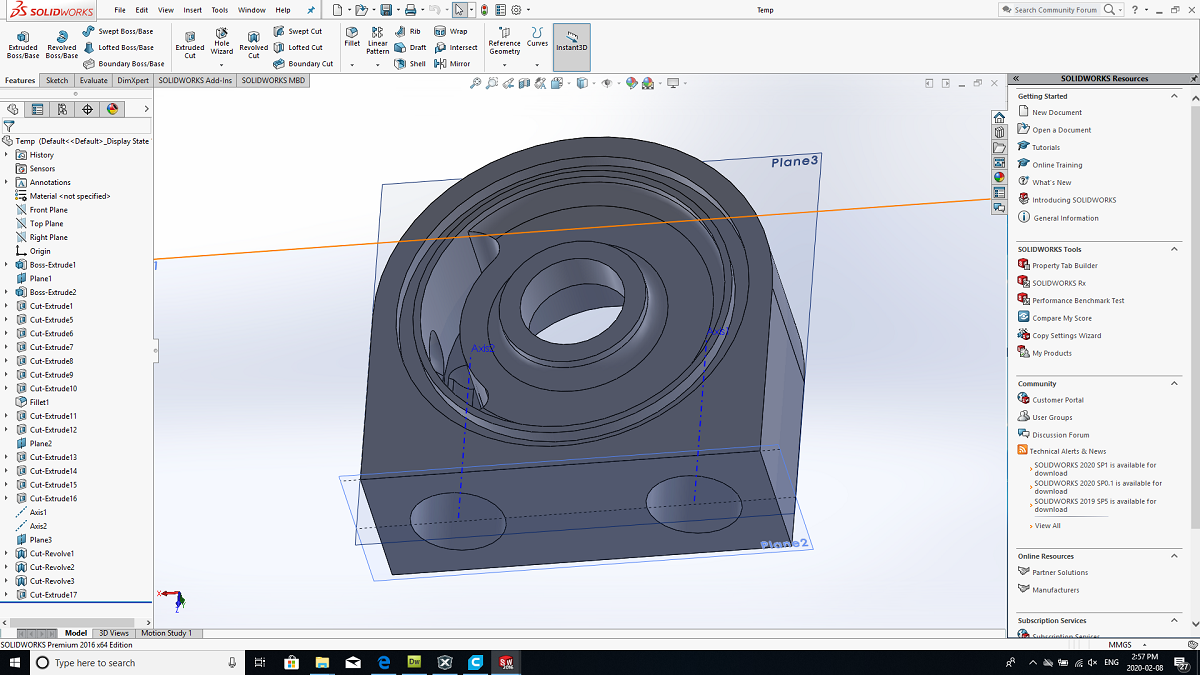
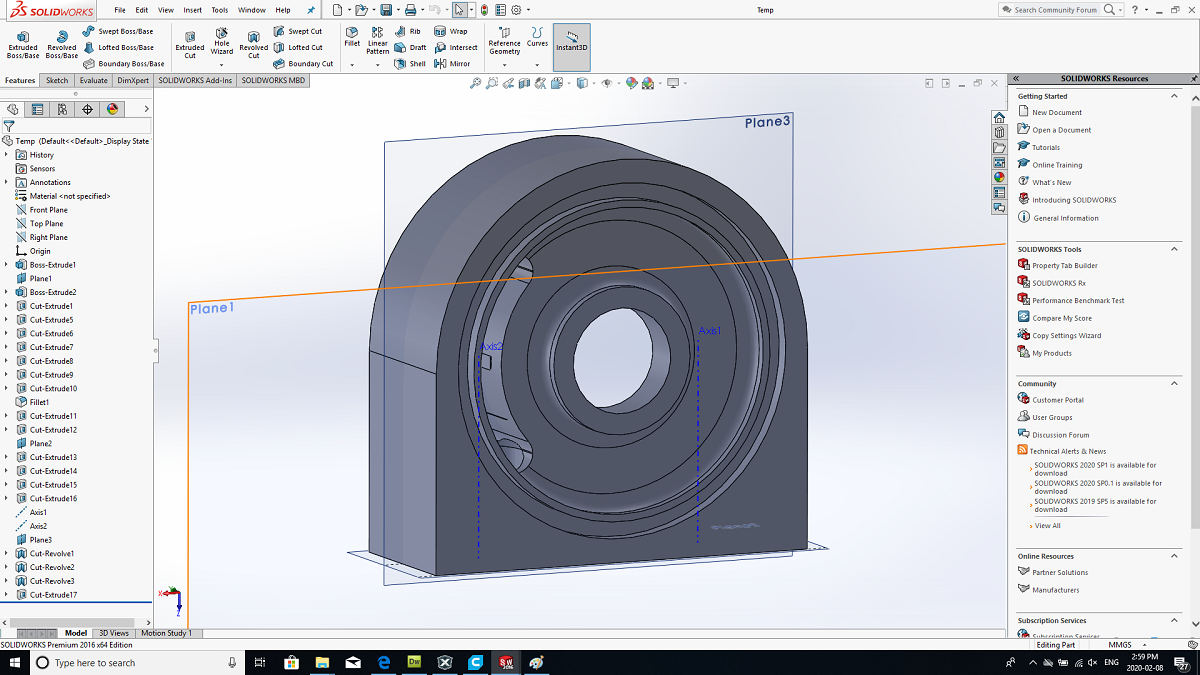
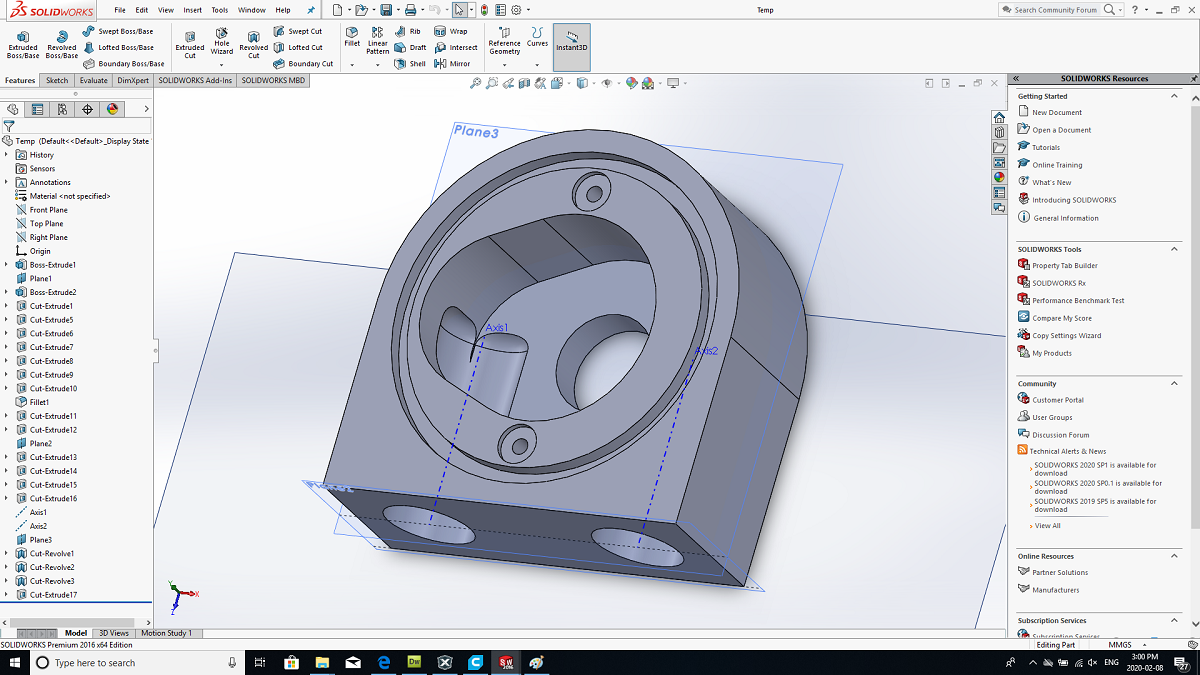
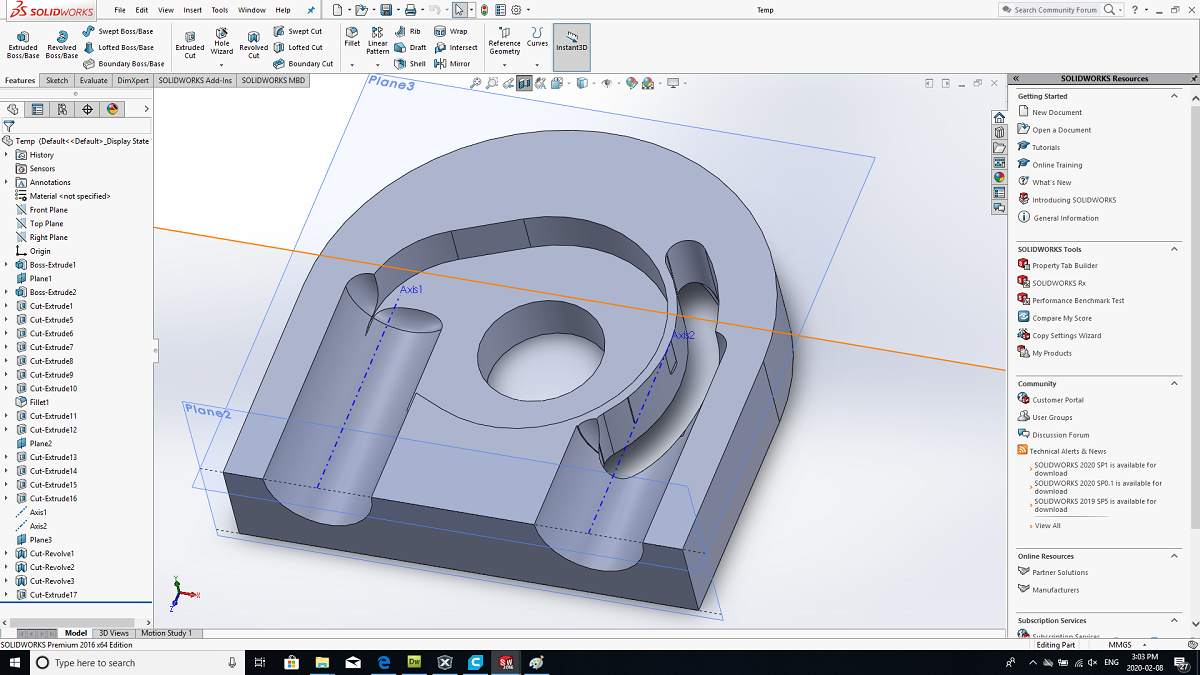
I set to designing the oil pump adapter, basing it on the low clearance I had available.
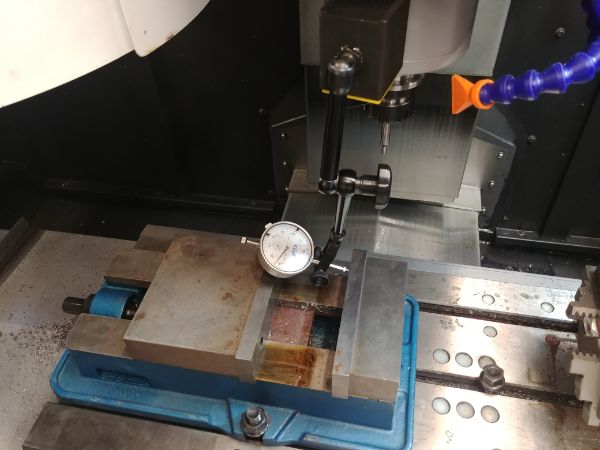
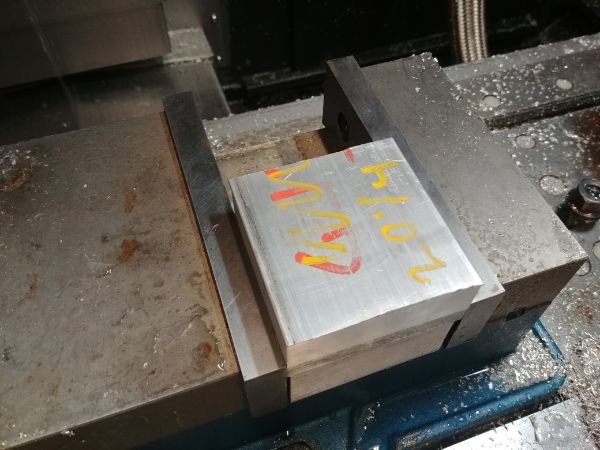
I started out with cutting some 3 inch square pieces of aluminium, 1.25 inch thick. I clocked the vice parallel and set the mills coordinates to the block of aluminium.
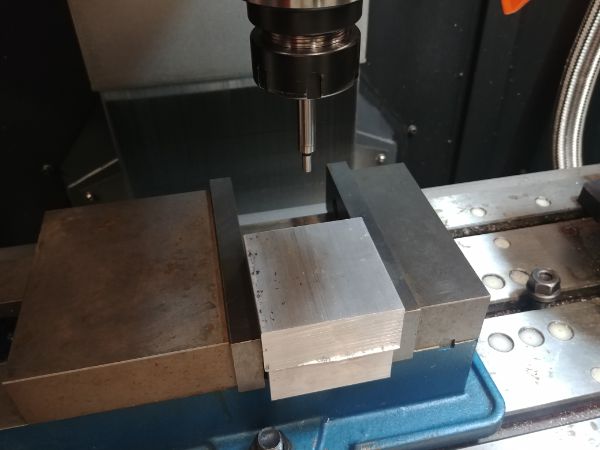
I knew this part would be a little trial and error since I only had access to the most basic milling software package. I chose to cut four pieces of plate, one of them I could afford to totally scrap.
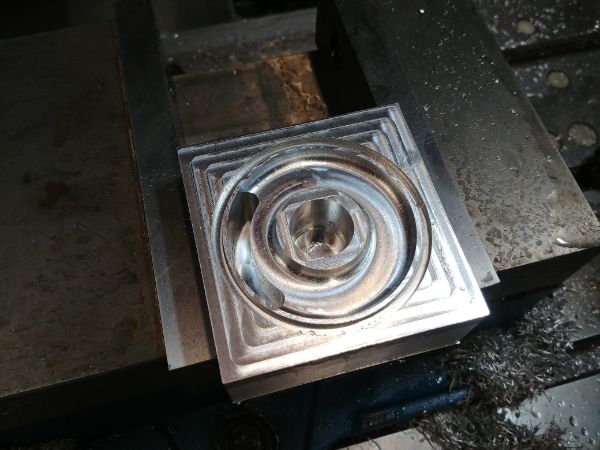
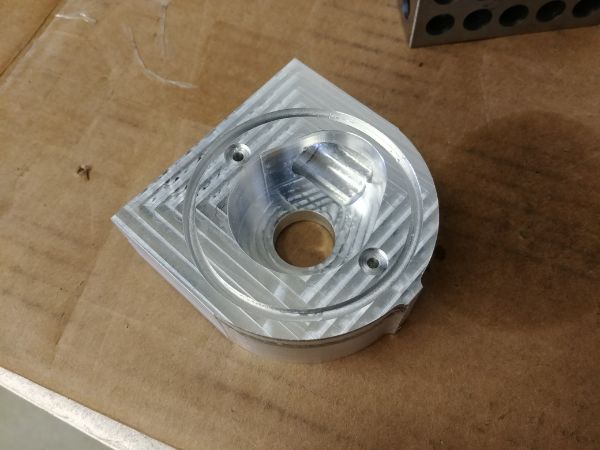
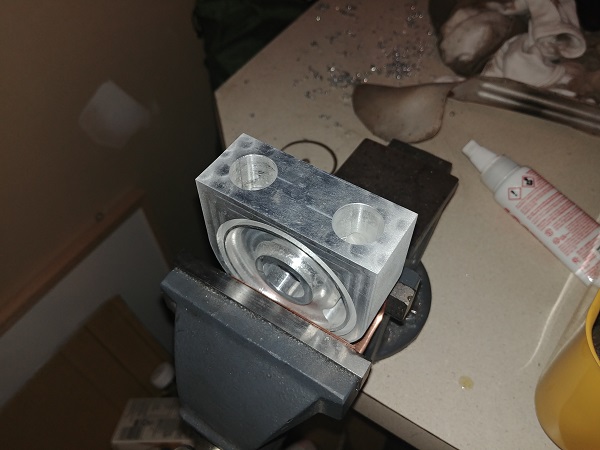
The first and second operations were pretty simple and also fast to mill. I forgot to take pictures of the third operation, these are two holes in the top which will be threaded for the oil hoses.
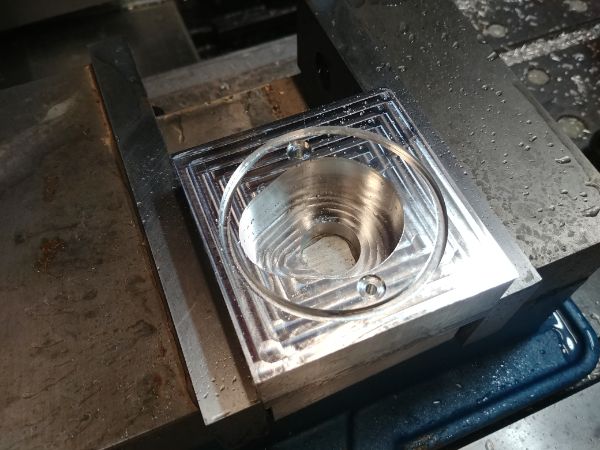
The finish came out pretty good considering all of these cuts were roughing speeds.
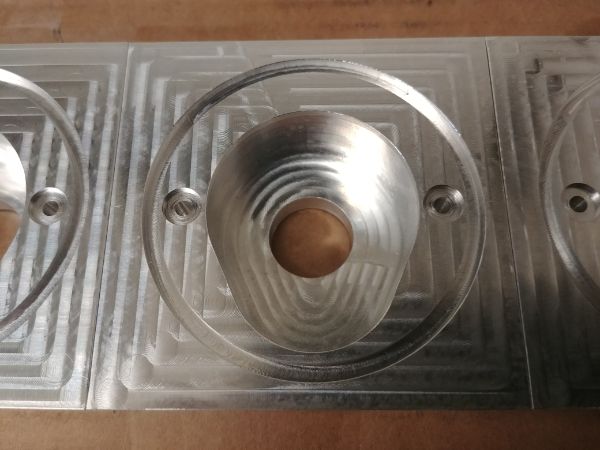
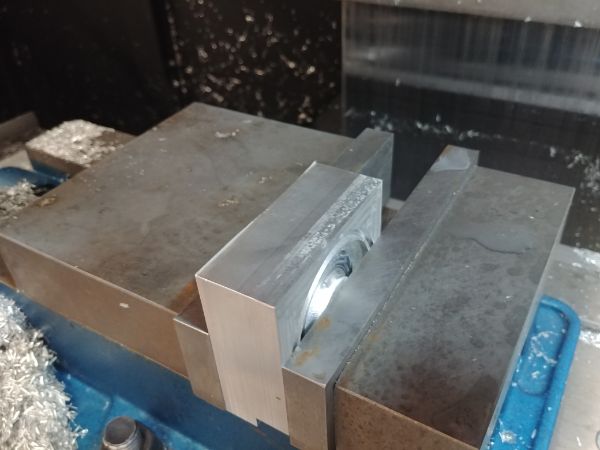
I had totally messed up one of the pieces due to a compensation error, but it allowed me to get everything right, well, almost. I milled a radius at the end of the piece which would require me to blend the rest by hand. I was in a bit of a rush, so did not have time to edit the model.
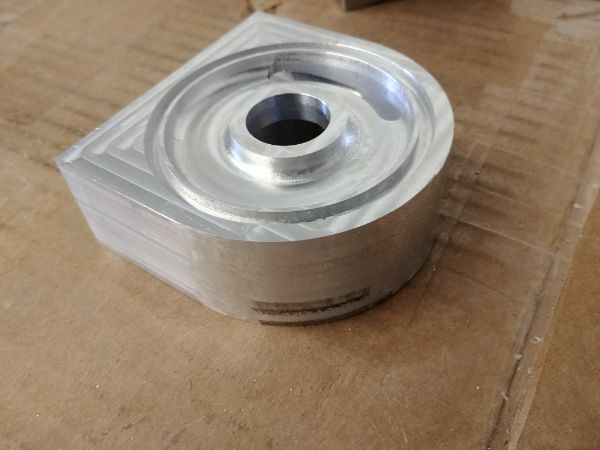
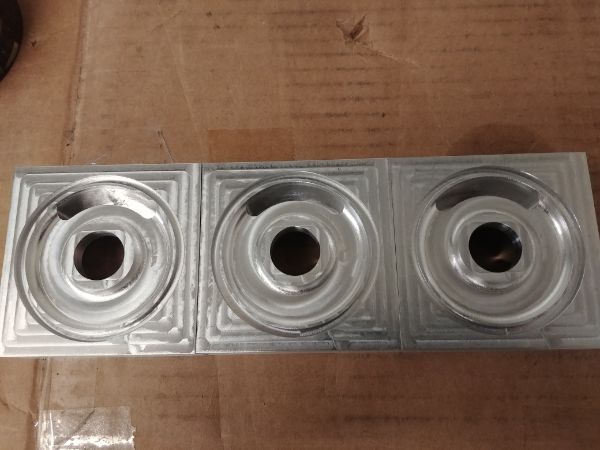
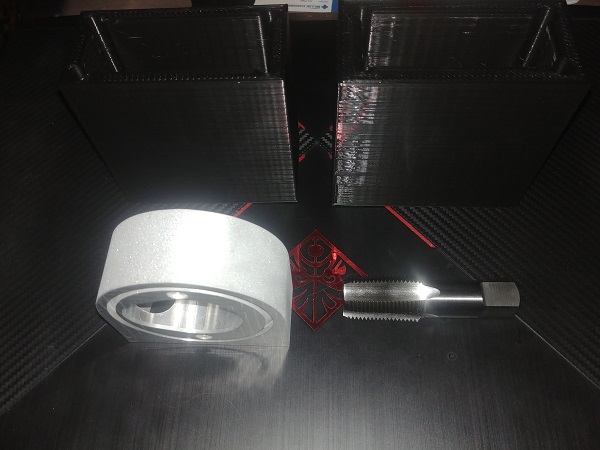
I blended the radius with a file and then threw them in the sand-blaster in order to get a uniform finish.
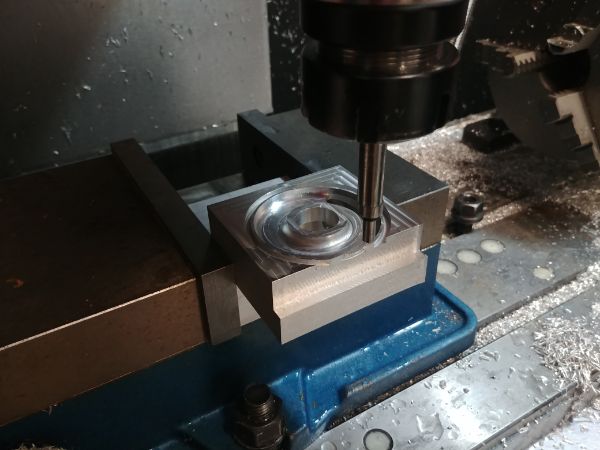
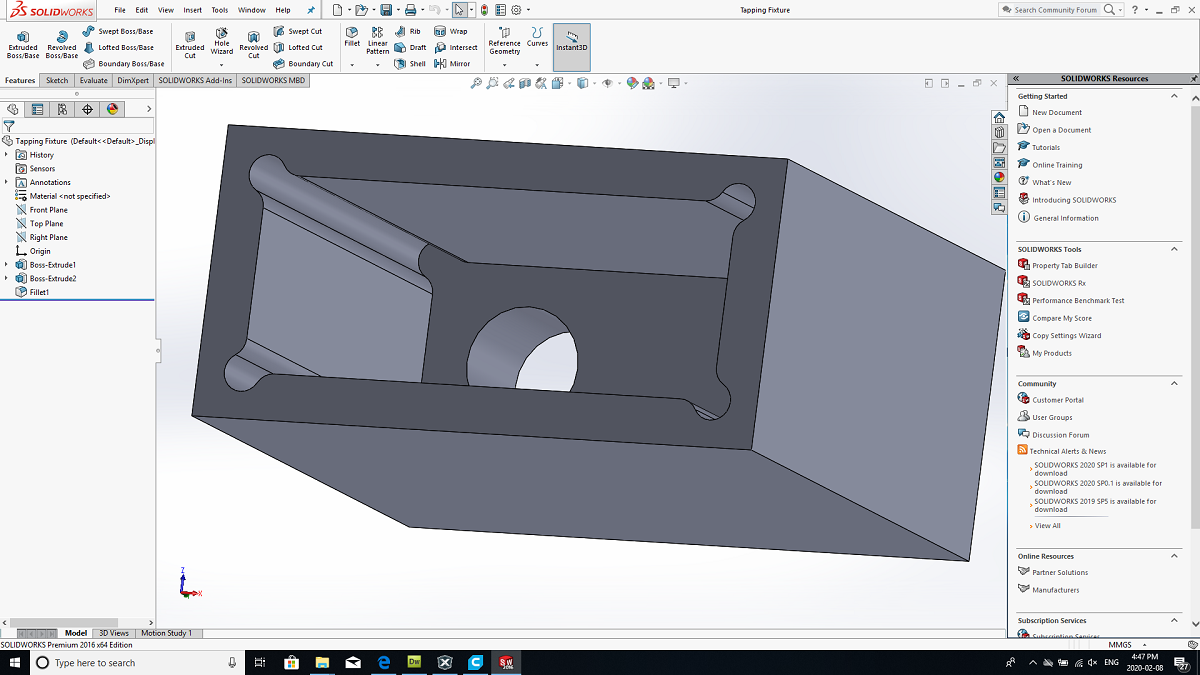
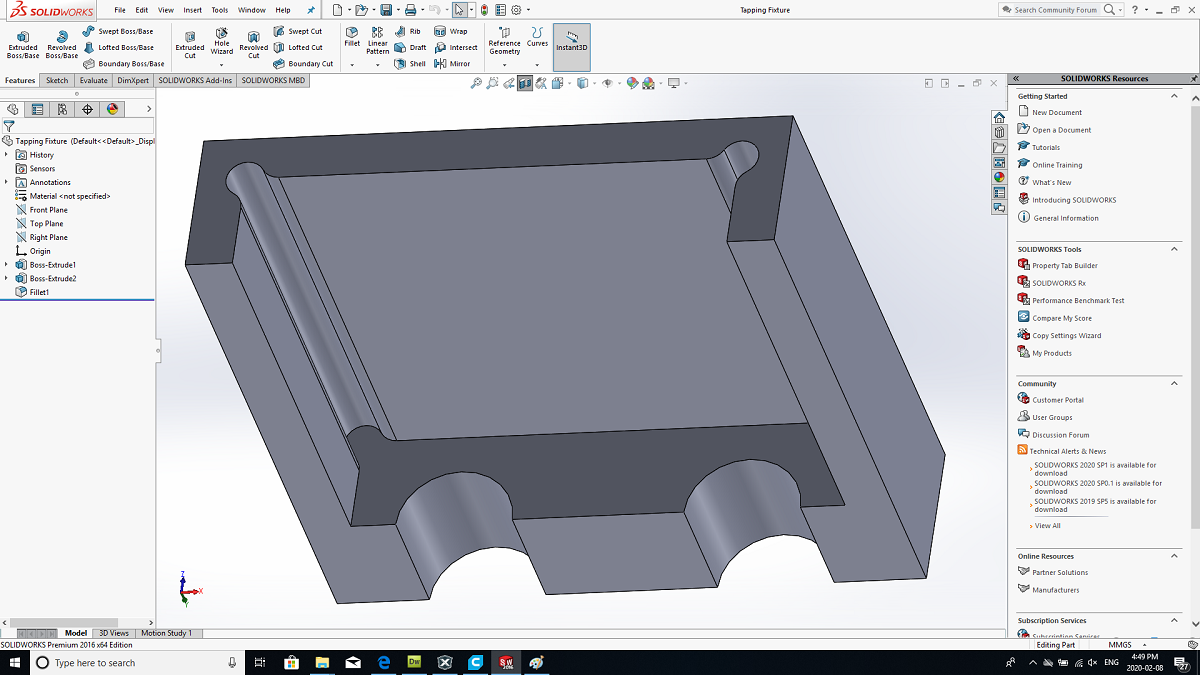
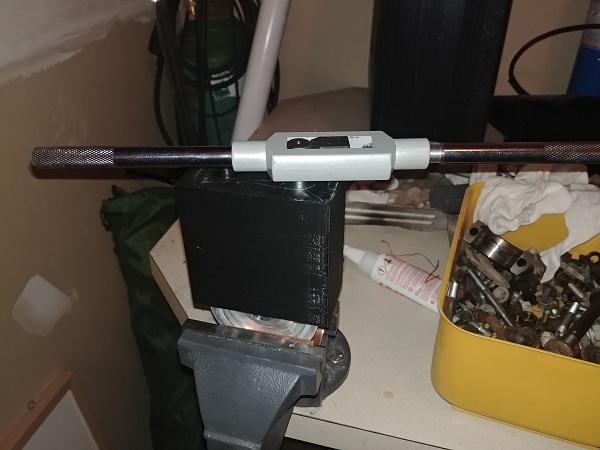
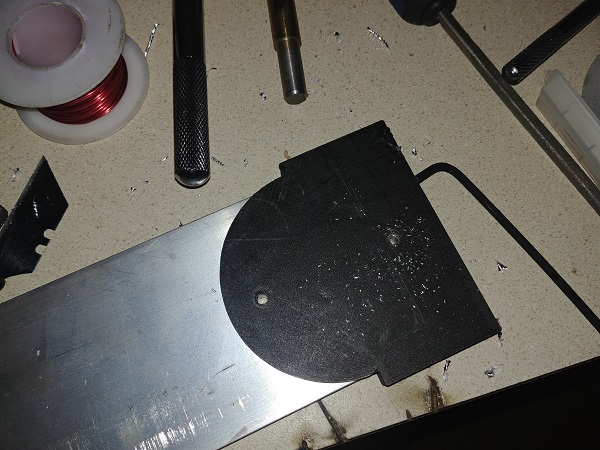
The next step would be to thread the holes to NPT 1/2", by hand. I chose to 3D print a tapping guide in order to ensure a straight thread.
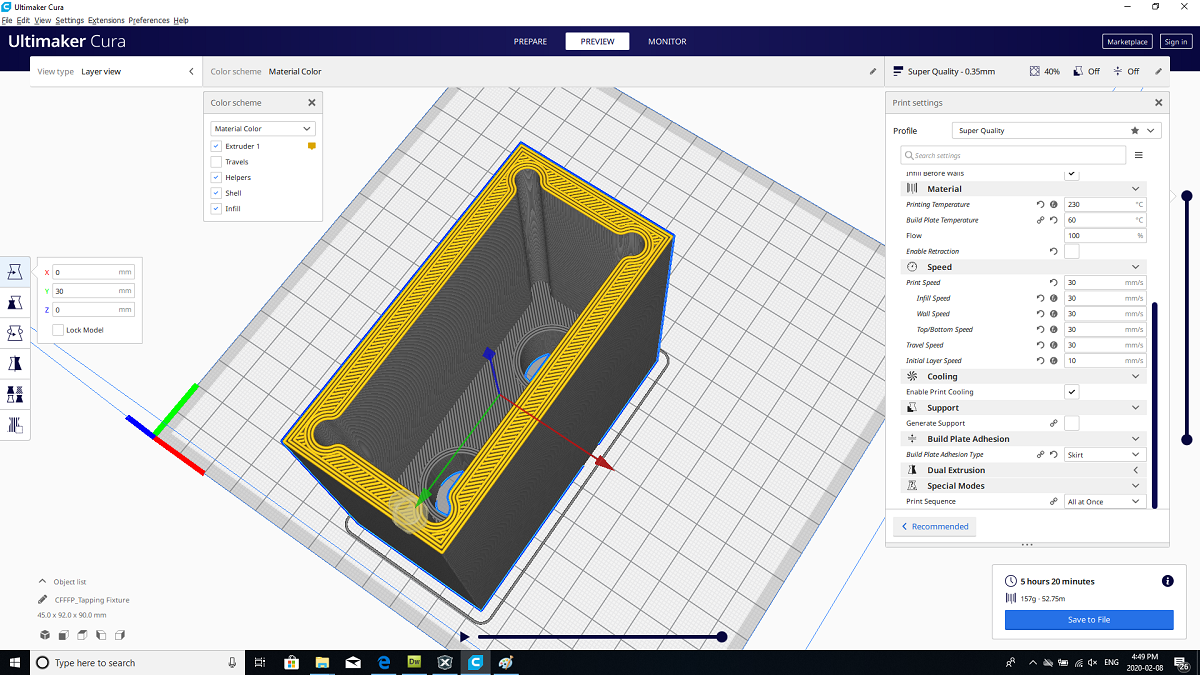
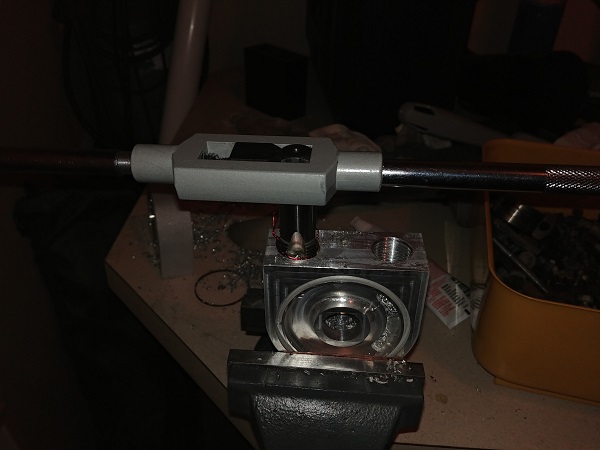
The first guide shrunk by quite a considerable amount so I had to print another. The part was gripped in a vise, I used copper sheet as to avoid damaging the aluminium.
The guide worked perfectly, I finished off the threads without it to ensure I got the correct depth.
I 3D printed a template so that I could drill some holes in the right place. I was quite surprised that only two M4 bolts held the plate down requiring very little torque. I originally thought this could be an issue and that I may be required to drill additional holes for securing bolts. For the final product I will insert some stainless studs with a thread locker, that way I'll have no doubt.
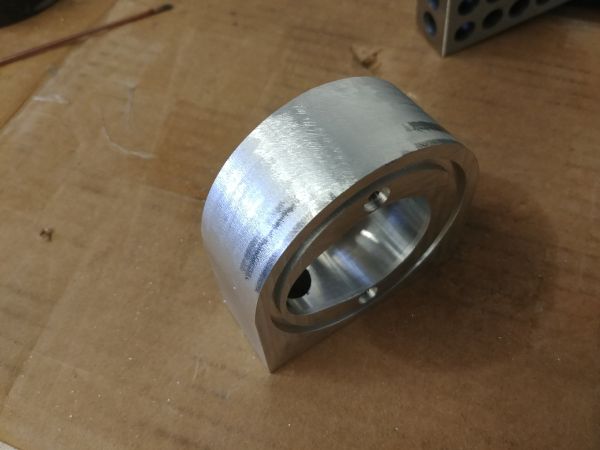
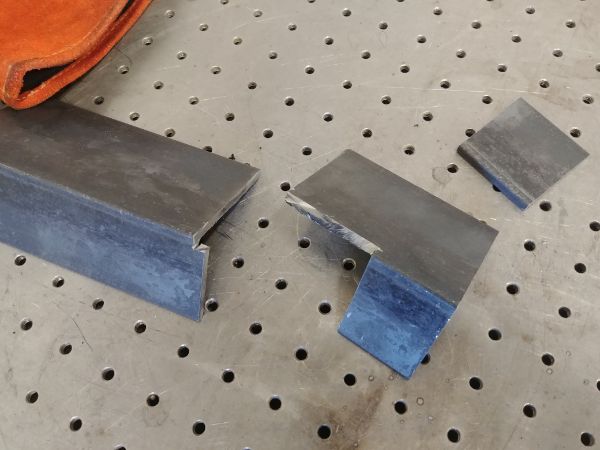
I cut the plate to the correct length and then roughed it with an angle grinder. I could quite easily place this back in the mill and blend the radius properly, however it is unlikely anyone will notice this part, so I will sand blast it instead.
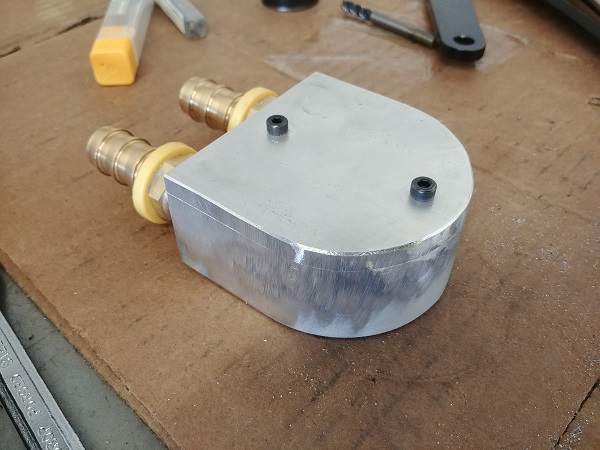
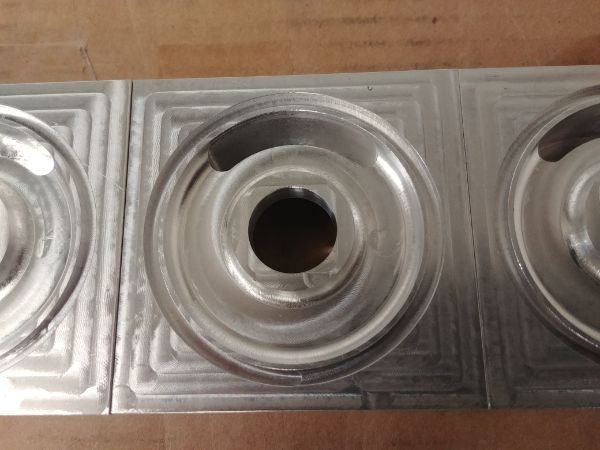
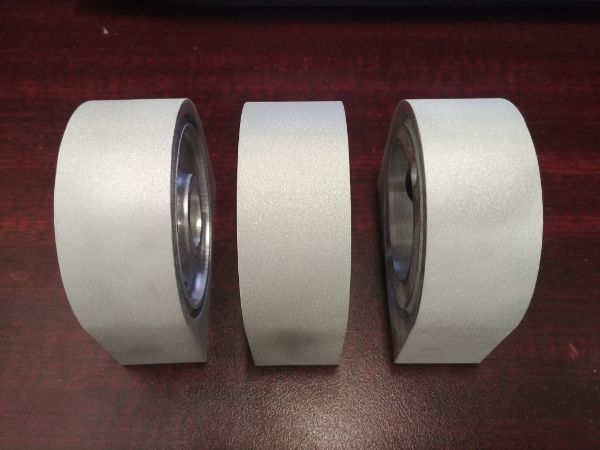
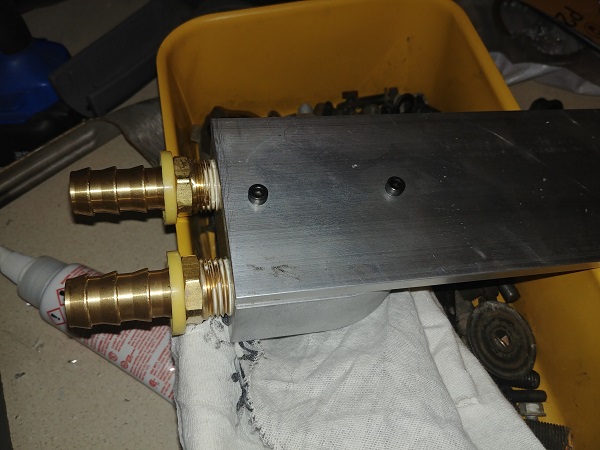
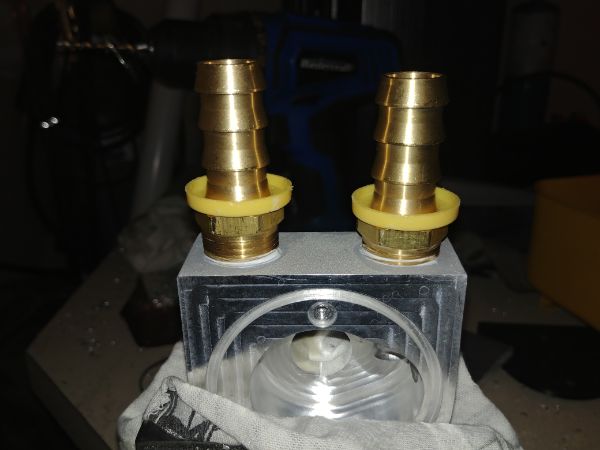
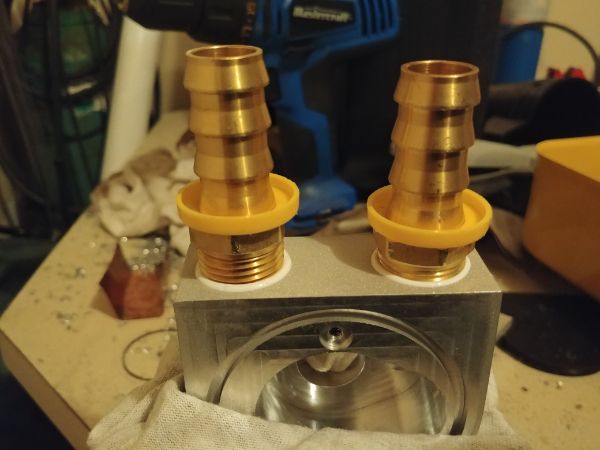
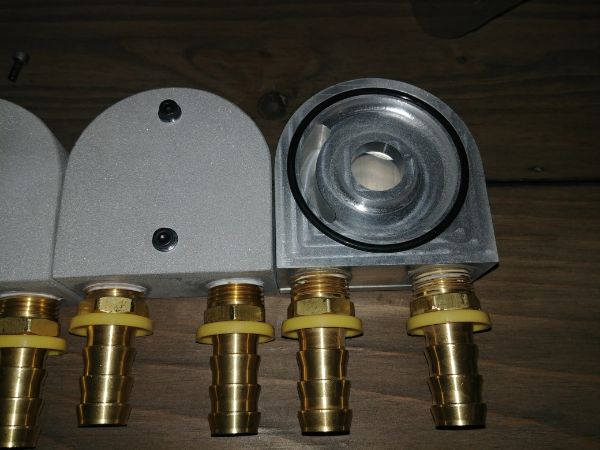
The outsides were blasted to even out the finish, I used caps to protect the threads. I inserted the barbs with some liquid thread sealant, the one on the right to a depth more than specification, it helps determine the in / out port easier.
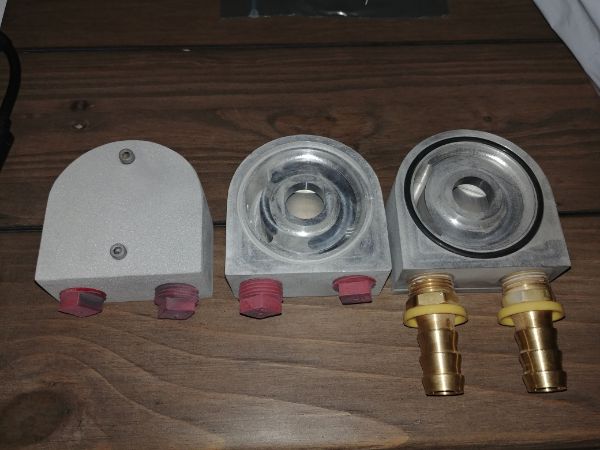
The cover plate and screws are sealed with the aid of O-rings.

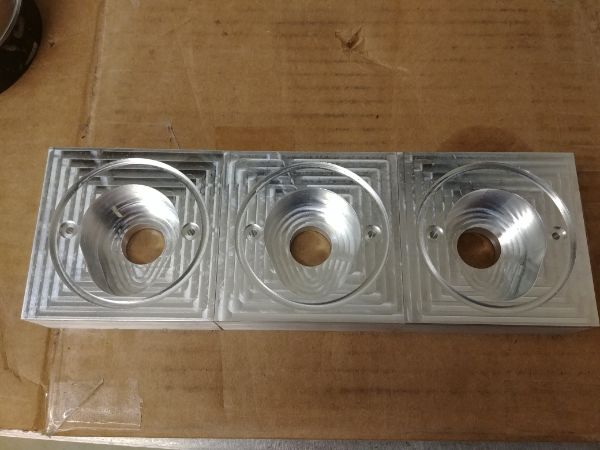
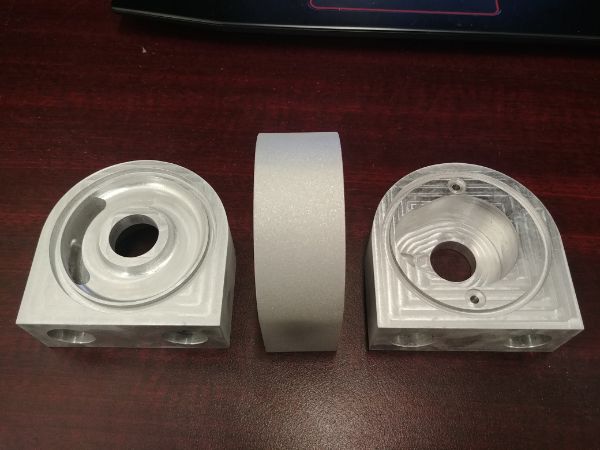
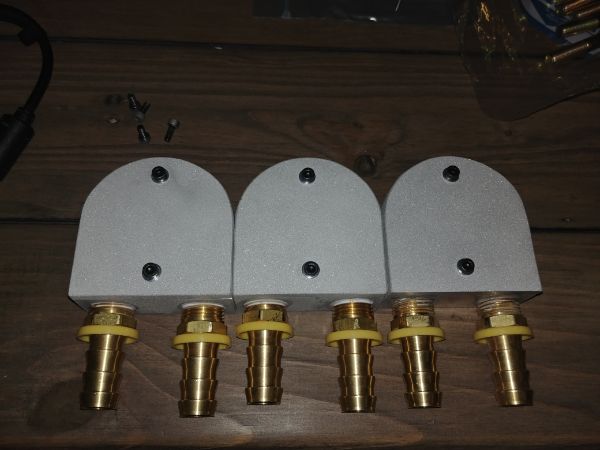
The adapters are now complete, the only difference is the one on the right was the first piece and I did not tap one thread deeper.
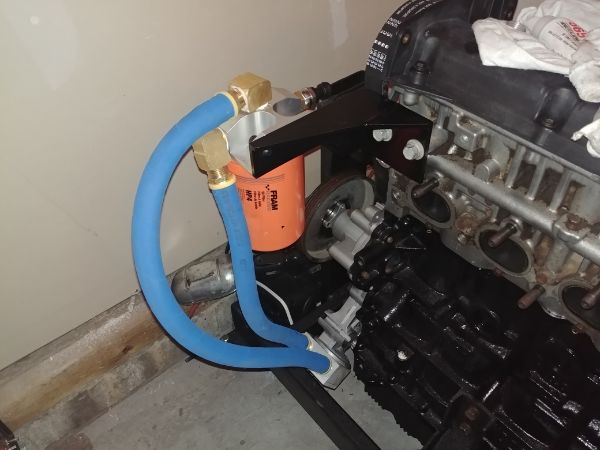
The part I made was bolted to the oil pump, this thing is on tight. I used some high performance size #10 Aeroquip hose since this stuff is resistant to almost everything, it doesn't require hose clamps either.
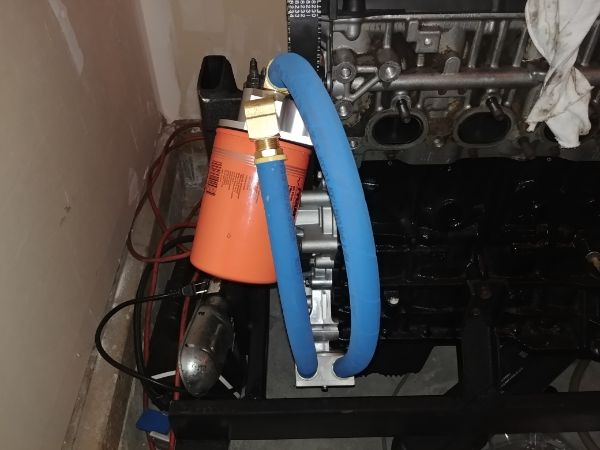
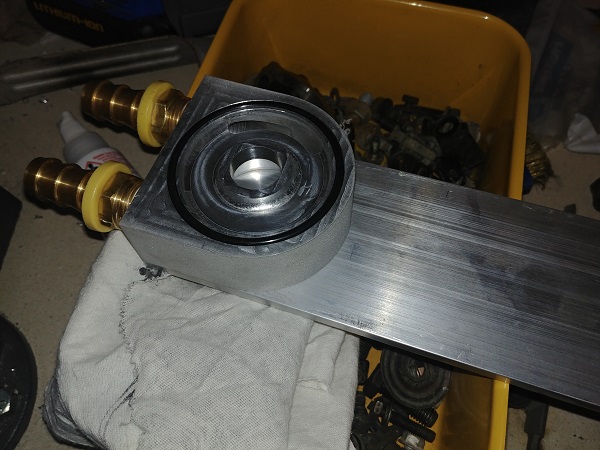
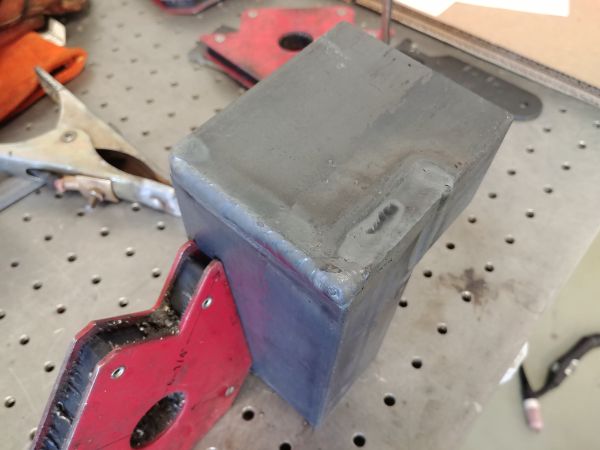
I placed the assembly along with the billet oil filter mount floating so that I could measure up a bracket.
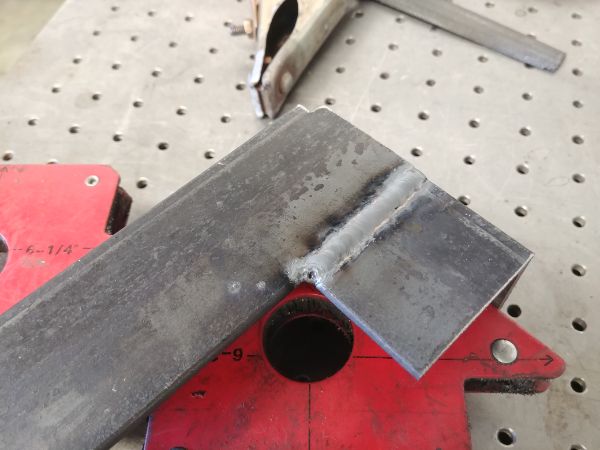
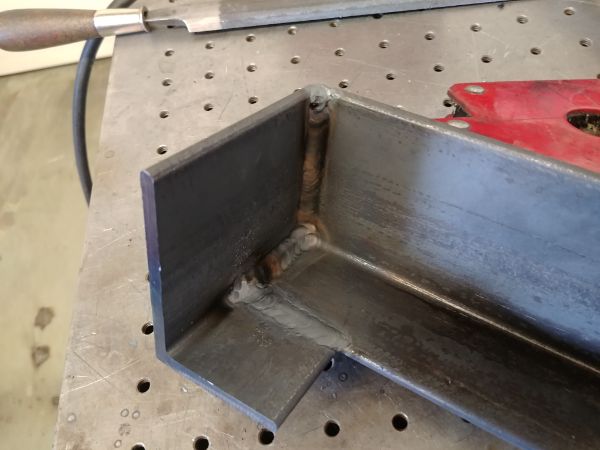
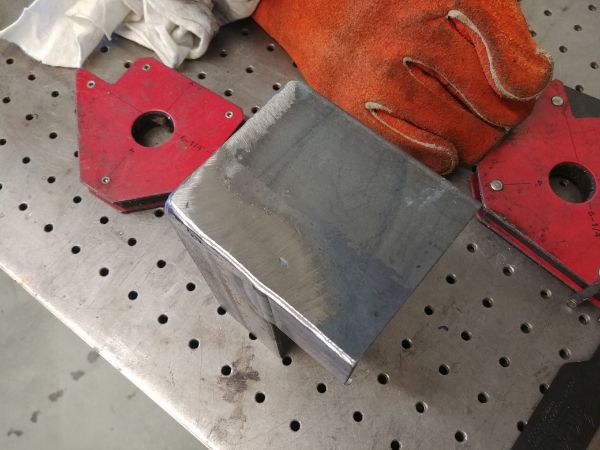
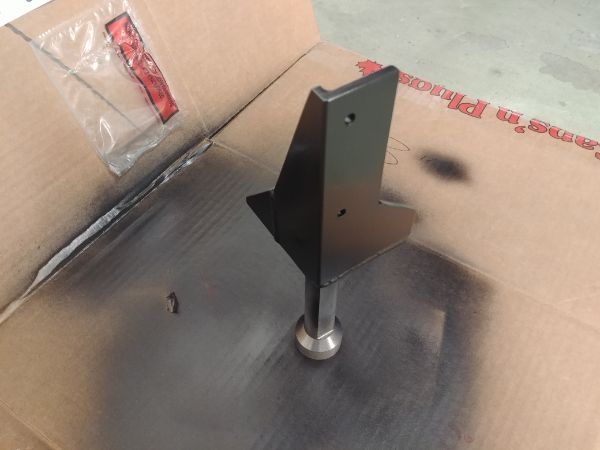
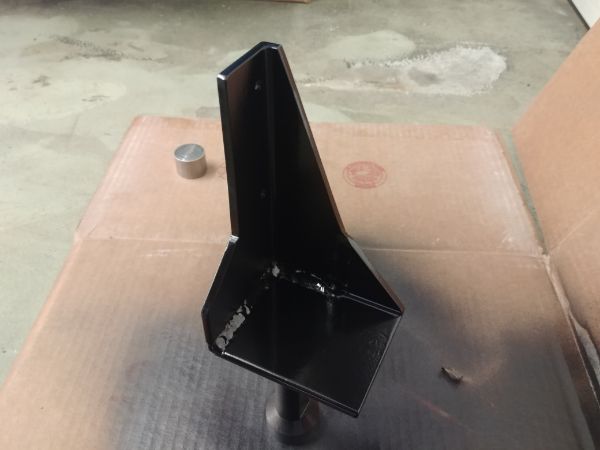
I wanted to make the bracket solid so chose to go with angle plate.
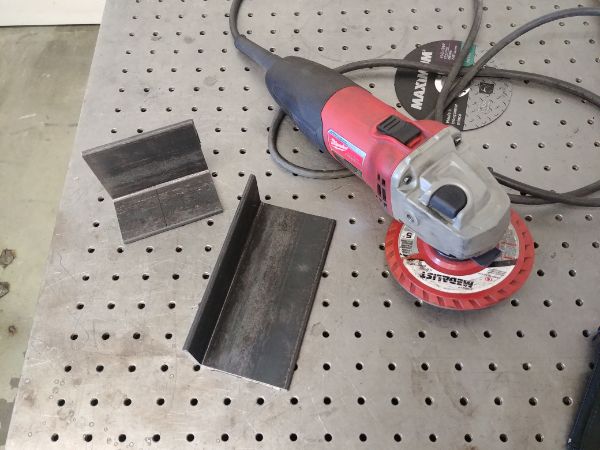
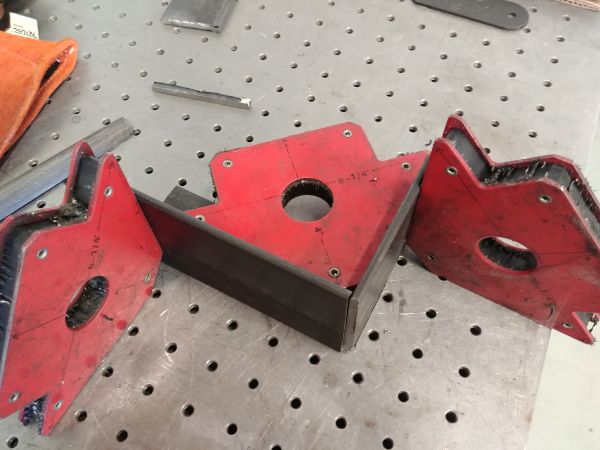
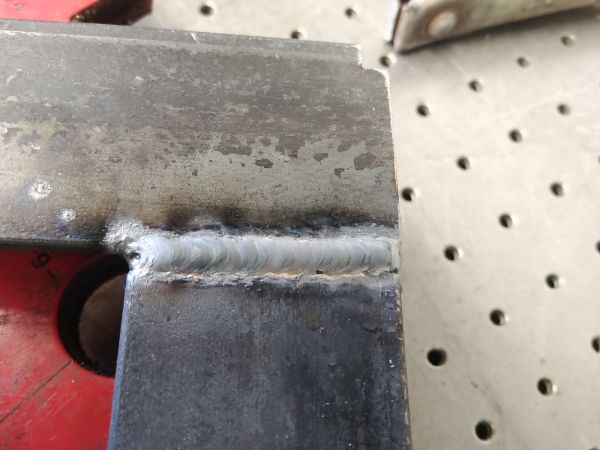
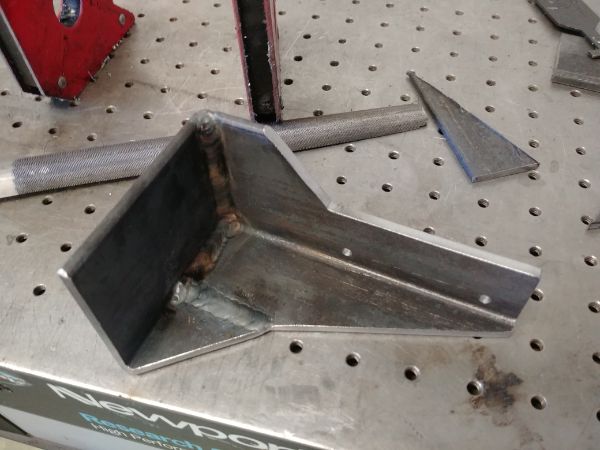
I TIG welded it all together since there would be no spatter, it's also so quiet.
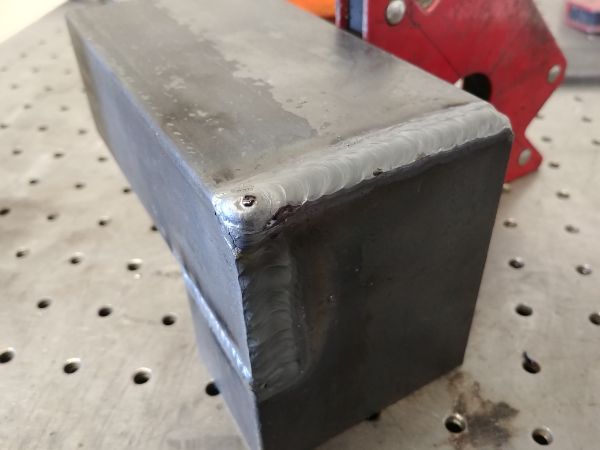
I trimmed off some excess and then sand blasted it ready for painting (forgot to take a picture).
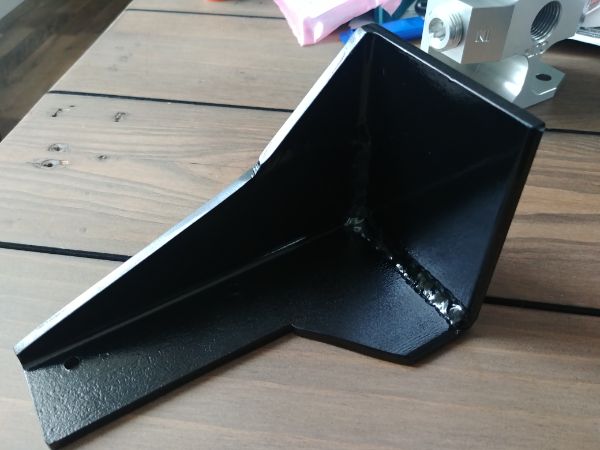
I chose to go with caliper paint since this stuff is pretty durable and perfect for hot engine parts. Once I painted the bracket it was placed in an oven to cure.
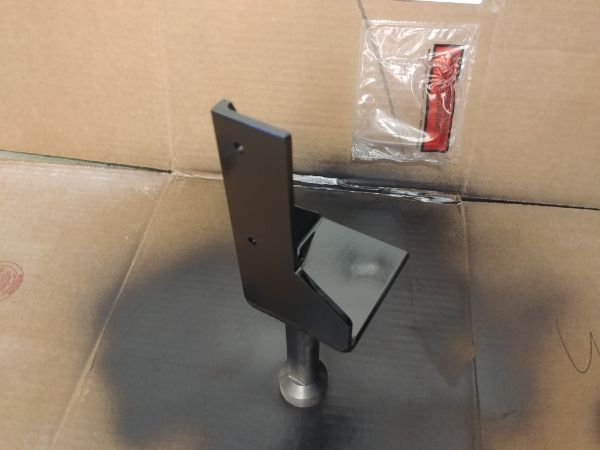
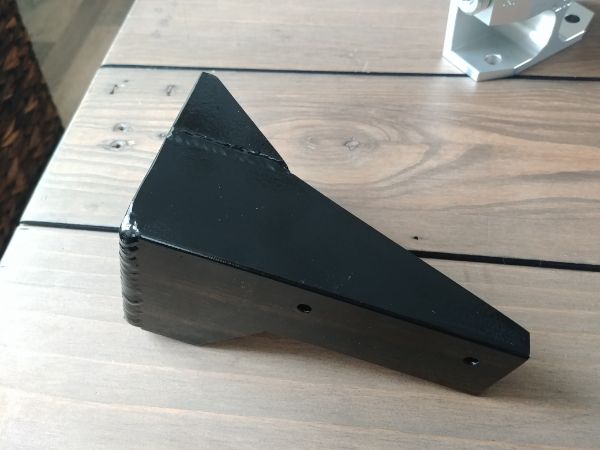
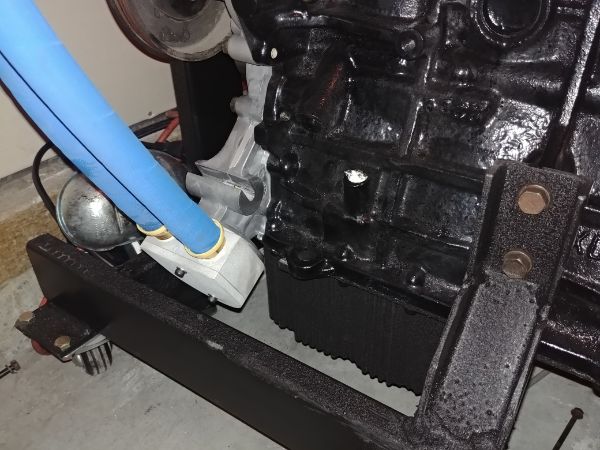
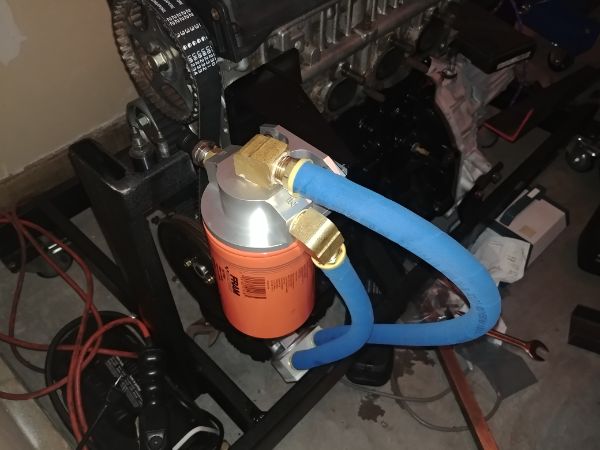
I drilled the remaining holes once I knew exactly where it was going. Overall this came out excellent, I have no doubts.
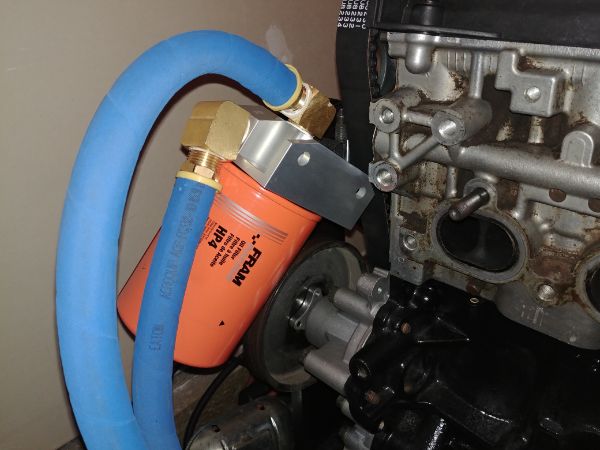
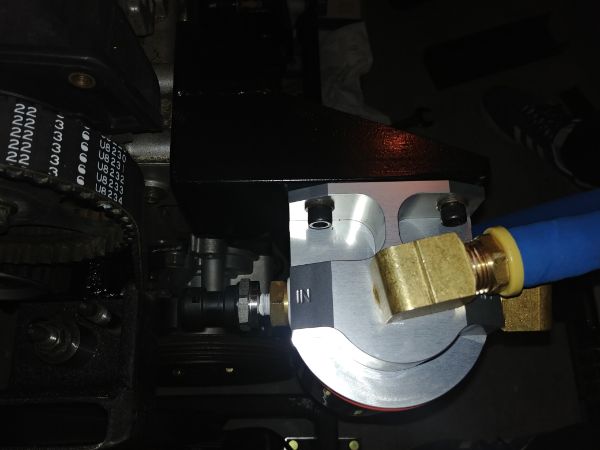
On the second port of the billet filter mount I placed a pressure sensor, I went with a Honeywell sensor to ensure reliability.
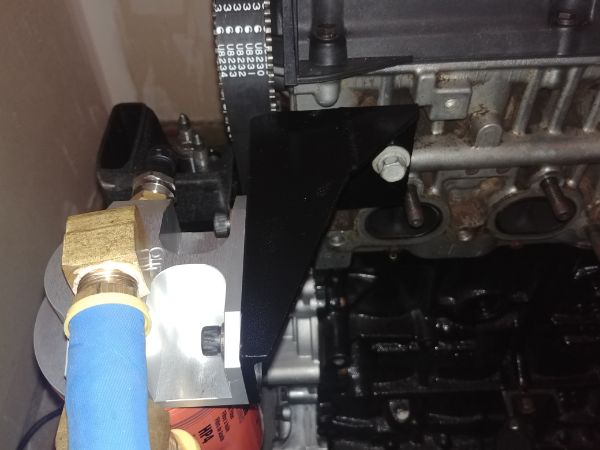
I did however notice that in the final picture I may need to grind a corner off the bracket in order to fit the turbo manifold.
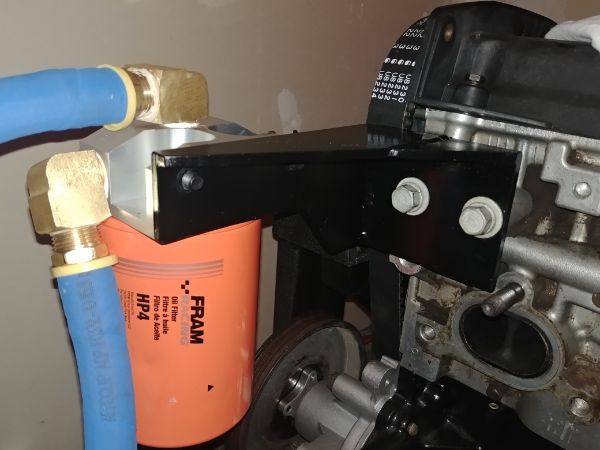
Overall I'm really happy with the results, so much so that I will do the same to the engine currently in my turbo Tiburon. The location will have to be slightly different since I placed this mount where the power steering pump would go, it will likely go next to it. Another bonus is that the oil filter is more accessible and vertical, this means I can fill the filter with oil before installation. This filter is huge compared to the stock one, I will need more engine oil, the bonus is it will be less restrictive.
Hello, if you have enjoyed reading this project, have taken an interest in another or want me to progress one further then please consider donating or even sponsoring a small amount every month, for more information on why you may like to help me out then follow the sponsor link to the left. Otherwise you can donate any amount with the link below, thank you!