Pneumatic Press
Very recently at work we decided to get into the compression moulding business (January 2018), this was something we had no experience in and very little idea apart from a basic understanding of the process. We managed to retrieve our moulds from the people who originally moulded the products for us, the moulds being far more basic than we first thought. Part of the mould is a pin that runs through the centre of the part, this pin has to be pressed out in which we originally used a hand operated hydraulic press, rather slow.
I had the idea of making a small pneumatic press to quickly push out the parts, of course hydraulic would be a lot better since when the part finally releases it would not violently shoot out the centre like pneumatic will. Cost was the major factor so pneumatic would have to do, I didn't really have much of a plan and just went with my gut on this project. The first was to find a pneumatic cylinder that would have a stroke of 150mm or more and around 200 kg of force. I found a 60mm bore, 300mm stroke cylinder for just $95 CAD. A valve, some hoses and accessories all came to a total of $180 CAD which I consider to be very cheap, the metal was left over from a ventilation hood project some months earlier.
The Objective
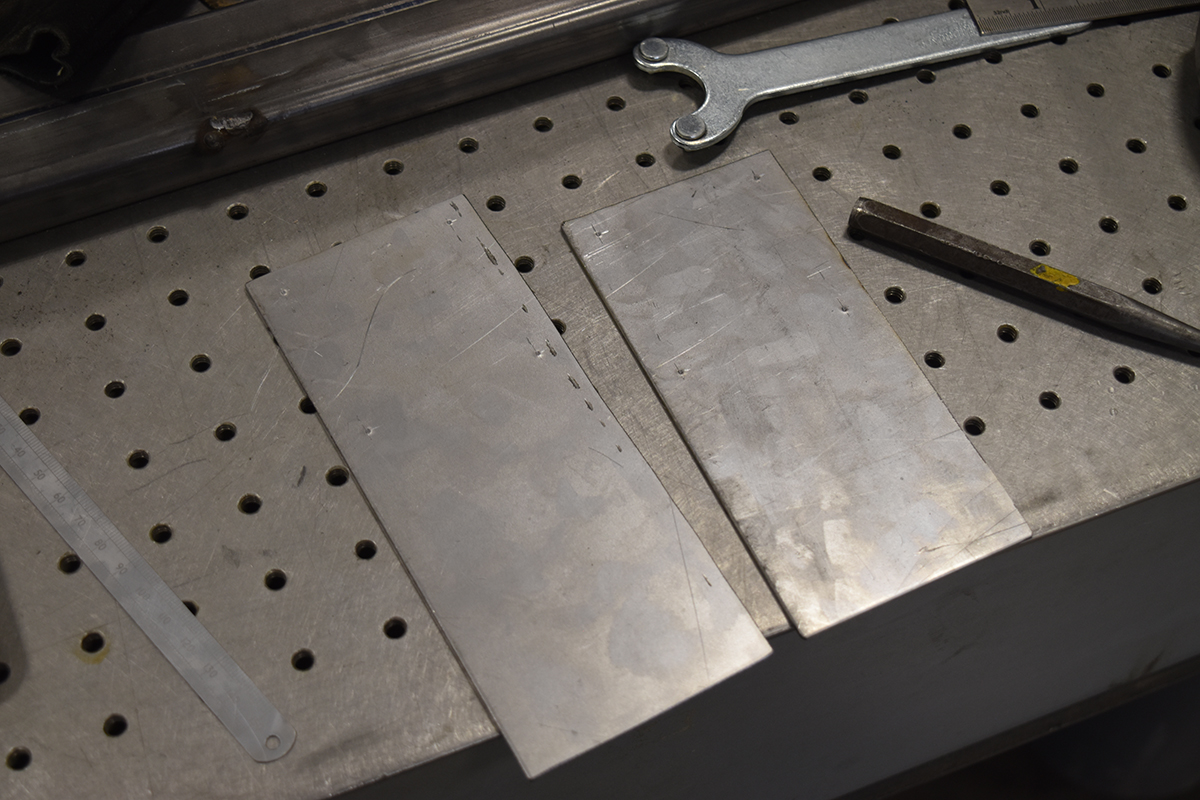
The press has to remove these centres from the part as shown below.
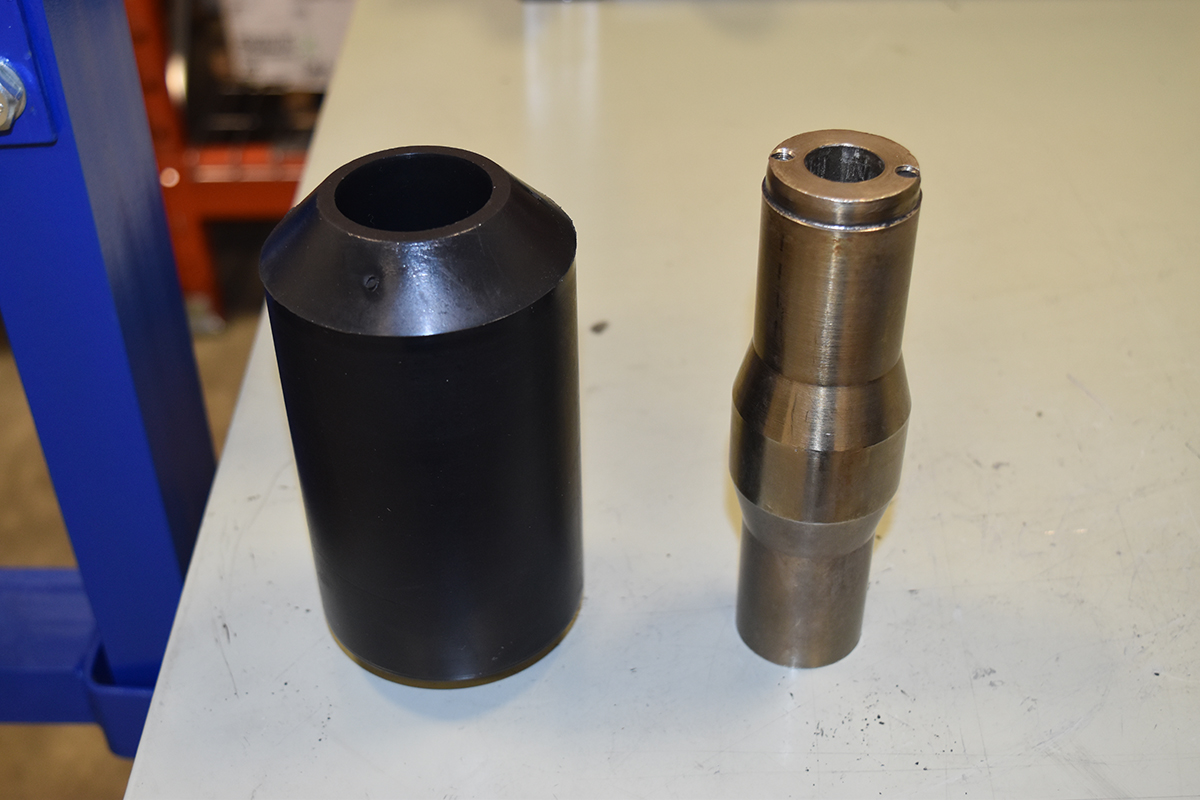
The original method used a hand operate hydraulic press which is time consuming and relatively physical with a large quantity of parts. The objective is to remove these parts with little effort and little time.
The Build
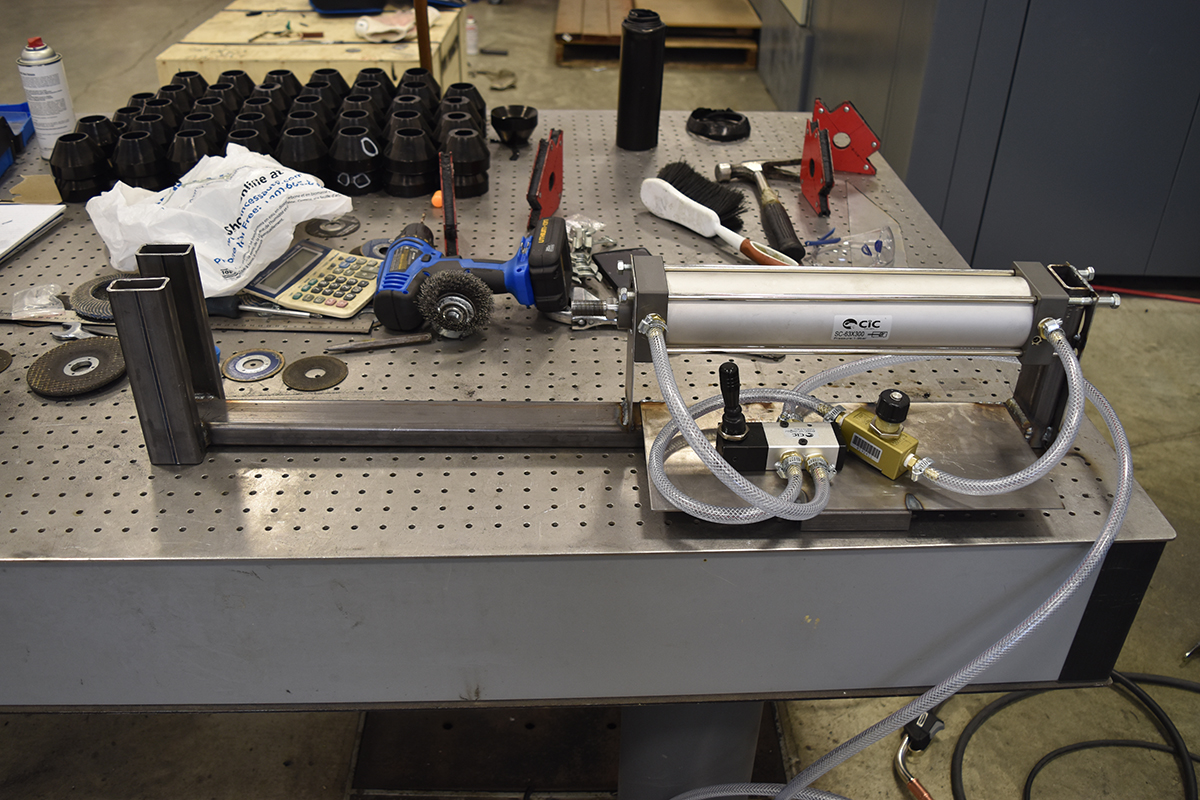
It is always a good idea to make a design of some sort but in this case I just went with my gut. I bought all of these parts, the main two parts being a five port directional valve and a flow control valve to vary the speed of the push stroke.
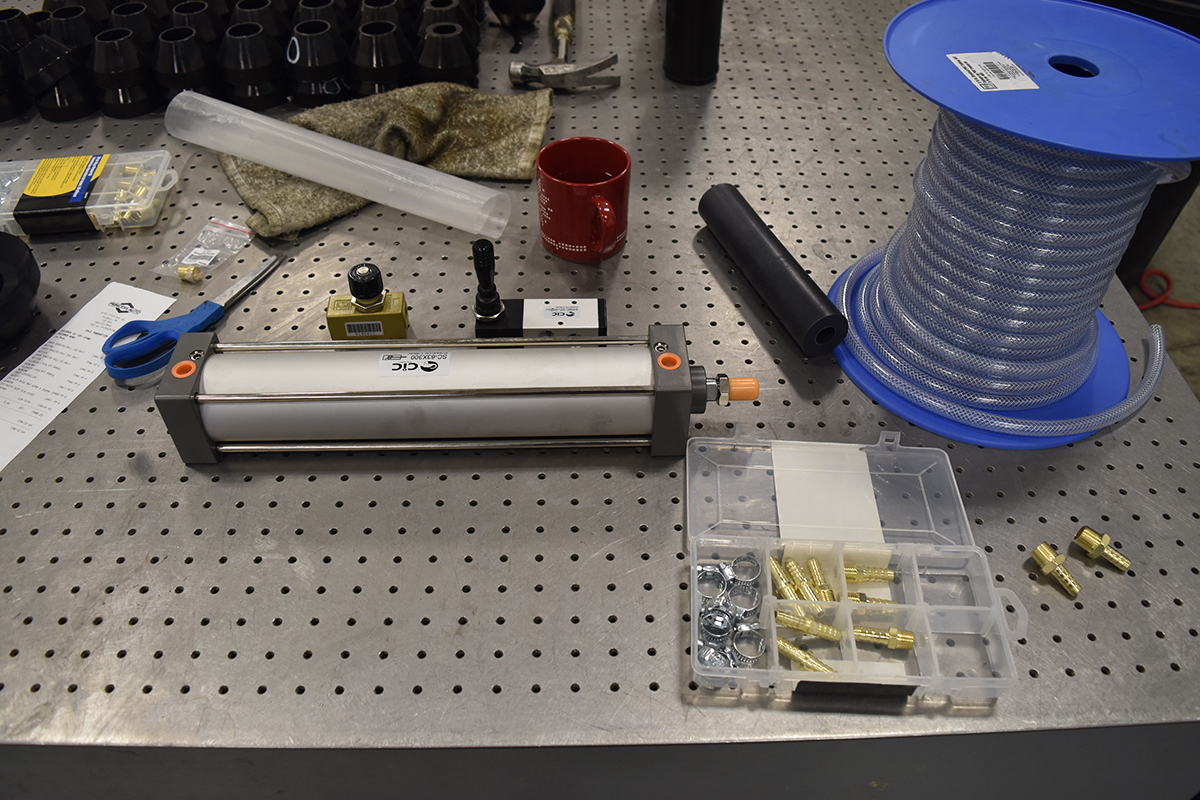
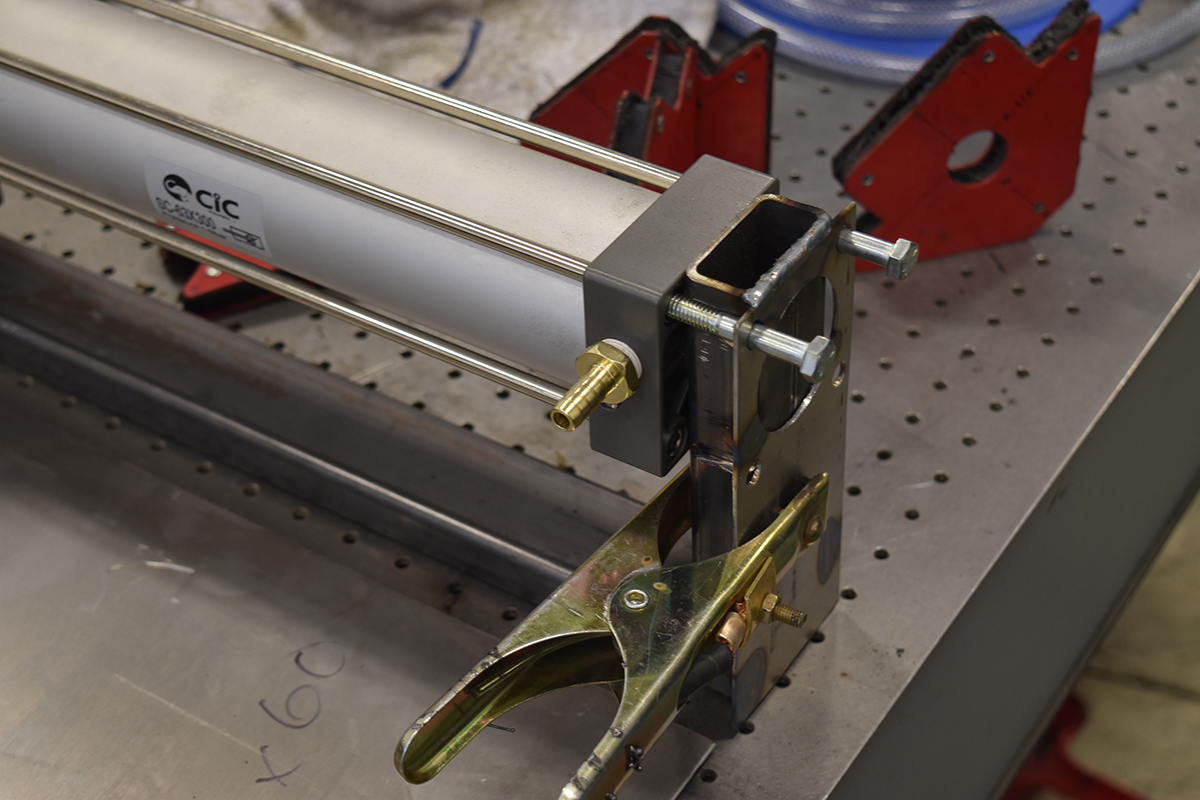
I'm not a huge fan of the PVC braided hose just simply because they're very good at leaking, the types of clamps below are not my favorite but it's what I had at hand from the air line I set up previously. The ideal clamps are the crimp type because these place even pressure around the circumference of the hose.
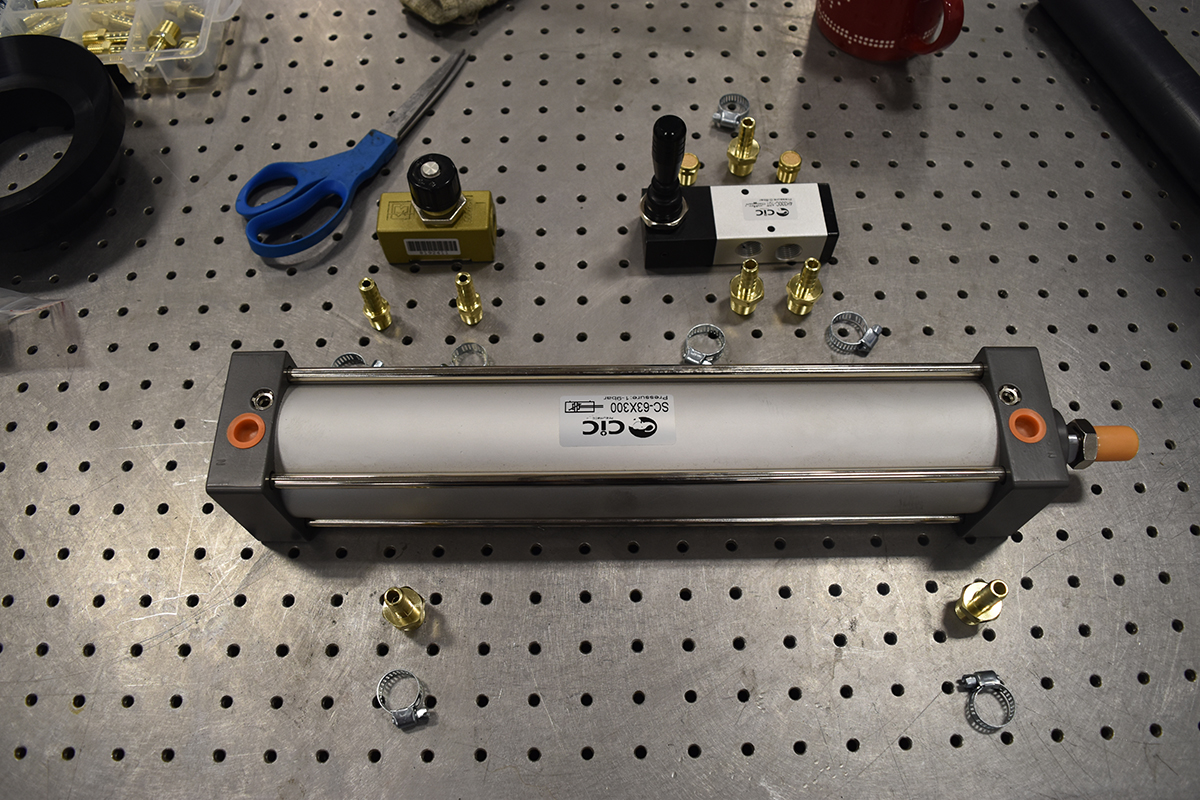
The barbs were sealed with PTFE tape, I've never had an issue with this stuff but again I prefer to use liquid sealant.

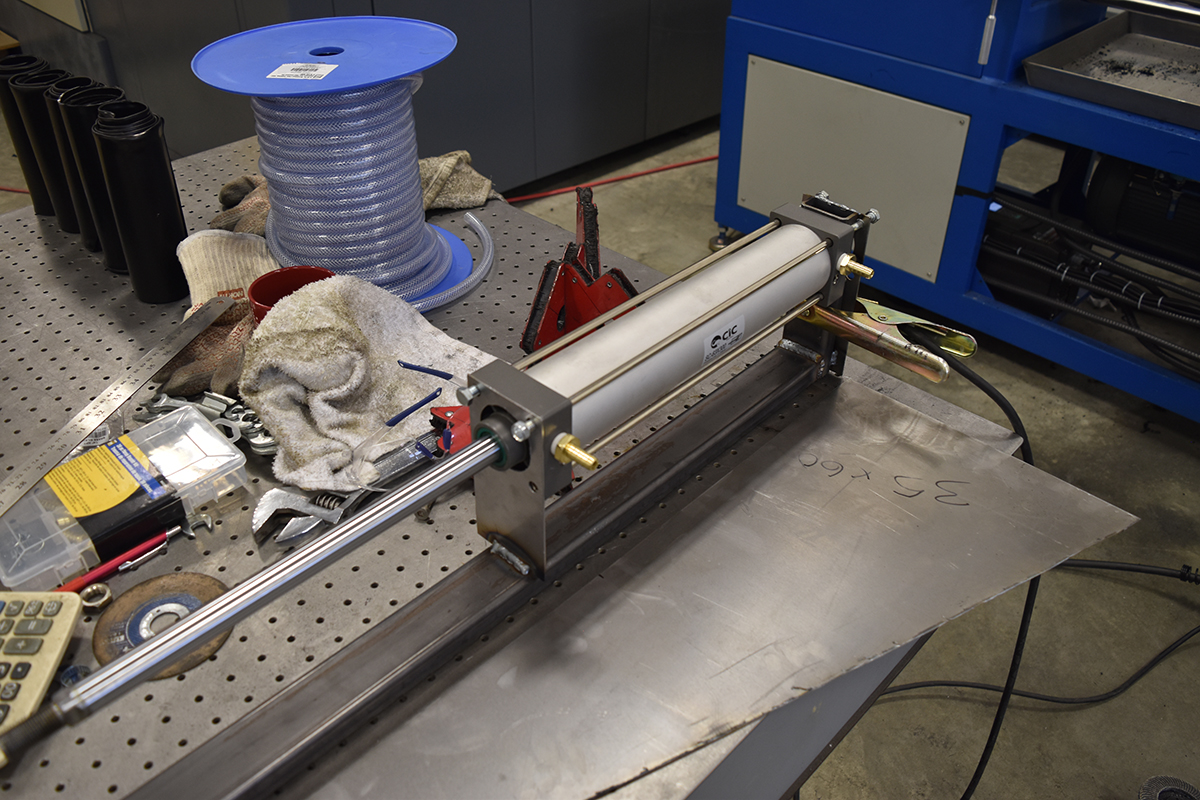
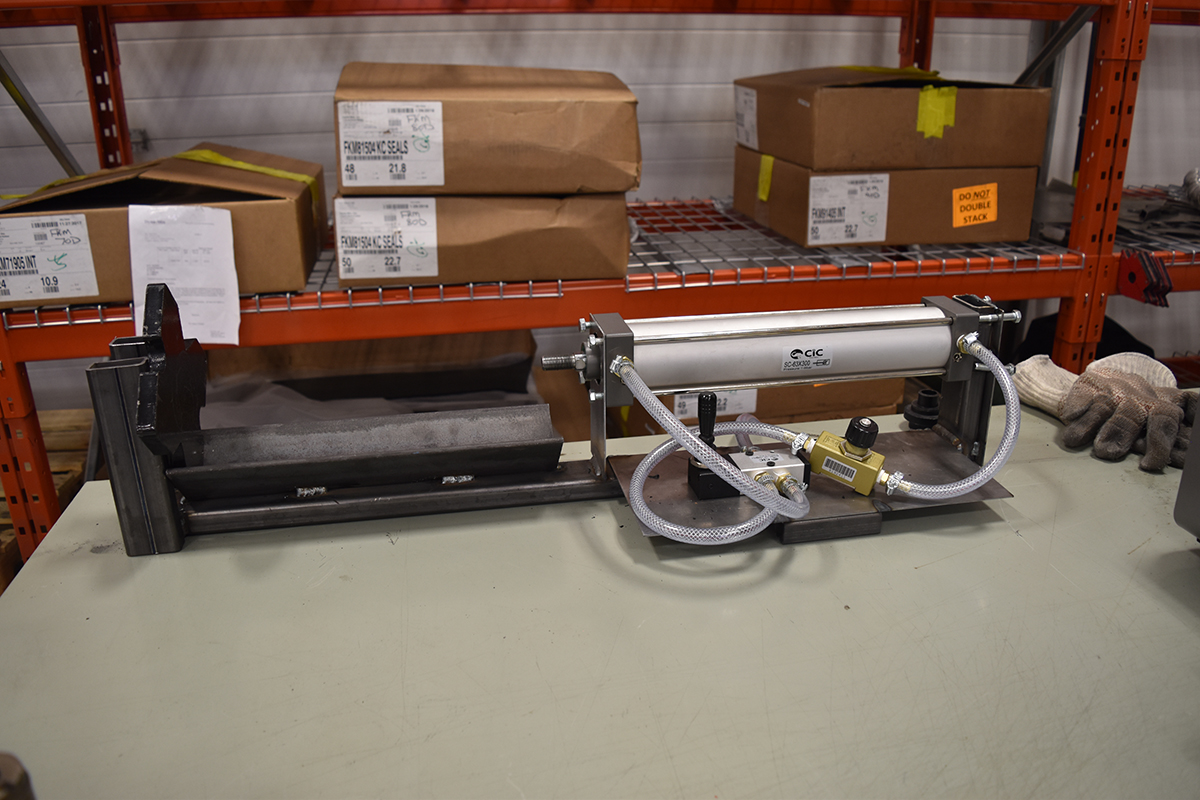
I had a piece of 1" x 2" tube left over so I chose to use this as the main frame.
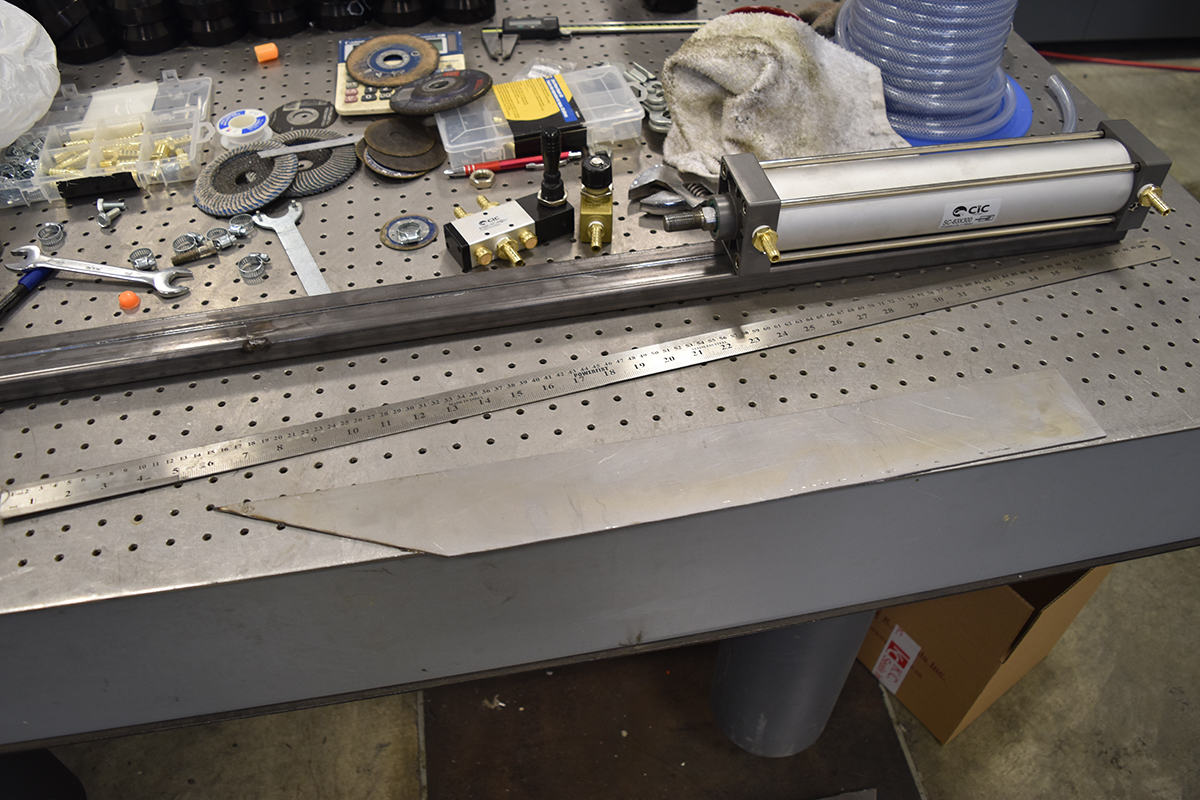
Two pieces of sheet were cut and drilled which will serve as the mounts for the cylinder.
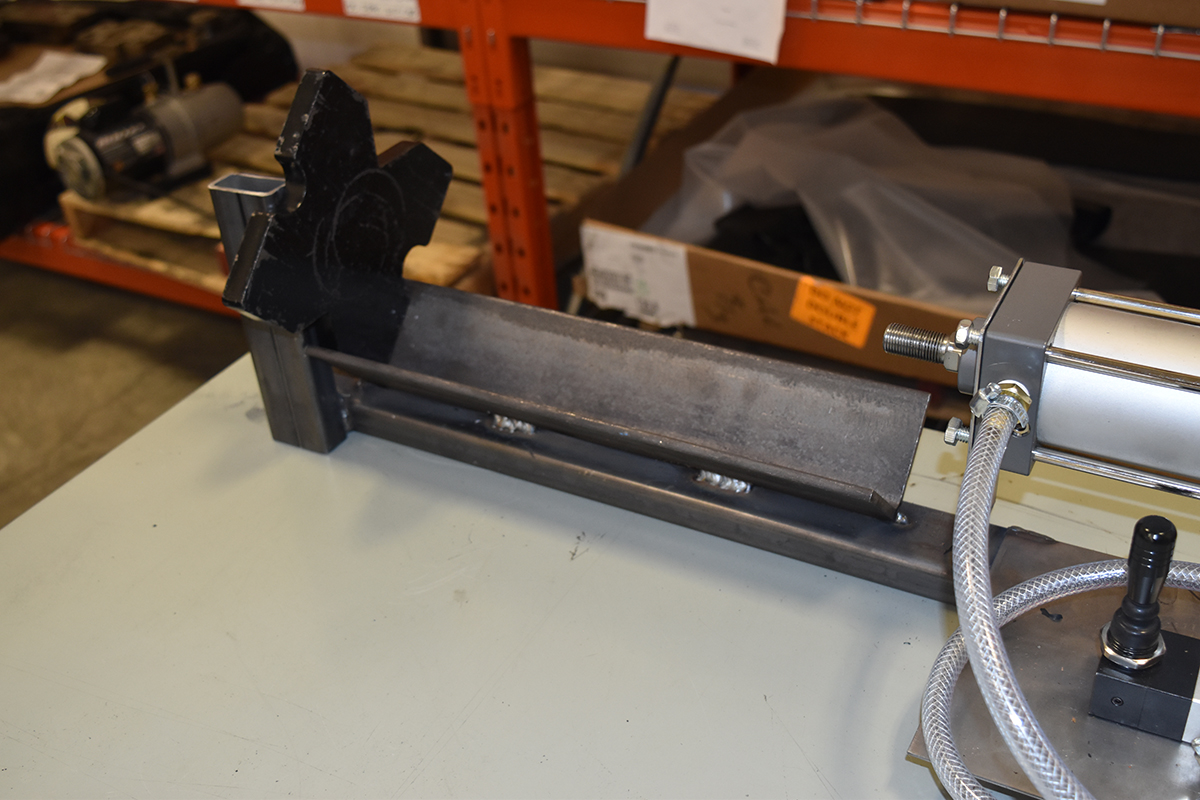
The mounts were welded in place, the rear mount had a piece of rectangle section welded in place as this will have to bear the load (282 kg est max).
All of the bolts I had at work were imperial, the cylinder metric and the shop I bought it from only sold imperial. Even though Canada is supposed to be a metric country you sometimes have to do a lot more searching to find it.
A piece of sheet was measured up that will serve as the control panel.
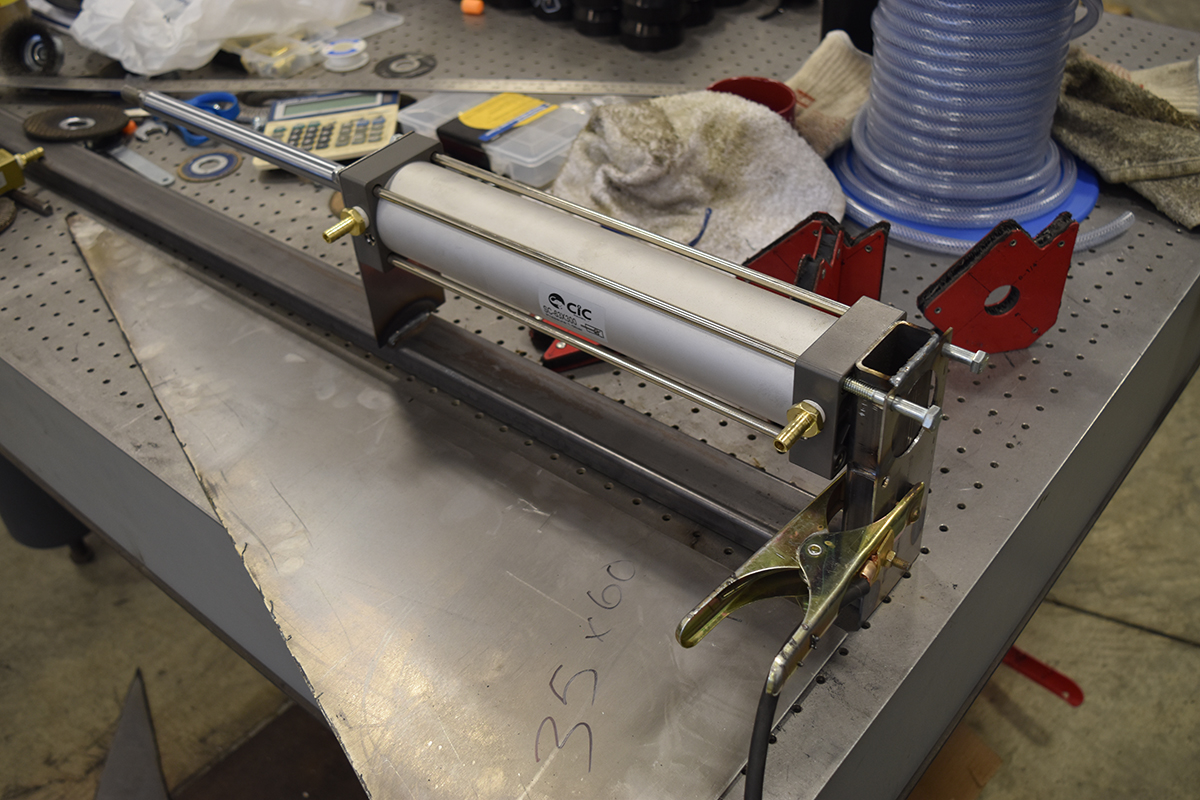
The air lines were connected and I tested it's operation, it worked !
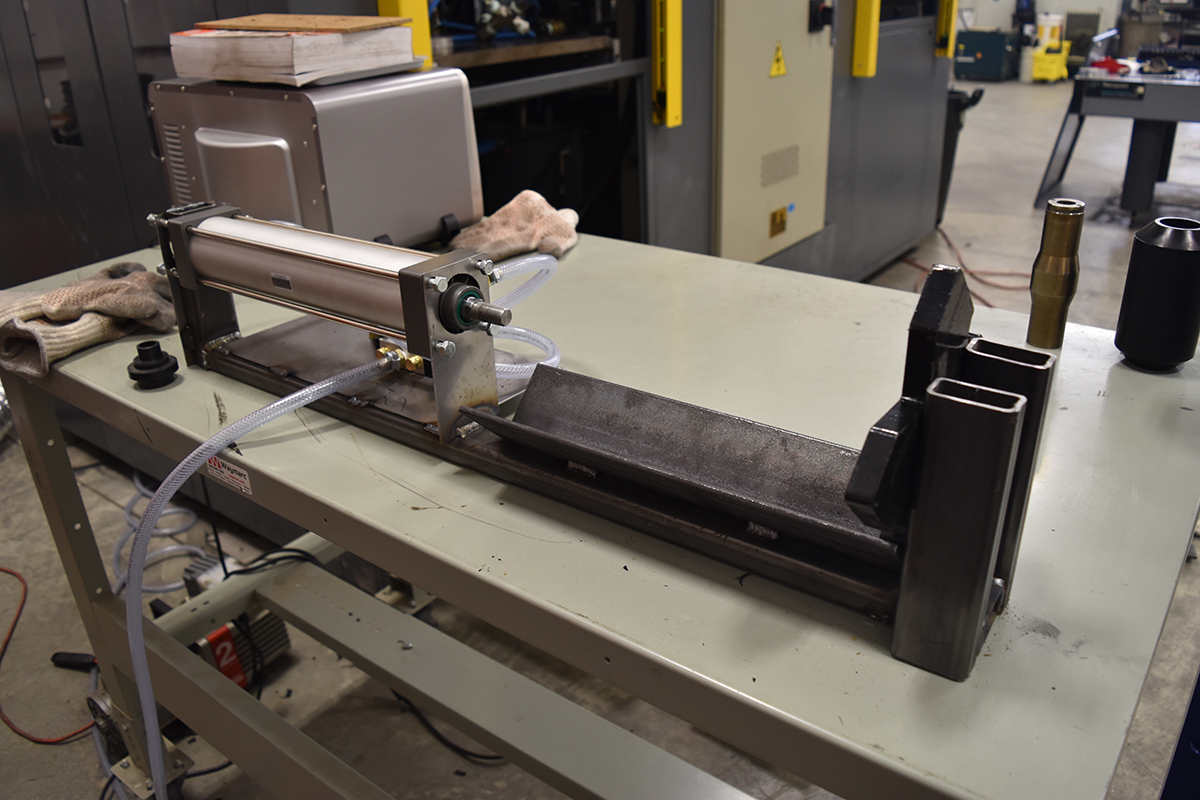
The next step is to install some angle iron in place that will be used to centre the part in the press. I just guessed this as it didn't need to be all that accurate, I was originally going to make it adjustable but really I didn't have the time.

The press is as complete as it ever will be.
Operation
Yes it worked and saved a lot of time. I really need to get some proper bolts installed and paint it.
Hello, if you have enjoyed reading this project, have taken an interest in another or want me to progress one further then please consider donating or even sponsoring a small amount every month, for more information on why you may like to help me out then follow the sponsor link to the left. Otherwise you can donate any amount with the link below, thank you!