UV Curing Chamber
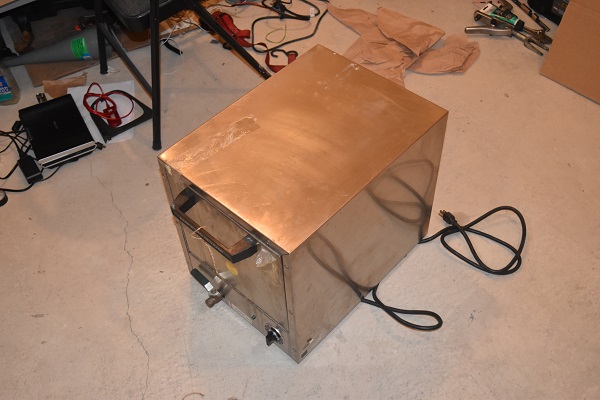
Quite recently I bought some electrical equipment to repair and through that I met someone who required a UV light for resin curing purposes. One of the pieces of equipment I had used a xenon arc lamp which produces a high intensity UV light. I was asked if I would be able to build a curing chamber and was given this old stainless steam oven to build it from. The steam oven has a timer ranging up to 200 minutes and my xenon light has a power of 150W. Luckily the arc lamp I have is in near perfect condition, these are very expensive to replace.
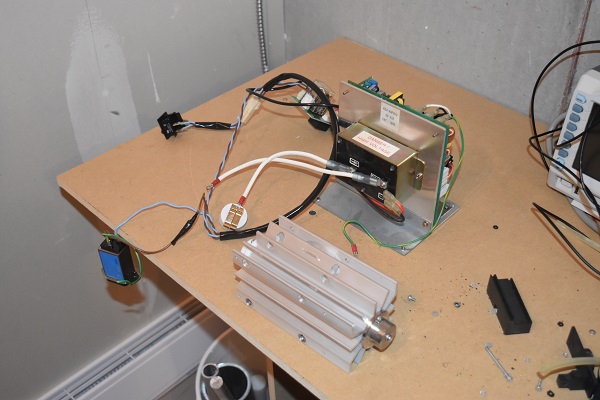
The first step was to remove the old electricals along with the heating element from the unit. I then laid the components on the top of the unit to get an idea of how it would it would look, I had no specific design in mind.
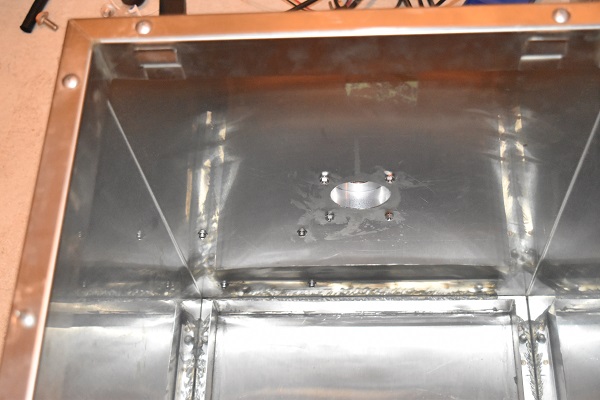
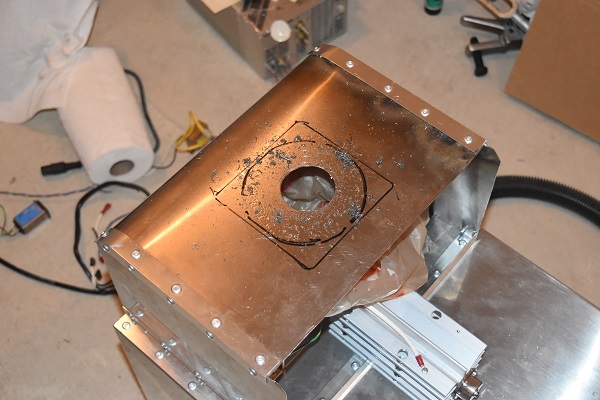
I drilled a 2 inch hole through the top expecting to find insulation material between it, I did not. On closer inspection I realised that the outer was just a shell, so I removed it to assess what I could do with it.
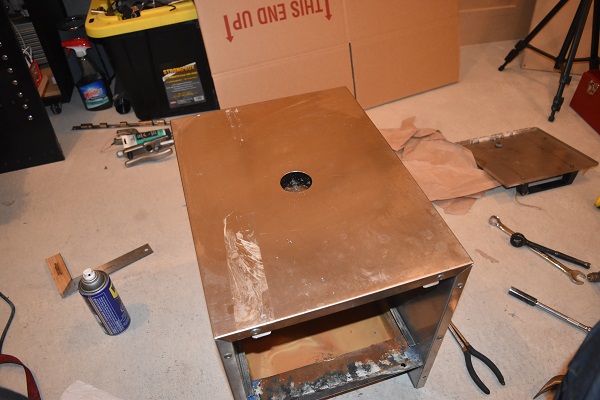

I chose to cut out the main part of the frame since I could use this sheet steel for the electrical enclosure.
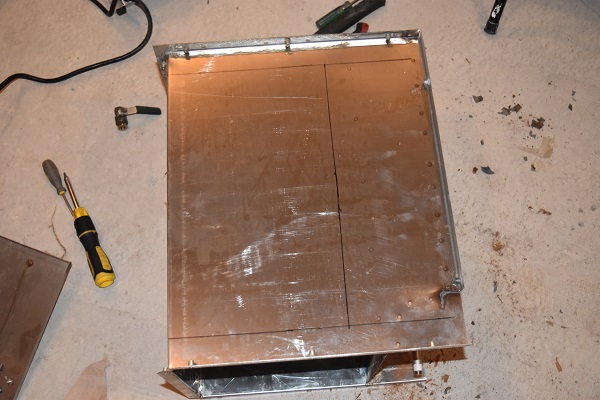

I placed the shell back on the unit, taking this piece of steel should save me some money.

I laid the components on the top of the unit again in order to rework my mental design.

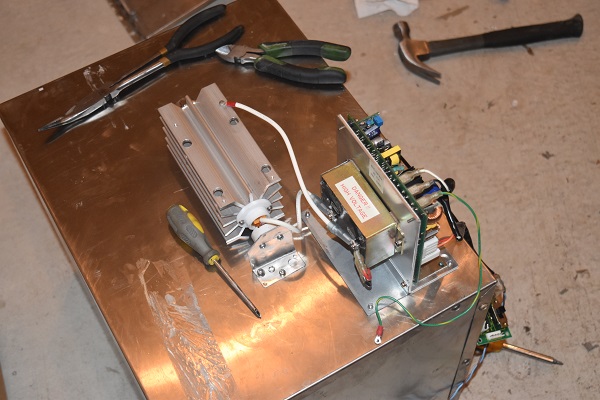
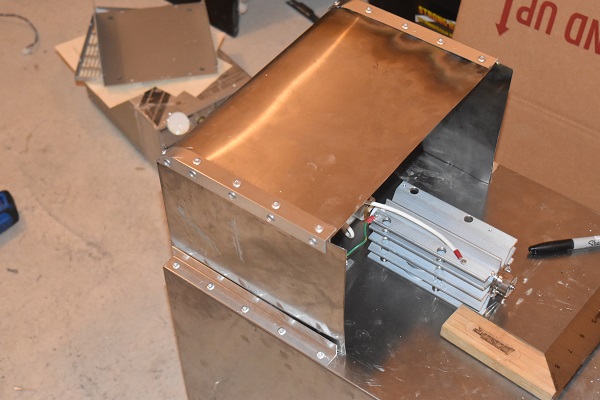
I drilled out some holes and secured the power board from inside of the unit. I used an old method of spraying paint into the holes in order to mark them out for drilling, xylene would quickly remove the paint. The arc lamp was then bolted in place.
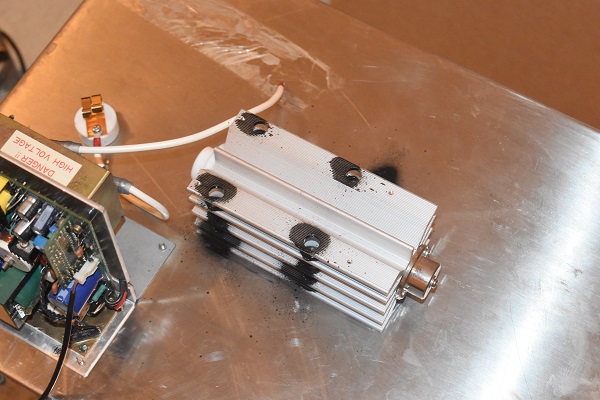
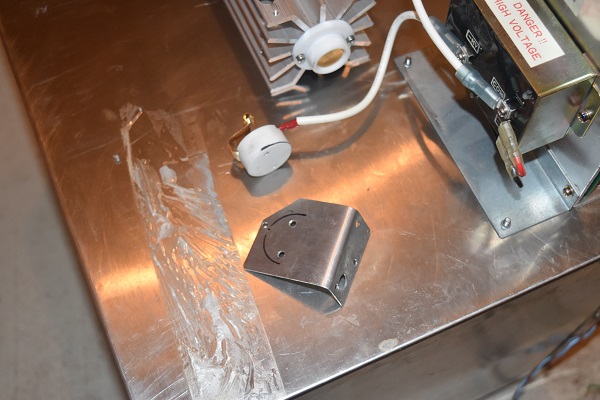
I made a bracket for the lamp contacts from a left over piece of aluminium.
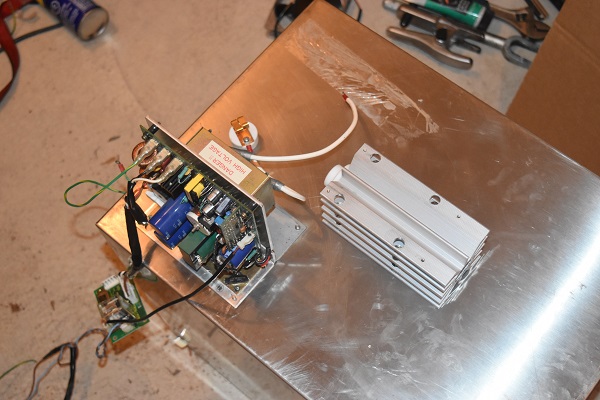
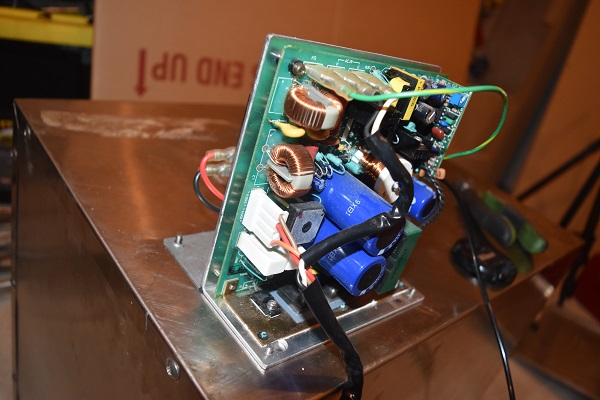
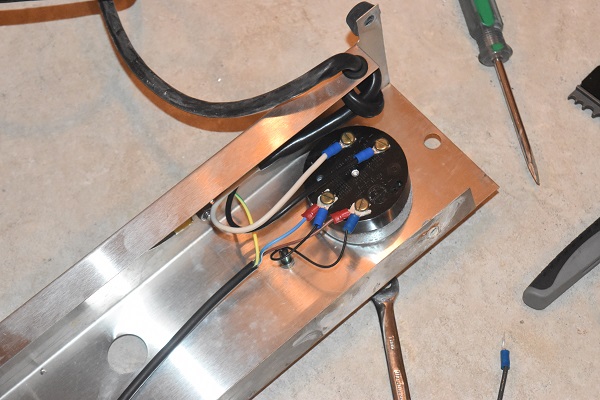
I gave the lamp a quick test, it worked. Connected to the board was a voltage selection switch, this had to be removed.

The switch was fairly easy to work out, the wires were cut and modified. The way dual voltage power supplies like these work is that at 110V it is passed through a voltage doubler, the 230V is not.
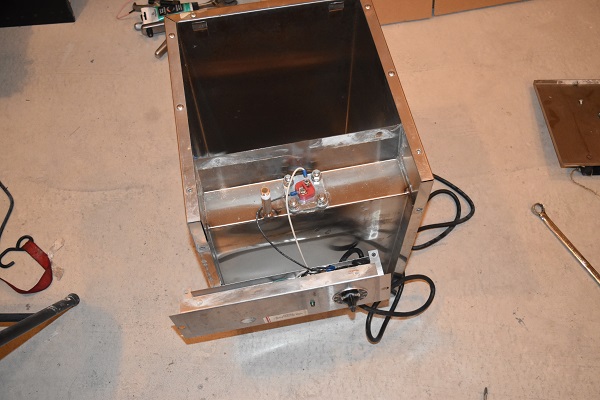
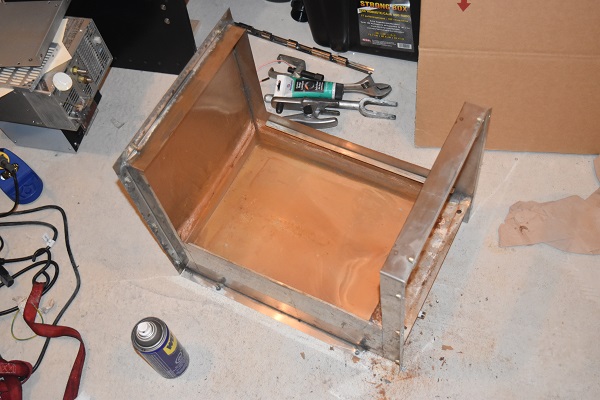
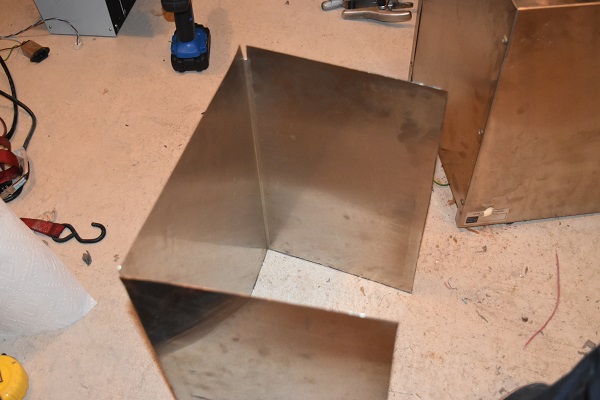
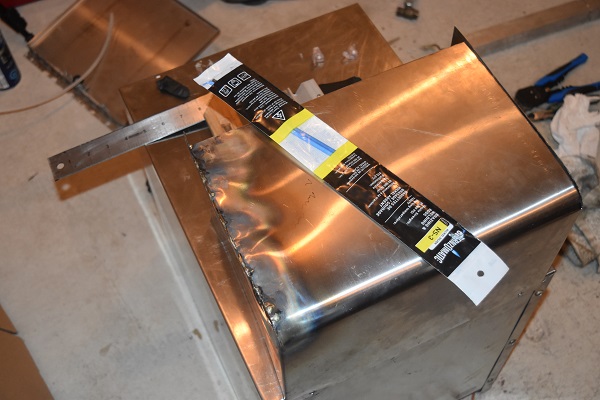
I then started to work a plan out for the enclosure, made from the steel I cut.
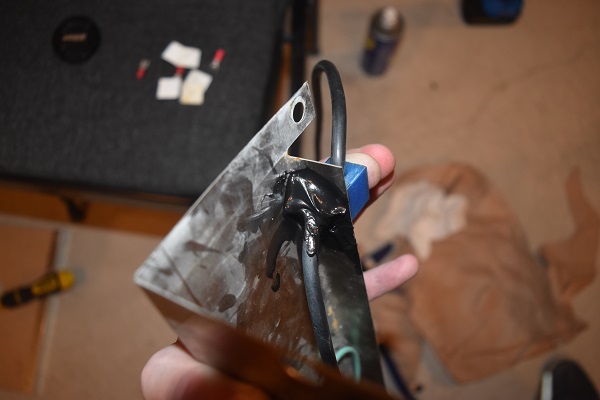
I thought it would be a lot easier if I brazed the stainless together using silver solder, this was a huge mistake. As soon as the metal got to the right temperature it warped massively, I didn't have any fixtures to hold it in place. I have only ever TIG welded thin sheet like this because it does not warp so easily, I unfortunately did not have access to one at the time of writing this.

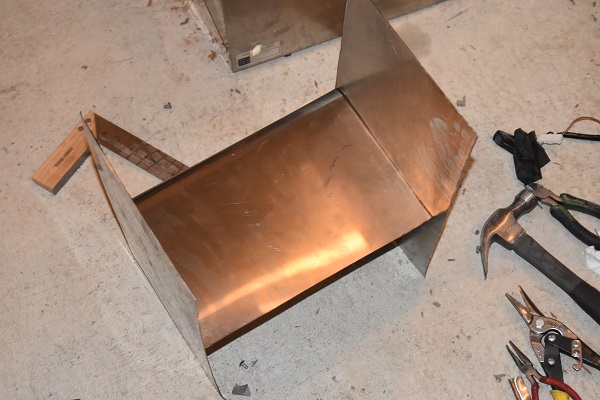
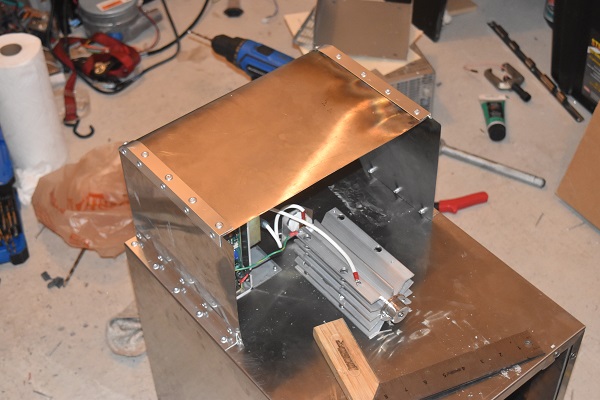
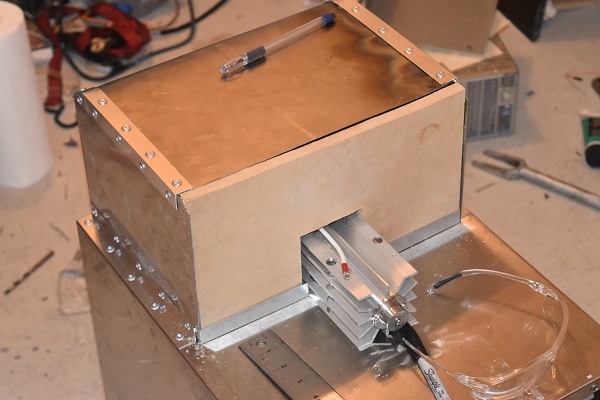
I instead opted to go for aluminium angle and rivets.
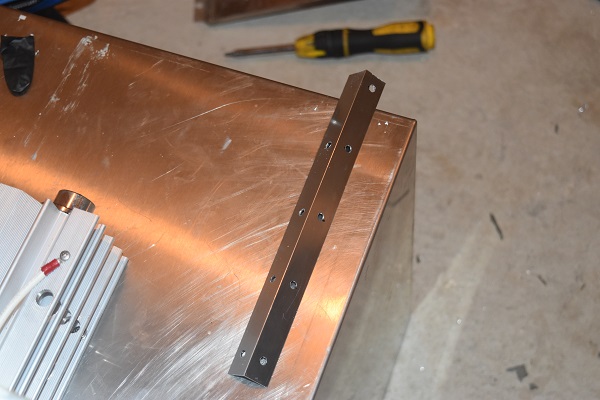
The nice thing with rivets is that they are cheap and easy to use. The only thing I do not like about rivets is that I feel they look a little unprofessional, maybe that's just my opinion though.

I chose to use a piece of MDF board for the last piece as this is just rested in place to allow access to the power supply if necessary.
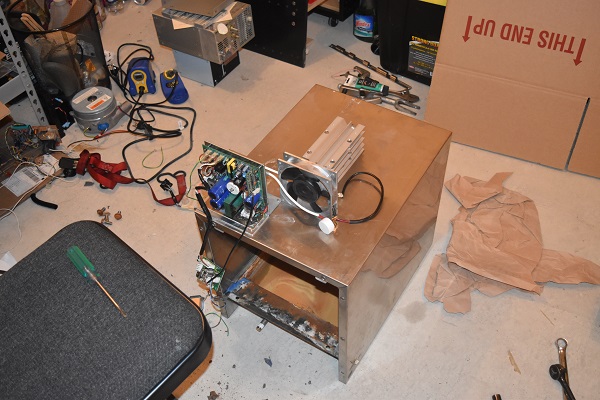
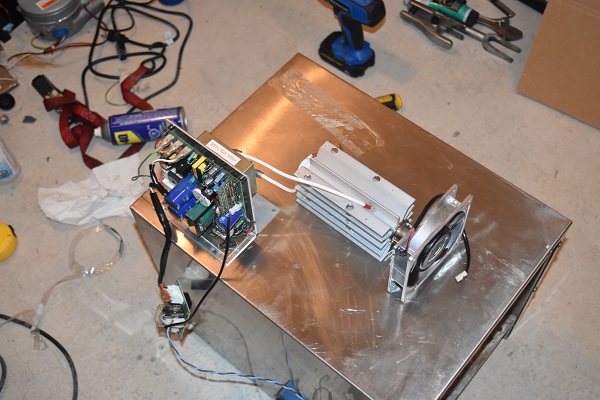
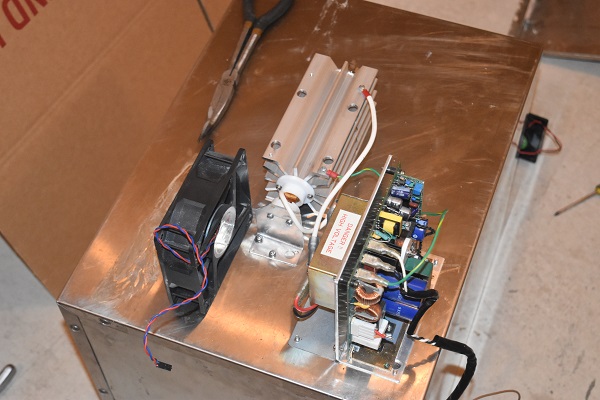
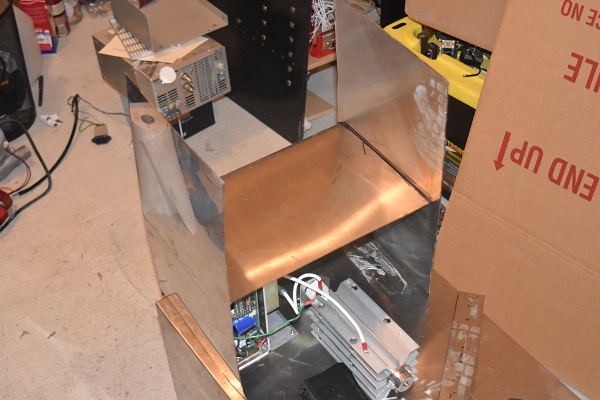
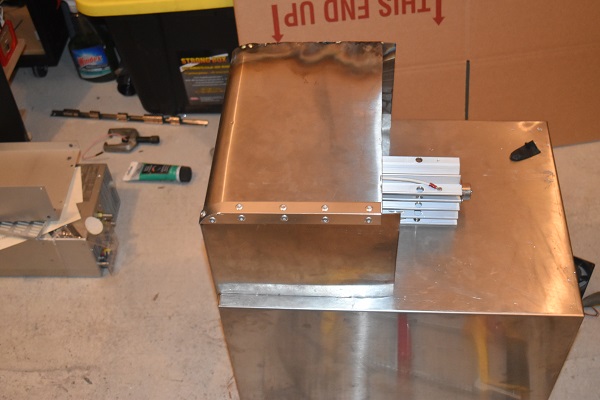
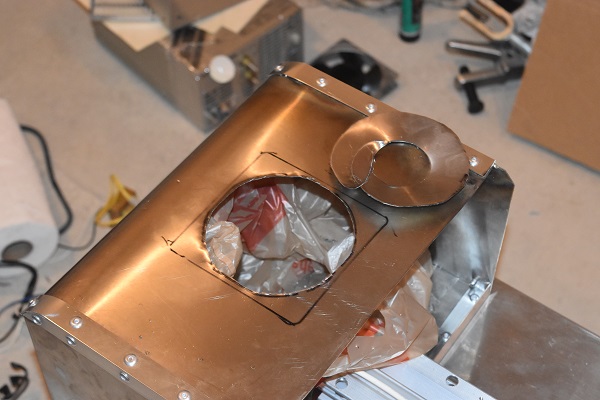
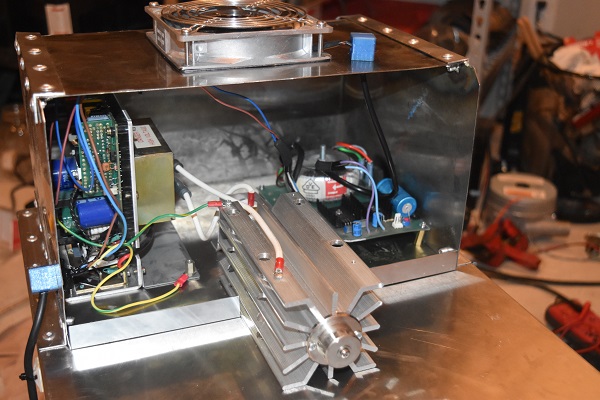
The arc lamp would produce a lot of heat so I had to include a fan, luckily this also came from the UV unit.

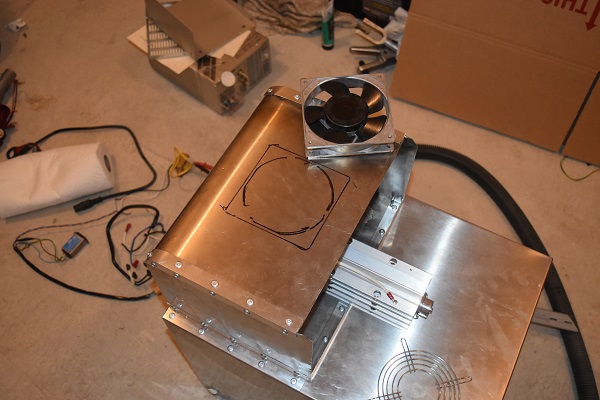
A hole was drilled and then the reminder cut with some snips.
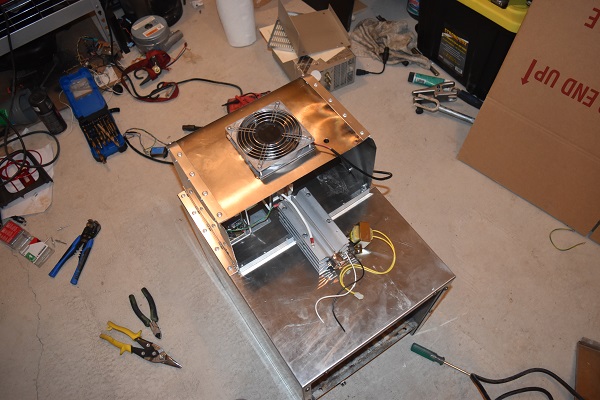
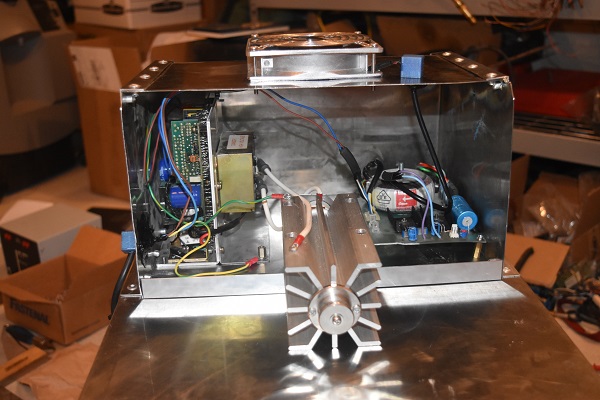
The old fan fixed in place via some bolts. I then connected some wires to the timer unit, this will power the arc lamp supply. One thing I find hard to understand is why almost no equipment in Canada carries a fuse, luckily my arc lamp supply does.
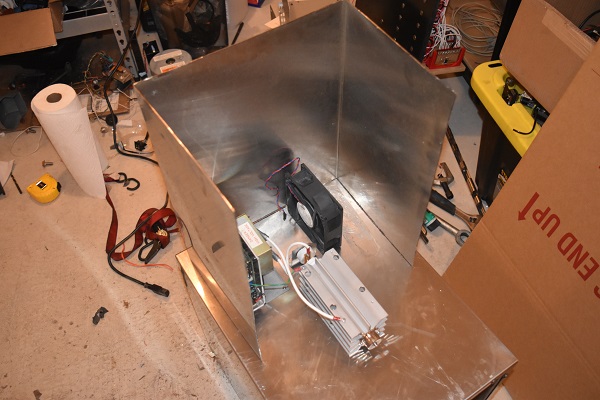
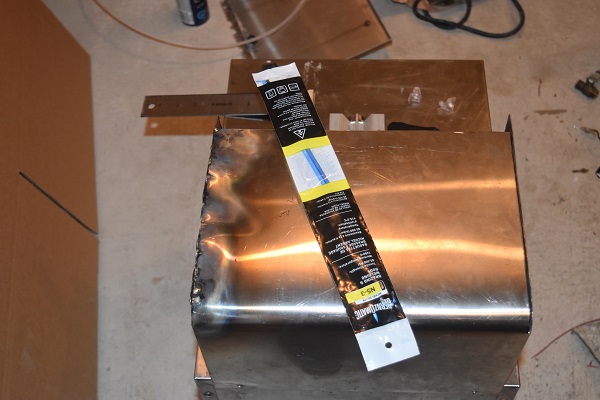
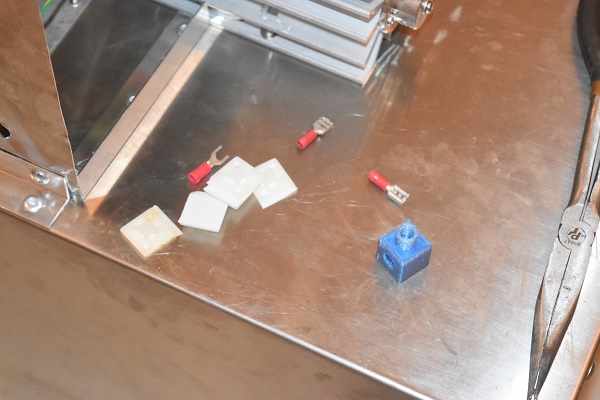
I did not want to really spend any more money than I already had on this unit so I thought an easy way to save money would be to 3D print the wire feed throughs.
The feed throughs were bonded in place via polyurethane, something I had left over from a previous project.
The fan I sourced was 12V so it needed a power supply, I could have built a simple one but I chose to recycle an old one I retrieved from a medical laser. The unit had originally failed because the solder joints on the electrolytic capacitor had become dry. I cleaned up the legs and soldered it in place, I used some polyurethane to stop the capacitor putting any strain on it's leads, the reason it failed originally.

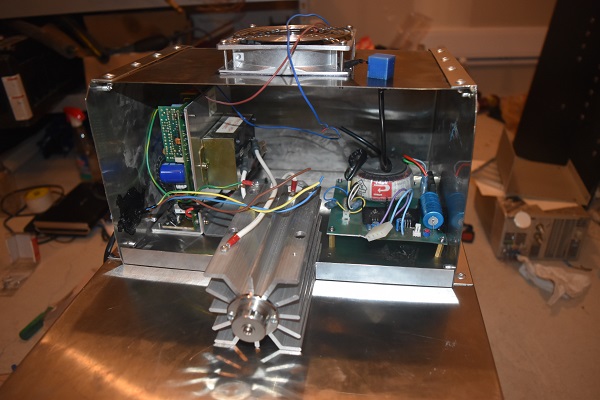
I really should have installed the power supply before riveting the case on top, those who are vigilant will notice that one of the board raisers is bent, I'm not particularly concerned for this application. All of the wiring was terminated and ground wires put in place.
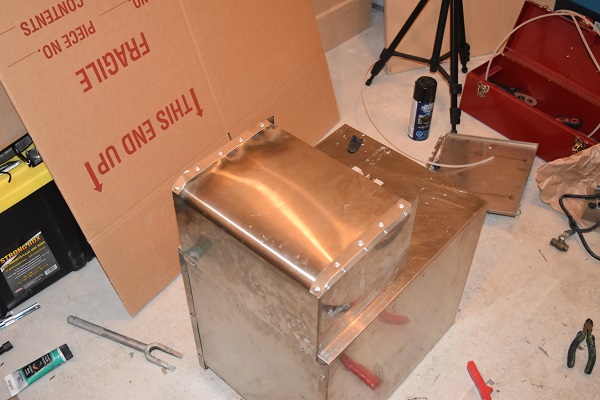
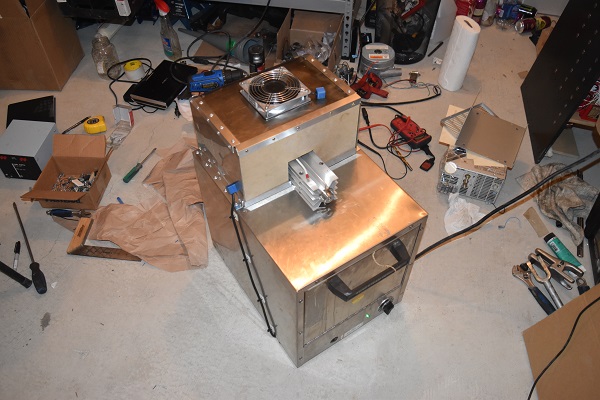
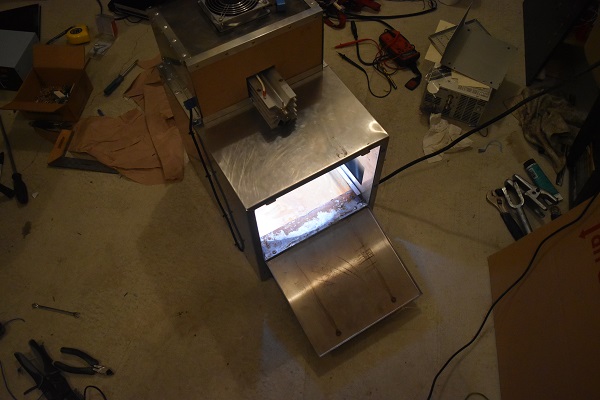
Here is the unit complete. I had to place the supply wire on the outside as the UV would rot the wire. If there was a lot more money in this project then I would have hidden the external cable inside a steel tube, that would run inside the unit. The wire feed through for the fan would have also been a rubber grommet. Considering I would only make around $100 profit I consider this build to have come out pretty good.
Hello, if you have enjoyed reading this project, have taken an interest in another or want me to progress one further then please consider donating or even sponsoring a small amount every month, for more information on why you may like to help me out then follow the sponsor link to the left. Otherwise you can donate any amount with the link below, thank you!