Ed's Projects

Home

About

Skills

Calc's

Projects

Workshop

Contact

Legal

Bikes

Timeline

PDF's

Sponsor

Youtube

Machining a Mould

At the time of writing this (2019), I am a mould maker. I am able to show how I make these moulds but unfortunately I am unable to show any drawings on both the finished part and the mould itself. I also cannot show any dimensions, but I will say that all dimensions are machined to within a ± 0.001" tolerance. I am also unable to show the finished product and moulding process. I use this site as a portfolio to my resume / CV, it shows what I can do. I will also try to explain my reasoning of how something is to be machined.

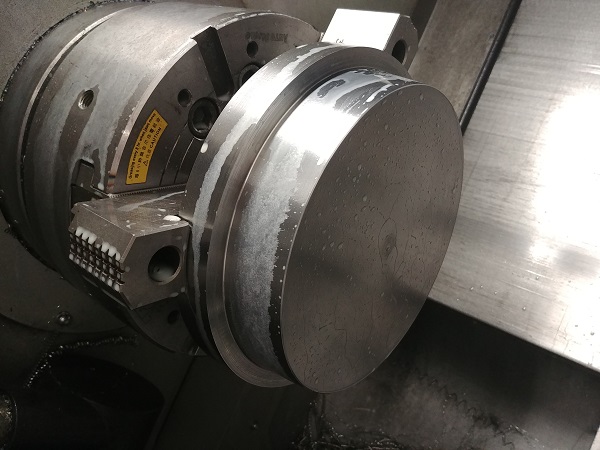
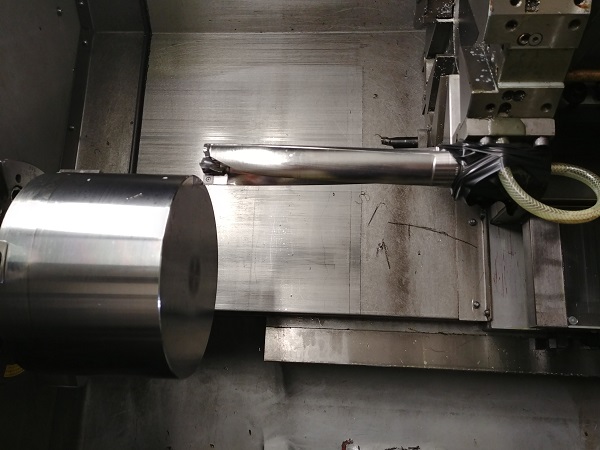
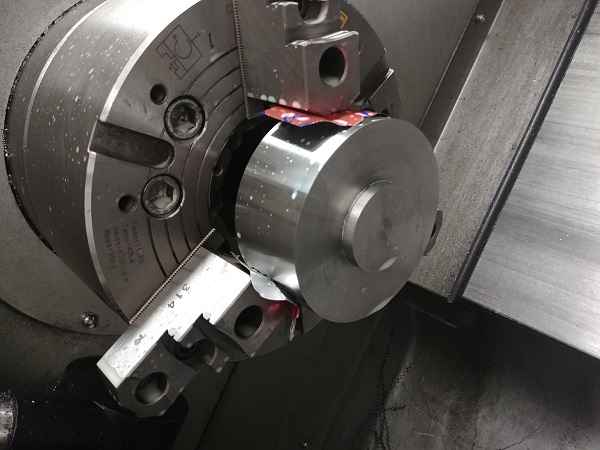
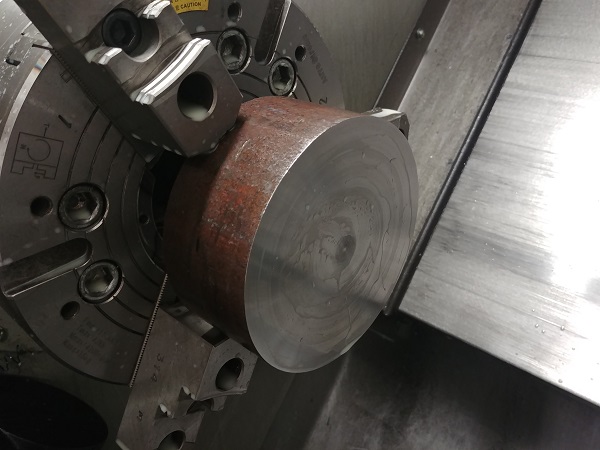
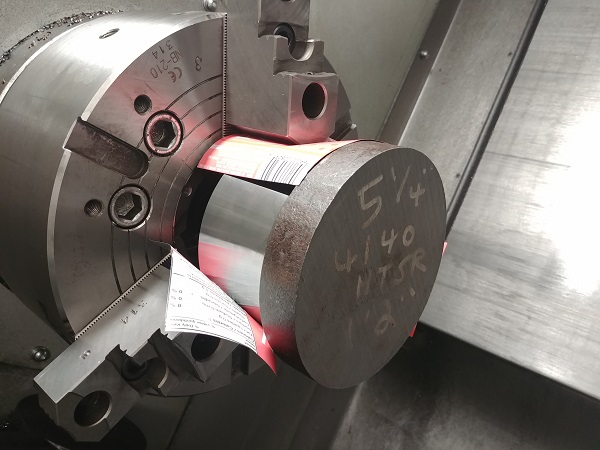
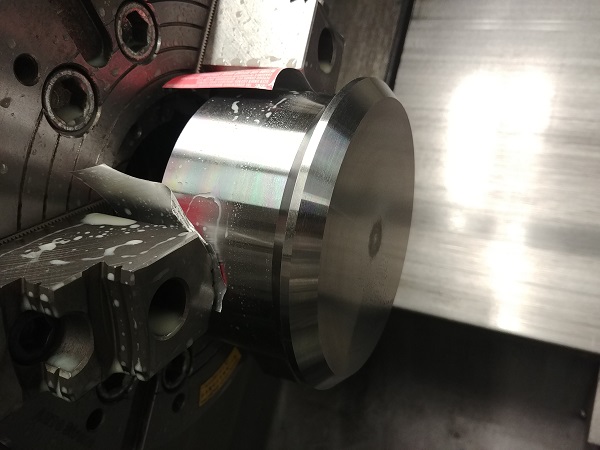
I start out with a very heavy piece of 4140, the first step was to face it off.


Machining Moulds / Molds on a CNC Lathe / MillMachining Moulds / Molds on a CNC Lathe / Mill


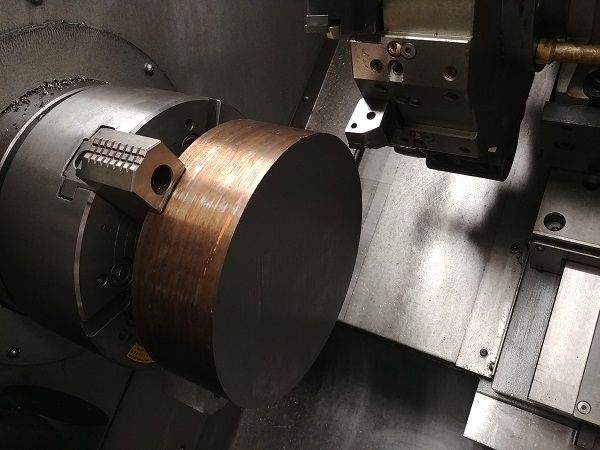
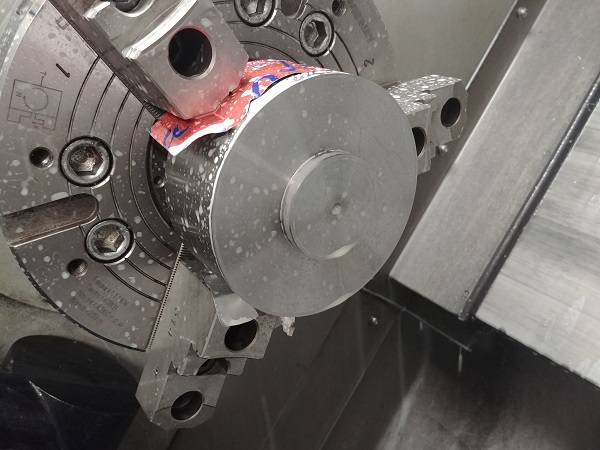
The face and the outside is turned to the final dimensions. I set the Z offset on a U-drill.


Machining Moulds / Molds on a CNC Lathe / MillMachining Moulds / Molds on a CNC Lathe / Mill


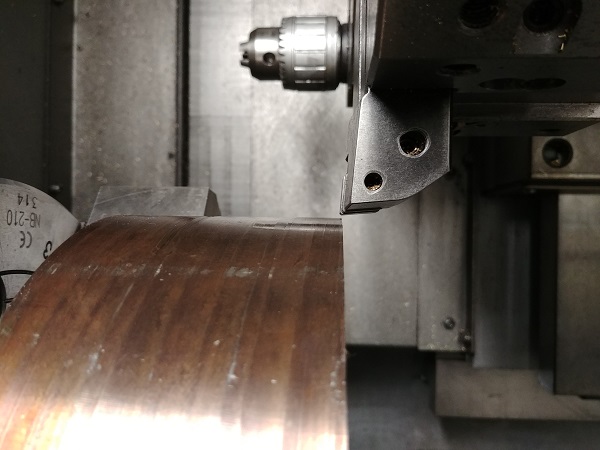
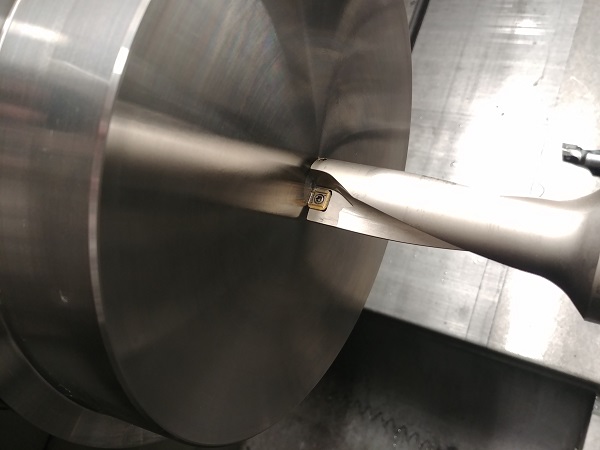
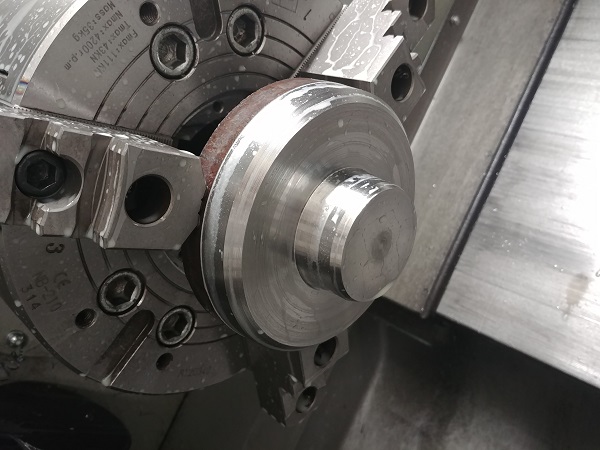
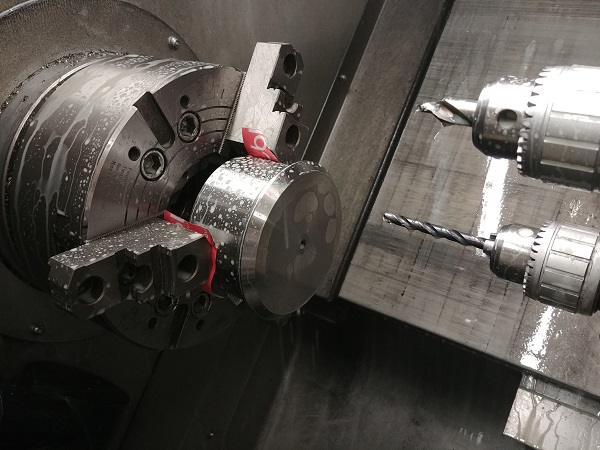
I set the U-drill X offset by turning a small step in MDI mode. The key to setting a U-drill is by drilling slightly undersize, the bottom of the drill just needs to barely clear.


Machining Moulds / Molds on a CNC Lathe / MillMachining Moulds / Molds on a CNC Lathe / Mill


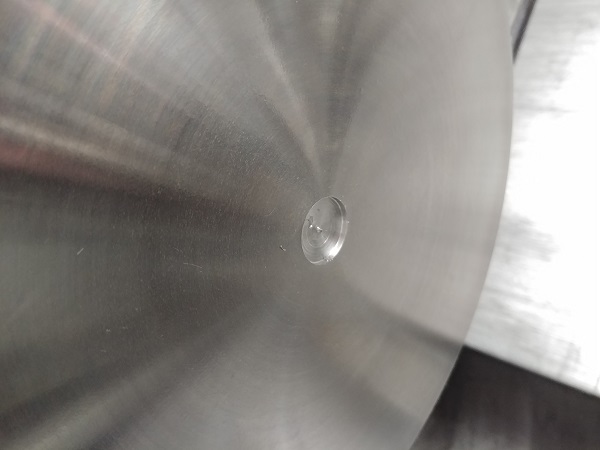
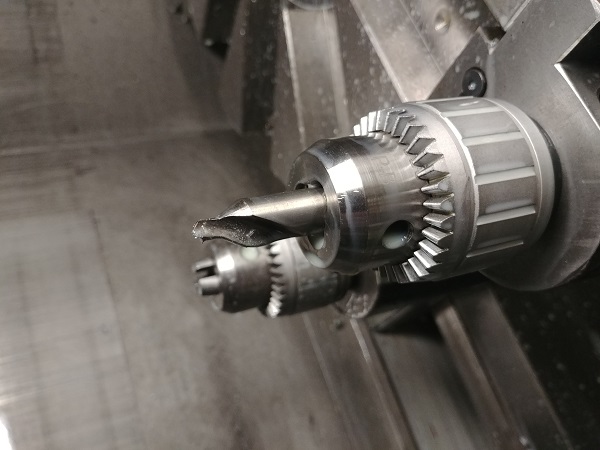
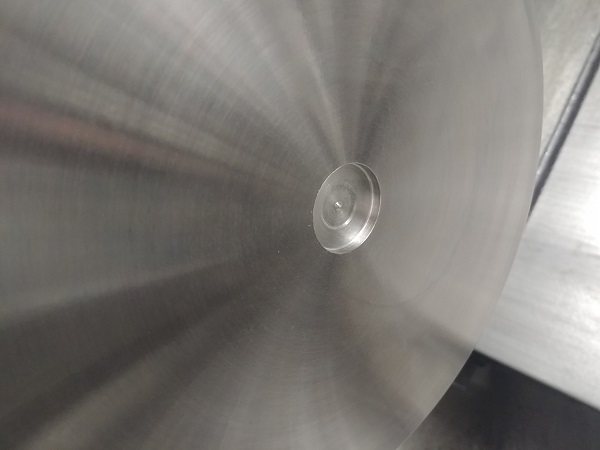
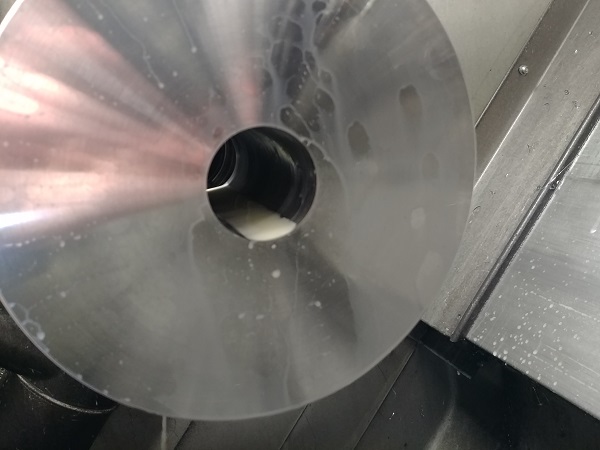
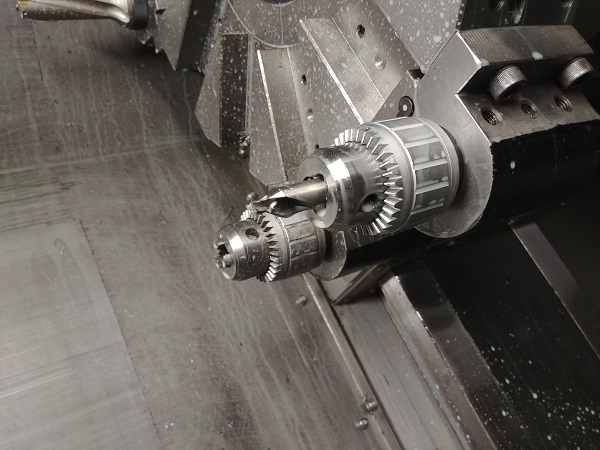
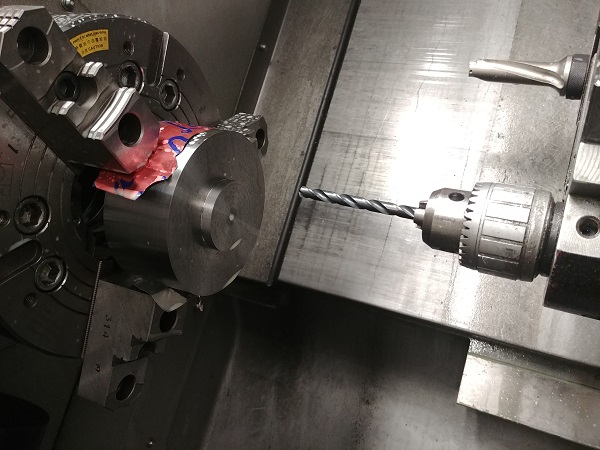
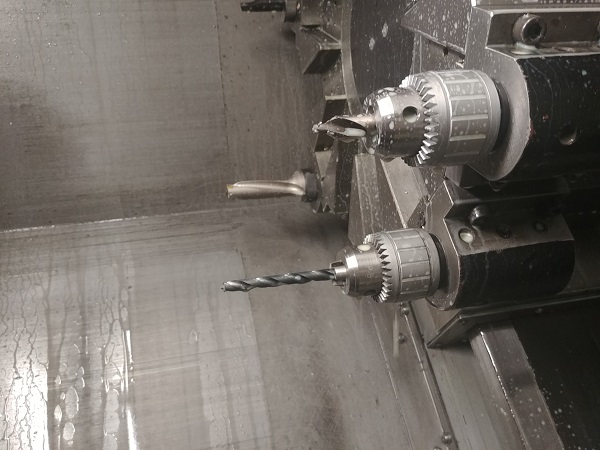
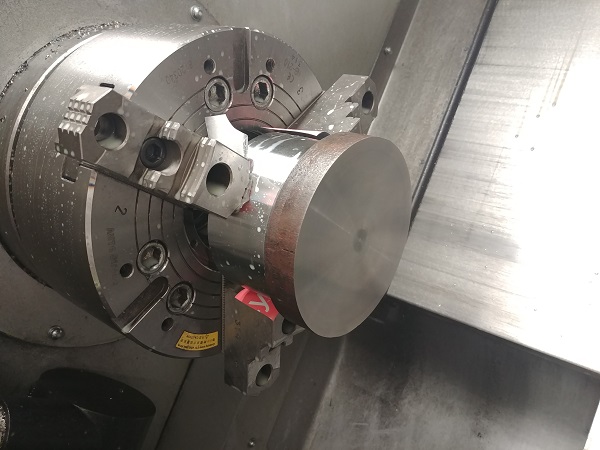
A centre drill is used to start a hole for a larger drill.


Machining Moulds / Molds on a CNC Lathe / MillMachining Moulds / Molds on a CNC Lathe / Mill


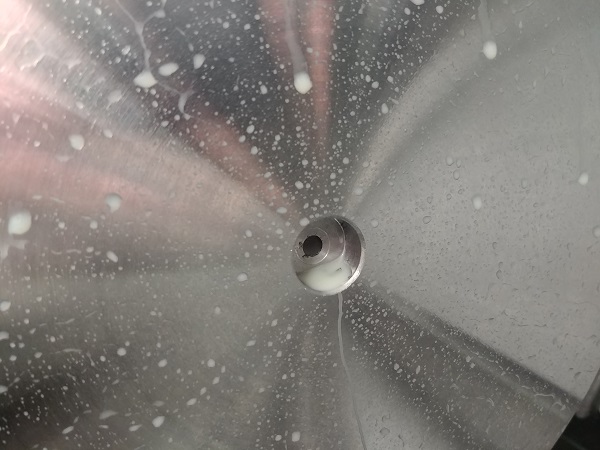
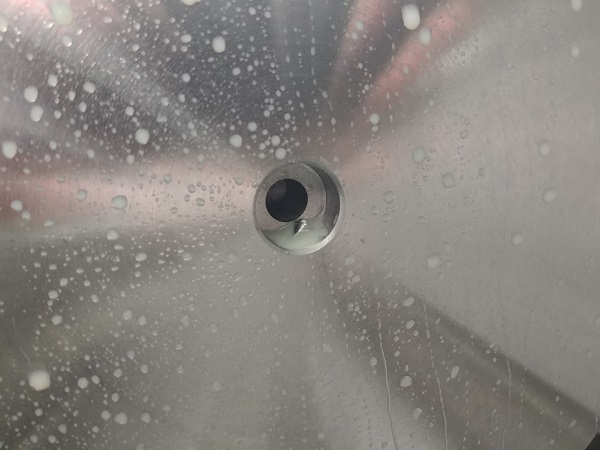
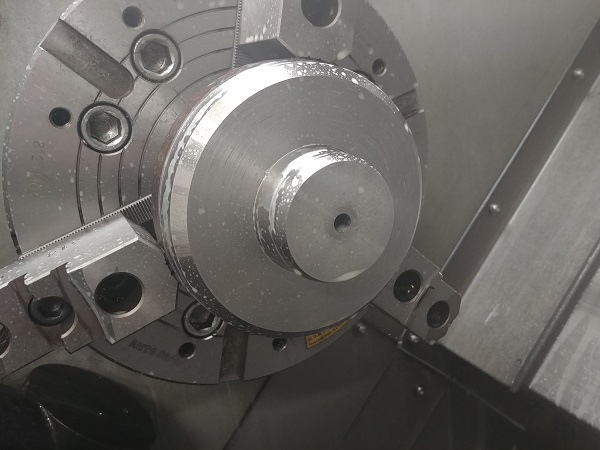
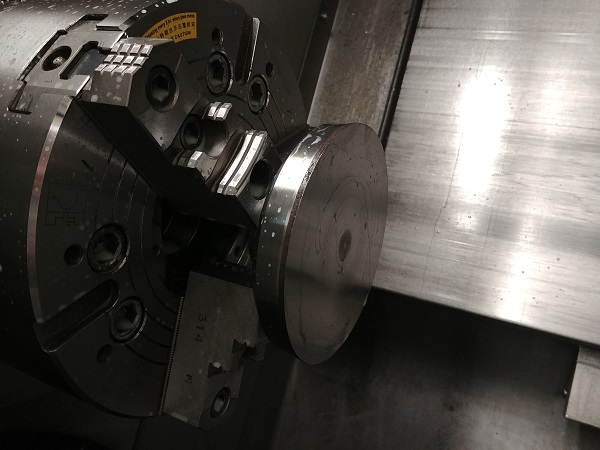
The hole drilled. I flip the part in the chuck to machine the other side.


Machining Moulds / Molds on a CNC Lathe / MillMachining Moulds / Molds on a CNC Lathe / Mill


I often order these billets of steel a quarter inch longer than required since this allows for cutting tolerances.


Machining Moulds / Molds on a CNC Lathe / MillMachining Moulds / Molds on a CNC Lathe / Mill


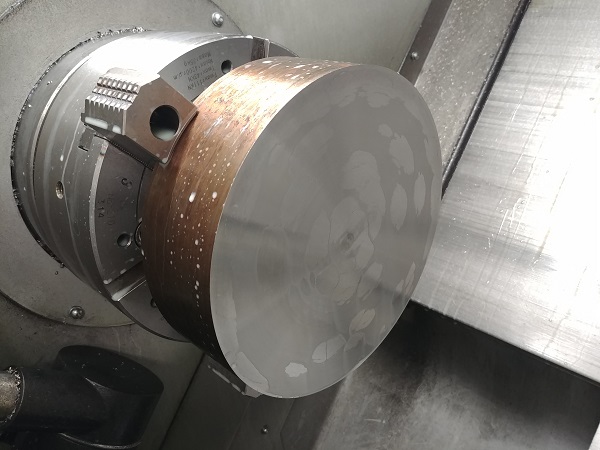
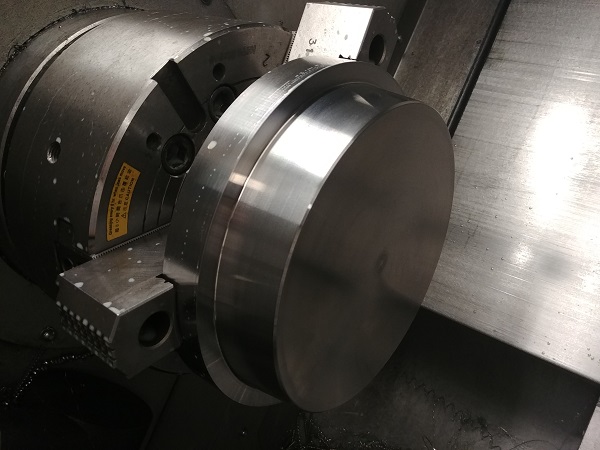
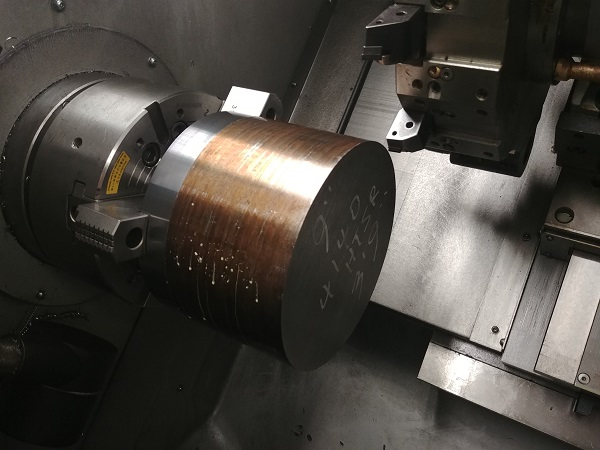
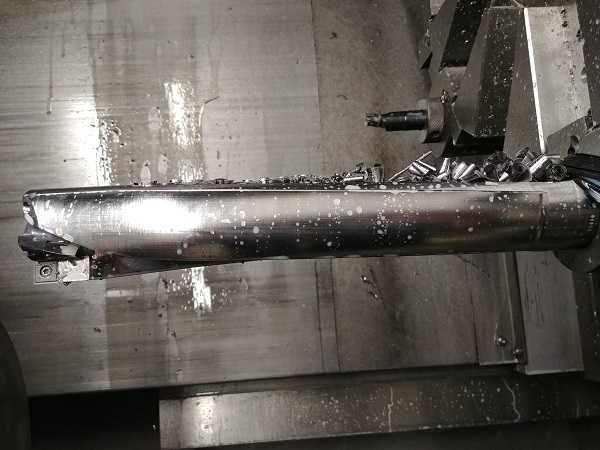
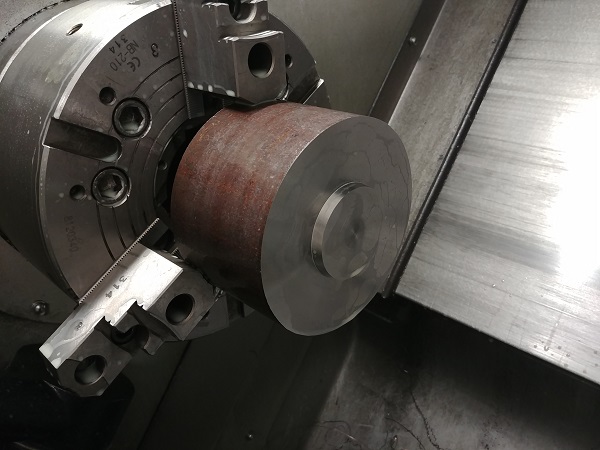
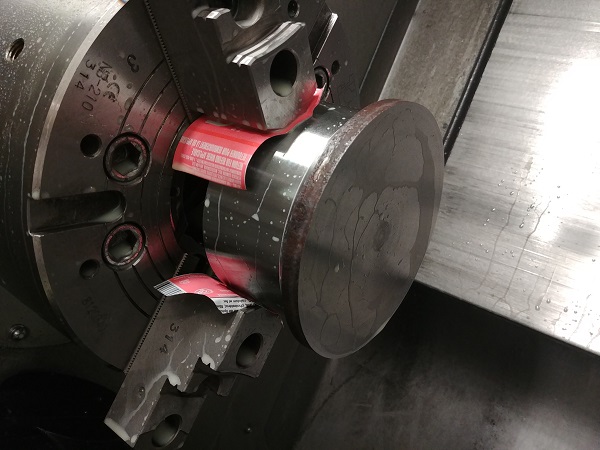
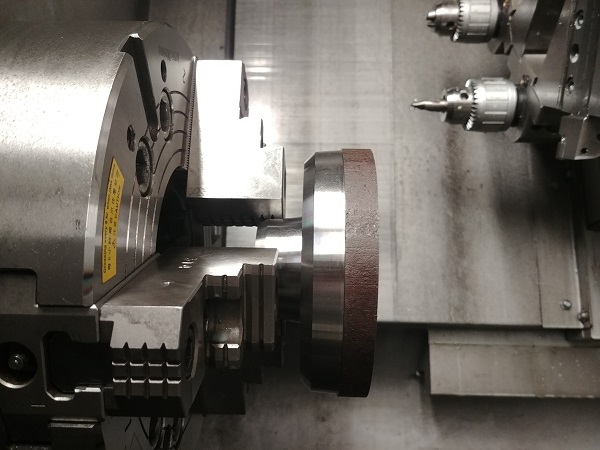
The part is faced to it's final height and the outside roughed out.


Machining Moulds / Molds on a CNC Lathe / MillMachining Moulds / Molds on a CNC Lathe / Mill


The outside is turned to it's finish size. Since this part is tapered it is impossible to measure without placing on a CMM. I'm very diligent with insert life, I know how long an insert will last and signs of it dulling. The first machining operation measured perfect, the insert stayed in the same condition so I could assume this finish pass will be correct.


Machining Moulds / Molds on a CNC Lathe / MillMachining Moulds / Molds on a CNC Lathe / Mill


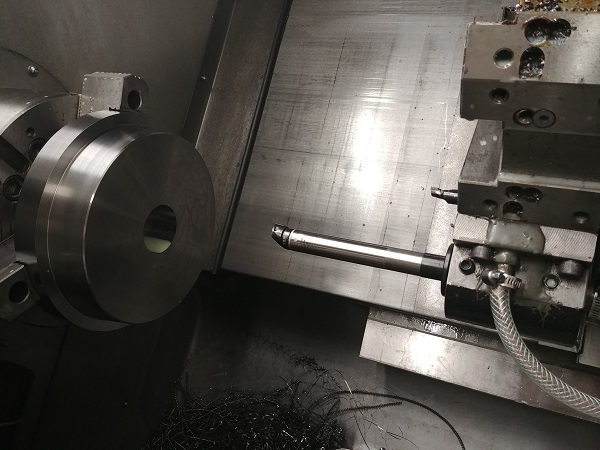
I set the U-drill again (I had to take setup down to do something else).


Machining Moulds / Molds on a CNC Lathe / MillMachining Moulds / Molds on a CNC Lathe / Mill


Machining Moulds / Molds on a CNC Lathe / MillMachining Moulds / Molds on a CNC Lathe / Mill


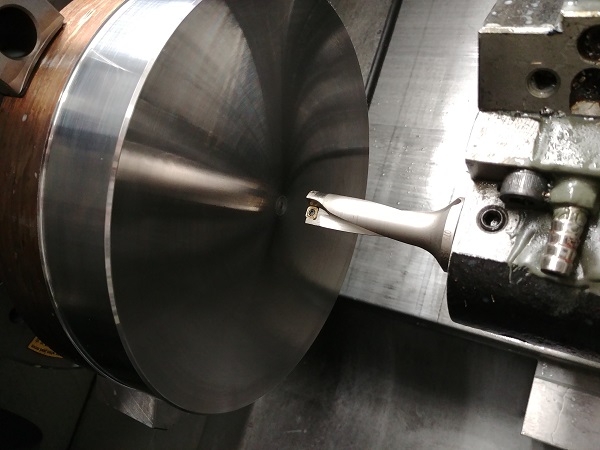
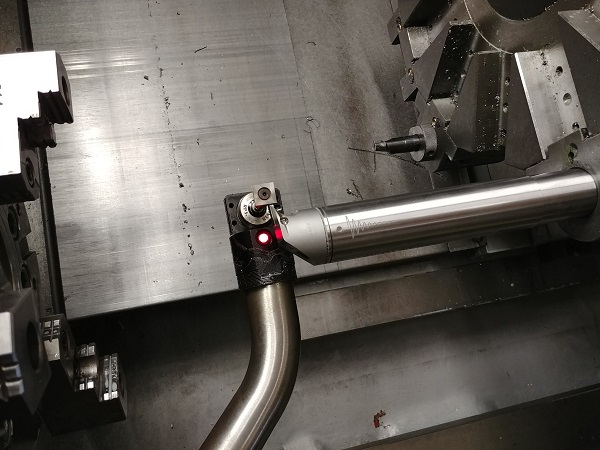
I use a small boring bar to do the majority of the roughing.


Machining Moulds / Molds on a CNC Lathe / MillMachining Moulds / Molds on a CNC Lathe / Mill


There was room for the tool probe to swing down so I set an anti-vibration boring bar to it.


Machining Moulds / Molds on a CNC Lathe / MillMachining Moulds / Molds on a CNC Lathe / Mill


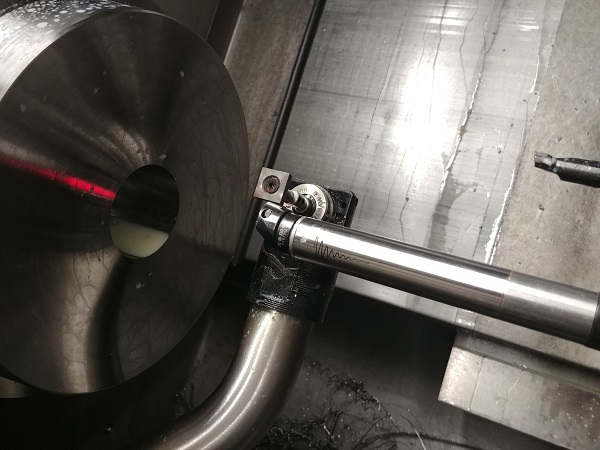
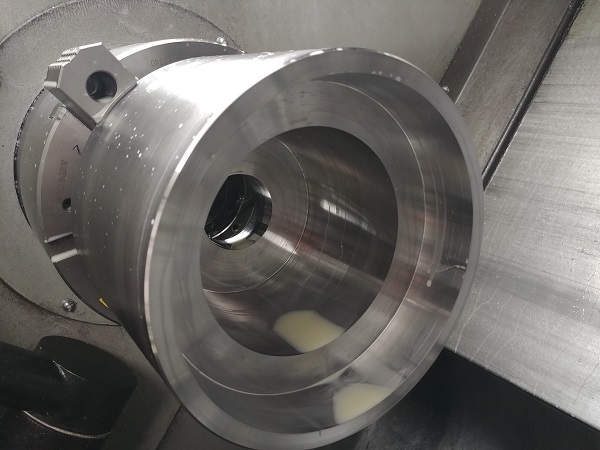
I did some roughing passes and then a finish pass undersize, I noticed from the very beginning that this material was softer than usual. The cavity of this mould needs to have a good finish, this is not ideal.


Machining Moulds / Molds on a CNC Lathe / MillMachining Moulds / Molds on a CNC Lathe / Mill


I swapped out the bar for a much larger one, still the finish was not all that great. The tolerance on this cavity is quite large so it would not matter if I took to polishing it. A bit of sand paper and lapping paste fixed the finish, although not something I like to do.


Machining Moulds / Molds on a CNC Lathe / MillMachining Moulds / Molds on a CNC Lathe / Mill


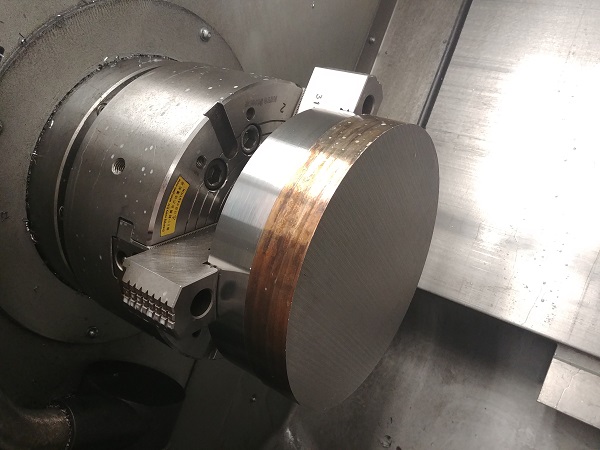
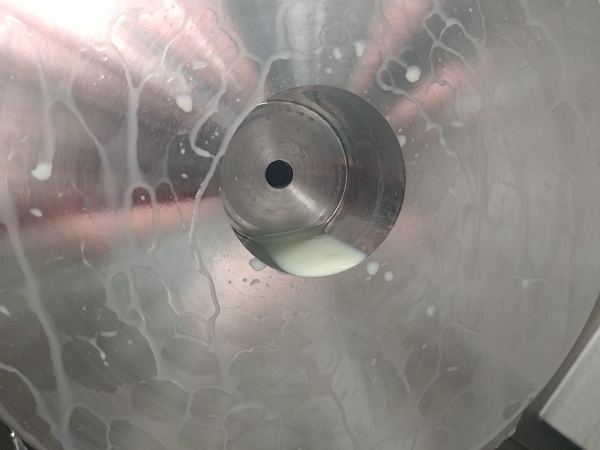
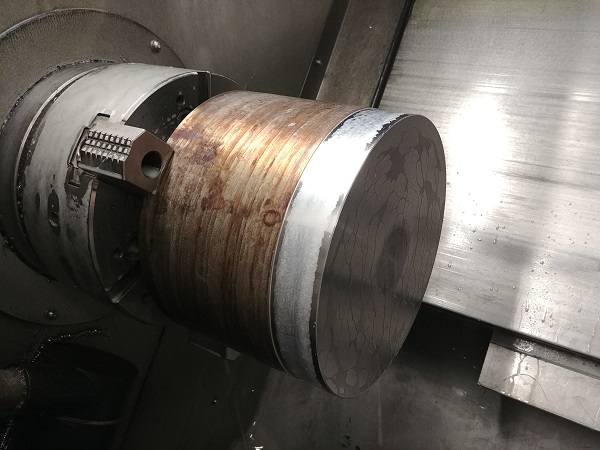
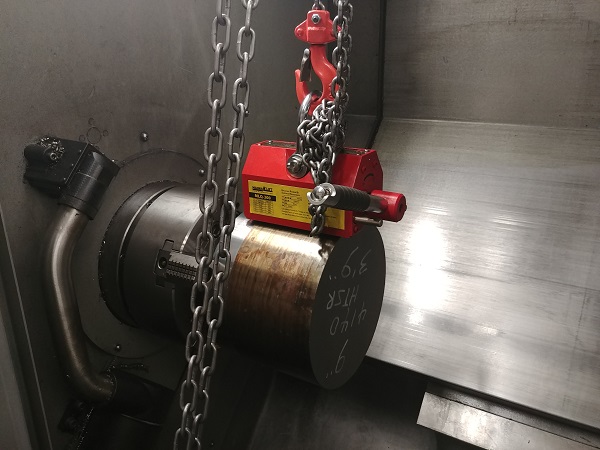
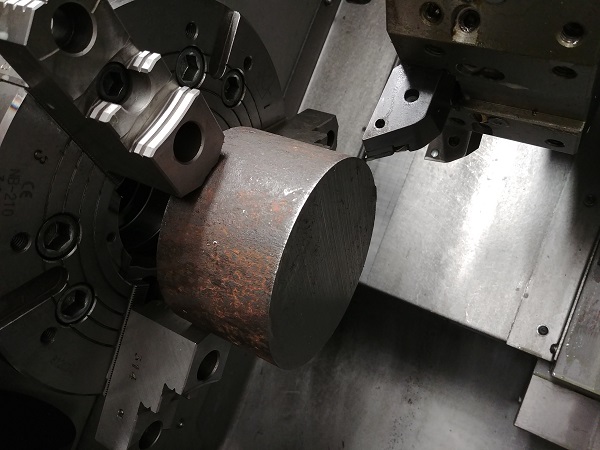
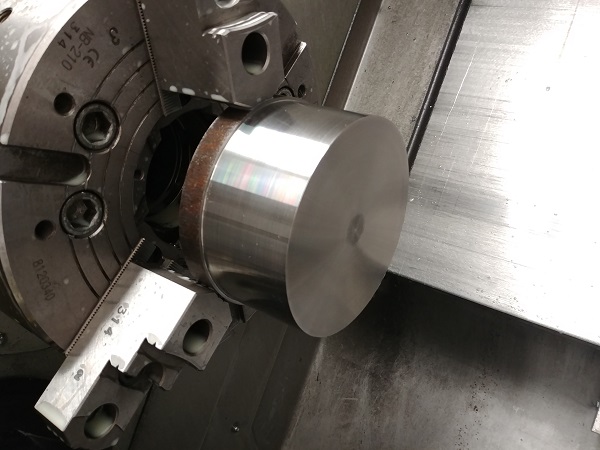
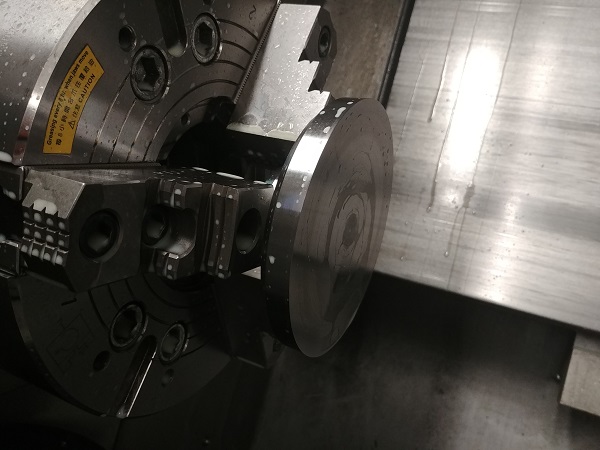
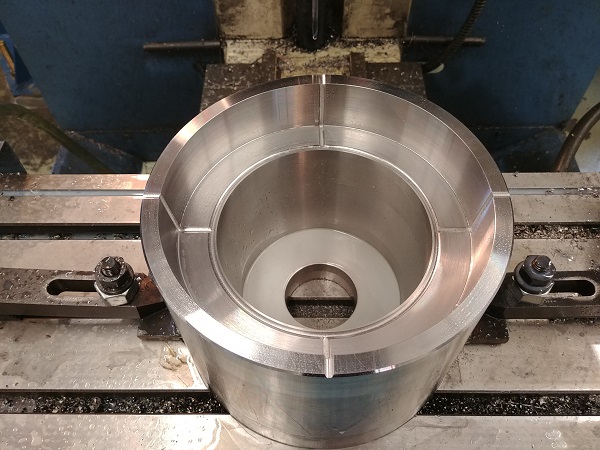
Time to machine the main cavity, this is a very heavy part, around 120lbs in weight.


Machining Moulds / Molds on a CNC Lathe / MillMachining Moulds / Molds on a CNC Lathe / Mill


Machining Moulds / Molds on a CNC Lathe / MillMachining Moulds / Molds on a CNC Lathe / Mill


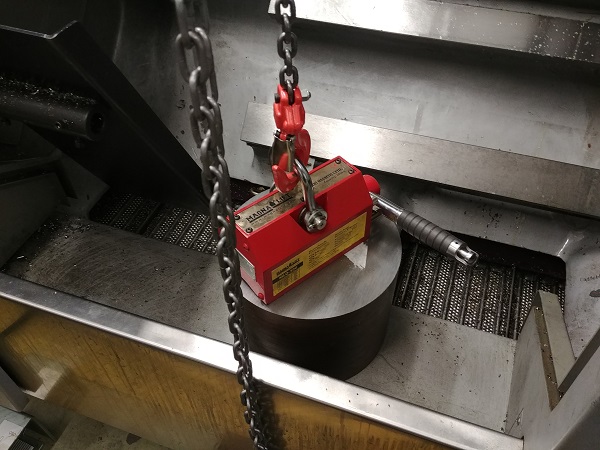
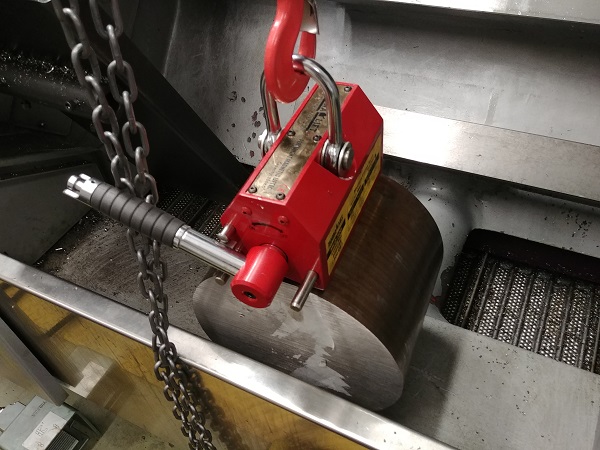
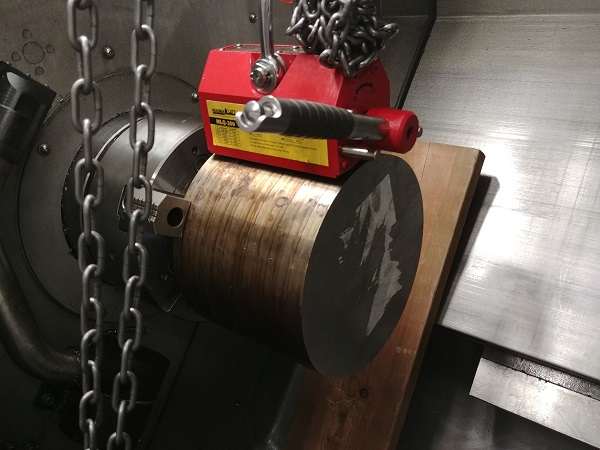
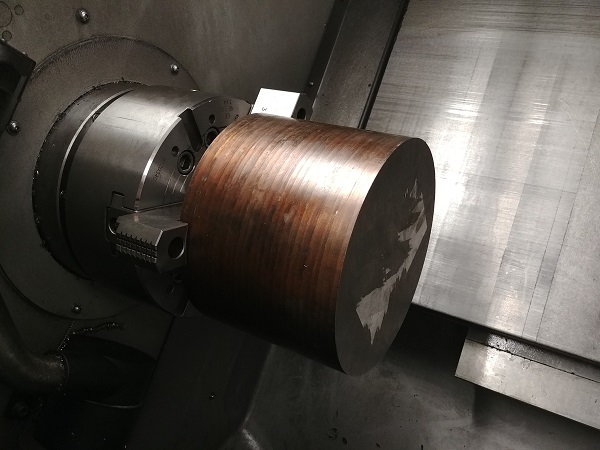
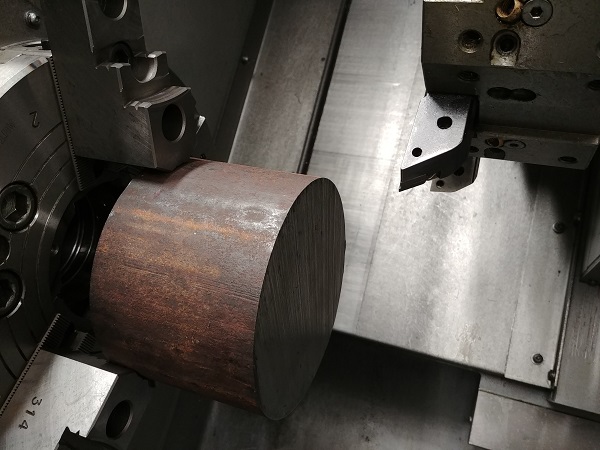
Despite looking round, a lot of these billets are oval shaped. I really turned down the spindle speed to avoid any mishaps.


Machining Moulds / Molds on a CNC Lathe / MillMachining Moulds / Molds on a CNC Lathe / Mill


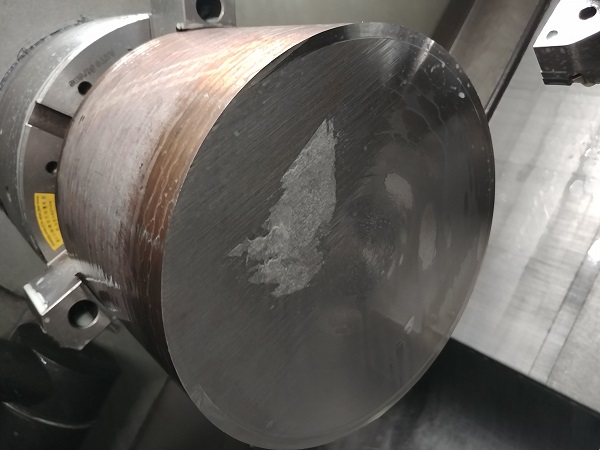
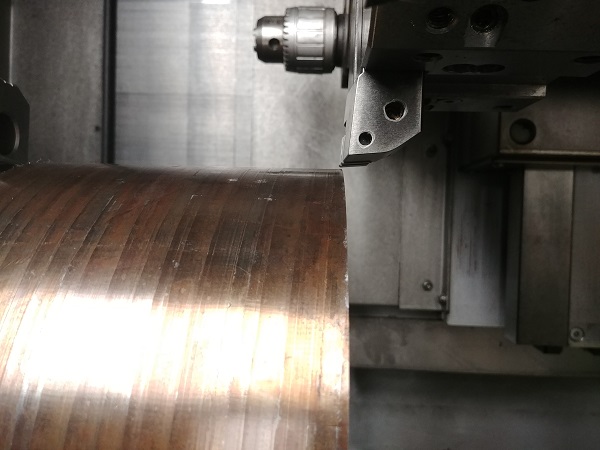
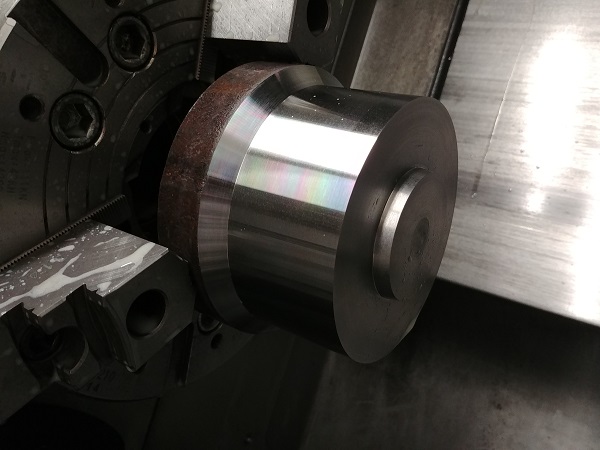
The finish on this billet was definitely looking good, but often the first quarter inch on the outside is hard.


Machining Moulds / Molds on a CNC Lathe / MillMachining Moulds / Molds on a CNC Lathe / Mill


Machining Moulds / Molds on a CNC Lathe / MillMachining Moulds / Molds on a CNC Lathe / Mill


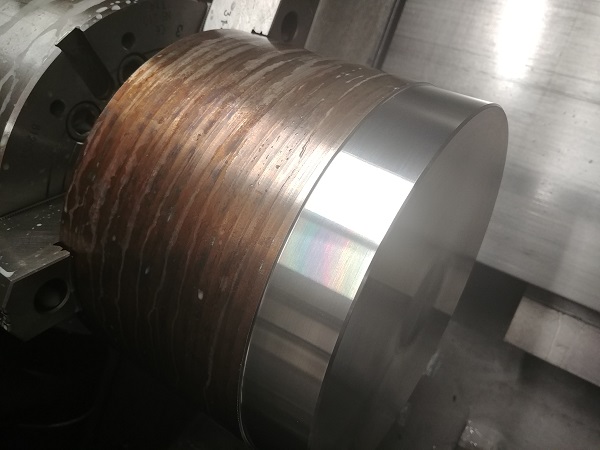
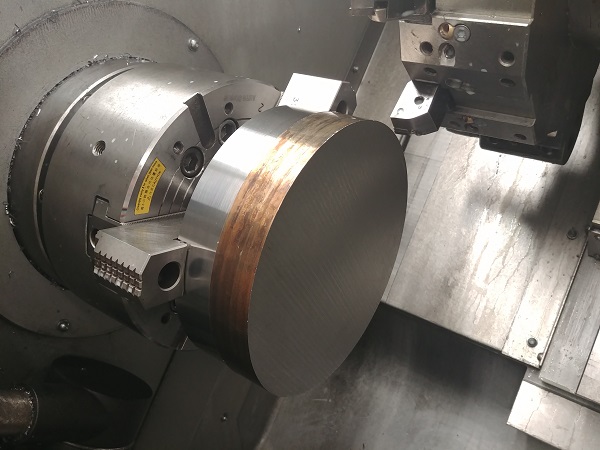
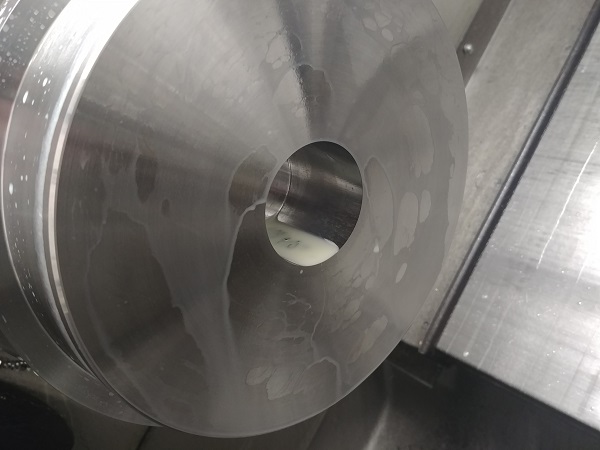
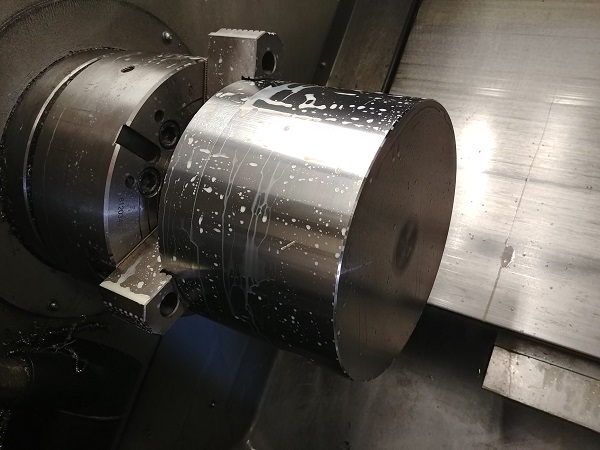
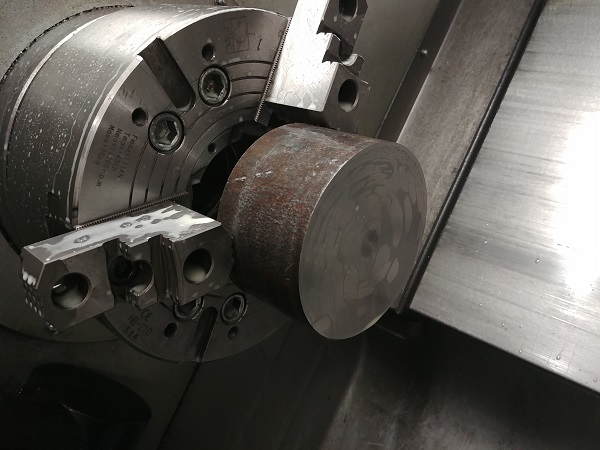
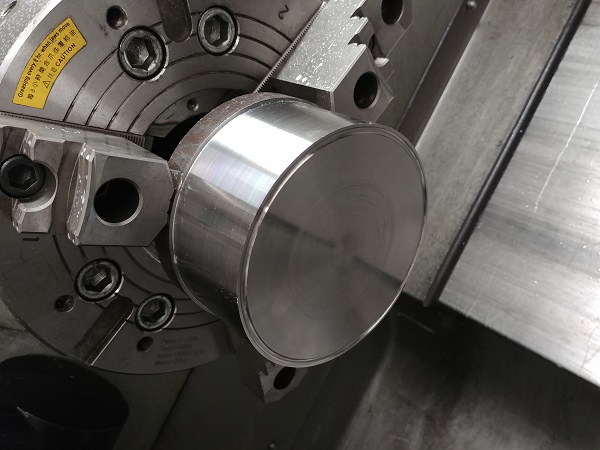
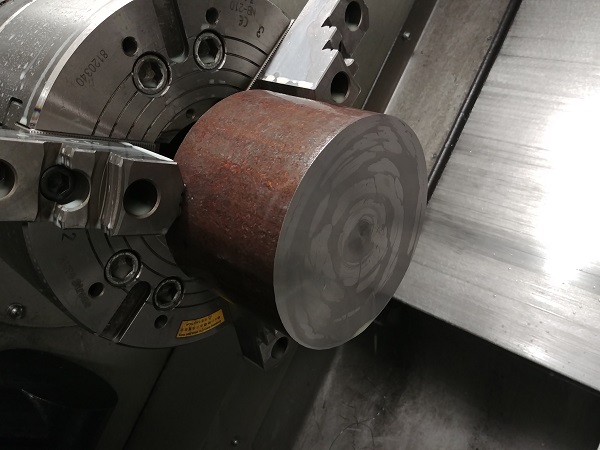
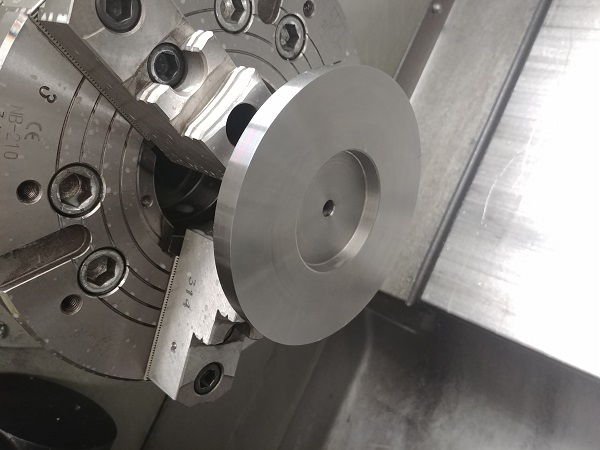
I flipped it in the chuck to machine the other side.


Machining Moulds / Molds on a CNC Lathe / MillMachining Moulds / Molds on a CNC Lathe / Mill


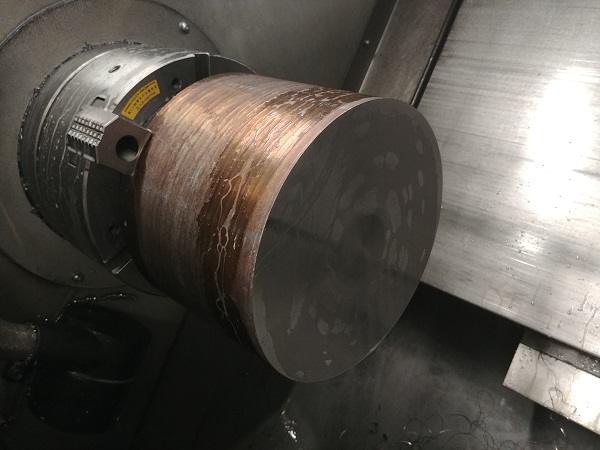
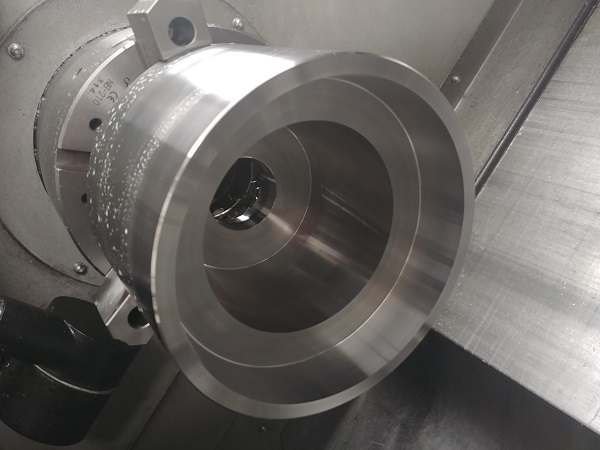
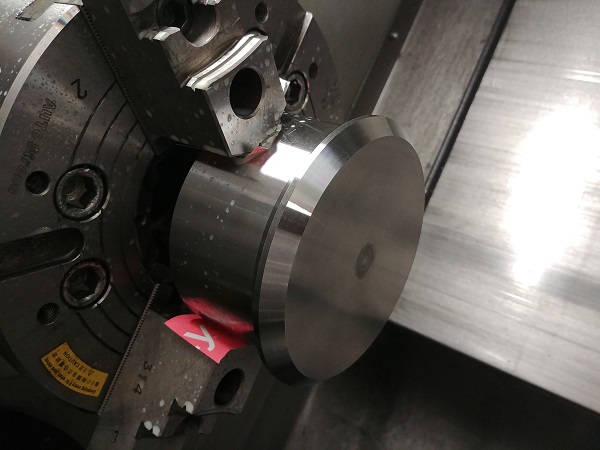
The part faced to the final height and the outside finished.


Machining Moulds / Molds on a CNC Lathe / MillMachining Moulds / Molds on a CNC Lathe / Mill


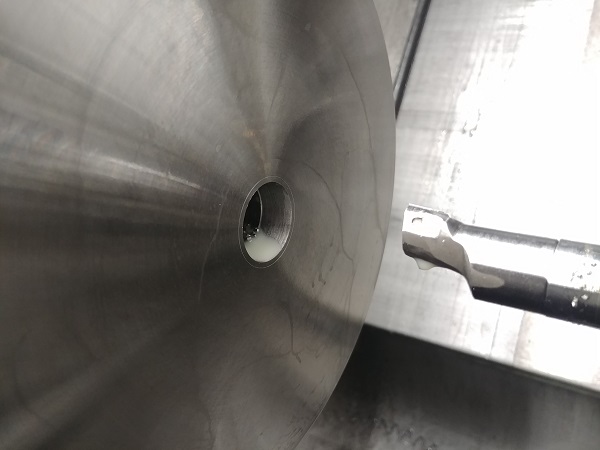
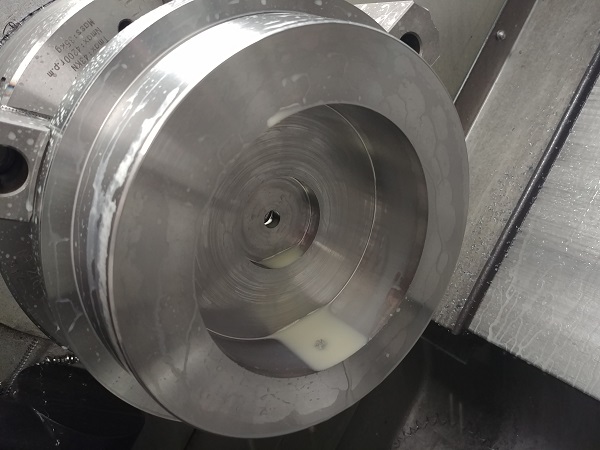
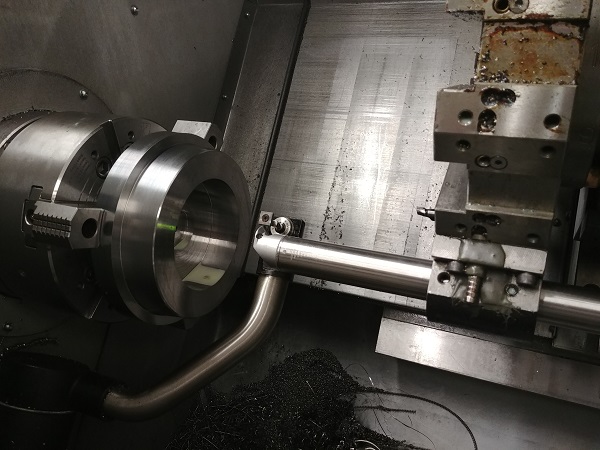
Since the part was now perfectly true I could raise the speed. I used a rather large U-drill for the inside.


Machining Moulds / Molds on a CNC Lathe / MillMachining Moulds / Molds on a CNC Lathe / Mill


This drill likes to scream, I don't think this lathe is rigid enough.


Machining Moulds / Molds on a CNC Lathe / MillMachining Moulds / Molds on a CNC Lathe / Mill


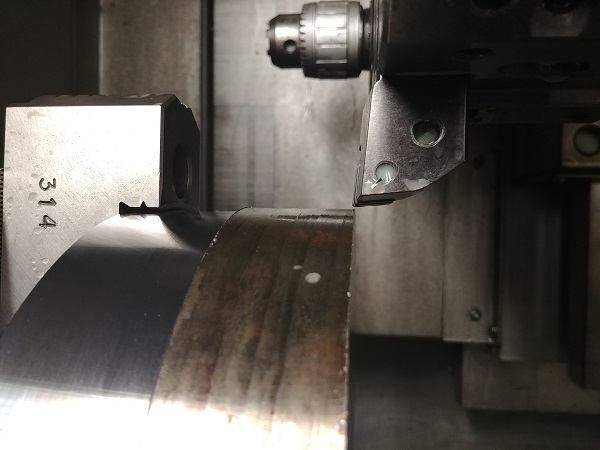
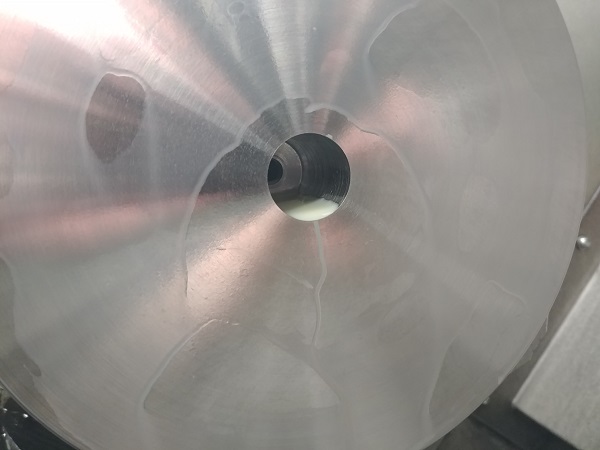
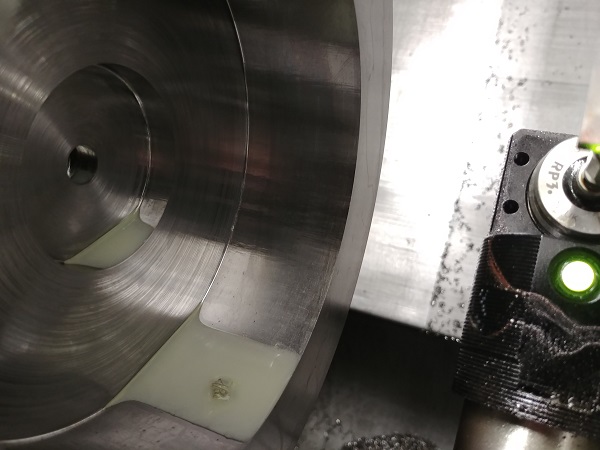
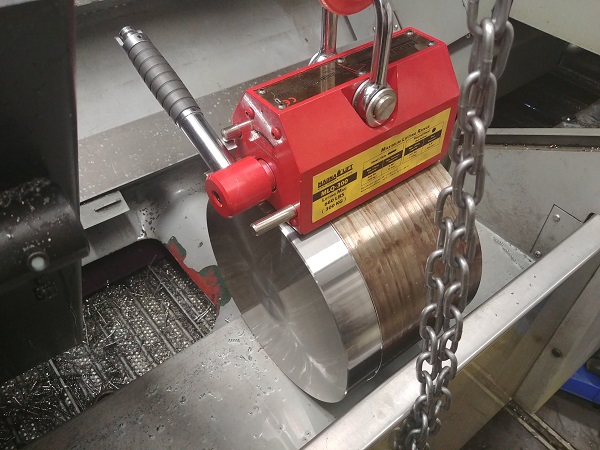
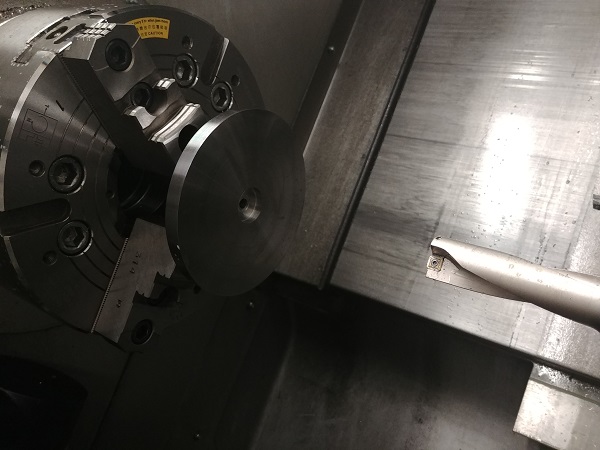
I placed a large anti-vibration bar in the machine and set it against the tool probe. I removed the cavity from the chuck just to make this an easier process.


Machining Moulds / Molds on a CNC Lathe / MillMachining Moulds / Molds on a CNC Lathe / Mill


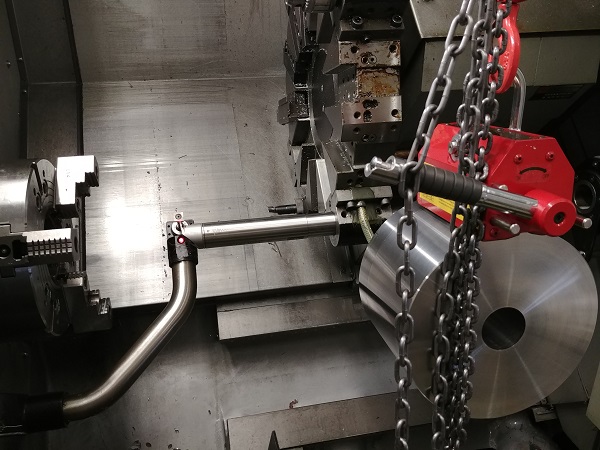
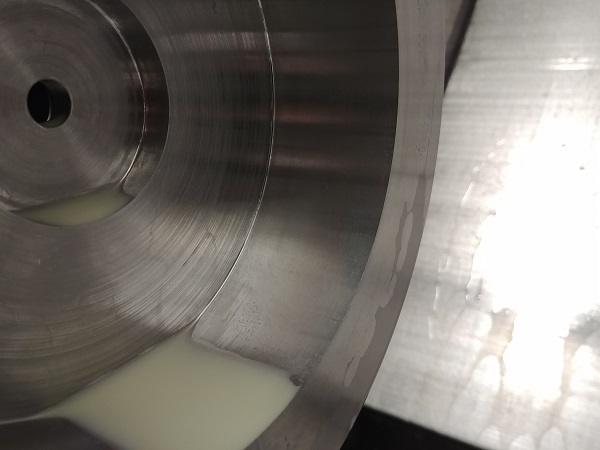
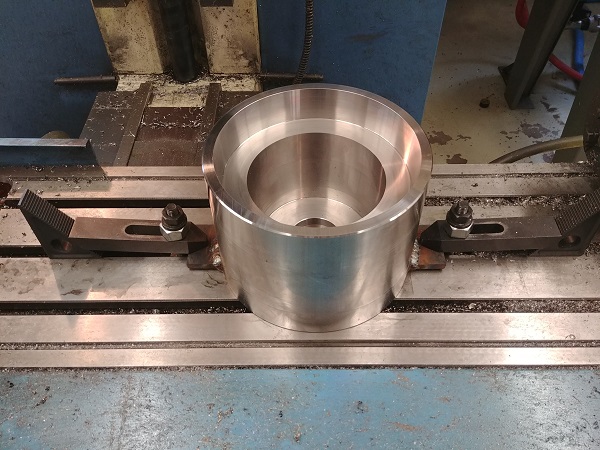
It took quite a bit of time to bore this thing out but the finish came out great. Now back to doing the smaller stuff, holding onto around half an inch here.


Machining Moulds / Molds on a CNC Lathe / MillMachining Moulds / Molds on a CNC Lathe / Mill


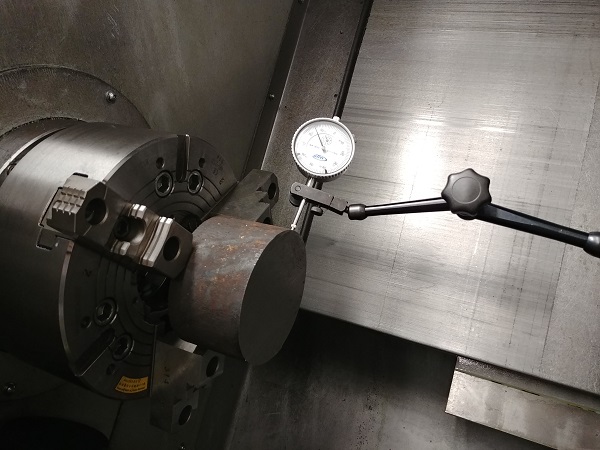
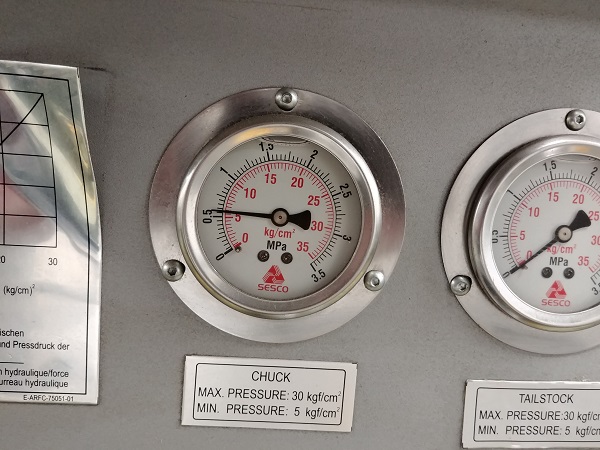
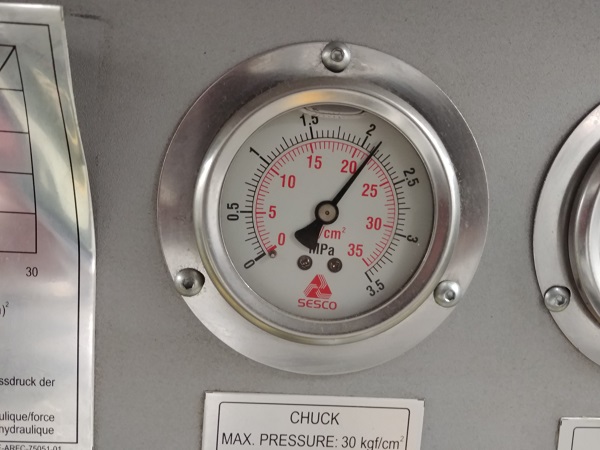
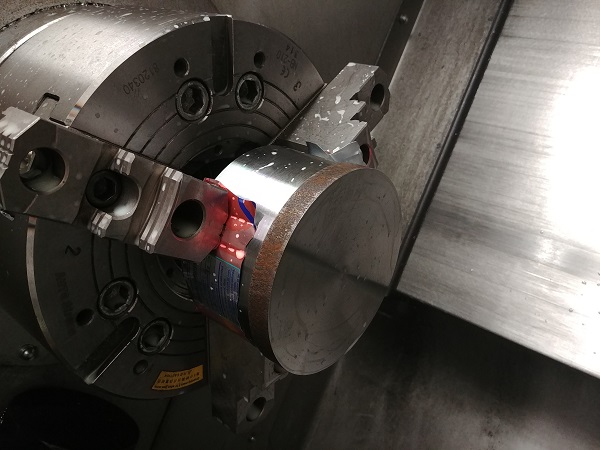
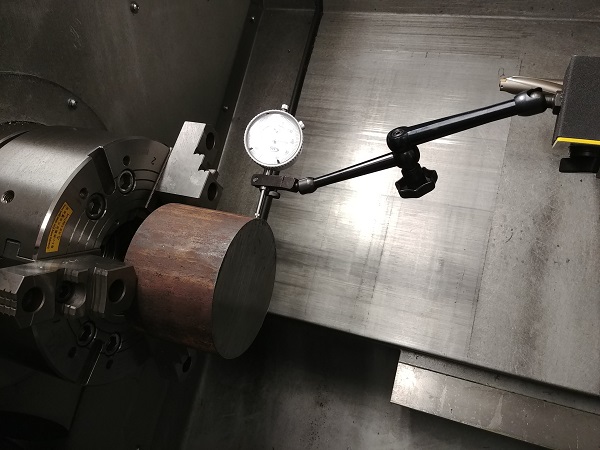
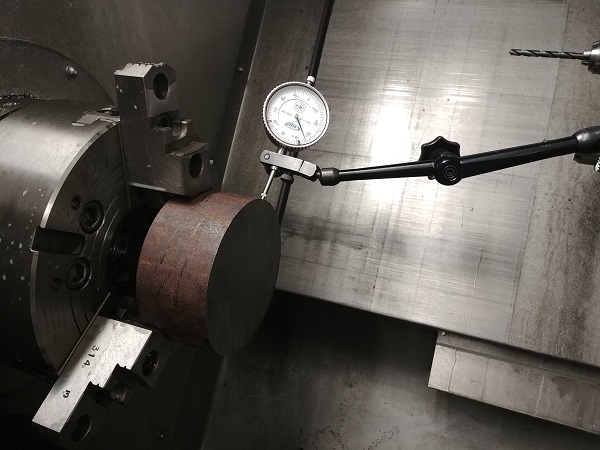
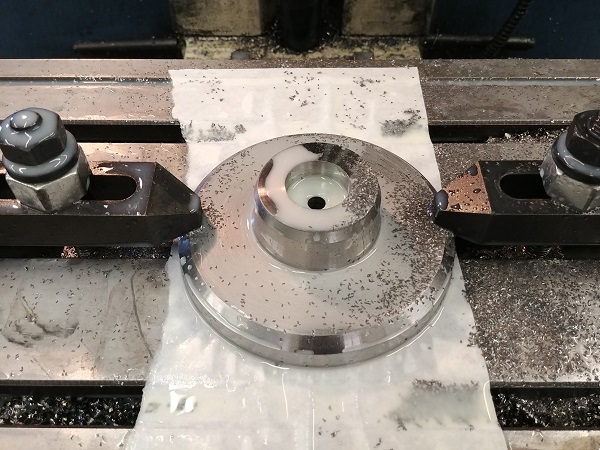
I turn down the hydraulic chuck pressure so that I can clock the billet true, holding onto such a small amount can be risky. Once I am satisfied then I can turn up the pressure.
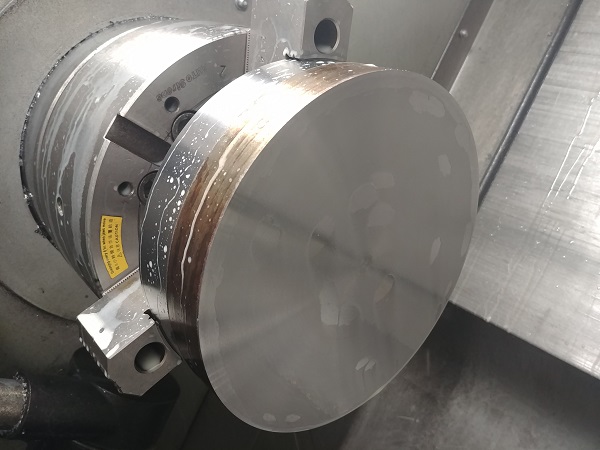
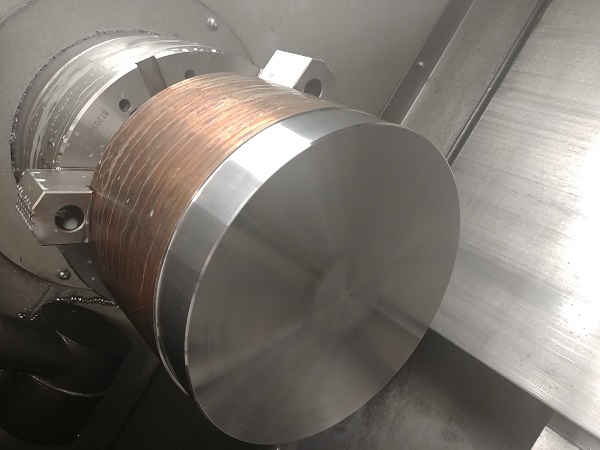
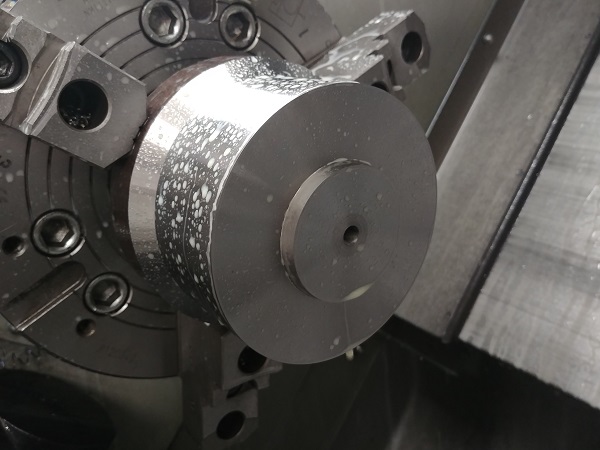
 

Machining Moulds / Molds on a CNC Lathe / MillMachining Moulds / Molds on a CNC Lathe / Mill


Facing the front.


Machining Moulds / Molds on a CNC Lathe / MillMachining Moulds / Molds on a CNC Lathe / Mill


This material with the rougher skin seems to be harder throughout, it is easier to obtain a good finish. I setup a face grooving tool using the probe and then set the Z offset to the front of the part.


Machining Moulds / Molds on a CNC Lathe / MillMachining Moulds / Molds on a CNC Lathe / Mill


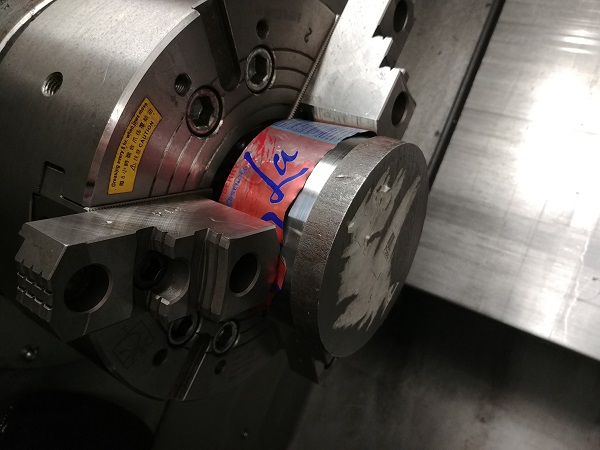
A channel is profiled into the front, this acts as venting. The part is flipped and placed back in the jaws. I use a soda can to protect the surface finish of the part.


Machining Moulds / Molds on a CNC Lathe / MillMachining Moulds / Molds on a CNC Lathe / Mill


The billet is machined to a rough height. The final height and this step are faced on.


Machining Moulds / Molds on a CNC Lathe / MillMachining Moulds / Molds on a CNC Lathe / Mill


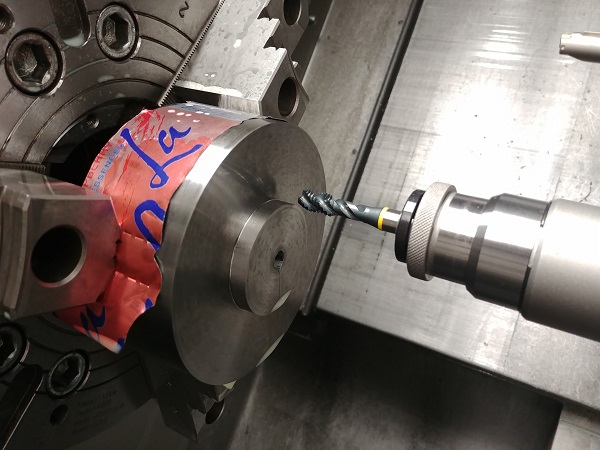
I centre drill, pilot drill and then machine tap a thread in the front. I often eye the Z-offset on these taps as the depth is not all that crucial, especially when using a floating tapping chuck. A spiral flute tap is the best choice as it does not require the chips to be broken.


Machining Moulds / Molds on a CNC Lathe / MillMachining Moulds / Molds on a CNC Lathe / Mill


Machining Moulds / Molds on a CNC Lathe / MillMachining Moulds / Molds on a CNC Lathe / Mill


The second and third inner parts have similar operations to those above.


Machining Moulds / Molds on a CNC Lathe / MillMachining Moulds / Molds on a CNC Lathe / Mill


Machining Moulds / Molds on a CNC Lathe / MillMachining Moulds / Molds on a CNC Lathe / Mill


Machining Moulds / Molds on a CNC Lathe / MillMachining Moulds / Molds on a CNC Lathe / Mill


Machining Moulds / Molds on a CNC Lathe / MillMachining Moulds / Molds on a CNC Lathe / Mill


Machining Moulds / Molds on a CNC Lathe / MillMachining Moulds / Molds on a CNC Lathe / Mill


Machining Moulds / Molds on a CNC Lathe / MillMachining Moulds / Molds on a CNC Lathe / Mill


Machining Moulds / Molds on a CNC Lathe / MillMachining Moulds / Molds on a CNC Lathe / Mill


Machining Moulds / Molds on a CNC Lathe / MillMachining Moulds / Molds on a CNC Lathe / Mill


Machining Moulds / Molds on a CNC Lathe / MillMachining Moulds / Molds on a CNC Lathe / Mill


Machining Moulds / Molds on a CNC Lathe / MillMachining Moulds / Molds on a CNC Lathe / Mill


The second operation of the third part was the only one I found to be a little risky. I reduced the depths of cut and had no issues thankfully.


Machining Moulds / Molds on a CNC Lathe / MillMachining Moulds / Molds on a CNC Lathe / Mill


I made one tiny little mistake in that I did not drill deep enough on the first op. It wasn't such a big deal as I used a U-drill to rough out a step, maybe it worked out better. I then used a boring bar to turn the finish profile


Machining Moulds / Molds on a CNC Lathe / MillMachining Moulds / Molds on a CNC Lathe / Mill


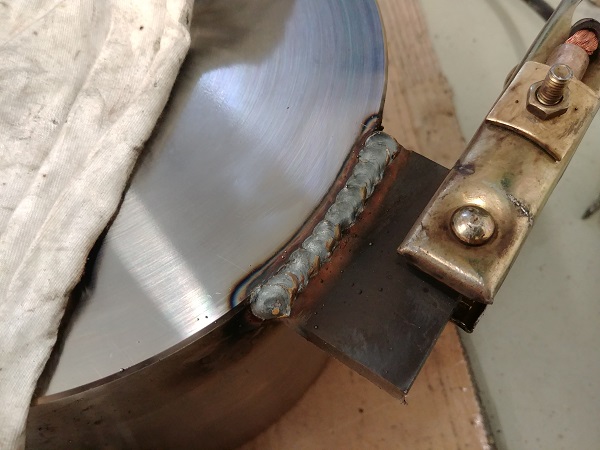
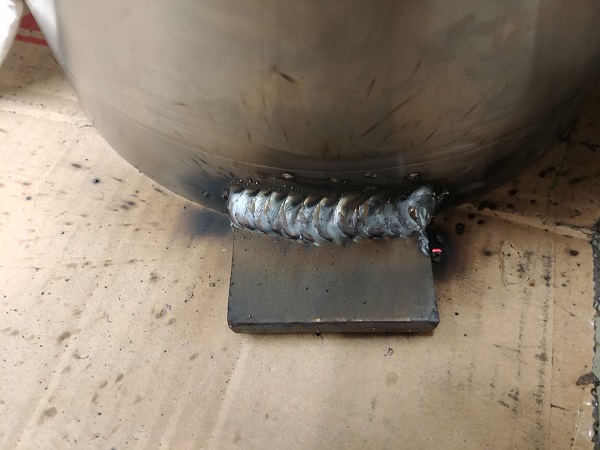
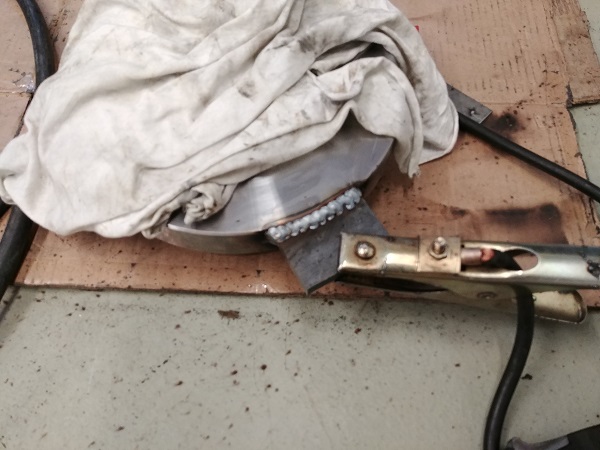
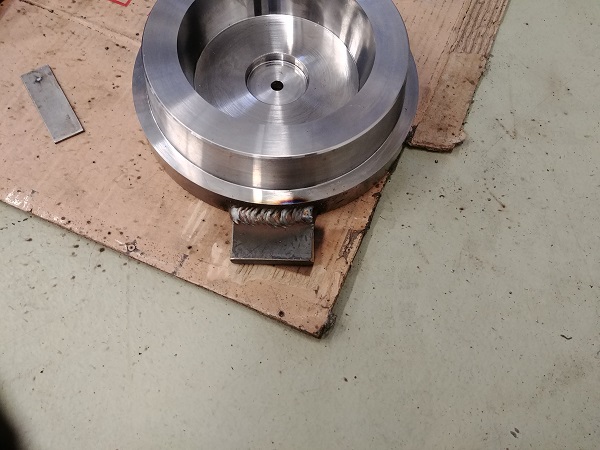
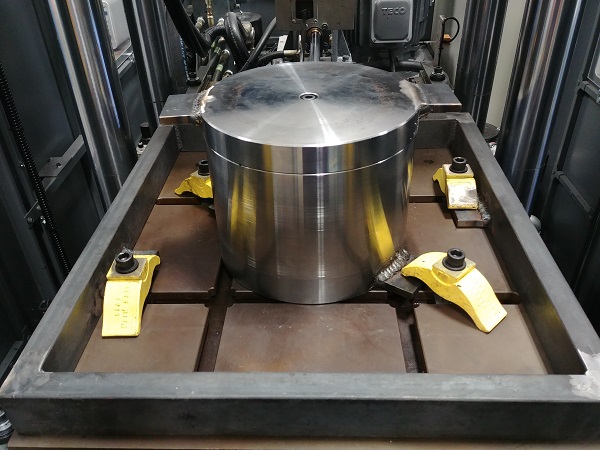
I used to mill slots in all of the moulds to have something to clamp onto. Not only does milling take up a lot of time but it also adds to wear of inserts. The simplest option is to weld tabs onto the mould.


Machining Moulds / Molds on a CNC Lathe / MillMachining Moulds / Molds on a CNC Lathe / Mill


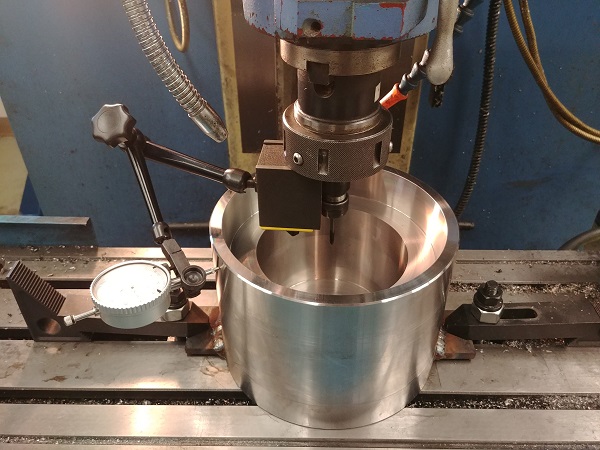
The mould is placed in the mill and clamped down. I use the dial indicator to clock it central.


Machining Moulds / Molds on a CNC Lathe / MillMachining Moulds / Molds on a CNC Lathe / Mill


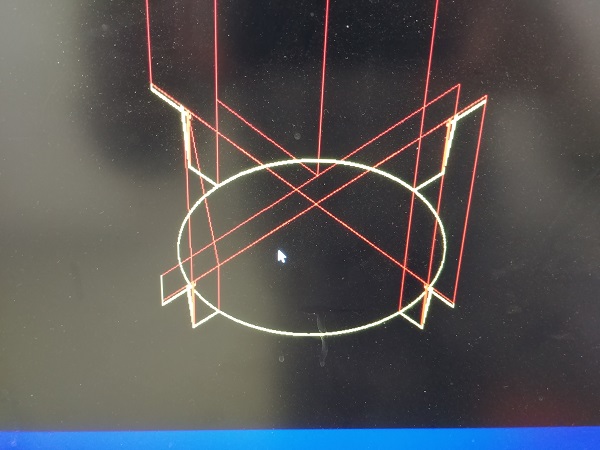
The CNC program was written by hand since it is often quicker than setting up CAM milling paths.


Machining Moulds / Molds on a CNC Lathe / MillMachining Moulds / Molds on a CNC Lathe / Mill


The tabs were welded to the top of the mould.


Machining Moulds / Molds on a CNC Lathe / MillMachining Moulds / Molds on a CNC Lathe / Mill


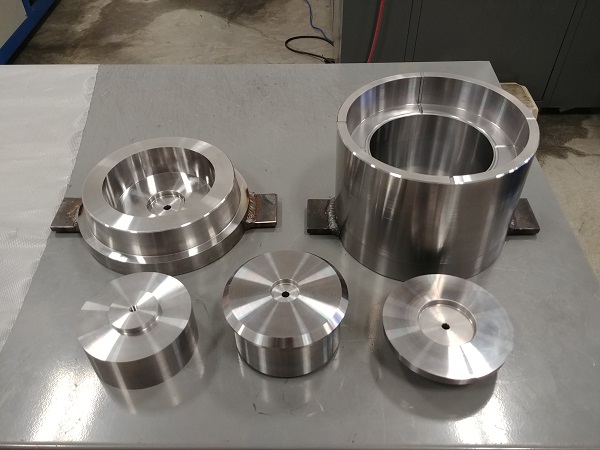
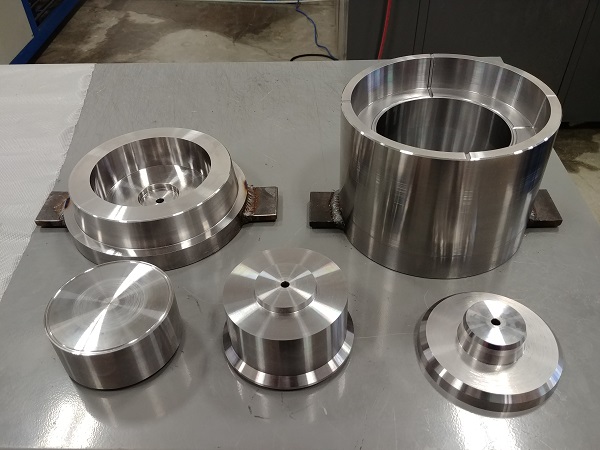
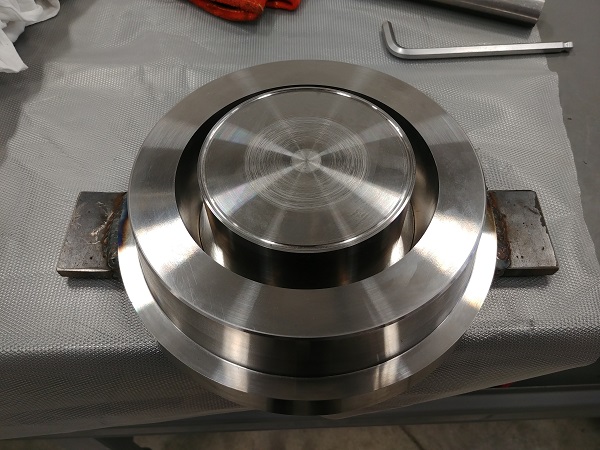
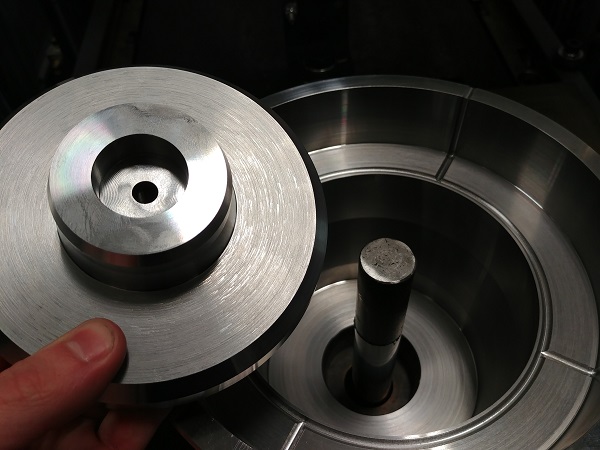
All of the parts for the mould complete.


Machining Moulds / Molds on a CNC Lathe / MillMachining Moulds / Molds on a CNC Lathe / Mill


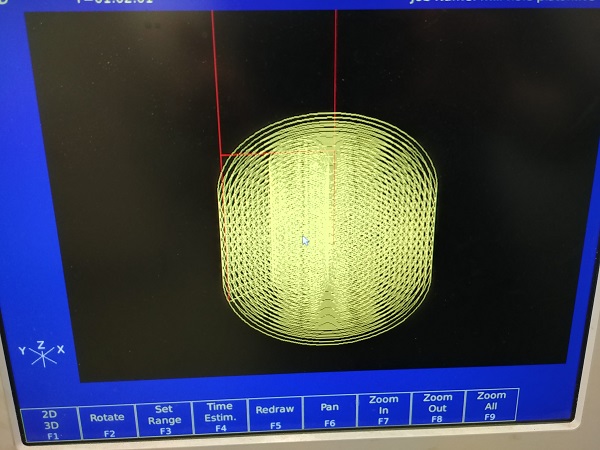
One of the parts is positioned over an ejector rod. I created a milling path and simulated it on the mill, this is the only program that I did use CAM software for.


Machining Moulds / Molds on a CNC Lathe / MillMachining Moulds / Molds on a CNC Lathe / Mill


I clocked the part in the mill and then cut out the pocket.


Machining Moulds / Molds on a CNC Lathe / MillMachining Moulds / Molds on a CNC Lathe / Mill


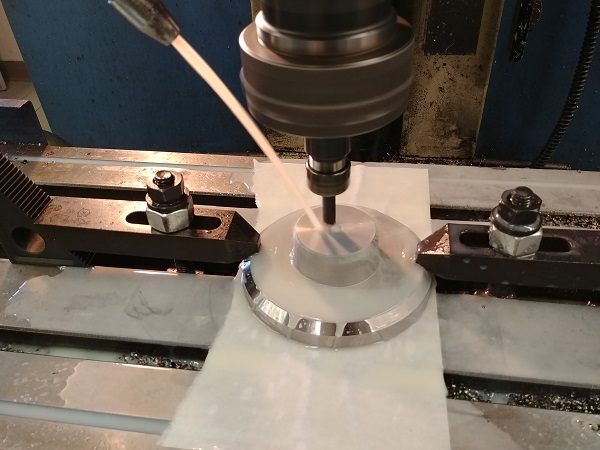
This cutout stops it from falling over on ejection, it would be bad to damage the cavity. The mould is complete and bolted in the press.


Machining Moulds / Molds on a CNC Lathe / MillMachining Moulds / Molds on a CNC Lathe / Mill


This mould came out really good, the finish in most parts excellent, in the one area on the cap I had to polish by hand. All of the lathe and mill programs were written manually as this saves a lot of time compared to the CAM software. I will also say that because I choose to use roughing and finishing cycles that it reduces the risk of error for if I need to use a different size billet of material.


Back to Projects


Hello, if you have enjoyed reading this project, have taken an interest in another or want me to progress one further then please consider donating or even sponsoring a small amount every month, for more information on why you may like to help me out then follow the sponsor link to the left. Otherwise you can donate any amount with the link below, thank you!