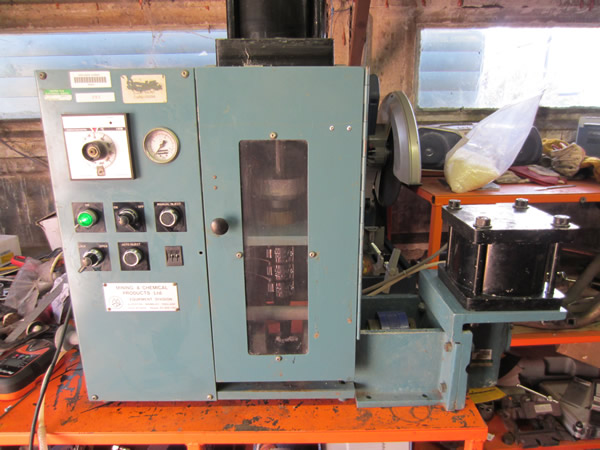
Injection Moulding Machine
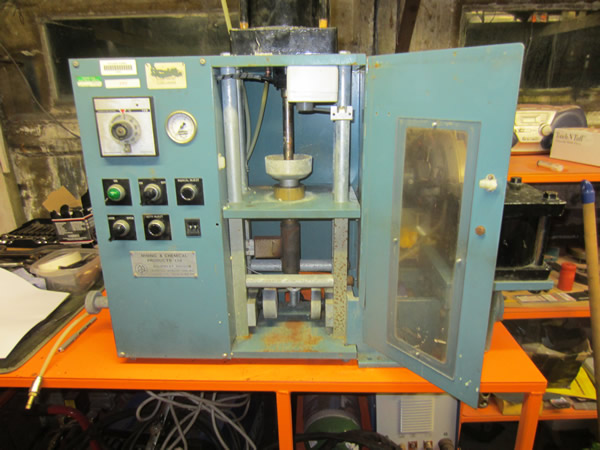
I bought an injection moulding machine to make parts for my air rifle, it never really kicked off at the time, so instead it got buried. It's been stood for quite a while so I've decided that it's probably best that I sell it. I remembered that some of it leaked and it needed a good service, so this is what I did.
October 2014
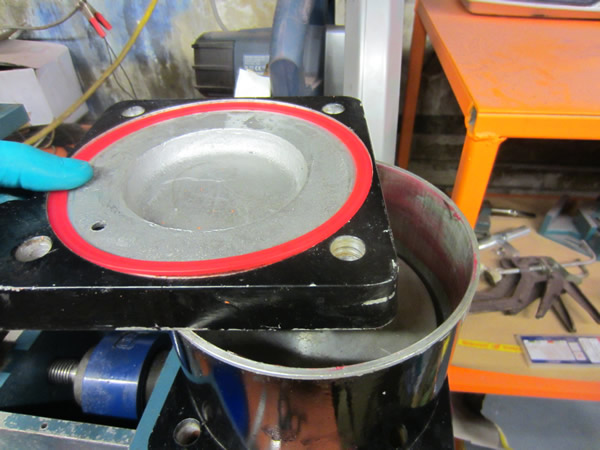
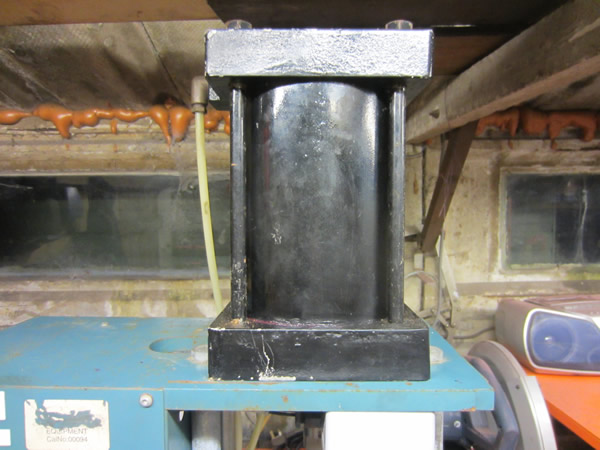
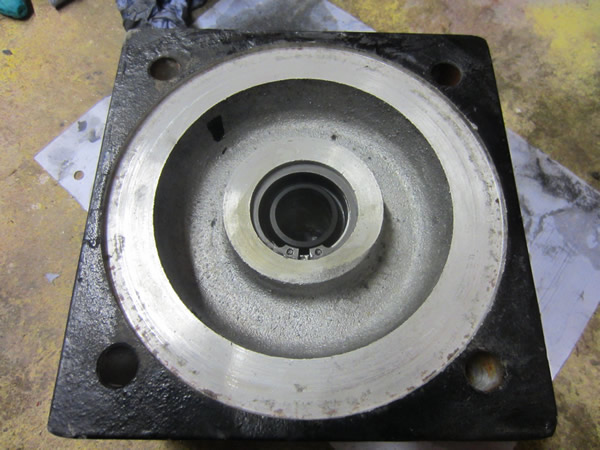
The parts that were leaking were the pneumatic cylinders, around the liner itself. The first cylinder to dismantle was the one that it used to actuate the mould clamp, the bore is six inch and it only equates to a movement of about 5mm (18 tonne at 5 bar pressure).
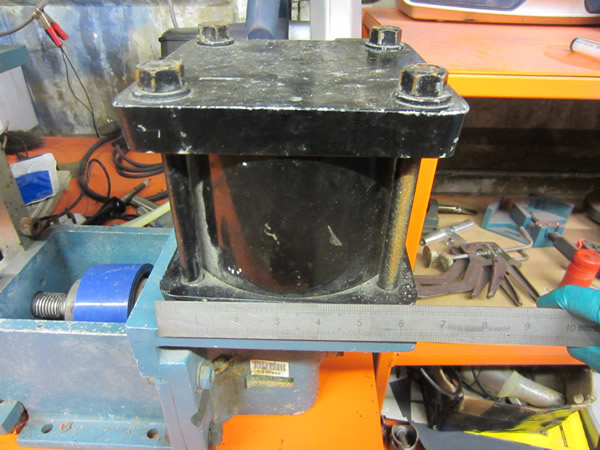
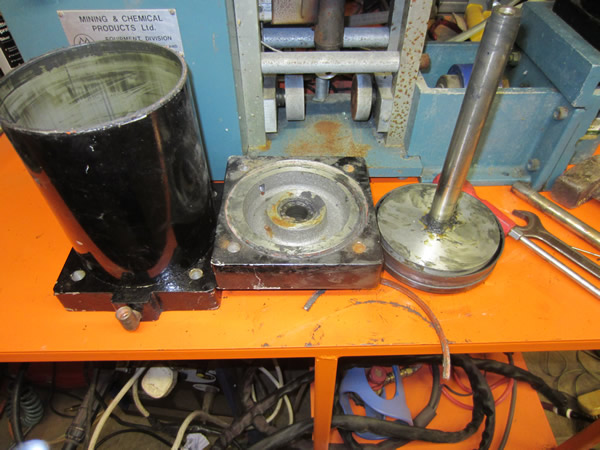
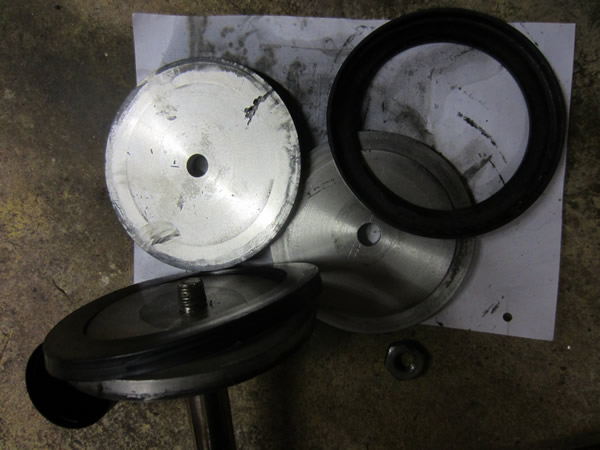
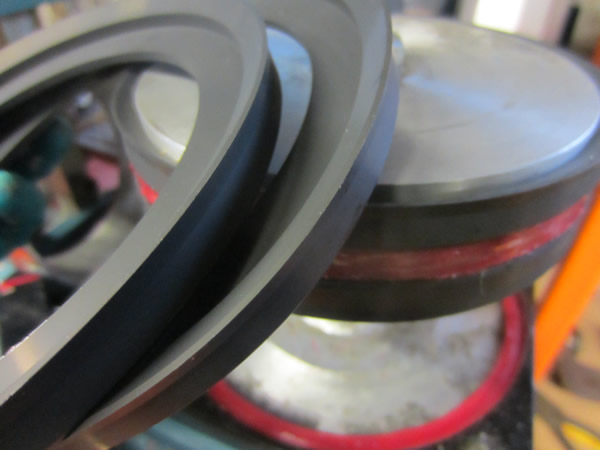
The cylinder pulled apart to find old grease and soiled gaskets, surprisingly the main seals are in excellent condition. The piston is known as a split setup, it consists of three aluminium discs with a seal sandwiched between each plate, all this bolted together to a shaft. The purpose of a split housing is for the ease of fitting the seals, stretching a seal with a large cross-section is very difficult. Another purpose of clamping the seal together like this is to stop the seal rolling and pulling in its housing, it stops the seal from extruding, keeps friction and wear to a minimum.

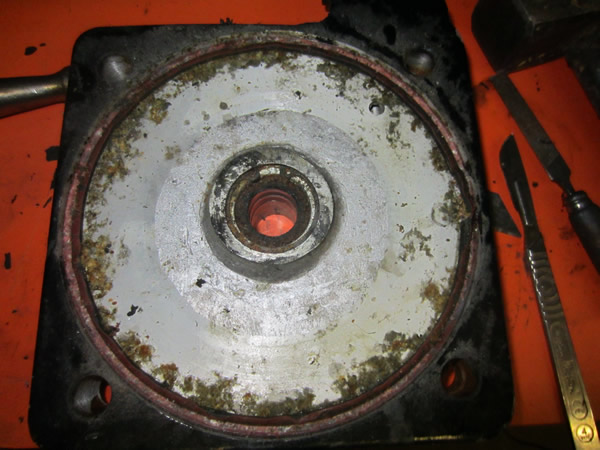
I removed the cir-clip that retained the rod seals, they were de-greased and the whole thing was cleaned up. I was quite surprised to find that it had a set of two seals, I guess that one was used to seal and one was used to retain grease for lubrication. It was then assembled and re-greased using a silicone based grease, silicone based lubricants are mainly used for pneumatic applications.

The piston and it's seals were also de-greased and cleaned. It was reassembled and then coated in grease, the purpose of so much grease is due to the lack of lubrication that air provides. The duty cycle of the cylinder will be low, the air entering and exhausting it will have a low flow rate so the grease should keep itself. A polyurethane gasket was then used to seal between the cylinder liner and its end cap, the cylinder was then all bolted together.

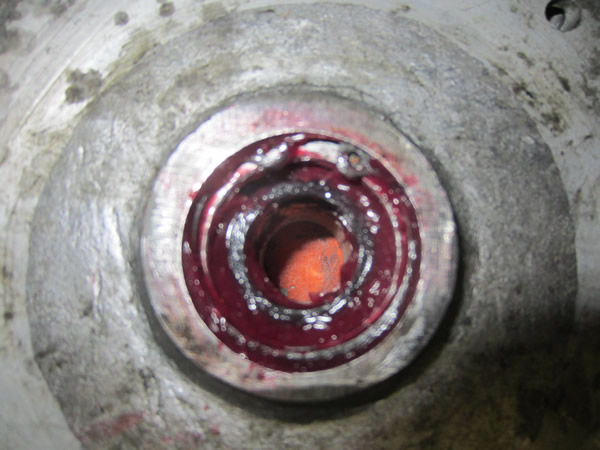
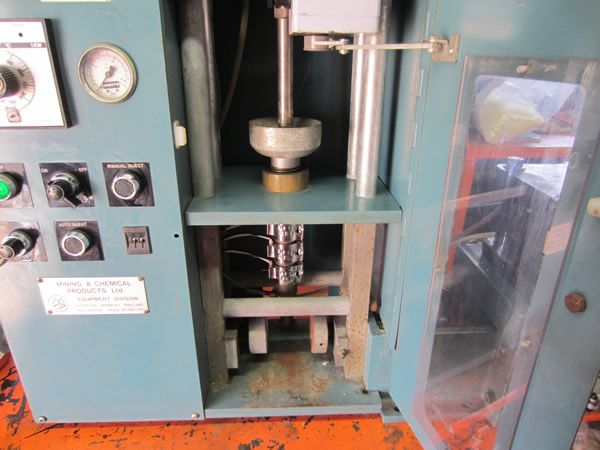
The next cylinder was the one that injects the plastic into the mould, it has the same bore, it's just very long. It seems clear that someone has serviced this machine before as there were two types of grease present, one of them being molybdenum and one being a gear grease. It was extremely messy work, but using a solvent de-greaser made it possible.
The piston was also split, cleaned and re-greased, as was the rod seal in the end cap. New gaskets were placed between the caps and the cylinder liner, it was then all bolted together.
There is a little gearbox between the smaller cylinder to magnify the force for the clamp, it is basically a rack and pinion design. This was taken apart and also re-greased, no pictures as it's nothing to special.
To make sure that the seals were all good I connected it to the compressor and turned on the machine. All it did was hiss, one of the solenoid valves was exhausting air, it seems as though it's stuck open as it's not even actuating. I ran out of time in the day, so I continued with it the day after. It turns out that the air is bypassing the seals in one of the cylinders and exhausting straight out of another valve. The valve was not actuating because there was no difference in pressure, so I removed one of the cylinders. It seems that due to the seals being old they are bypassing due to lack of interference, these need to be replaced. I switched on the heater and nor does this work, it seems there are more issues now than when I bought it.
I managed to get some piston seals for the cylinders and these have now sealed perfectly, although now the cylinder gaskets are leaking, not really sure why, so I will have to get some more. I switched on the heater and it worked for about 10 minutes, it seems to be the control unit, thankfully this should be a cheap easy fix for me.

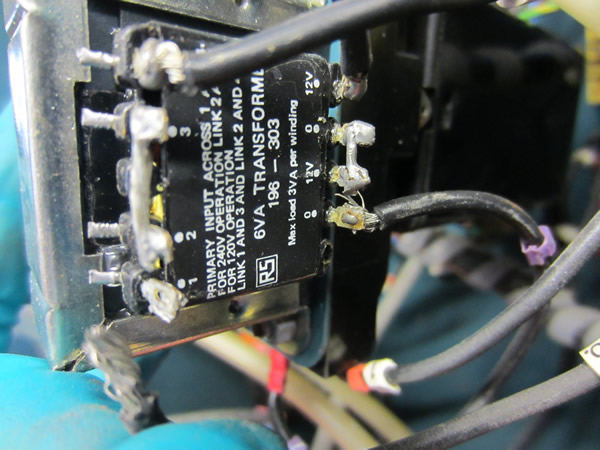
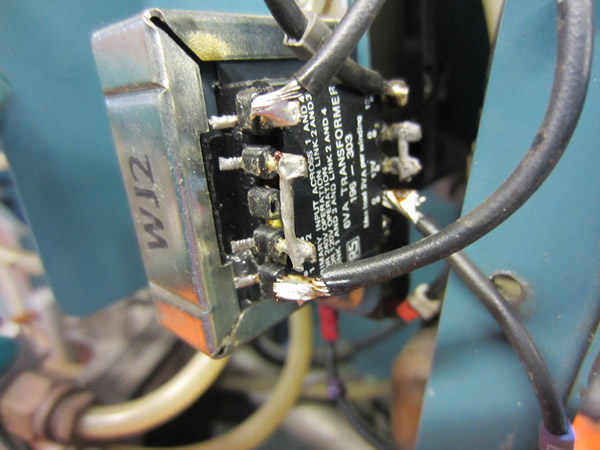
I decided to completely remove the polyurethane gaskets as I think they were too soft, it may have caused the cylinder to lean slightly and then allowed air to bypass around the gasket, instead I used a silicone sealant. I needed to sort out the electrical problem, there were no wires out of place but I did find the wires on this transformer to be badly soldered, one wire broke off and one was close to shorting. I rectified the problem simply be re-splicing the wires and soldering them properly.
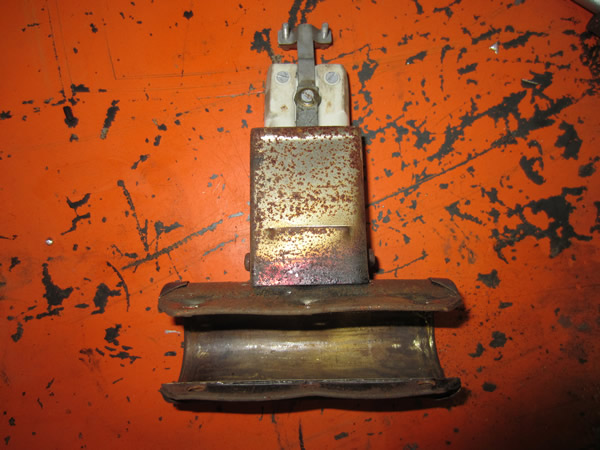
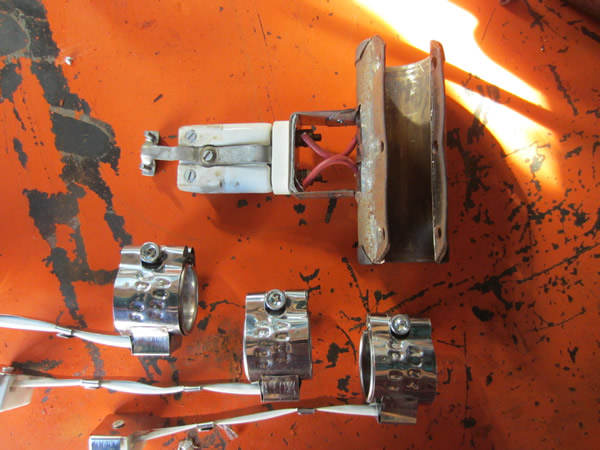
The heater was still not working, there was a voltage supplied to it however, so it's clear that I need a new one. It's not a common size of heater, and seems to be a rather expensive part to source. I have found an alternative, three smaller heater bands stacked and wired in parallel. They are rated at 140W each, compared to this 500W unit, losing 80W is no major issue and it's worth a shot when they are only £3 each.
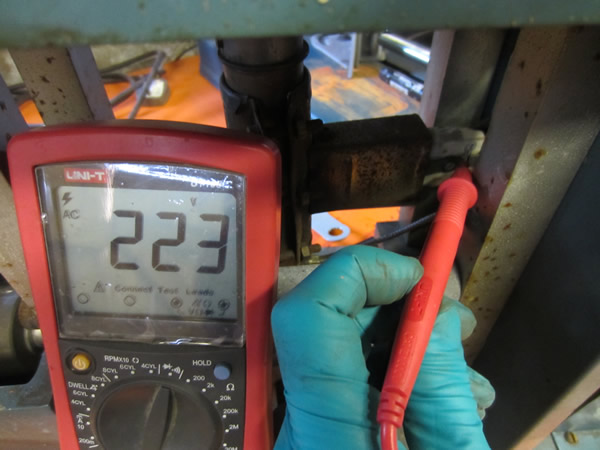
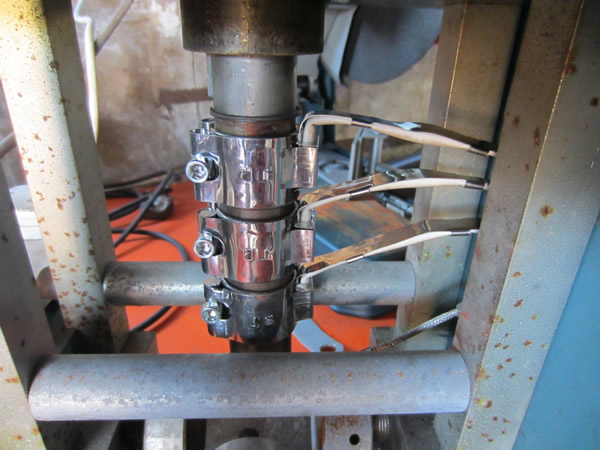
I received my heating elements through the post a week after I ordered them, from China! They look to be good quality and certainly look a lot better than the current element. I replaced the old element, wired up these new ones and powered up the whole unit. The leaking problem has ceased and now all the pneumatics and controls work as they should, apart from the heating elements. I checked to make sure that power was being supplied from the control until before ordering new elements, it was then, but I check now and there is no power present.
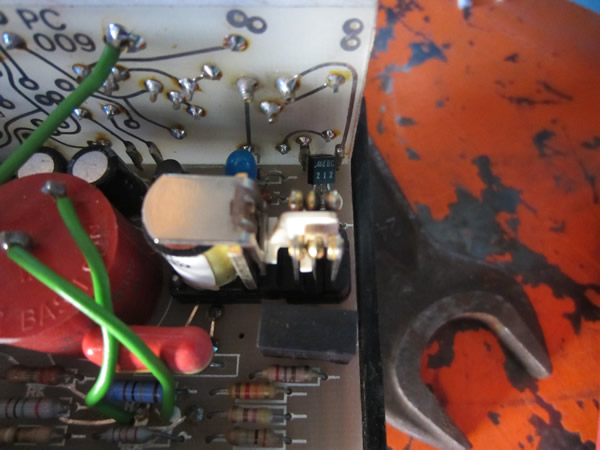
I removed the control unit to see what the problem was. It all looked good, all of the solder tracks and even the relay contacts were excellent, the relay did actuate because I heard it clicking. On closer inspection the relay contacts were not touching, so I bent them slightly. The unit is dated 1978, so it is a little old, the contacts must have warped over time because now the heating elements heat up as they should.
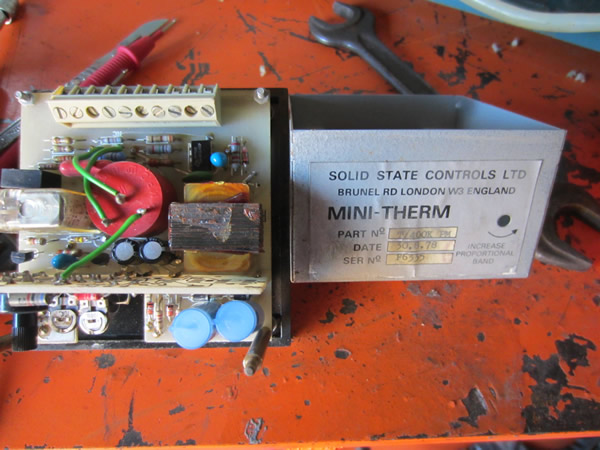
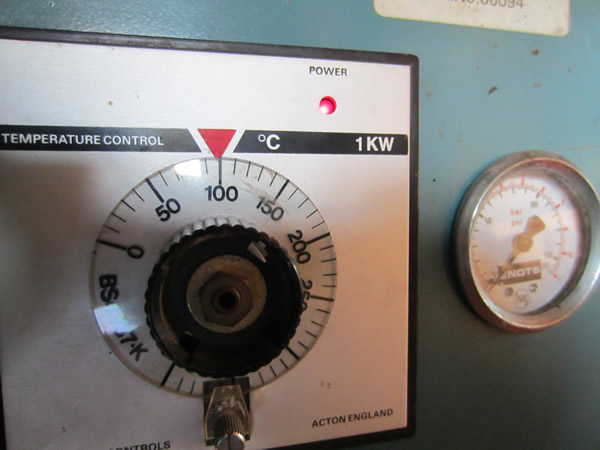
The control unit was set to 100°C and then checked with a digital thermometer, it all looked good. After a few minutes of the control unit clicking on and off it just decided to stay constantly on, it seems as though the relays contacts must have welded closed, I will have to add a rather more substantial relay to the unit.

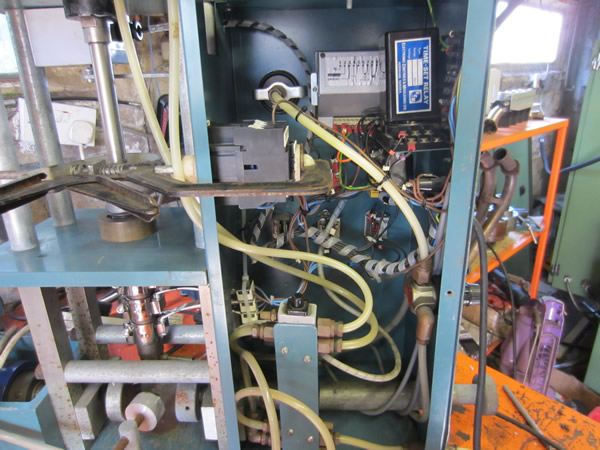
I finally sorted out the problem with the thermostat by installing a contactor, it now works perfectly. I bonded the contactor in with some epoxy and then installed the safety cabinet.
I took a video just to show it's operation, I didn't bother making a mould as the machine was for sale. The machine sold for a staggering £375.80, I would have been quite happy with £150.
Hello, if you have enjoyed reading this project, have taken an interest in another or want me to progress one further then please consider donating or even sponsoring a small amount every month, for more information on why you may like to help me out then follow the sponsor link to the left. Otherwise you can donate any amount with the link below, thank you!