MV Agusta fork caps
April 15/04/2012
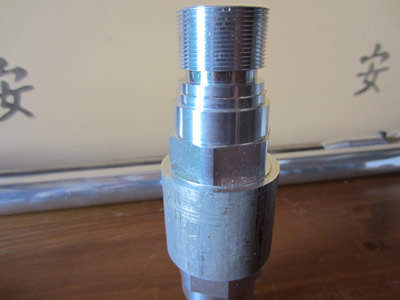
Approximately three weeks ago I was asked if I could make some fork caps for a classic MV Agusta out of aluminium. I don't like making parts for other people because its hard to get the time but finally today I had the time and surprisingly had the right material. The first thing I did was to measure up the part and create a CNC program for it, I cant do threading so would have to do it manually.
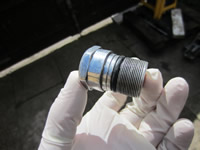
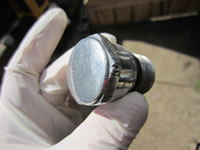
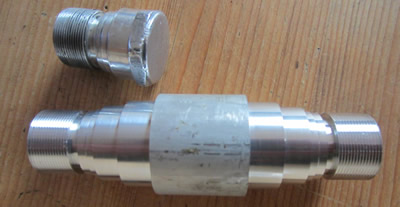
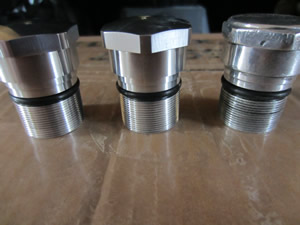
 Here on the left is what I have to make, I'm guessing the person wanting them doing has tried to polish them to no avail. These will have almost certainly been hand made, they are from the 70's and CNC was pretty much non-existant.
The hardest part will be the threading although with using full-profile threading inserts it should be pretty easy.
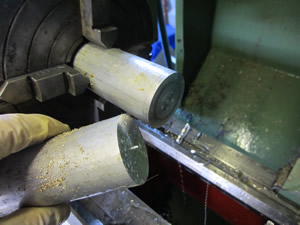
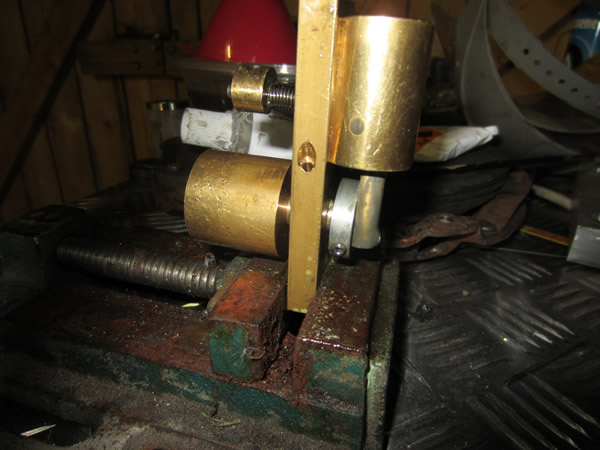
 The first thing to do is cut the bar down to length, the spindle bore of my lathe is about 37mm and the bar is 38mm so unfortunately I cannot pass it down the bore.
I don't have a decent 3 jaw chuck so I clock it in a 4 jaw, it needs to be concentric for a later part of machining. Using coolant and the correct parting off insert cuts the bar in two with ease, a lot easier and quicker than sticking it in a saw.
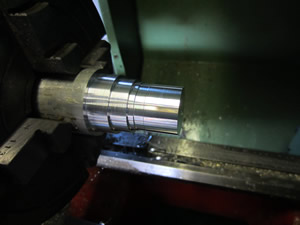
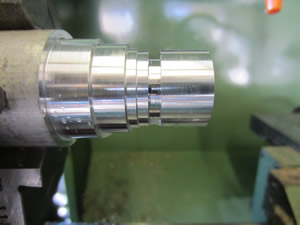
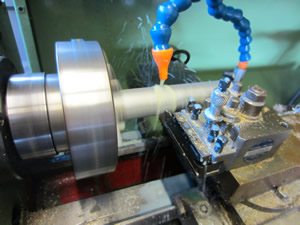
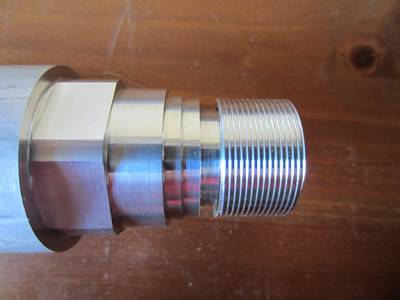
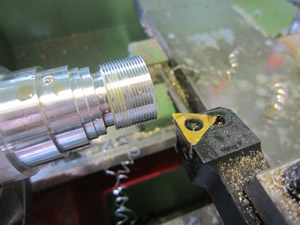 I cut the profile and then create a groove for the O-ring using the parting off tool. Finally I cut the thread using a full profile insert. Using the right inserts for every stage in the process ensures that I get a mirror finish.
Coolant is necessary to stop the aluminium sticking to the tip, especially for the groove and threading process.
 I'm making two of these parts so I machined two of them either end of the bar, I will then place it in a dividing head and then machine on the hex. Unfortunately I'm going to have to wait until tomorrow because I don't have a dividing head and I'm going to have to use the one at work in my lunch time.
April 21/04/2012
Due to someone at my work stealing the millers bed cranking handle I had to wait for a replacement, so today I finished them off.
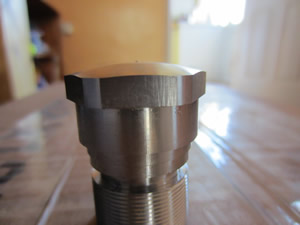
Using the dividing head at work I milled a Hex on both ends, the reason for clocking the bar in the lathe was so that the only inaccuracy was the dividing head. There was a total of 0.04mm runout and therefore 0.08mm overall which is way in tolerance for what I'm making.
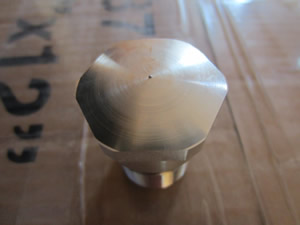
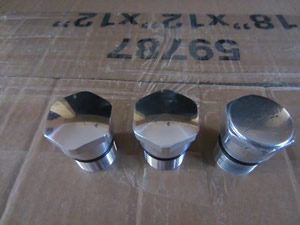
I parted them off in the lathe and created a facing program to machine a dome on the end, then polished the heads. I thought that a dome would be a lot easier to polish than the original step and look a lot better. Overall I'm very impressed with the result. The customer was very pleased with the results and may even want the originals machined with the dome. I later saw the bike they put them on, looks like they tightened them with a hammer instead of a spanner.
Throwing Knife
June 06/06/2013
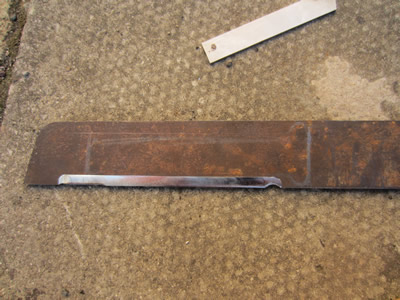
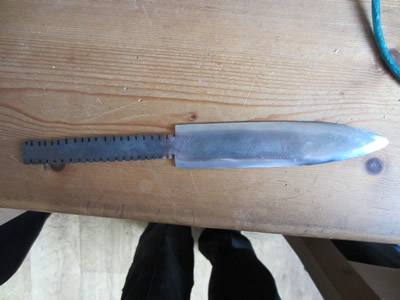
 I just had the random idea of making a throwing knife remembering that I had an old shearing blade. I wasn't sure what it had come from but carbide was the only thing that would touch it, so I'm guessing that its made from HSS.
I made myself a quick outline in pencil and cut the thing out with an angle grinder, its the first time I have made any knife, it's just a bit of guesswork. Then using a sanding disc I contoured the edge to give a dull sharpness.
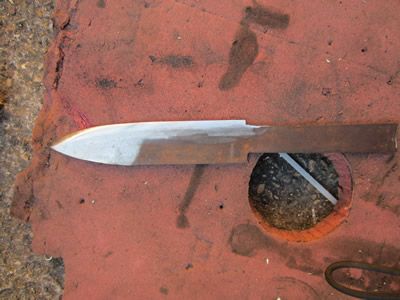
 I gave the edges a good sharpen and a minor polish, further polishing will commence after the final result. The blade edge does not require itself to be sharp as a razor as it will only blunt quickly.
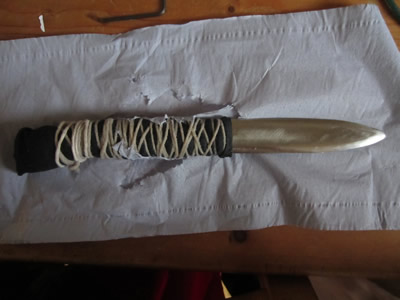
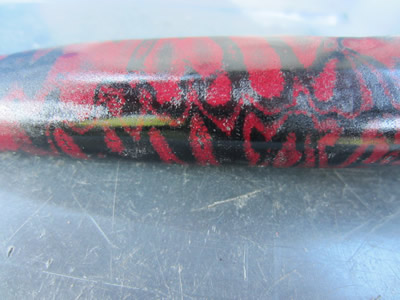
The part where the blade fits into the handle was notched numerous times to allow for me to resin on a handle and for it to remain sturdy. The handle is made from two different colours of cloth fabric soaked in resin wrapped numerous times and then tightly bound with string.
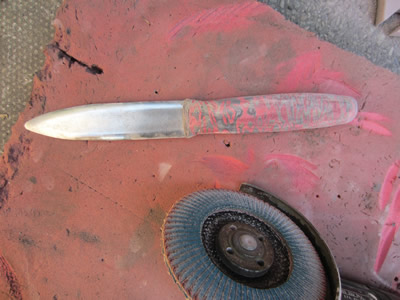
After leaving it for a day and many numerous hours later the resin set allowing for the next step to proceed. I sanded off all of the string and contoured the handle, the material just sanded like wood. The finish was pretty dull, spraying on a quick coat of lacquer sorted this issue. I would say that I'm very pleased with the end result, certainly when its the first one I've ever made, only about 8 hours of work in it.

Model Oscillating Steam Engine
June 21/06/2014
Approximately five years ago I found some plans on the internet for a simple model oscillating steam engine and built one from spare metal. Looking through one of the boxes in my garage I came across it today, the base had gone missing and so had the flywheel. So I spent half an hour making a new crankshaft, making a flywheel out of some scrap and generally cleaning it up.
Hello, if you have enjoyed reading this project, have taken an interest in another or want me to progress one further then please consider donating or even sponsoring a small amount every month, for more information on why you may like to help me out then follow the sponsor link to the left. Otherwise you can donate any amount with the link below, thank you!