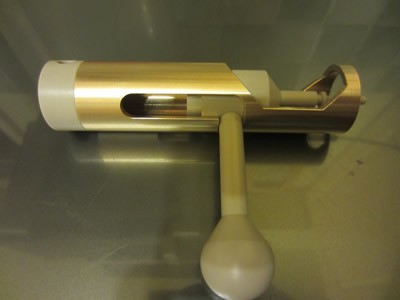
Promethean 22 Accuracy
This is the sixth rifle that I have designed, my best design so far.
I have gone through so many different design considerations, a lot more than I have shown on this site and a lot more than I care to think about. What is the real point in trying to replicate other previous rifle designs, such as using a hammer valve, I would have no real selling point other than they are handmade. My main point is to create something that is accurate, practical and reliable, not necessarily pretty. So in creating this design of rifle I thought I would go for the .22 calibre as I already have the barrel, I will be creating a .177 version as well.
The air pressure will be regulated electronically and only an exact volume of air will be injected down the barrel. For accuracy purposes it will only be a single shot as magazine systems can shave pellets or distort them. Most of the construction will be 316 stainless which is a marine grade that is highly resistant to corrosion, important for the valve internals. A lot of the construction is made from a light weight high performance plastic called Peek, making construction easier and the rifle overall a lot lighter.
Specifications
| Barrel Calibre | .22 (5.5mm) |
Barrel Length |
21.65inch (550mm) |
| Power | 11.5ft/lbs |
| Weight | 2kg ish |
| Overall Length | |
| Stock | Adjustable |
| Airtube Capacity | N??? |
| Shot Capacity | N??? |
| Extra's | Precision machined target crown Electronic pressure regulation Exact volumetric valve |
Build Log
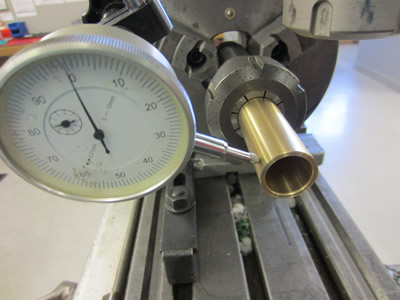
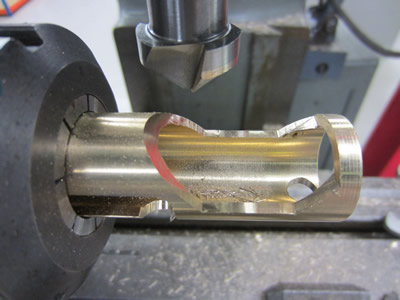
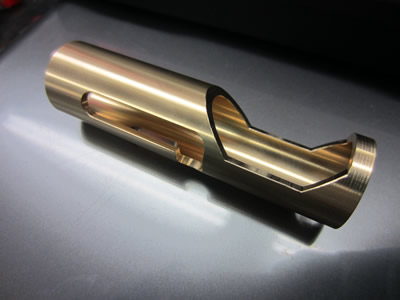
With some inspiration I decided to start making a rifle again, so I spent a couple of days designing one. I started with making the bolt body out of brass, it's an easy material to machine, has good wear properties and looks pleasing.
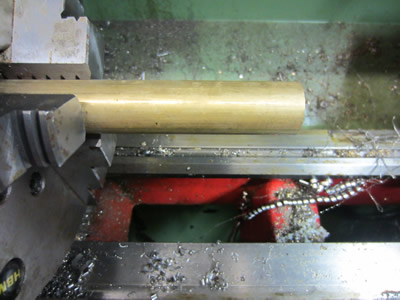


It did take a bit of time as my boring bar has a minimum of 19.7mm, my drill was 12.7, so I had to take one 7mm cut which required a lot of pecking. The finished diameter of 20mm was achieved by a couple of very slow 0.1mm passes. I bought some peek rod, which is very expensive and made the parts in my lunch hour. They took me about 35 minutes, I'm sure it would have been almost a full days work.
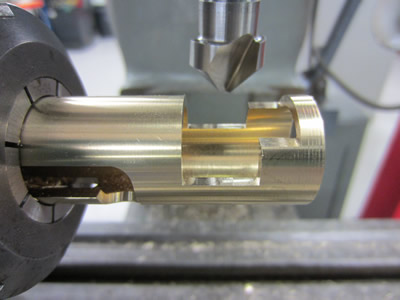
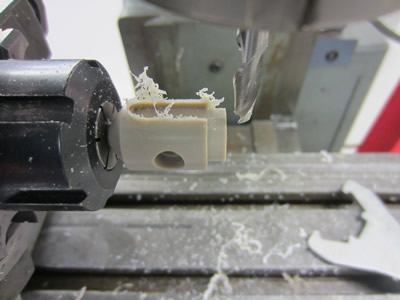
After I finished work I stayed behind to do some work on the miller. I first placed the piece of brass tube into a collet, a holder and then a dividing head. I used a clock to make sure that the tube was parallel with the millers bed. I cut the straight slot for the bolt, indexed the head by 45deg and then milled a slot perpendicular to retain the bolts action.
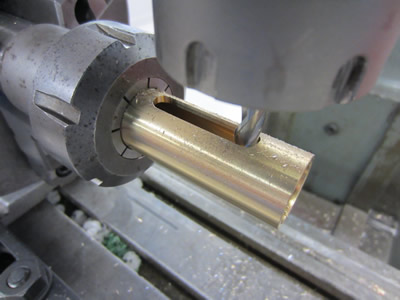

I indexed the head by a further 45deg, I didn't take any chances by relying on that the head had turned concentric, so I set the centre of the cutter again. I then cut a further slot, this will allow the bolt to cock the valve. I removed the brass tube and turned it around to mill the other side. Quite a bit of time was spent trying to get the tube lined up correctly, I then milled the hole for the transfer port. The head was indexed by 180deg this time. I cut out a few slots, this is where the pellet will be inserted.

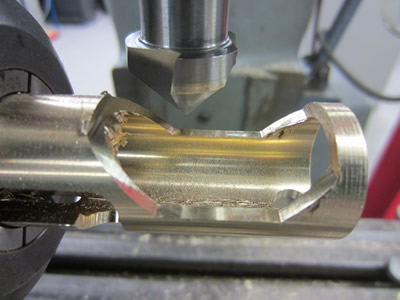
Using a couple of 90deg roses instead of tilting the millers head is a quicker way of getting things done.
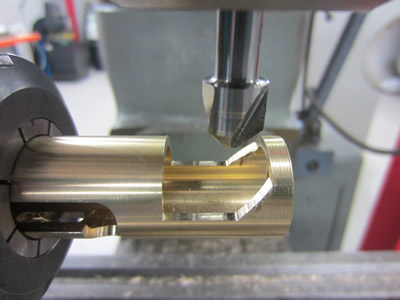
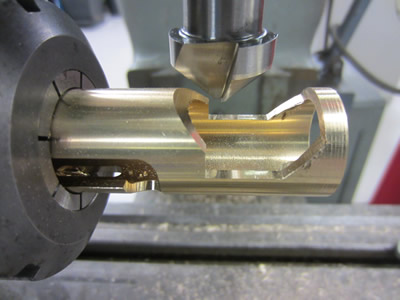
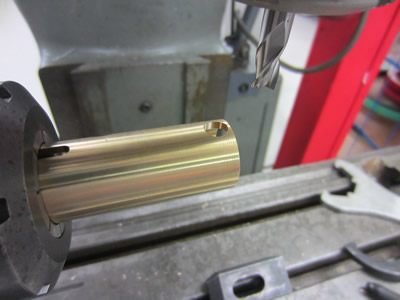
I finished off all of the milling and gave it a quick measure, the only part of the rifle that doesn't require a tight tolerance. I gave the whole thing a de-burr, I am really pleased with the results, it will soon be polished.
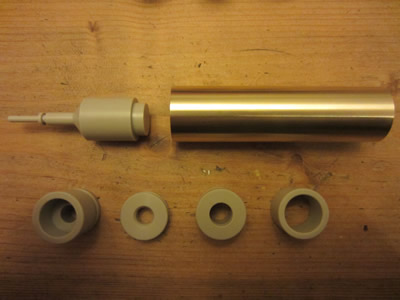
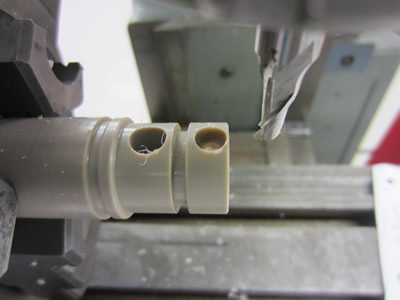
The next part was the valve transfer cap, made from Peek. I did not part off the piece of material so that I had something to hold onto when milling. I always use a milling cutter upside down to set the x and y on the miller, it has a precision diameter. I drilled out the ports using slot drills, they tend to keep a high degree of accuracy of the hole diameter.
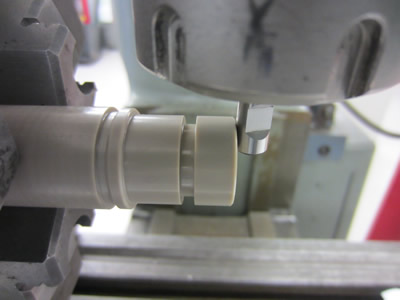

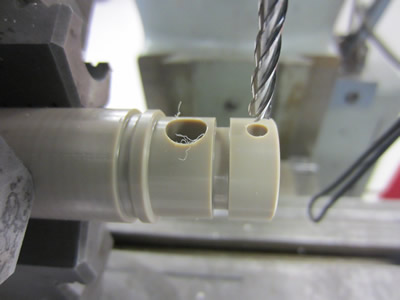
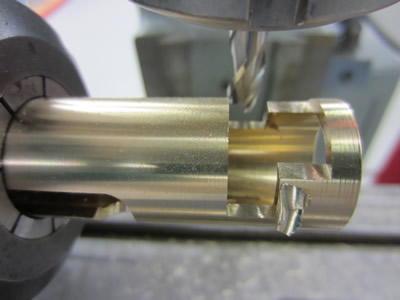
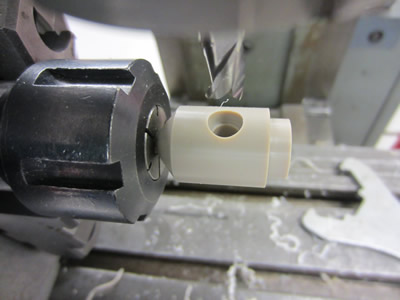
I placed the whole thing back into the lathe to part it off. I then started drilling and milling the bolt, I wish I had not parted this part off as it was really difficult to hold, there was no rigidity.
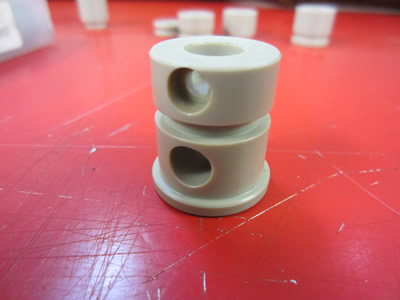
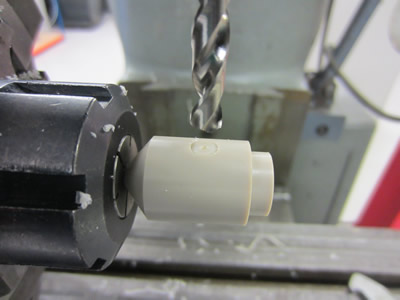
I milled a little recess for the bolt, I will thread this hold with a tap. A slot was milled in the side of the bolt, this slot is what cock's the valve. The bolt's action is very smooth so far, I just wish that I had bought myself some black Peek instead.
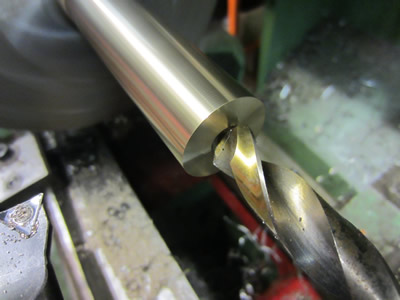
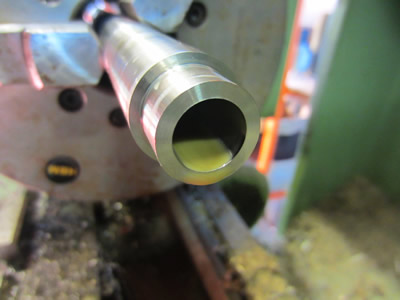
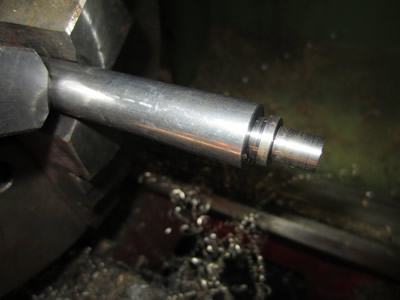
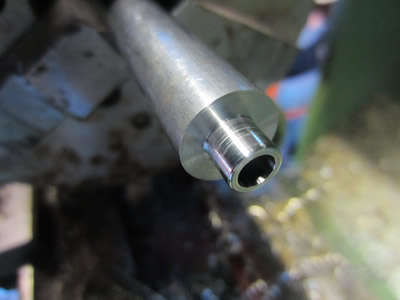
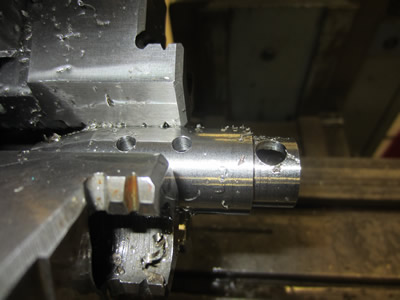
The barrel collet was next on the list, made from 316 stainless. The part is 75mm long and has to be bored to a high degree of accuracy. I turned the outside first with a step to slot into the brass receiver. I drilled the bore with two bits from 9.5mm to 12.7mm, the finished bore is to be around 14.5mm, it will be the barrel that is to be machined to fit.
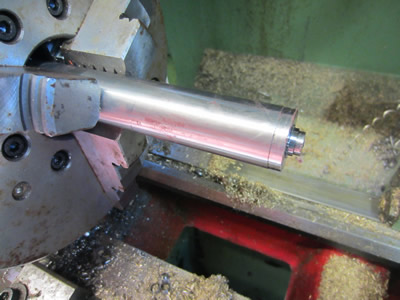

I took the risk using a 14mm end mill to do further boring, the finish turned out good and the bore measured 14.04, so I chose this as my finished size, if these rifles ever go into a production run, then I will probably use a boring bar or even a reamer instead. I parted the piece off slightly bigger than it should be to allow for a finish pass.

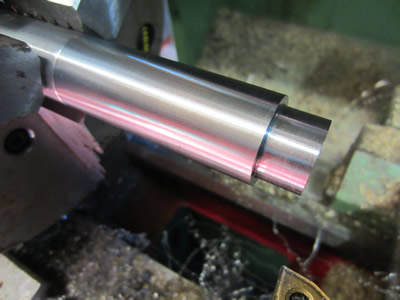
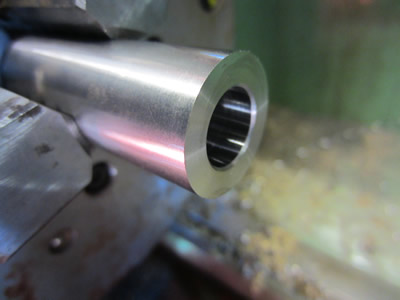
I turned it around to face the part off, it gave me an accurate height. Using a counter sink I put a little chamfer on the inside, the mating barrel will have a small radius from the tip, the chamfer will stop the barrel from protruding. I then set the cross slide at an angle to create a chamfer on the front of the collet, this is only for aesthetic purpose. All I need to do from here on is to put two grub screws underneath as well as the hole for the transfer port.

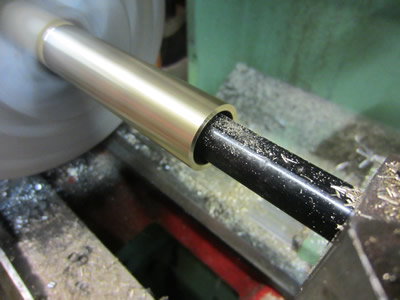
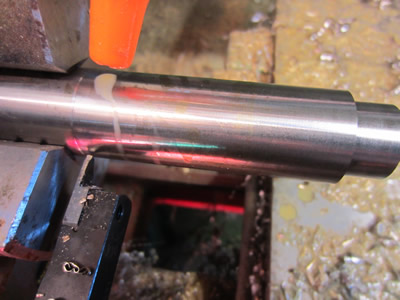
My old previous barrel had a little locating groove parted into it, this is the old design. I machined the end off, turned a new step and polished the receiving part of the barrel. I turned the outside to the same diameter as the bore and gave it a little sand, the barrel must be made form mild steel as it is very poor to machine.
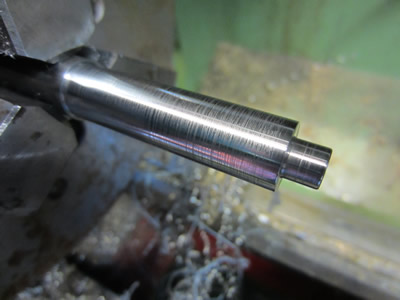
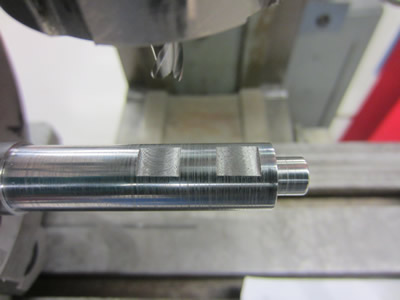
The barrel had two slots milled across it to allow the grub screws to lock it into place. The barrel collet was next, it had two holes along with grubs screws to lock the barrel into place. The hole for the transfer port was then milled out on the end, it will also help locate the bolt assembly.
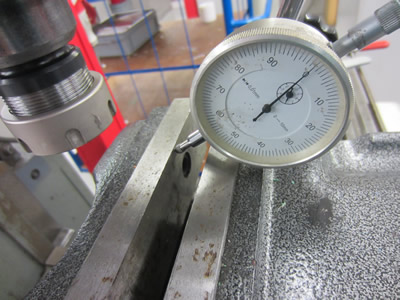
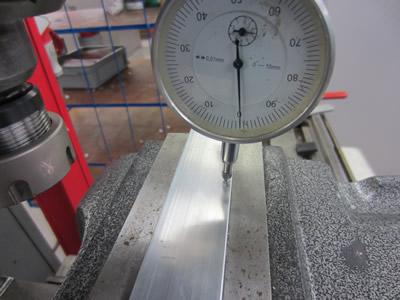
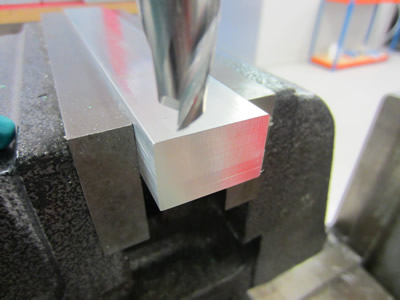
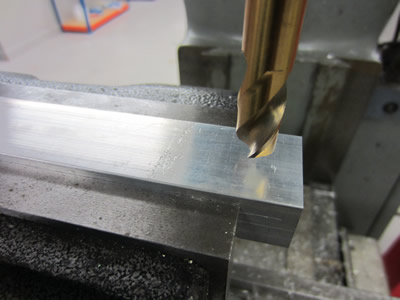
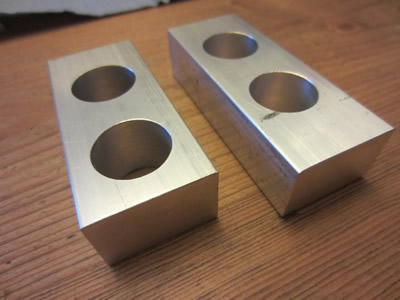
Some progress has been made on some fixtures, these fasten the valve to the bolt assembly, one of them also acts as a scope rail. Firstly the vice was clocked true, the aluminium was also clocked level. The end of the piece of aluminium was milled flat and therefore a zero point was made, I turned the milling cutter upside down to zero the Y axis too.
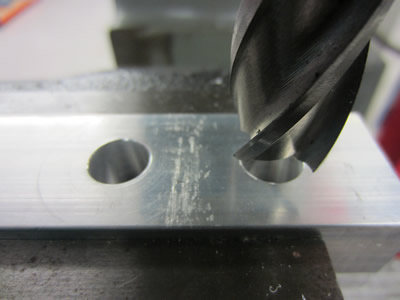
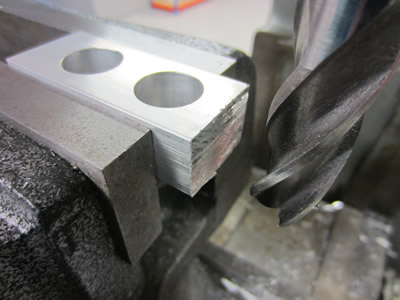
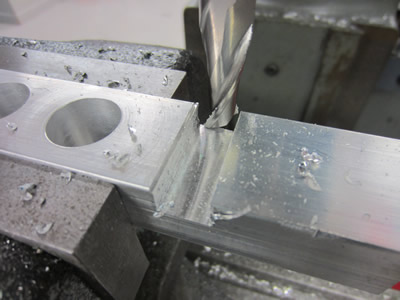
A progression of holes were made, unfortunately I milled this at work where I didn't have a collet holder big enough to hold my final cutter of 25mm. The billet of material was then cut down to the required length, allowing a little surplus for final milling.
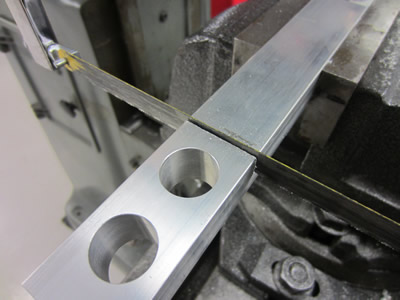
I made another piece at a different length as it serves a slightly different purpose, but this time I used a milling cutter instead of the hacksaw.
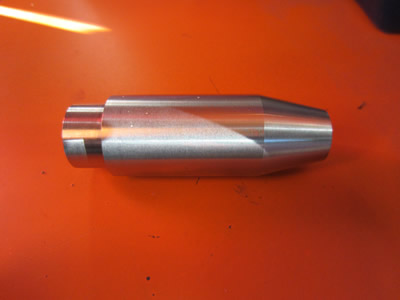
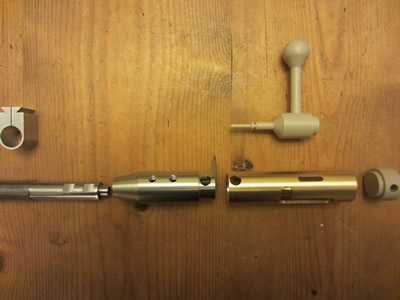
The the bolt and reciever are almost complete as are the parts above, all I now need to make is the transfer port and the barrel receiver. The tube that houses the valve internals would be next along with the valve stem istelf.
This project got put on back burner for a while do to various life changes, infact it has come to the time where I've had to sell all of my workshop. This will probably be the last time I ever work on air rifles again.
Hello, if you have enjoyed reading this project, have taken an interest in another or want me to progress one further then please consider donating or even sponsoring a small amount every month, for more information on why you may like to help me out then follow the sponsor link to the left. Otherwise you can donate any amount with the link below, thank you!