Composite Intake Tubes
At the time of writing this (September 2017) I am currently in the stage of building an electric supercharger and in the basic stages of upgrading my Hyundai Tiburon from naturally aspirated to turbo. Part of the process is cooling the air from the supercharger / turbo as this would otherwise lead to knock and a loss of power. An intercooler is placed at the front of a car, it acts as a high flow radiator, the compressed air from the turbo is passed through the intercooler cooling the air, the cooled air then goes into the intake manifold. Between the turbo, intercooler and intake manifold will be some tubing which must withstand pressure will maintaining some flexibility.
A modern car will use a series of aluminium tubes to link everything together, rubber hose couples add some flexibility in the system. The difference between a stock turbo and a custom turbo setup is the intake tubes. A stock car will use flanged tubes, a well engineered aftermarket car will also use flanged tubes however most enthusiasts don't have the equipment and rely on friction alone of the hose couplings to hold everything together, these are a common failure on anything producing reasonable boost.
The second problem is that most enthusiasts will not have access to a mandrel bender, the choices are welding up sections of tube or having some made. The issue with making your own tubes is that the welds cannot be ground on the inside which adds to turbulence and possibly a loss in turbo efficiency.
Composite Intake Tubes
It is also possible to get composite tubes for aftermarket applications, these are normally lightweight carbon fibre tubes, also very expensive. I propose to make my own fibreglass and carbon fibre composite tubes, the ends of the tubes will be 3D printed and bonded in place so an adequate flare can be used. The idea is that these high performance tubes can be made relatively cheaply with the most basic hand tools.
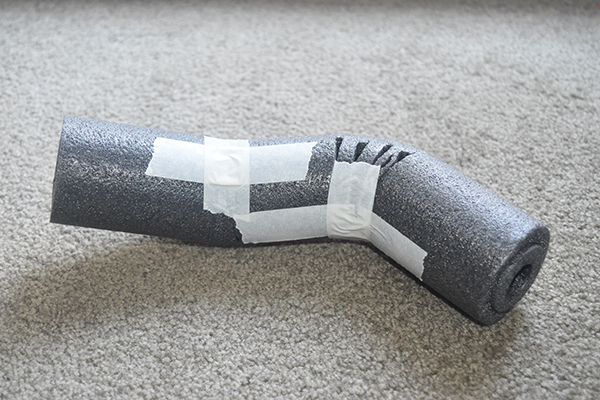
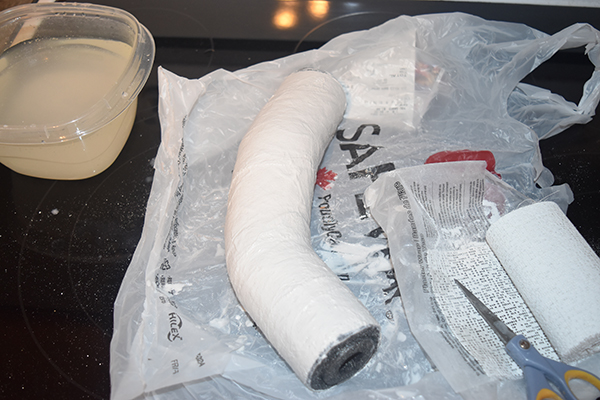
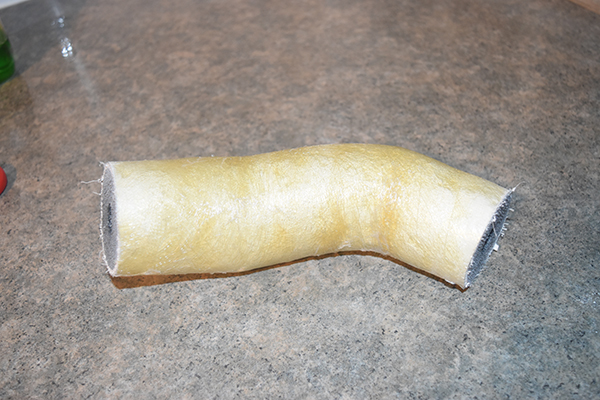
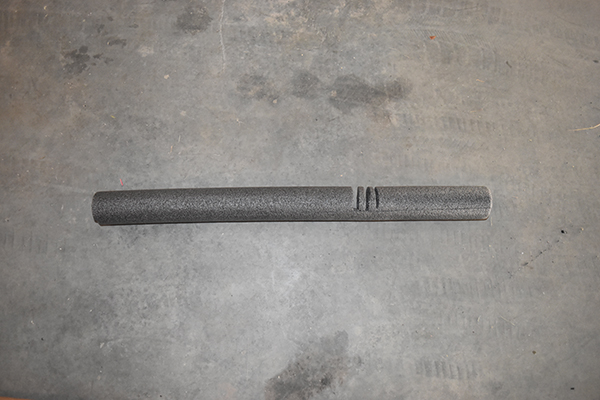
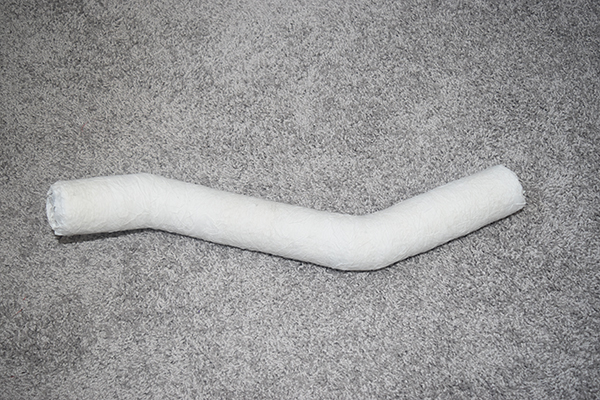
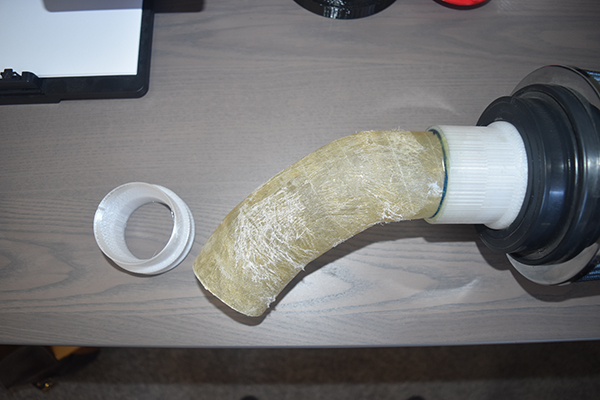
01 September 2017 - I started writing this page. For my particular setup I only need around 2" tubes, I found that foam insulating tubes were the perfect diameter so for a trial I made the following tube. I bought some plaster bandages and wrapped the tube, I figured it would be rigid, easily sandable and be easy to remove with water afterwards.
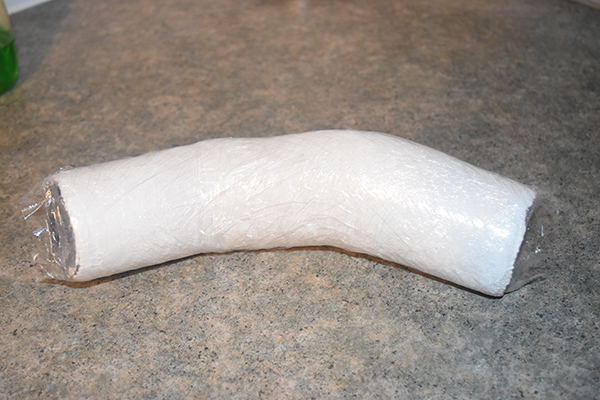
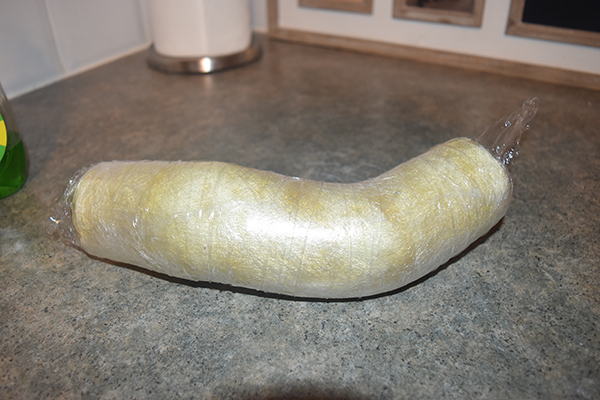
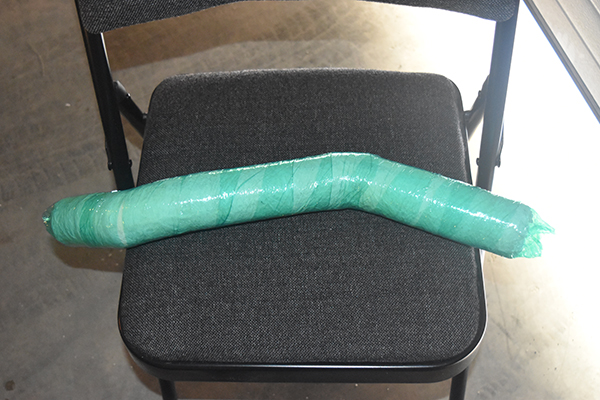
I sanded the tube as smooth as I could, wrapped it in film ready for some fibreglass. I applied two layers of fibreglass cloth and then tightly wrapped it in film.
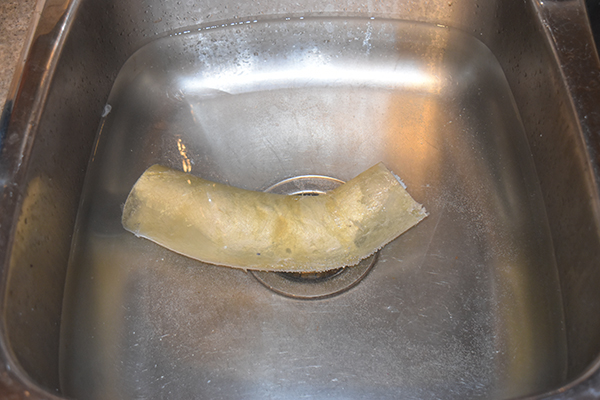
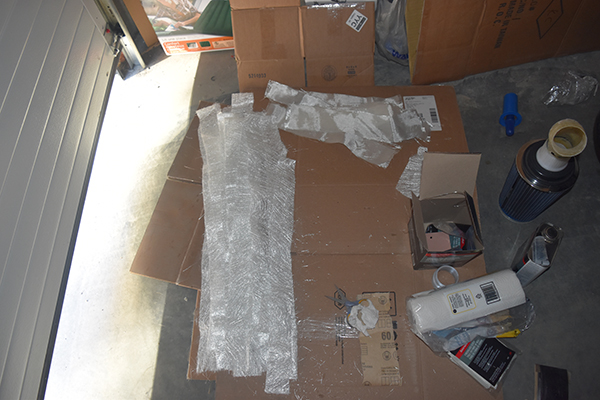
The resin set, the film removed and the ends were sawed off. I gave it a soak for an hour in hot water to soften the plaster, it did not work at all and proved to be very difficult to remove the inside foam and plaster.
I managed to remove the inside eventually but I could not remove all the film, it was too fragile.
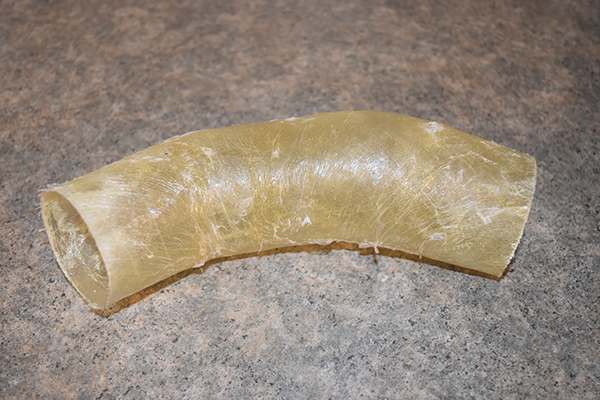
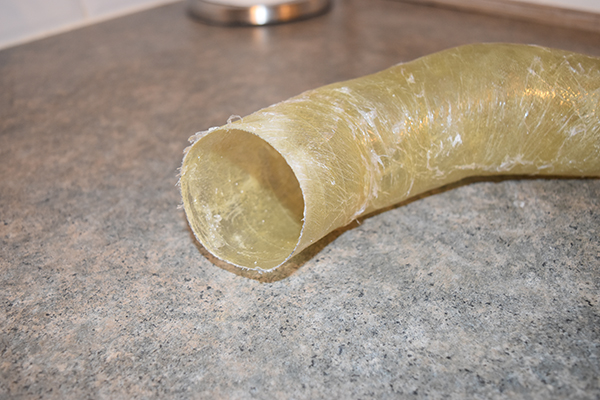
So was my try a success, well kind of. The biggest issue was that the plaster cast I used did not soften at all when placed in water and it was a real nightmare trying to remove it afterwards. The film wrap I used was maybe a little too thin and it proved almost impossible to remove cleanly, as can be seen in the last photos. The ends of the tubes need some kind of reinforcement since they would likely squash and blow off under any kind of pressure. The tube is very light weight and rigid and I'm pretty sure it could hold a decent pressure, certainly more than any turbo could give.
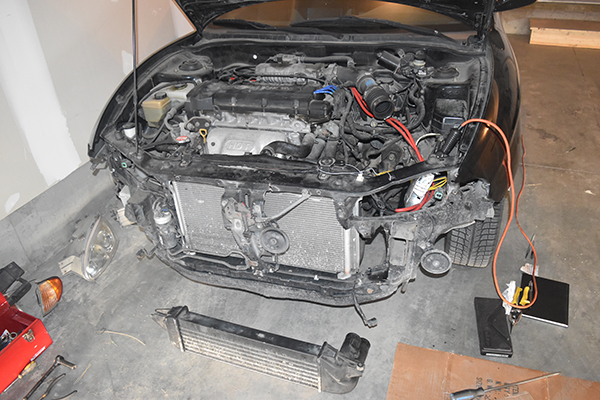
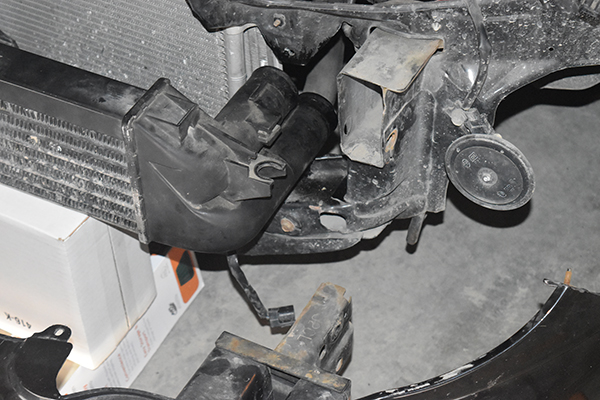
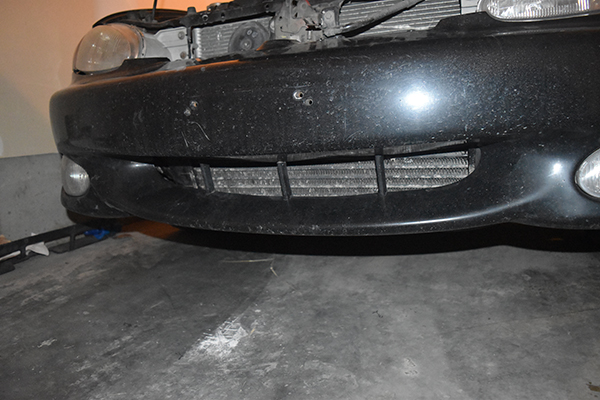
08 September 2017 - I thought I would give it another go at making the tubes but first I needed to fit the intercooler in order to make the correct tube. The big issue with fitting an intercooler to a naturally aspirated car is that they were never supposed to be there. The first step was to remove the front bumper and decide where I could cut holes and whether it would bolt to the chassis or the bumper. I managed to cut a hole in the chassis for the pipes to feed, I also found that my intercooler would have to fit into the bumper as there was nowhere else to secure it in place.

I used fibreglass to bond the intercooler to the inside of the bumper, I drilled holes in the plastic parts to ensure the resin would have a good grip.
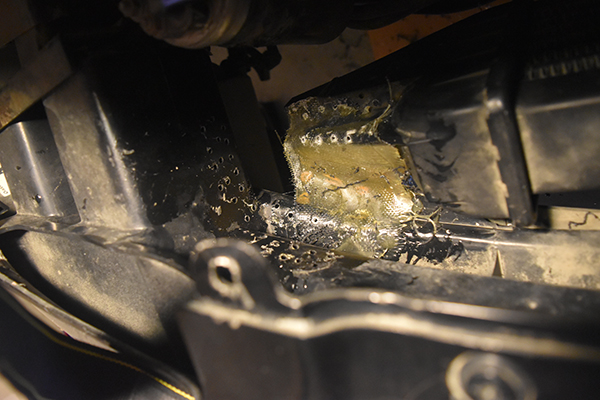
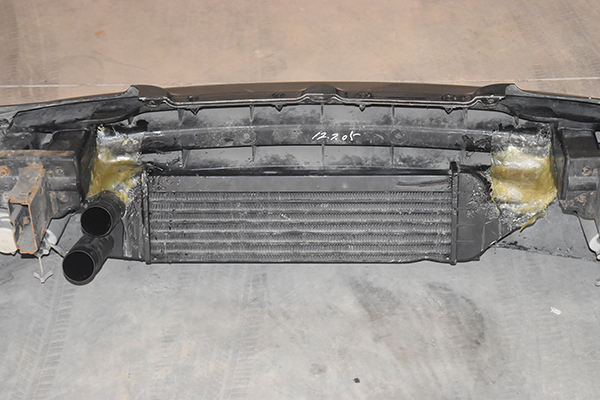
It bonded well and was solid, I used quite a lot of resin and cloth, it doesn't matter too much that it's a little messy as you cannot see it installed. I had to angle the intercooler to get as much surface area as possible to the front grille, the car should still get adequate cooling. Another slight issue was that I could not centralise in the grille, it does cover the span but since the grille is curved it gives an illusion that the intercooler does not sit level, I had to un-level it to take away some of the illusion, either way it doesn't look obvious which is exactly what I want.

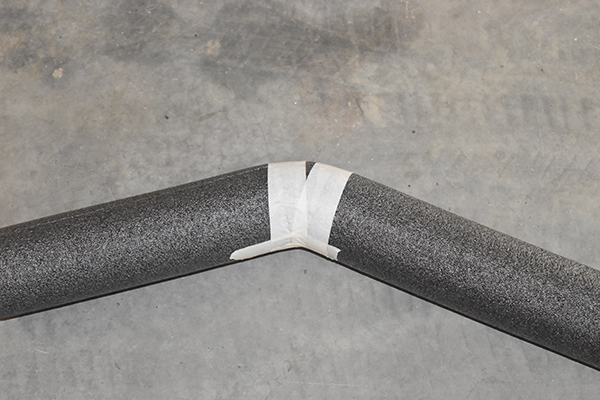
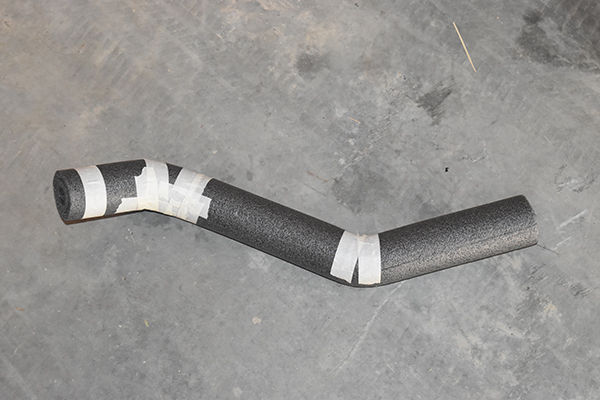
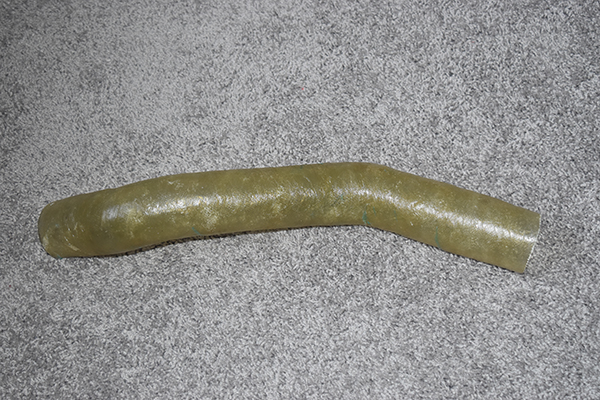
09 September 2017 - Making the tubes was next on the list, I went ahead with using the same foam tubing.
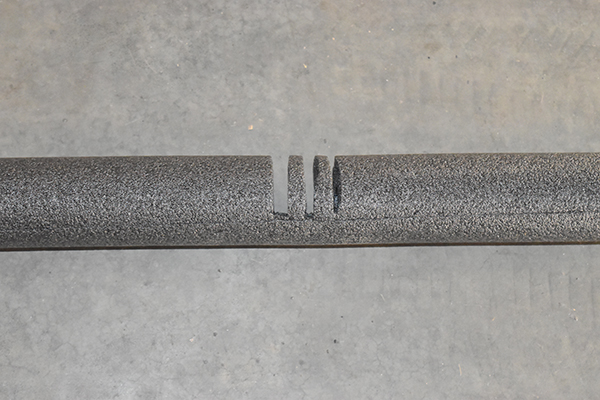
The tube now at the right shape.
The difference this time was that I chose to use PVA glue and kitchen towel, after taking almost a full day to dry it came out relatively hard. I gave it a quick sand, the best I could and then wrapped it in a heavy duty film. I use a torch at distance to shrink the film.
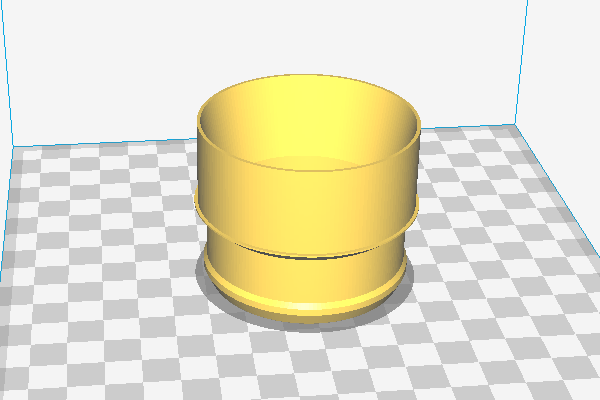
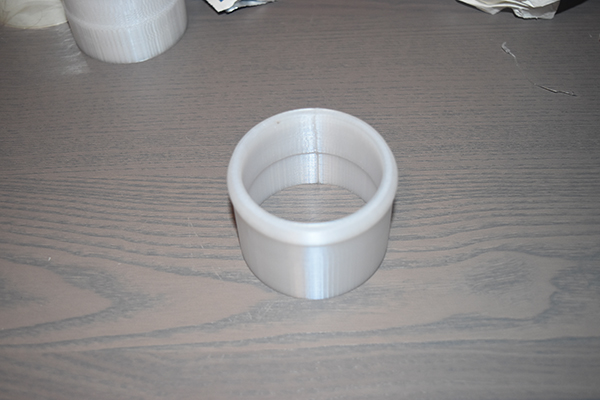
This is where it got really messy, I chose to use up the fibreglass mat that I got in a kit, I really should have used cloth. I finished the last layer off with cloth but it really wasn't perfect, I then tightly bound it with film. The tube that I made a week earlier also came in handy so I 3D printed some polycarbonate ends and fixed them in place with resin.
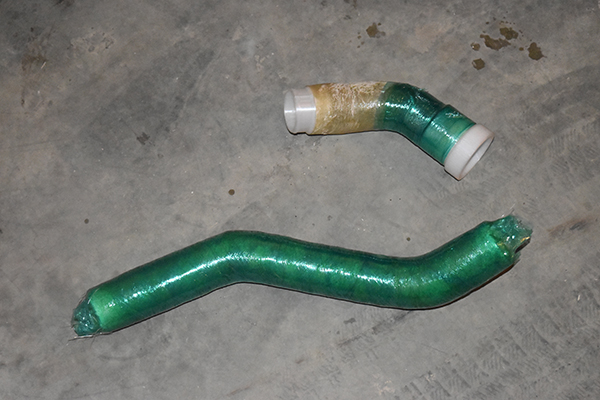
The first tube I originally made was completely random however it turned out to be a perfect fit linking the intercooler to the air filter. Both of the ends were printed from polycarbonate and bonded in place with resin. This polycarbonate plastic seems to be as tough as it gets, no squashing at all with a hose clamp.
10 September 2017 - The resin has set, the ends were first cut.

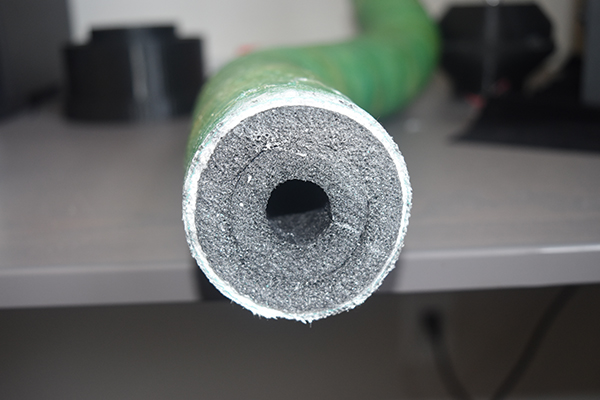
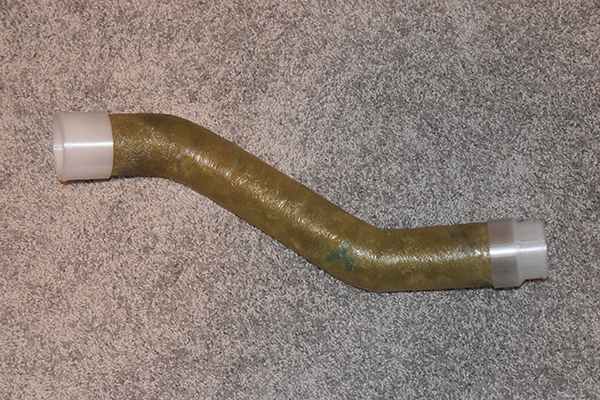
The outside wrap was removed with ease. The inside foam took a lit bit of effort to remove but the rest along with the film was a piece of cake, I didn't have to use water either. I then printed a few ends in polycarbonate.
The ends were bonded in place with some resin, there is no reason why this tube should ever fail and it's a lot lighter than one in metal.

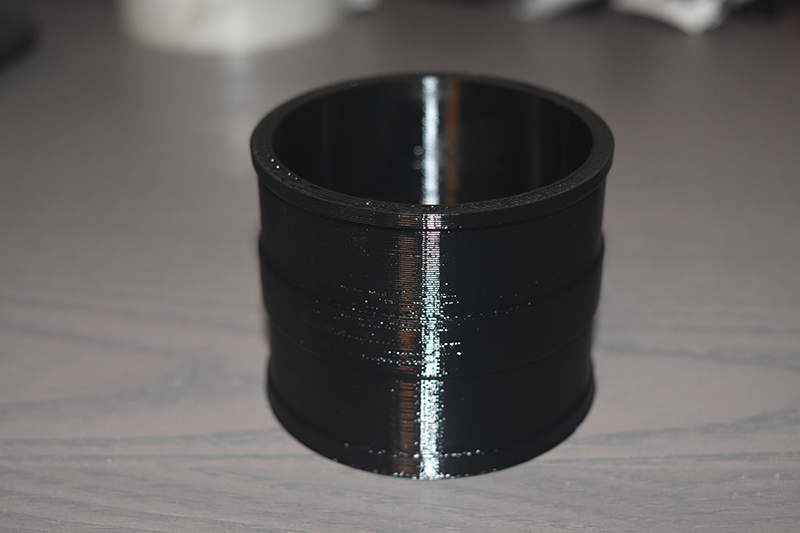
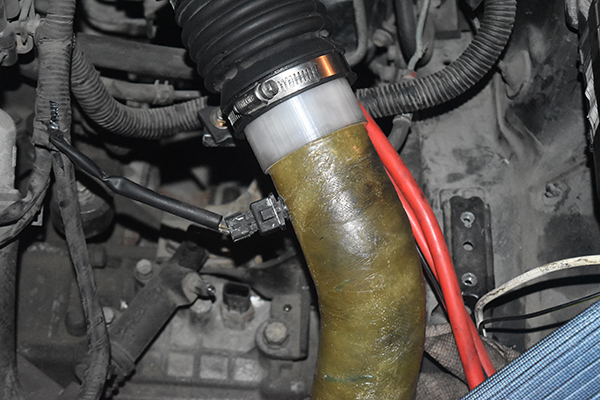
12 September 2017 - Over the past few days I have been experimenting with a new material for my 3D printer, 90A shore polyurethane. I used to machine this stuff on a daily basis so I knew it would be pretty durable and I also knew it would be ok with gasoline vapours. I could machine some rubber since it is my job but I figured printing is something everyone has access to and it's a lot cheaper. I had quite a few issues at first just because the material is so soft and the printing head kept jamming, once I found adequate cooling it was perfect.
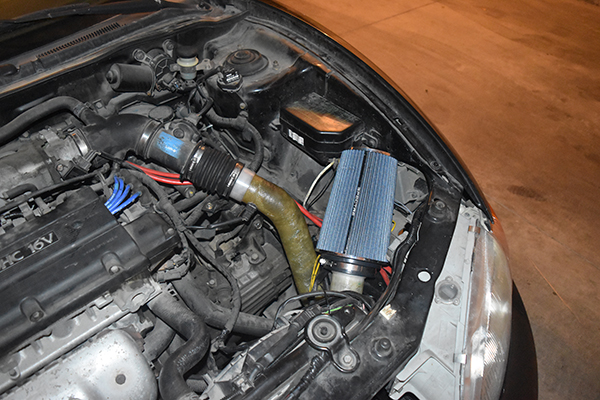
The pipes were installed along with the air filter, the polyurethane couplings worked perfectly. The right image shows how inconspicuous the intercooler is, it also shows that my car is a daily driver and I'm too lazy to wash it.
The temperature sensor was installed, I will have to find a more suitable option when I come to boost the car. It is likely that I will use something like the E60 MAF sensor from a Nissan which has a temperature sensor built in.

I will again update this project in the future with some pressure tests but as you can see the results are pretty good. I do have some carbon fibre which I will eventually use to wrap the tube, I will only do that when I upgrade my MAF and discard the temperature sensor.
Hello, if you have enjoyed reading this project, have taken an interest in another or want me to progress one further then please consider donating or even sponsoring a small amount every month, for more information on why you may like to help me out then follow the sponsor link to the left. Otherwise you can donate any amount with the link below, thank you!