Exploding Water Page 2
November 29/11/2015
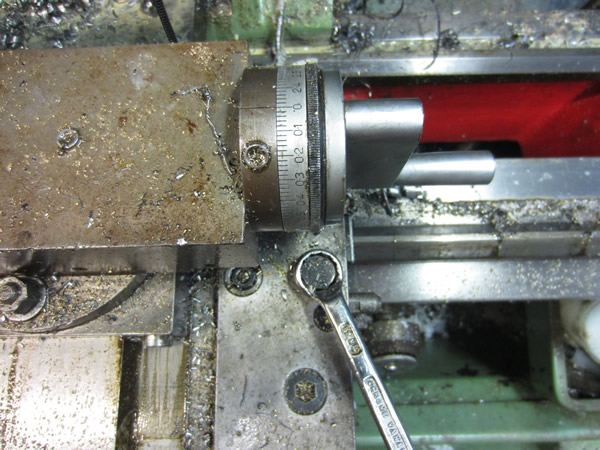
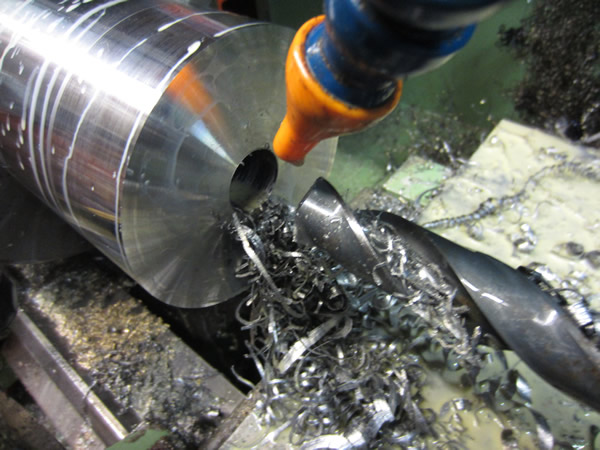
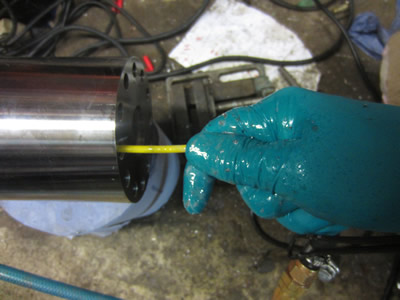
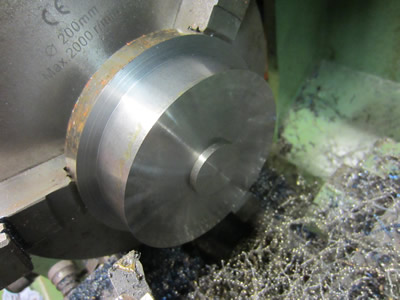
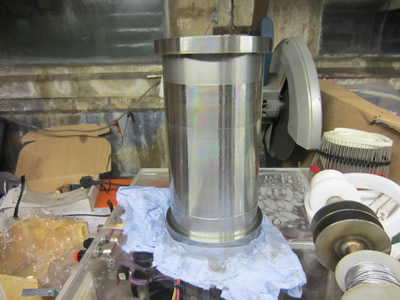
I set to boring out the inside, it has to hold a tube containing the wire and also an O-ring to seal the end cap. I'm not exactly sure what pressures will be obtained but the O-ring has been set in such a way that the pressure hitting will cause it to extrude, with there being no gap to extrude into it will hold enormous pressure, it will however damage the O-ring in the process. Luckily I had a boring bar with a coolant hole through the centre allowing me to push the coolant feed against the back of it.


The carriage was then locked down so I could turn a step for the O-ring to sit into using the compound.
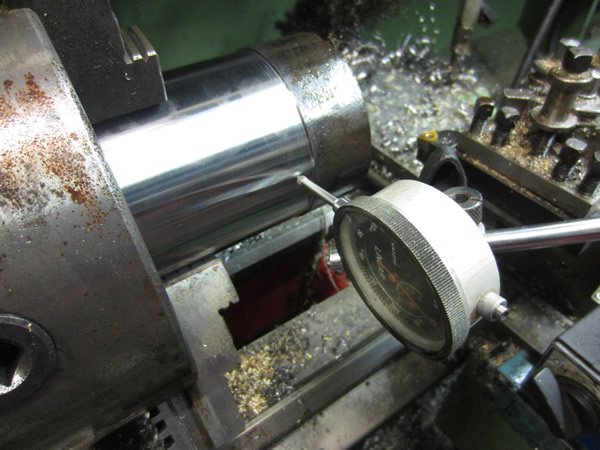
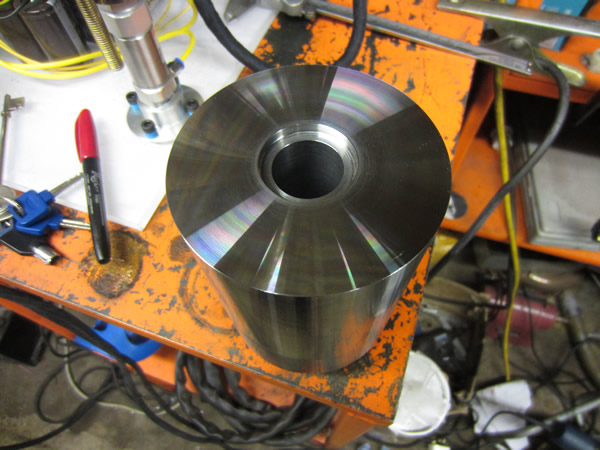
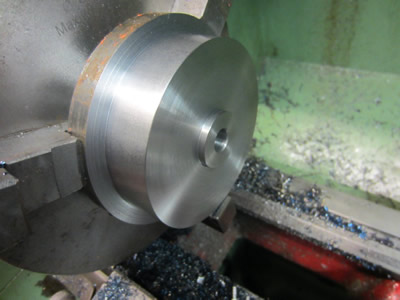
The whole thing was taken out of the lathe, turned around and placed back in the lathe. I ran the clock against it to see if it was concentric, it was absolutely perfect. Unfortunately it was perfect on just that one point because when I turned the outside I ended up with a slight overlap, nothing critical, about 0.03, but it doesn't look all that great.

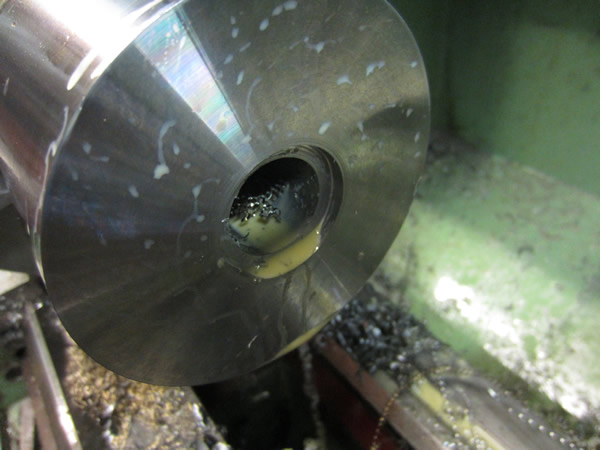
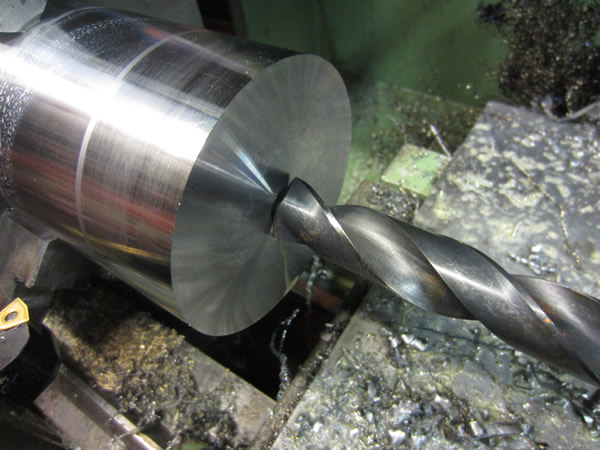
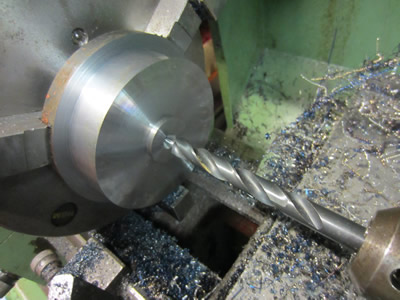
The drill bit that I chipped was chopped and then the point was ground back on it. I then used it to drill out the rest of the centre, it didn't make all the right noises but drilled significantly better than the original. I then bored it to the correct diameter with a boring bar including the step for the O-ring.
I played around with my camera at the time of turning the first operation of the outside diameter. It is shot at 120fps and the cut is 0.5mm, 0.1 feed at 600rpm. It's nothing special but might be interesting to watch. The last picture really shows how good the finish is, I quite like turning this steel. I now need to drill and tap some holes for the end caps, I'm not 100% sure how I'm going to hold this securely in the miller.
November 30/11/2015
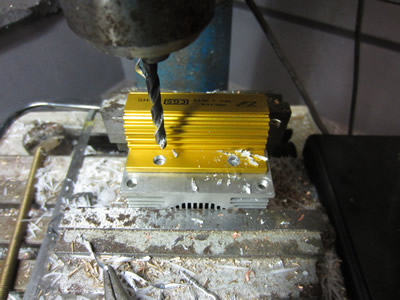
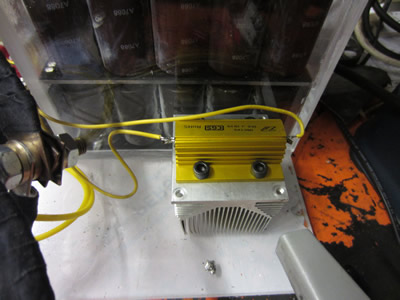
I got my resistor through the post so I started out by fixing it to a large aluminium heatsink, I can now safely discharge the bank.
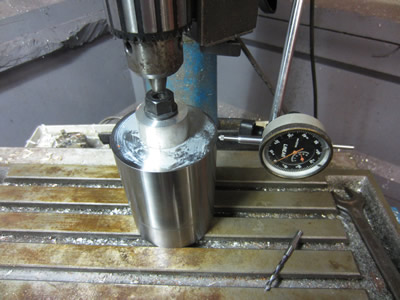
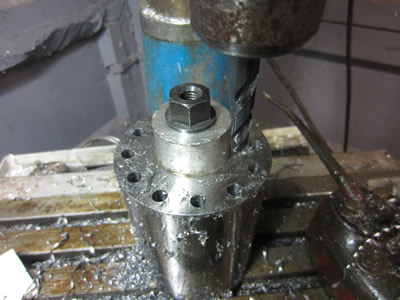
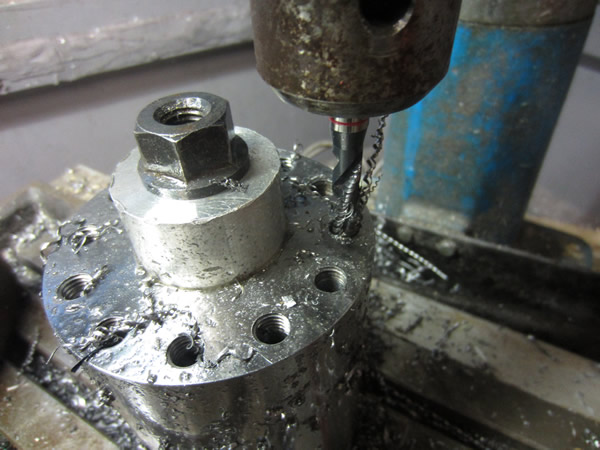
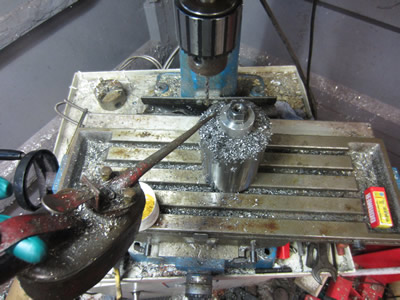
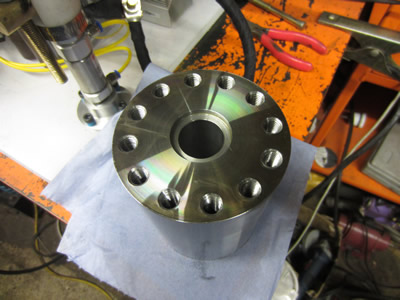
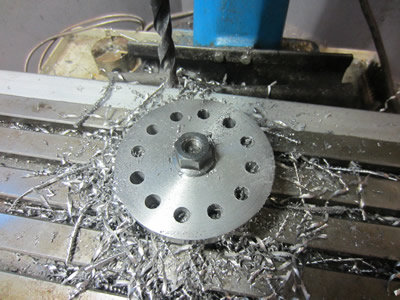
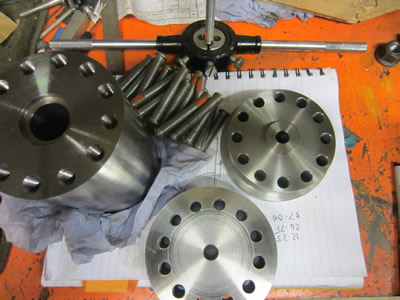
I made some more headway on the vessel, I started by making an aluminium insert from some scrap. The insert allowed me to place a bolt from the millers bed up through the centre of the vessel and allowed me to bolt it down without damaging the surface. I then clocked it to find the centre and then drilled a progression of holes on a PCD of 80mm. I used a carbide drill which probably wasn't the best idea, they tend to work better with harder materials at higher speeds.

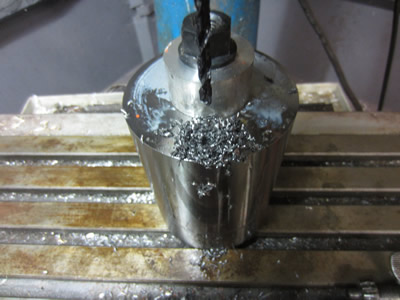
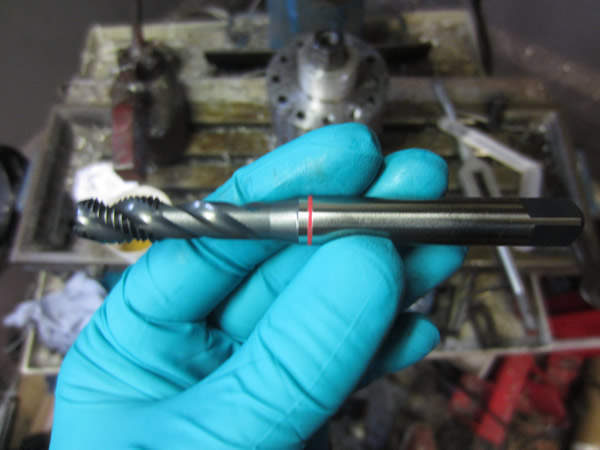
I then drilled the holes to the correct diameter to prepare them for tapping. The tap I had was a carbon steel one and I only managed to do one hole before it started to blunt. I managed to find a "red band" spiral tap on an internet auction site which is best suited for blind holes and tough steels.
December 03/12/2015
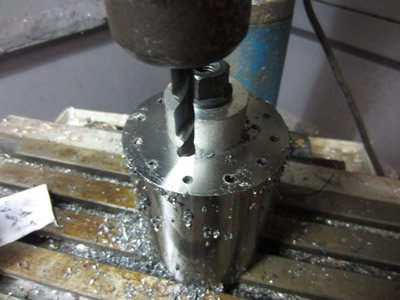
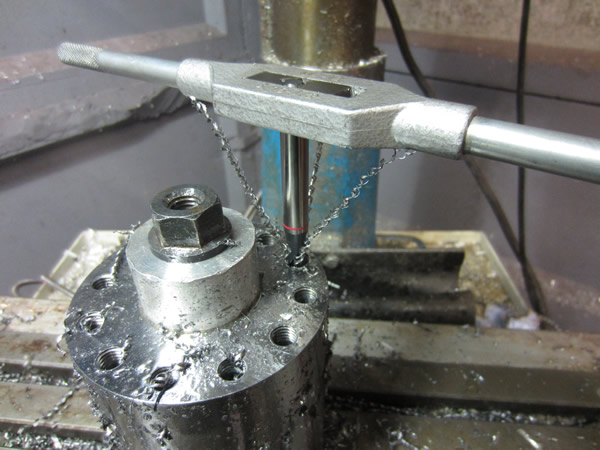
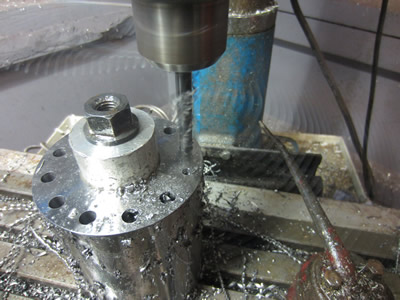
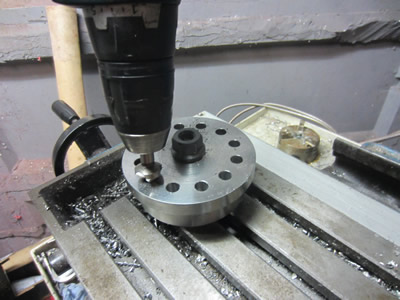
I got my my spiral flute tap through the post today so I thought it would be best for the milling machine to start the threading process, the speed was dropped down to it's lowest - 100rpm.
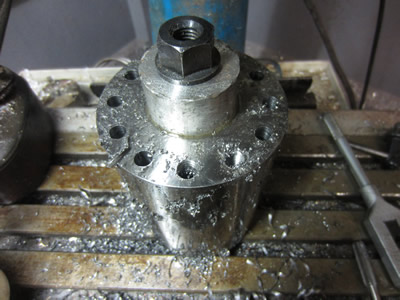
The tap was placed in the drill chuck and then used to start the thread, I didn't go all the way as I didn't want to break the tap when it bottoms. I half threaded all of the holes and then tapped them all the way to the bottom by hand. As this is a machine tap it means that there is no need to break the swarf as it just spirals up through the flutes.
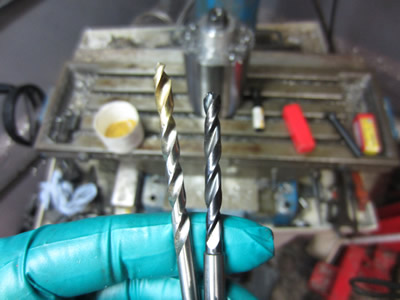
The next step was to do the same to the other side of the vessel. Luckily I had some bolts who's heads were the same dimensions as the slots in the millers bed, this allowed me to position the holes in exactly the same place. This time I also chose to use a HHS drill instead of the carbide one (on the right) which was far too brittle.

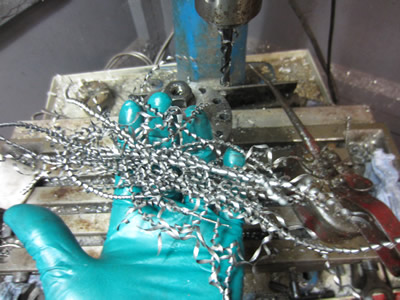
I used lots of oil and the drill worked a hell of a lot better than the previous carbide one. I dropped the speed down to 360rpm to do the final 8.5mm hole, the swarf came off in perfect strands and there was little heat produced.
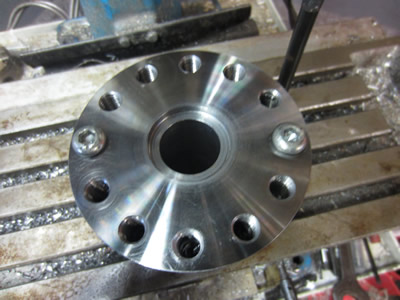
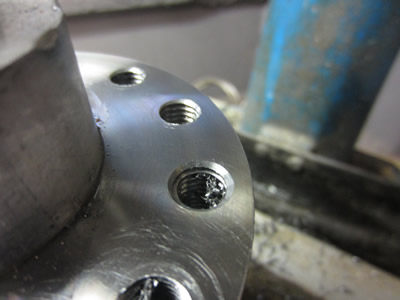
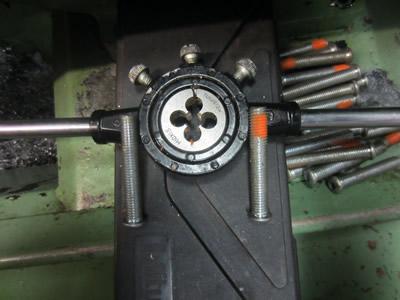
All of the holes were again threaded and then counter sunk to remove the burrs. I used coolant to lubricate all of the cutting procedures so it was a case of washing it down and blowing out all of the swarf with the air line.
December 27/12/2015
I seem to have got so tied up with other projects so this went on the back burner, I still need to get some metal for the end caps. The lengths of steel I already have cannot be cut up into smaller pieces so I either have to get some cut or buy some offcuts off an internet auction site. I do have the choice of picking up two pieces of 7075 aluminium for £20 but I'm not sure if that's paying too much for what pieces they are.
January 06/01/2016
It's new year and places are opening up again, so I went out to pick up some steel for another project. I asked the stockist how much for two pieces of 4" steel cut into 40mm sections, £5 each and he didn't mind cutting them for me then. I'm thankful that a stockist such as this will supply small pieces to the general public, there's not many out there that even reply. It may be a day or two before I get the time to make the end caps.
January 09/01/2016
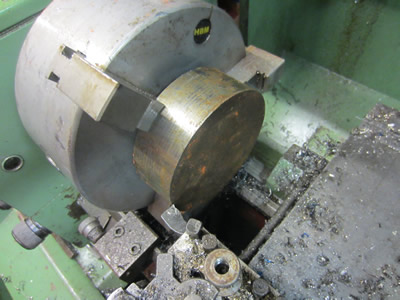
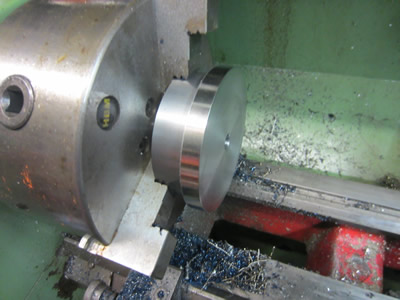
The offcuts were a little difficult to deal with as they were too big to put in the regular jaws and would only sit in the second teeth of the internal jaws meaning that I could not use my regular turning tool. I instead had to go for a boring bar and turn in between the jaws.
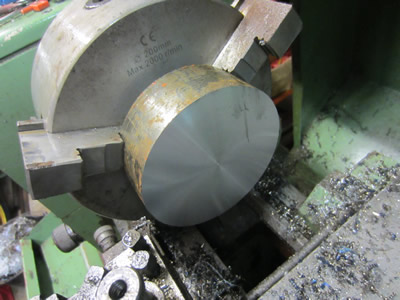

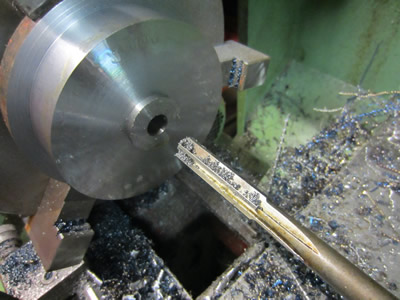
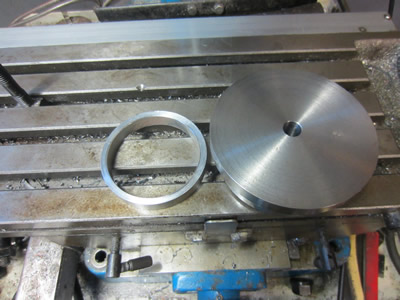
Once the outside was finish I turned a step that will hold a seal, probably an O-ring. The bore was drilled and reamed to the exact diameter of 12mm.
There was no real point in turning the rest of the outside down to the same diameter as it serves no purpose so I just finished it to a round number. I now need to drill out the end caps for the bolt holes.
January 10/01/2016
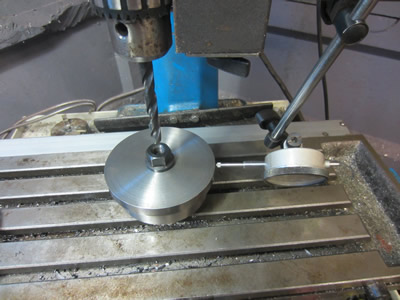
A ring out of aluminium was made to raise the end cap from the bed to ensure I wouldn't go too far with the drill. The cap was bolted down, clocked and then a series of twelve holes were drilled on a PCD of 80mm.
All of the holes were countersunk to remove burrs and then I spent some time removing the thread lock from some bolts I had. It turned out that these bolts were slightly too long and chopping them down in the lathe would be too time consuming, so instead I was also able to buy some high tensile bolts for just under £10.
Hello, if you have enjoyed reading this project, have taken an interest in another or want me to progress one further then please consider donating or even sponsoring a small amount every month, for more information on why you may like to help me out then follow the sponsor link to the left. Otherwise you can donate any amount with the link below, thank you!