Electrostatic Nuclear Fusion - Page 3
This is my third attempt at nuclear fusion, this is the third page of my build progress. I am currently in the process of building the electrical system.
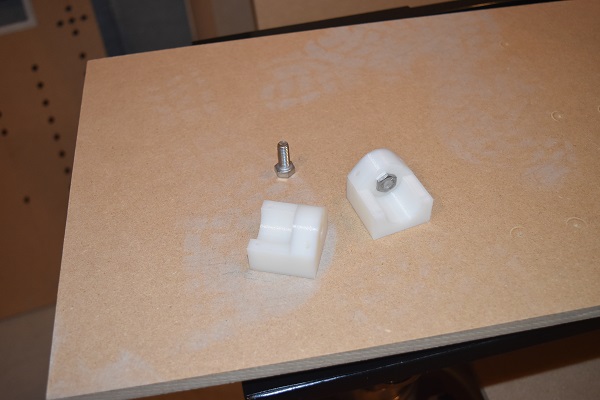
04 July 2018 - The next step is to design some way to secure the front panel to the frame. I chose to go with wing-nuts, the block below will hold a bolt, it will be fixed to the main frame.
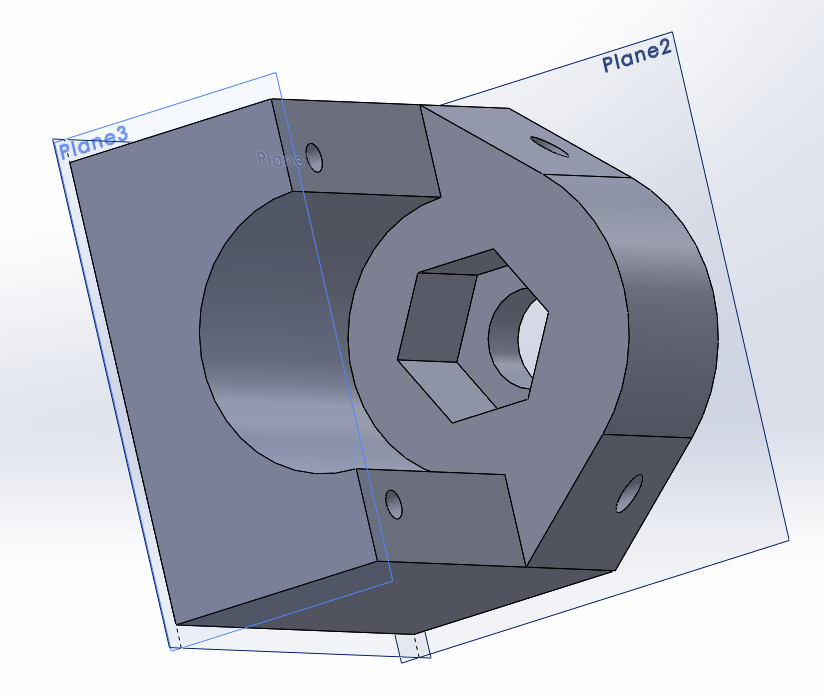
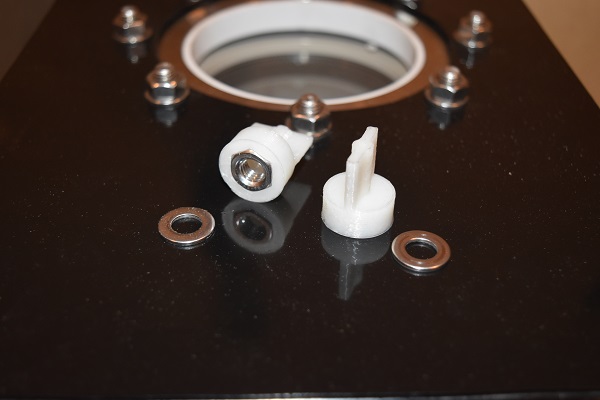
Here is an example of the wing nut, it will actually house a separate nut.
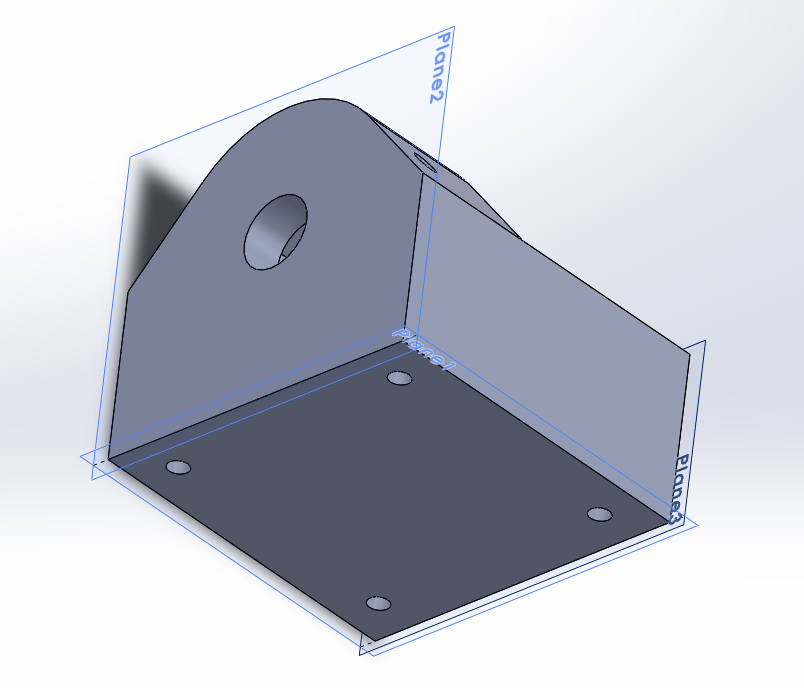
Here are the bolt holders, they are 3D printed in PLA.
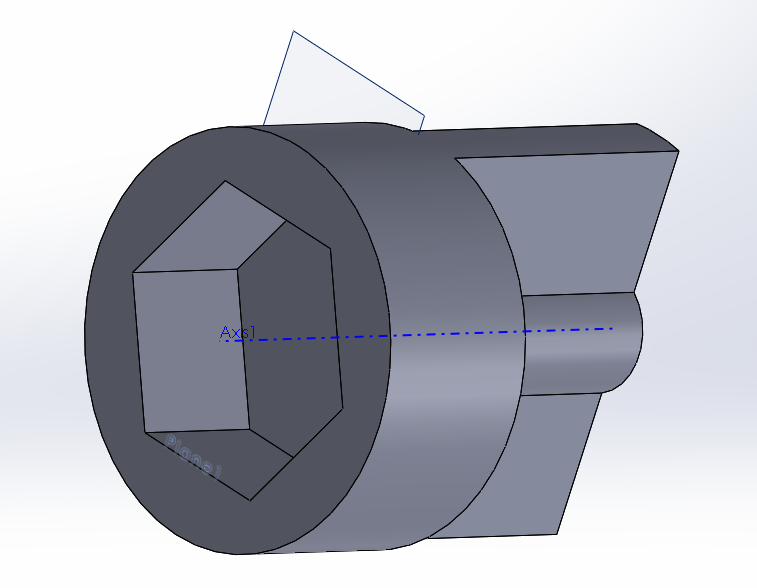
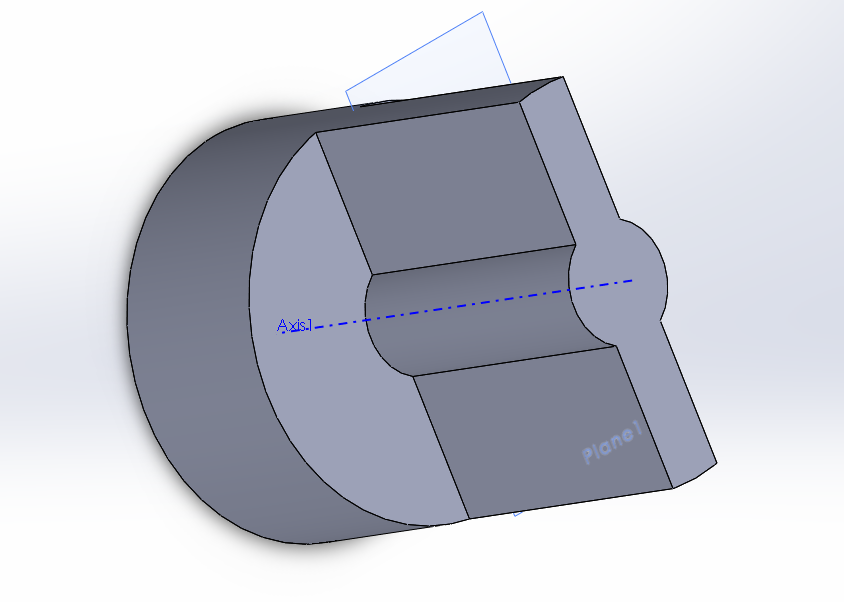
Here are the wing nuts, these too were printed in PLA.
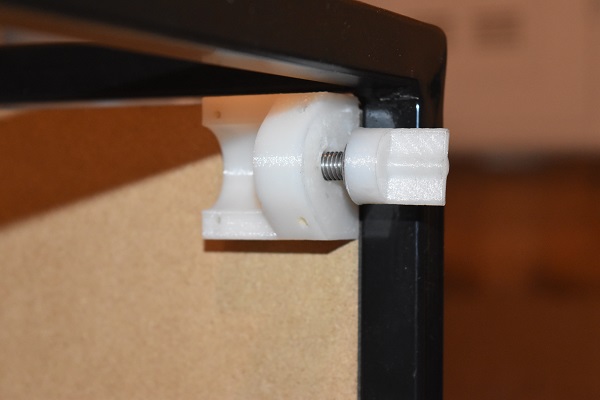
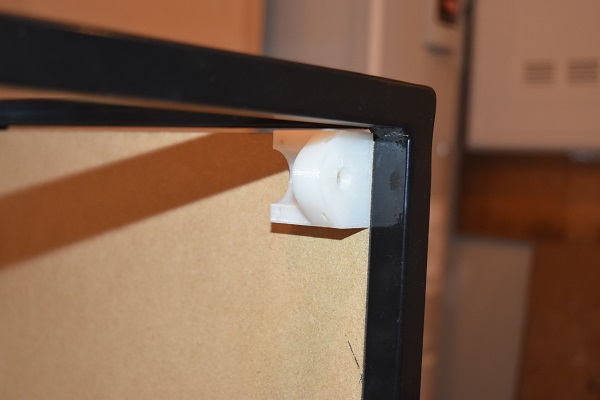
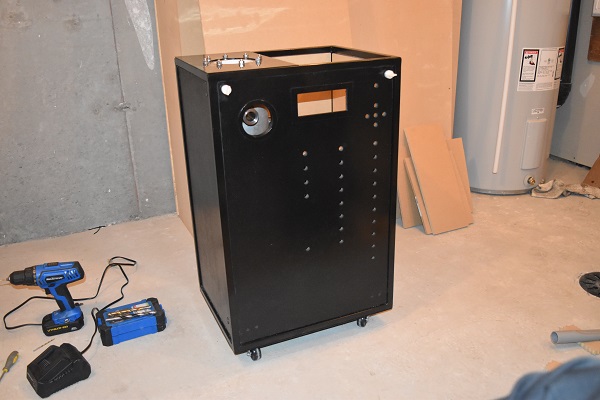
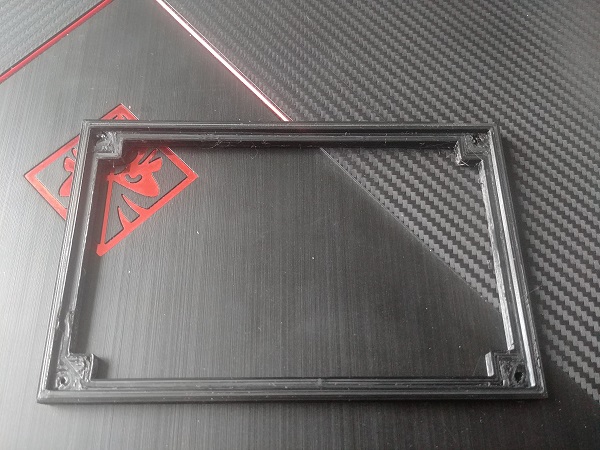
Here is the front panel attached, all of the parts worked out perfectly. I did also 3D print some bushes that press into the panel, these stop the paint from being marked or the wood being damaged.
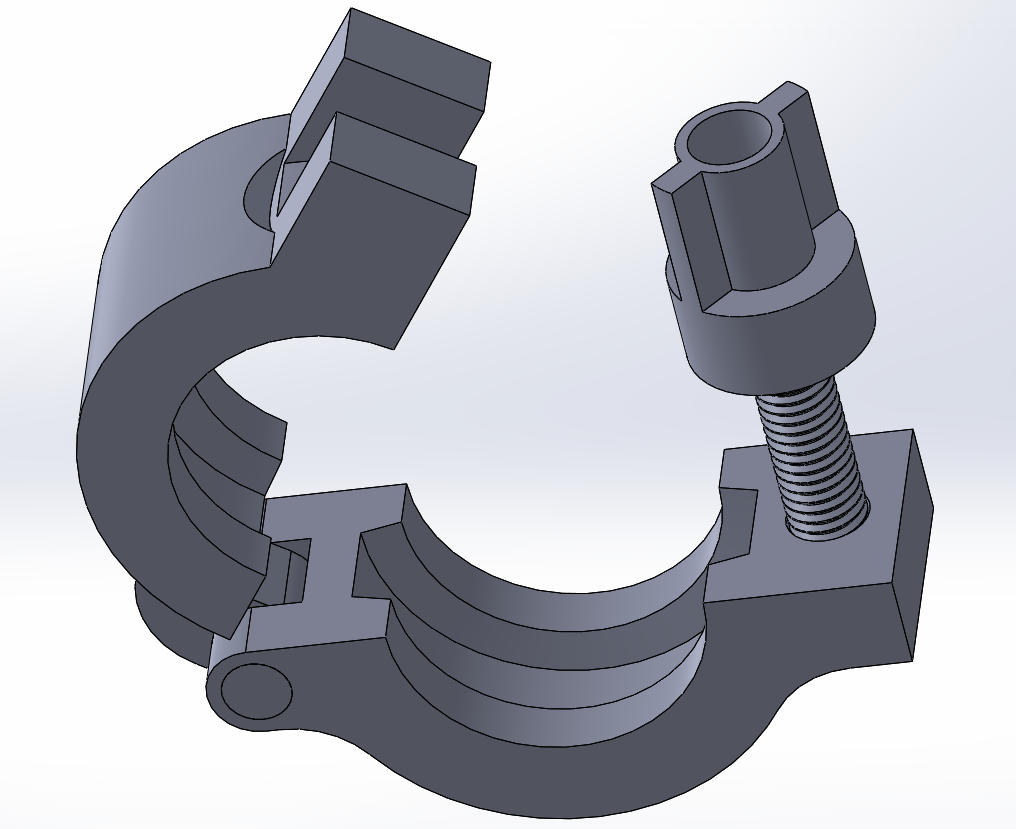
05 July 2018 - One thing I really need for the fusor are a load of KF vacuum clamps, they are so expensive to buy. I set to design one from plastic that I will 3D print. This is a KF25 clamp with hinge, the hinged part will be the weak point, later designs may use two wing nuts instead.
I printed this particular part from polycarbonate since it would have to resist some heat, I would have opted for PETG but the filament needed drying out. I have to admit that I was very impressed with how the clamp worked, the hinge held up fine.
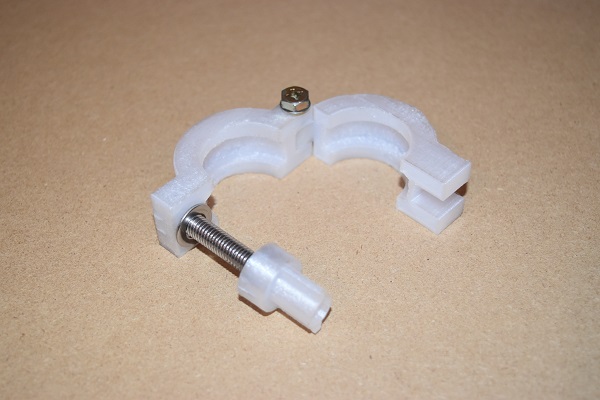
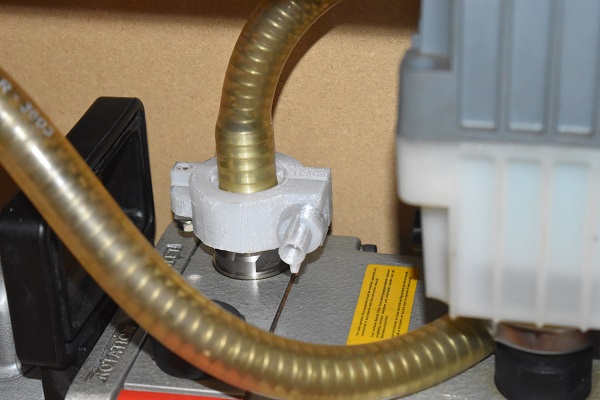
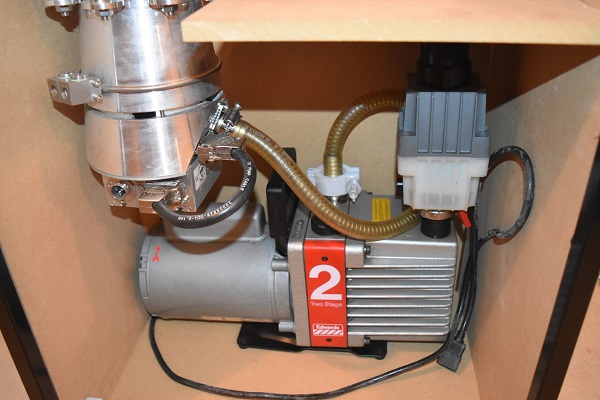
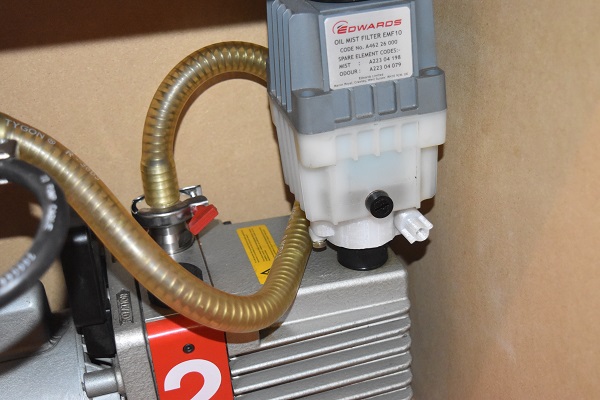
I chose to swap over the metal clamp for the plastic one. I think I will have to print a few more of these, I won't use a hinge as this is a weak spot.
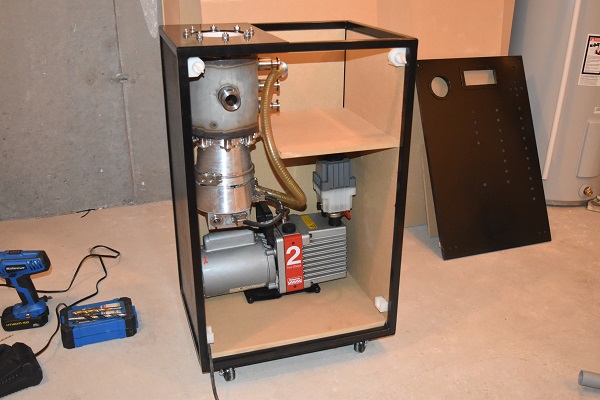
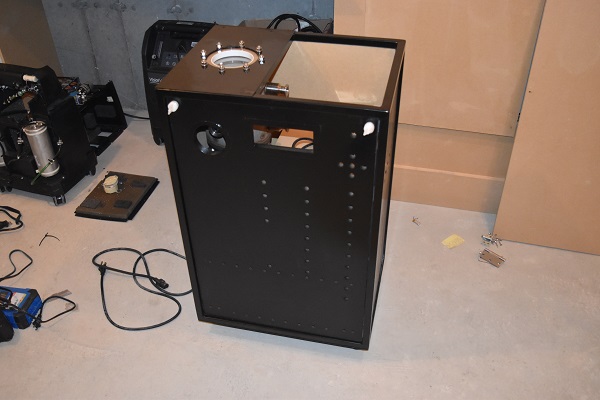
06 July 2018 - I needed to make some shelves for the electronics to sit behind the front panel.
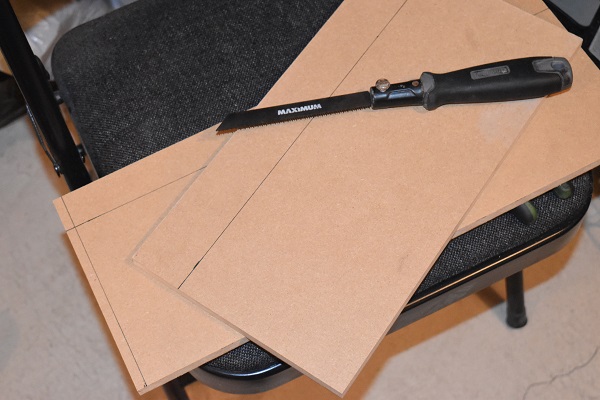

The bottom shelf will contain the higher voltage electrical's such as that from the mains, the top shelf will contain all of the low voltage control electronics. I still haven't designed the high voltage supply but I'm thinking of placing it with the valves.

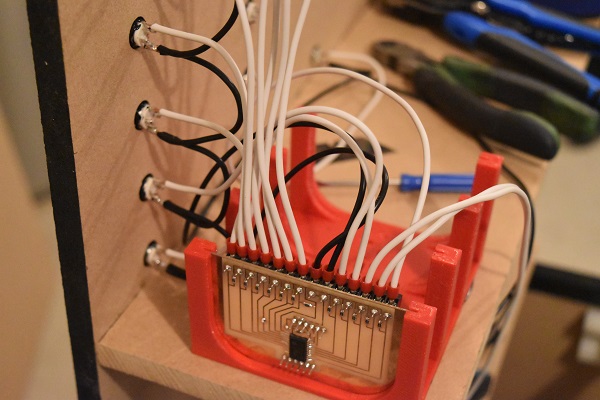
I made a quick start on the electronics for the front panel, here is an input board for the buttons.
There will be two of these boards situated on the top shelf, all modules will communicate via SPI. Each module will have it's own address but will all work from the same data bus. I will soon create a flow diagram showing all of the modules, off the top of my head there will be around eight or nine.
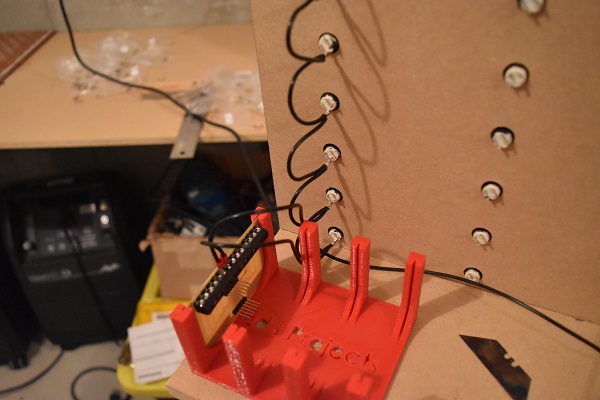
07 July 2018 - I designed the output boards for the built-in LED's on the front panel buttons. Since there are quite a number of LEDs I simply cannot power them directly from the microcontroller, I had to use some MOSFET's. The only thing I don't know is what value resistors to use since I have ordered my buttons from China, they say 3V which is odd for an LED.
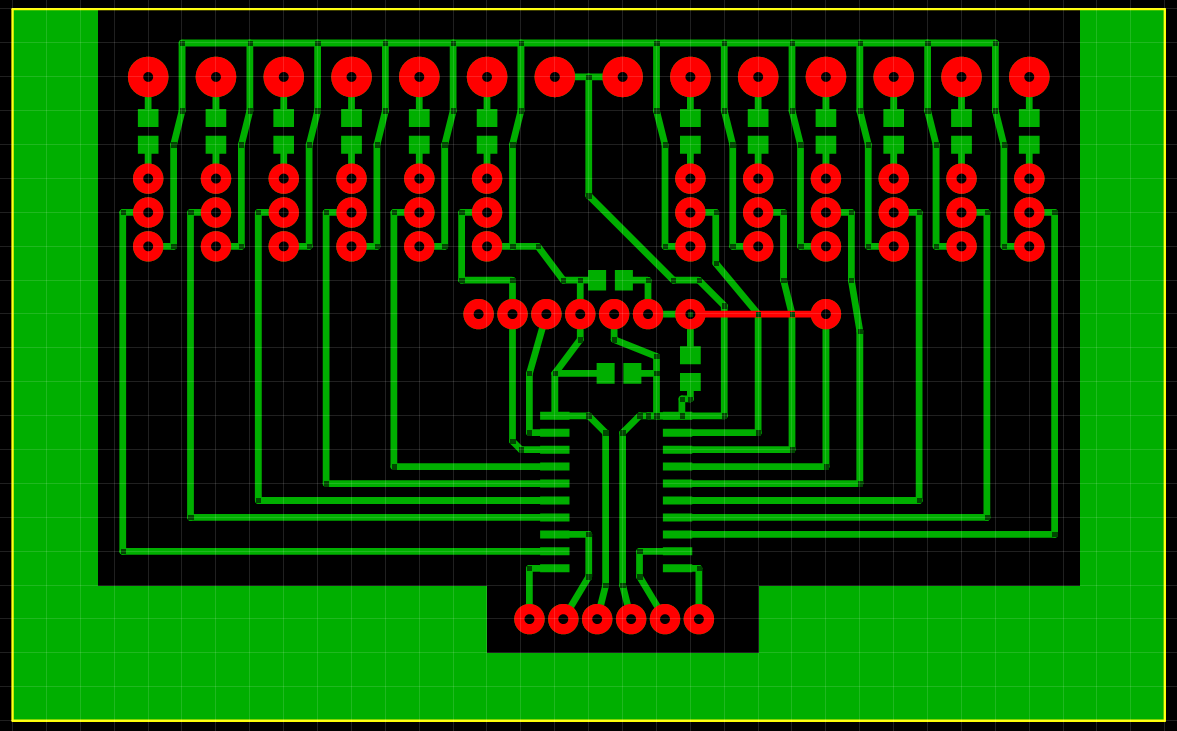
Here are the boards I made.
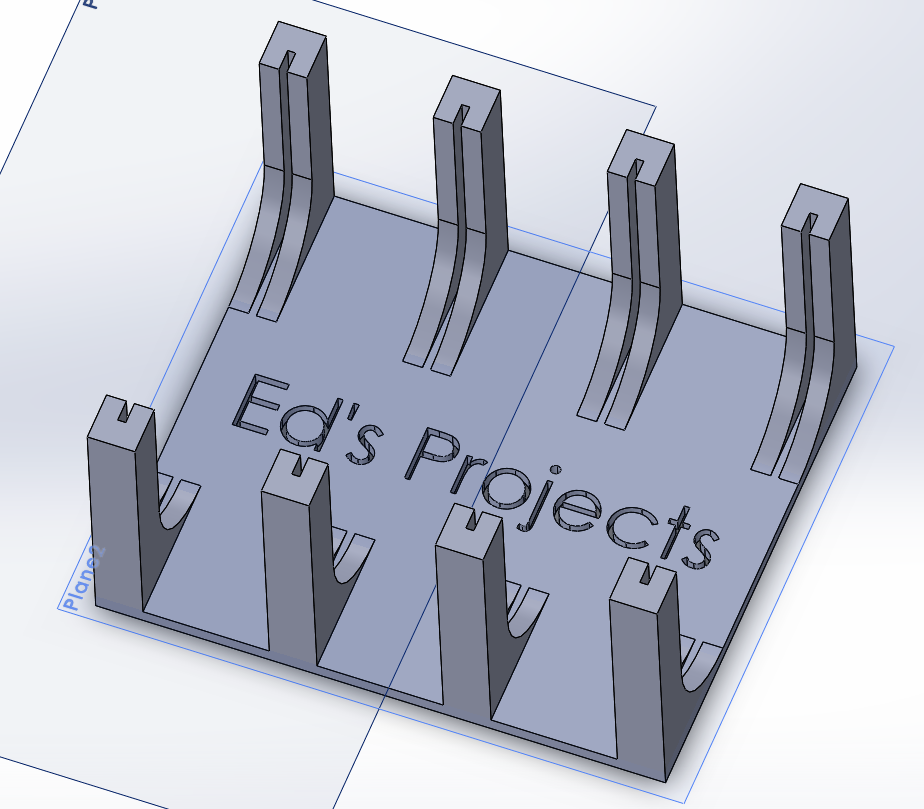
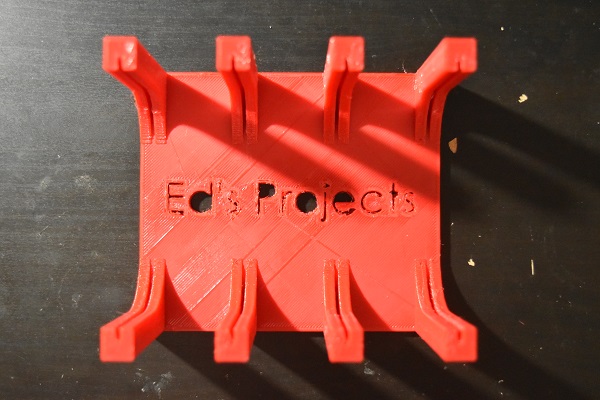
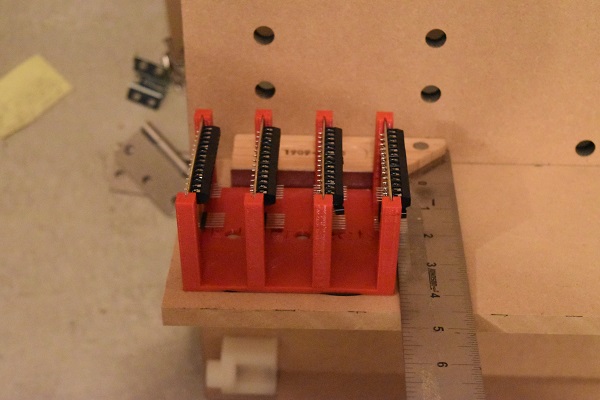
I dried out some PETG which is now ready for the 3D printer. I designed a rack for these four boards since they are all the same size. I thought I would add the name of my website which added a huge amount of time to the print, I'm using a coarse nozzel (0.8mm) and this will take 9 hours.
Well here it is, the writing did not come out too good. Some reason my printer seems to ignore the inner wall speed which is always too fast, it struggles to put a layer down resulting in a gap.
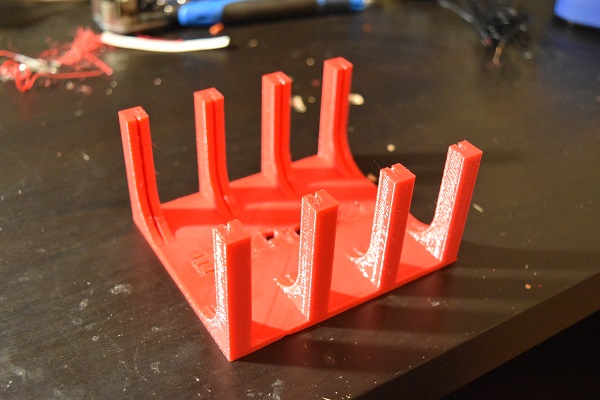
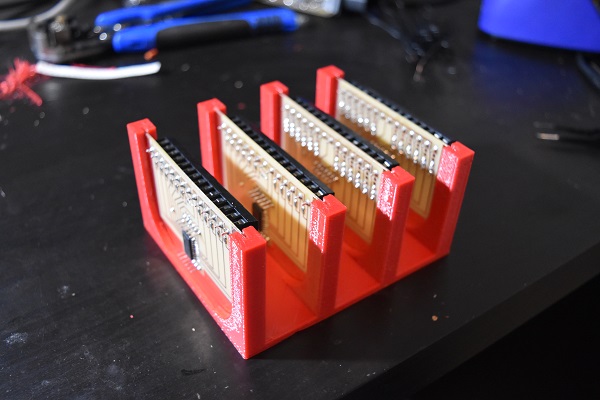
The boards fit perfectly though.

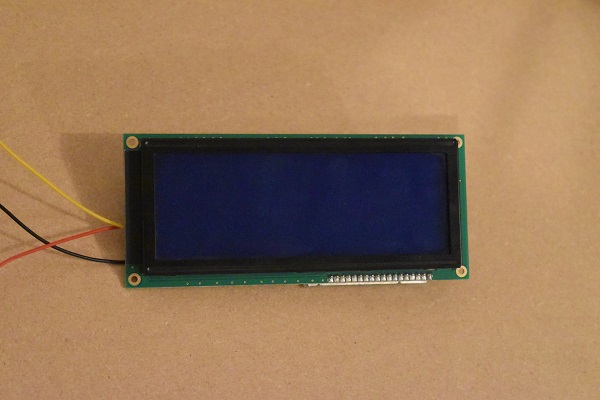
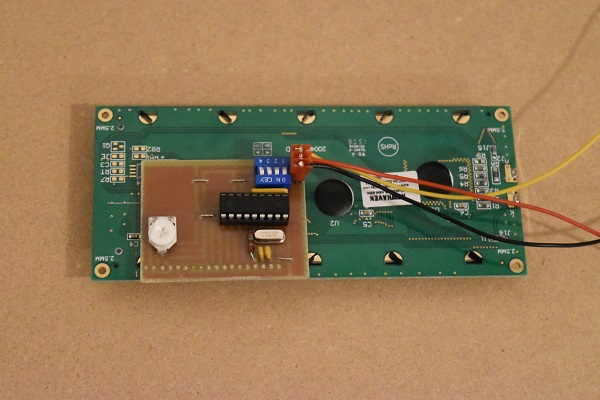
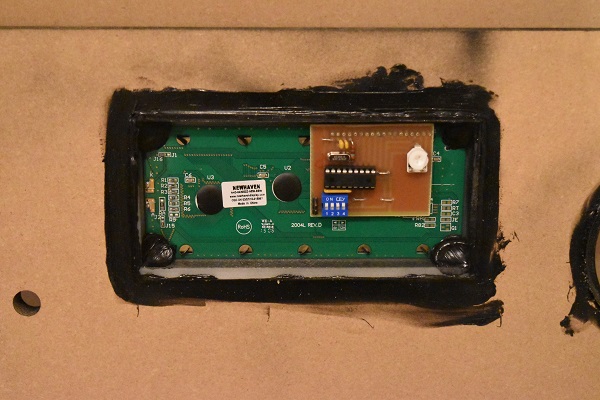
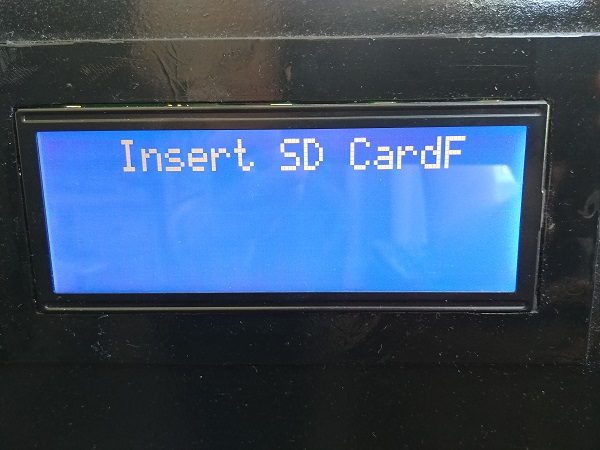
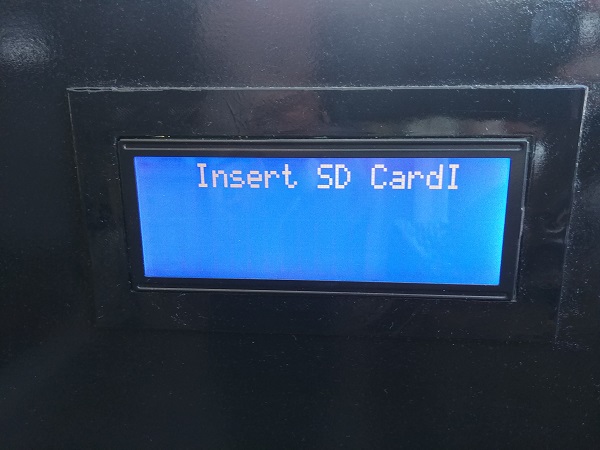
08 July 2018 - A while back I built a serial LCD but I stole the chip controlling it for another project. This is the display that I will be using for the fusor, luckily it was a project on this site so I still have the program. Since I only require one pin I think that the main control board will be linked to this display along with the remaining six buttons on the front panel.
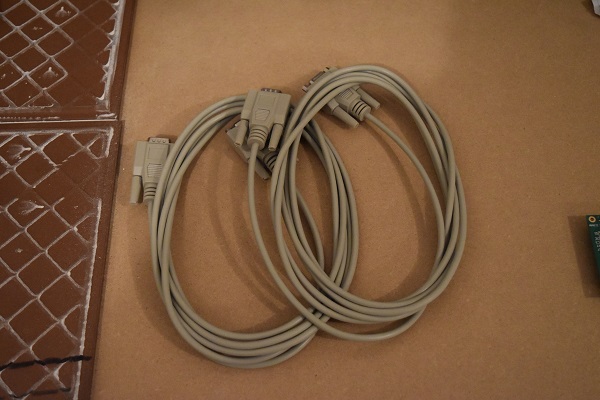
I picked up some 9-pin D-sub connectors for the turbo pump drive. For some reason I thought that the drive was RS-485 but it turns out to be Profibus. The issue is that I have never dealt with this protocol before nor can I find any detailed information on it. I have asked for answers online so we will see what happens.
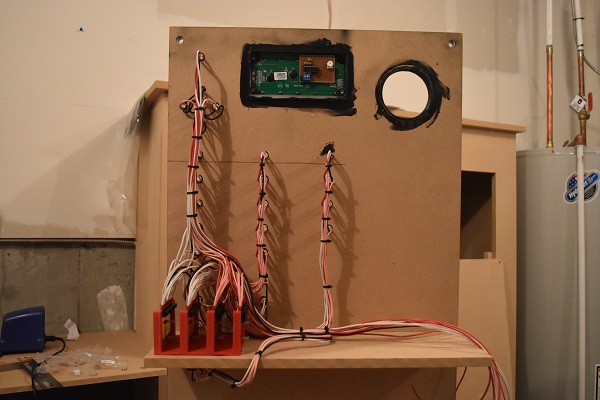
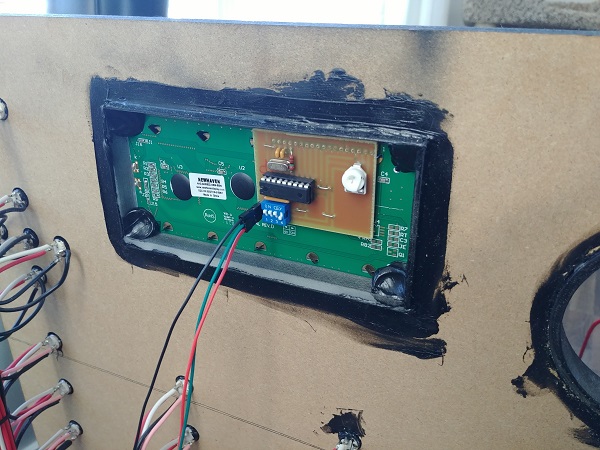
I bonded the display to the front panel and also bonded the input / output boards in place.
At the moment I'm a little stuck at what to do next. I may have to wait several weeks for the buttons from China which means that I cannot test any of the programs out. I think the control software for the turbo pump may take me quite a while to work out. There are two more boards I can make such as a relay board for the power and valves and also the control board for the display. I really can't afford to spend to much money at the moment but there is the high voltage power supply to consider also with the valves. I thought I should start a check list at the bottom of the page to give me and you, the reader an idea of what is left to do before I perform fusion.
12 July 2018 - I got my buttons from China!
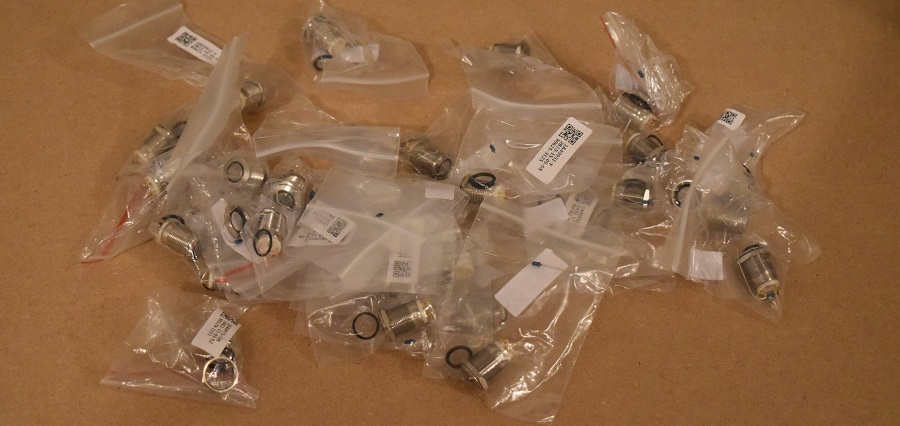
I used some polyurethane sealant to bond them in place since I could not secure them with the nuts provided. I guess the fusor project may progress a little faster than I expected, I will have to see if I can get some cheap decals printed.

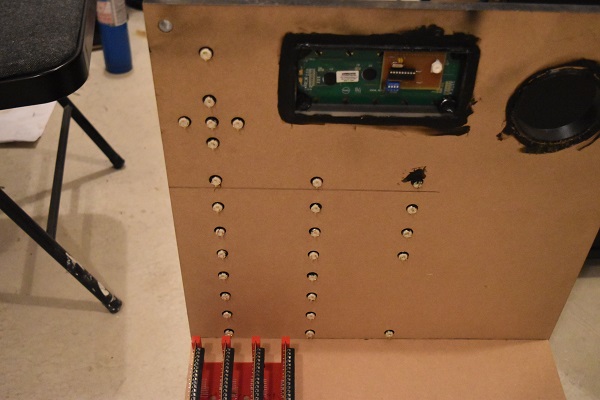
13 July 2018 - Time to do some wiring and soldering. I was originally going to use some shrink wrap on the switch terminations but did not want the extra work, there is no reason to use it either apart for aesthetics.
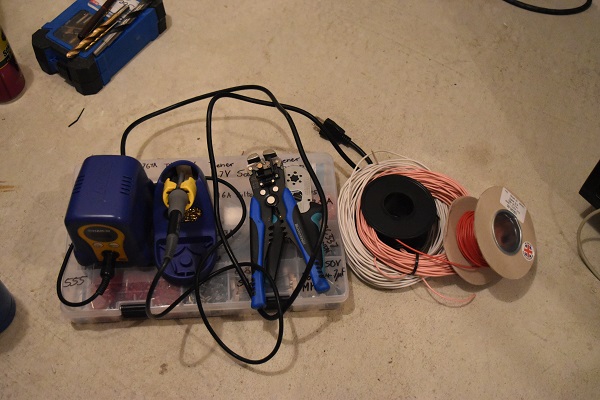
I used crimp tube terminals for the ends of the wires, these reduce the risk of wires coming loose. I used the appropriate tool to crimp them which should result in perfect termination.
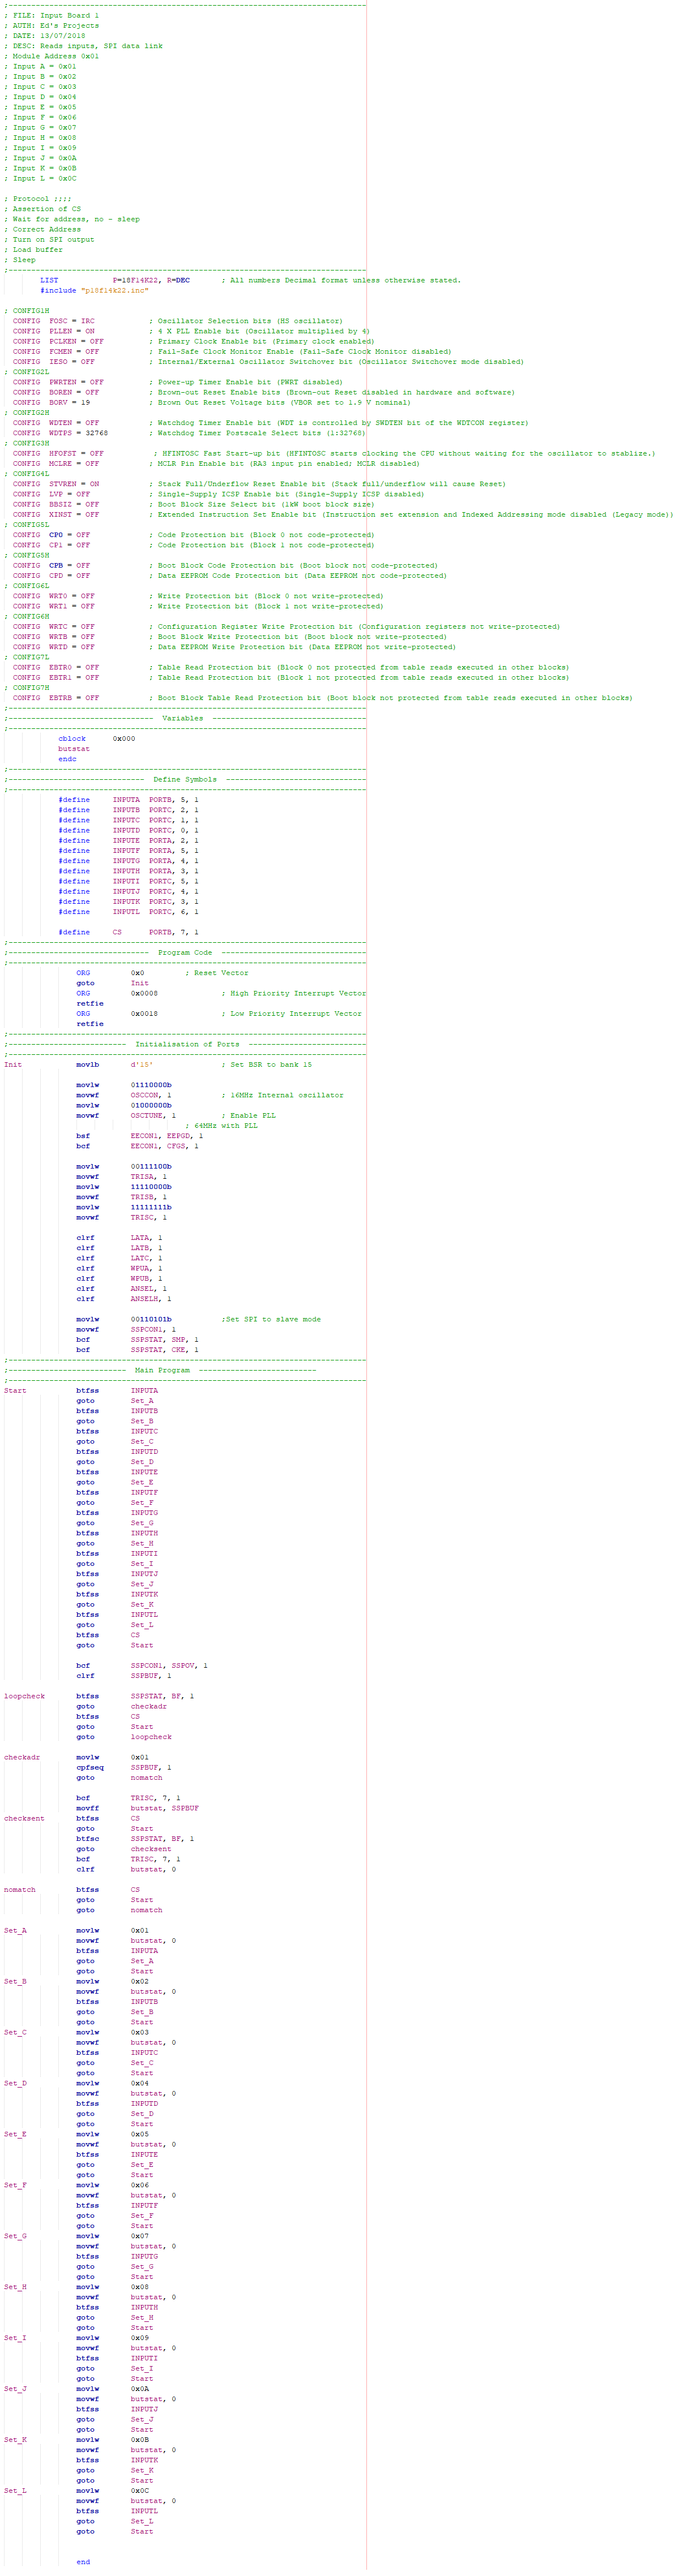
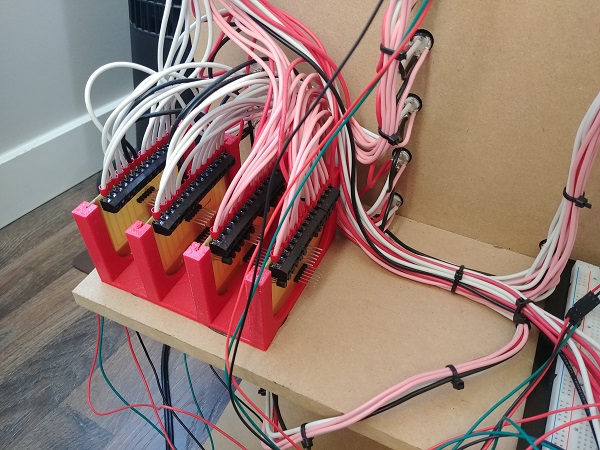
A couple of hours later and the wiring is complete. I now need to program the boards and make myself a printout of what button responds to which pin. The whole of the system will be connected via a serial bus. Each circuit board will have it's own unique address along with each peripheral having it's own ID.

The program is very simple, it waits until it receives the correct address and then outputs the value of the most recently pressed button. I thought I would knock up something quick and simple, yes I could probably reduce it's size but there really is no need.
I thought I should make myself a diagram for how to boards link to the front panel. The main reason for this diagram is for the control board. So for example the "Power ON" button is at the top right labelled "3D + 1F", therefore when the control board reads "1F" it knows that the button has been pressed, it will then output the data "3D" in which output board 3 will respond by illuminating indicator "D".
02 September 2019 - A lot of time has passed since I did anything on this project, the main reason is because there were other priorities. I did not want to put any money into this project since I was not allowed to work because of my immigration status. I'm trying to pick up this project where it left off with the input / output boards for the front control panel.
I decided to start from scratch with the program and chose to bit-bang the SPI. I also changed the way the boards are linked together, the master control will select each board separately instead. I had to find out a chip for the serial display as it ended up in something else, thankfully I did that as a project so had the code saved. I pressed two different buttons on the front control to see if they matched with the diagram above, they did. I kept a generic message in the main control to ensure it passed to the display properly.
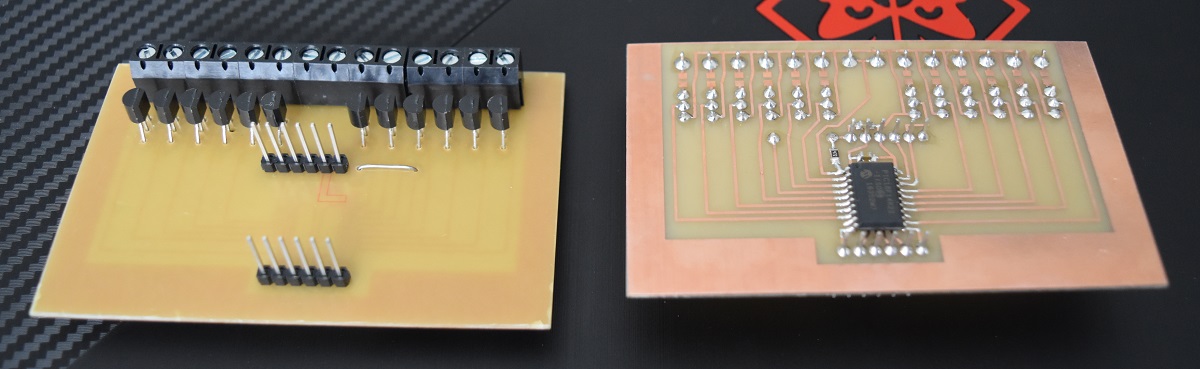
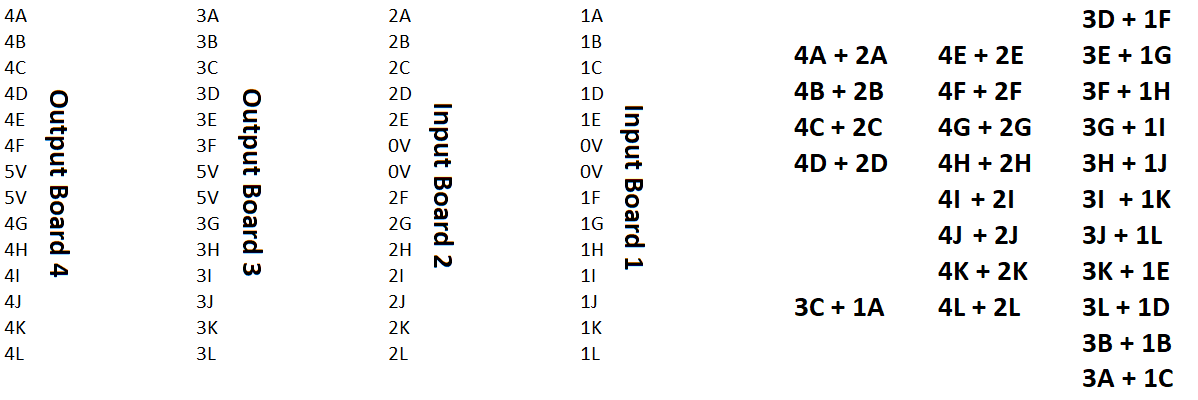
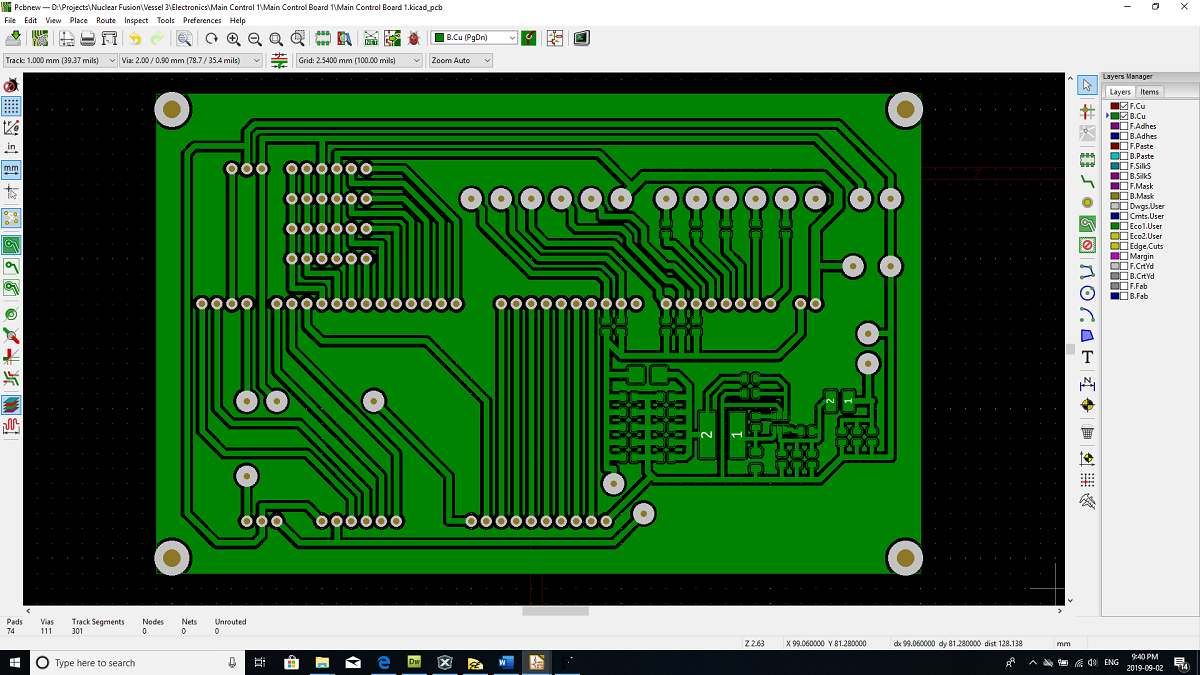
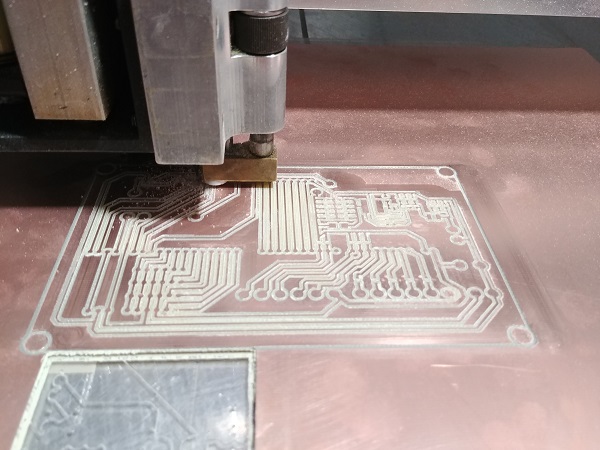
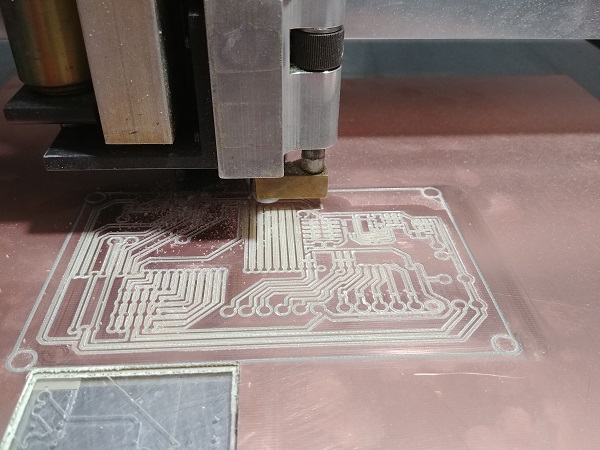
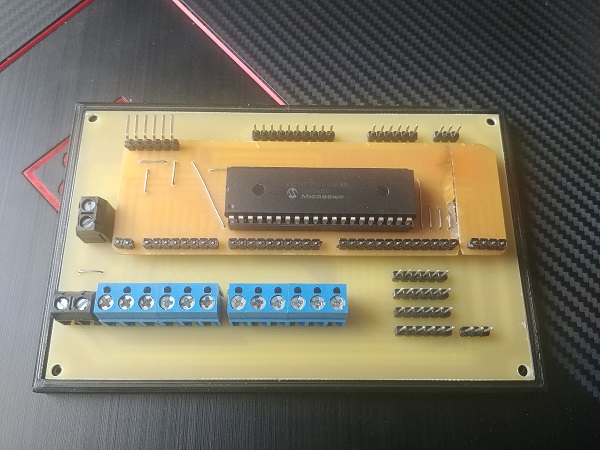
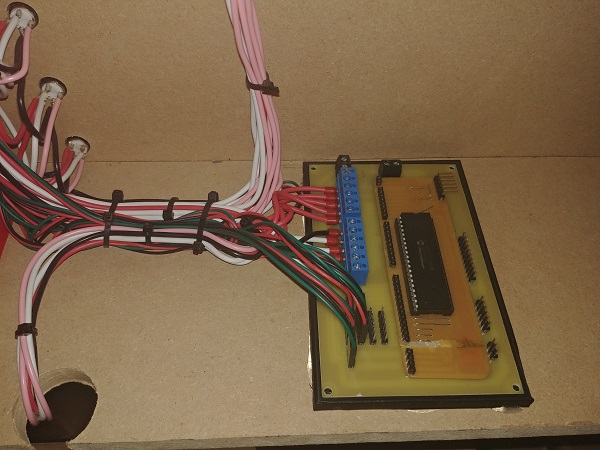
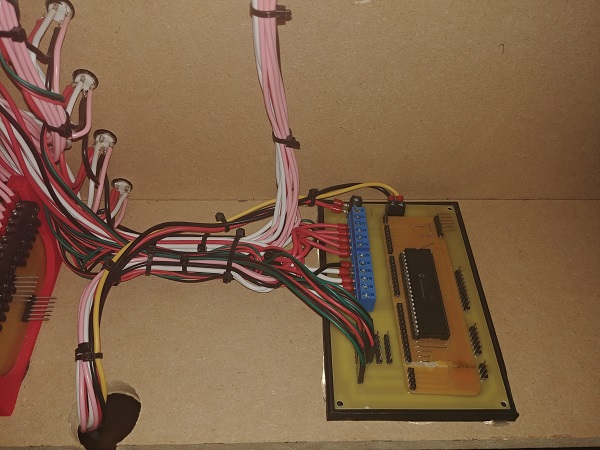
I made a breakout board with an 18F4520 microcontroller, it pins directly into a breadboard. It has been a while since I've used this board so I'll use it for this project, if I need another then I can always make one. The next step would be to make the main control board that interfaces with the front control panel, the display, the relay board, pressure sensor and the turbo pump control. I have since started using a different method to make circuit boards due to reliability issues. I now CNC engrave the boards, it doesn't quite yield the detail I would like but they are much cheaper to make and I don't have bad photo-resist batches any more.
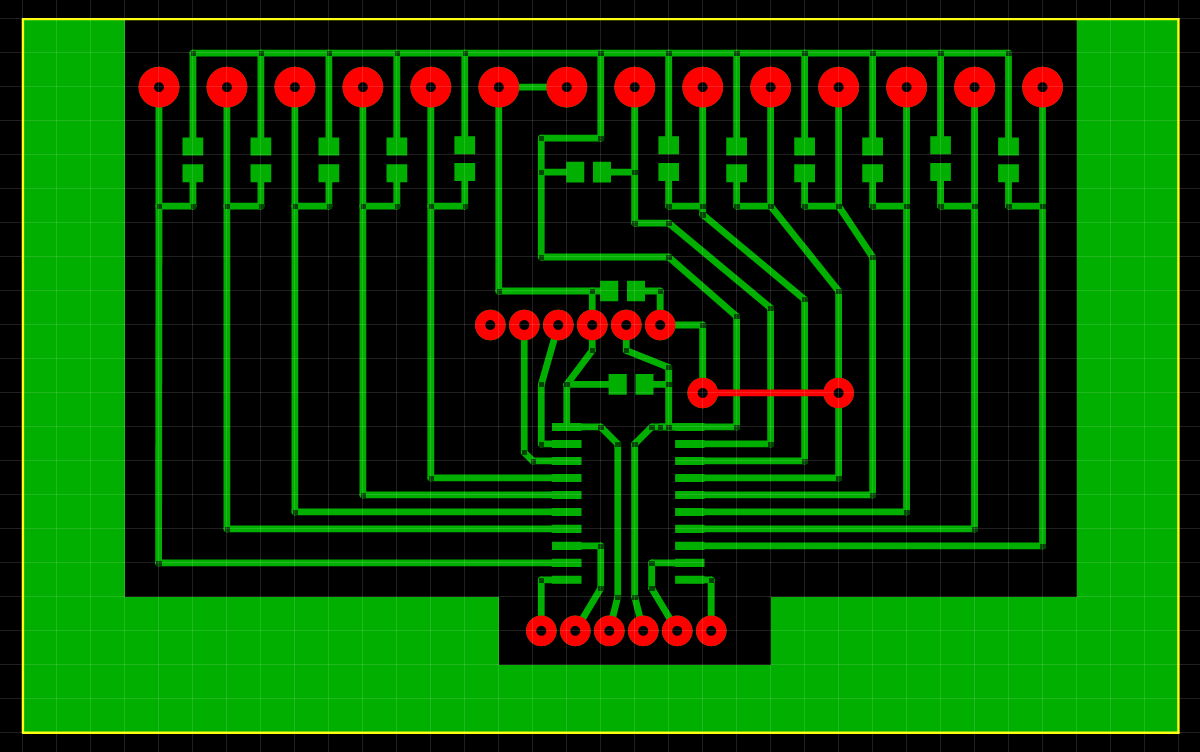
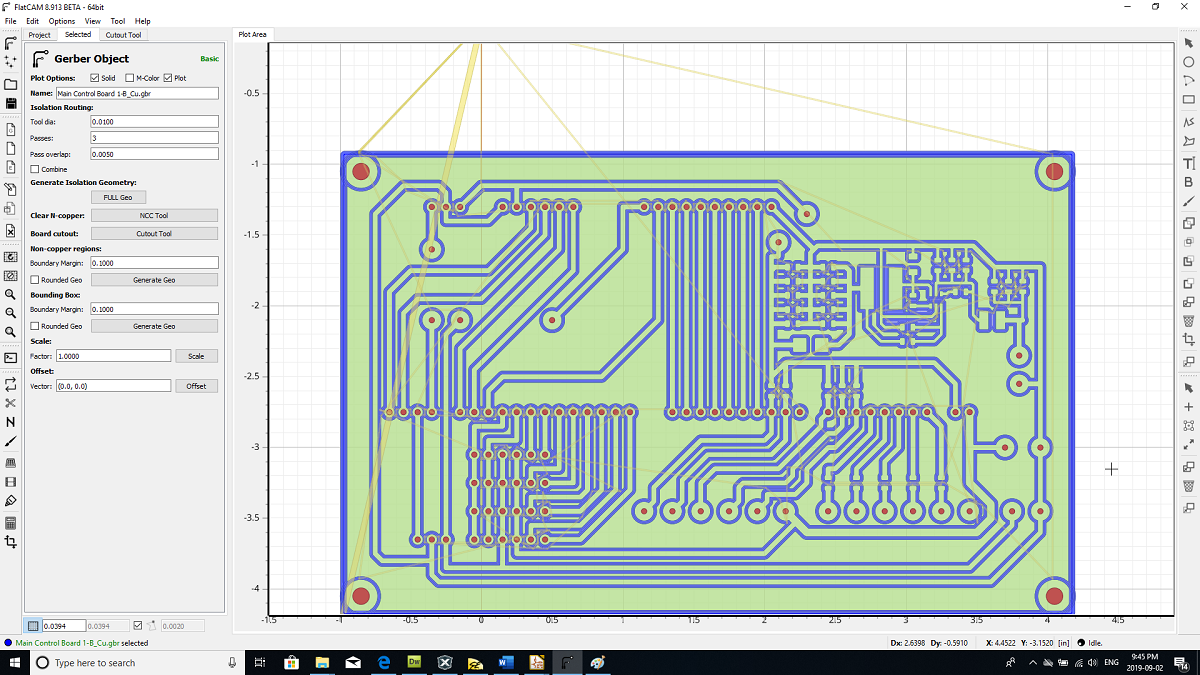
I managed to get this board on a single layer which certainly makes things a lot quicker. This software generates a gerber file for the traces and a drill file for the holes.
The files are then imported into a CAM software which generates the CNC tool paths. I end up with six different programs to run on the mill, mainly due to the fact I don't have a tool changer, it also greatly simplifies things.
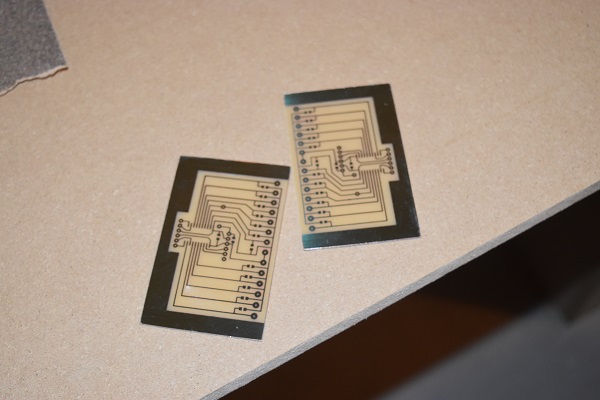
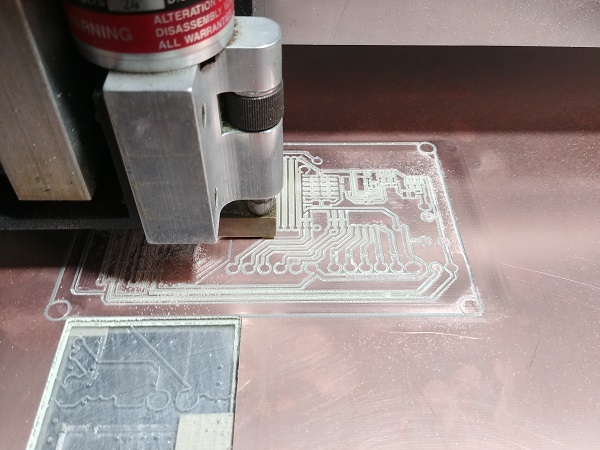
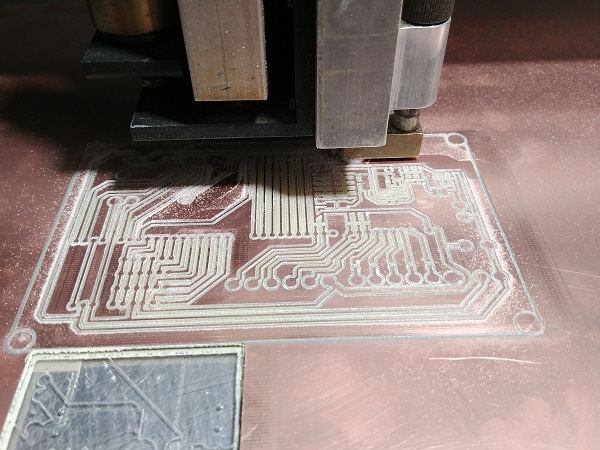
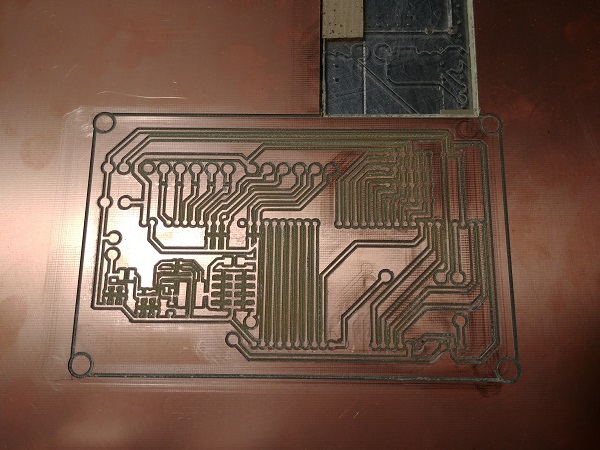
This board took around 90 minutes to engrave, drill and cutout. I think the process is of similar speed to chemical etching of boards this size. I would like to get a better etching setup in the future and use this mill just to drill the holes. The biggest issue with this mill is that the spindle speed is not fast enough, secondly using adhesive pads to hold the board down is inconsistent, the height varies too much.


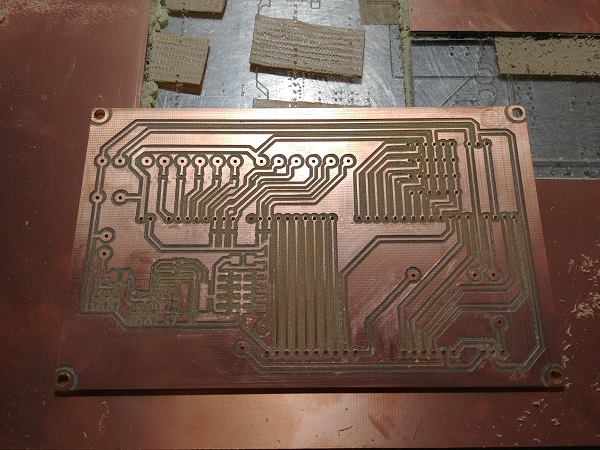
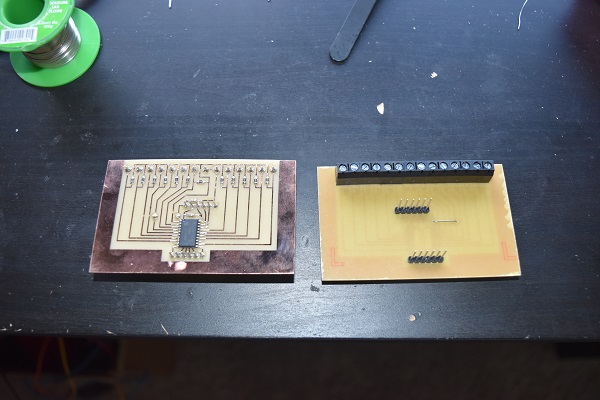
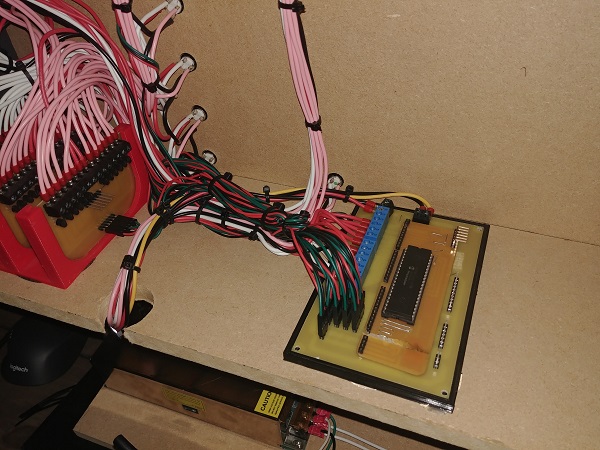
08 September 2019 - I soldered the majority of the components on the board including the control chip. I did not know what resistor values to choose so I have left them out for now, probably something around 330 ohm. I also had to snap my breakout board for it to fit, I made a mistake and got the last spacing wrong.
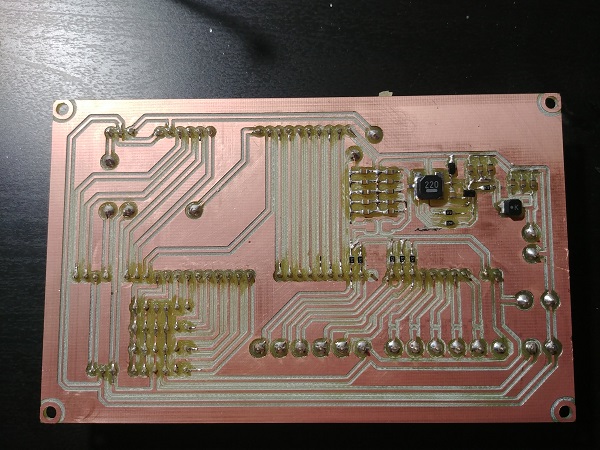

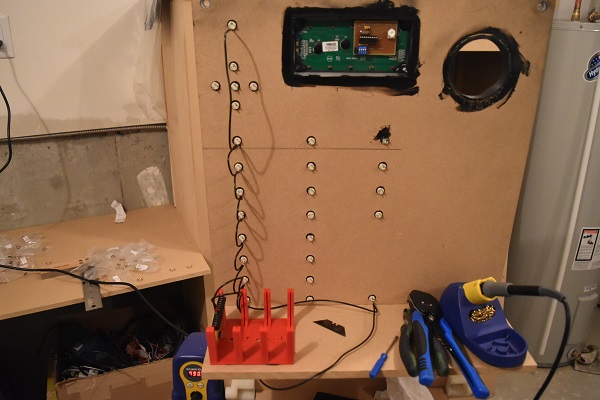
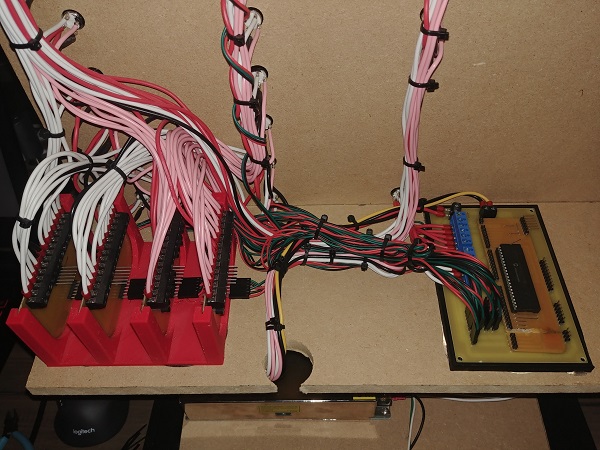
I 3D printed a base for the board to sit, it also stops me breaking the board when I terminate the wires.
I spent a little time terminating the connections for the display buttons. I then programmed both of the input boards and wired the serial bus to the main control board. I left out the output boards just simply because I have yet to test them, I also need to add some small resistors to limit LED current.
09 September 2019 - The first thing I did was design a little tray for a power supply to sit in, this will be 3D printed. This supply is for the control panel LED's since the buck regulator on the main control board will not be able to supply enough current. This board is 110Vac down to 5V DC, it is wise to prevent the bottom tracks from touching the wood.
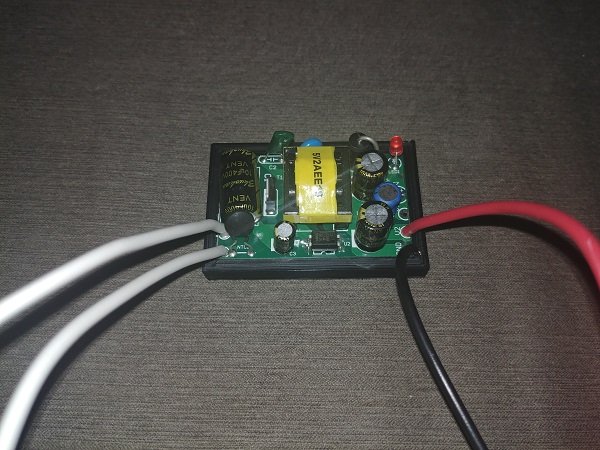
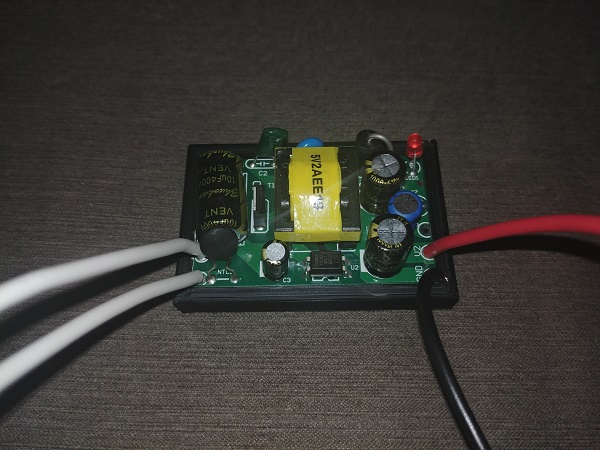
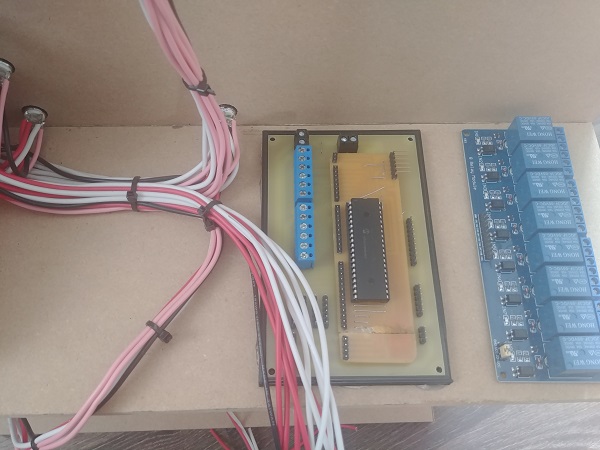
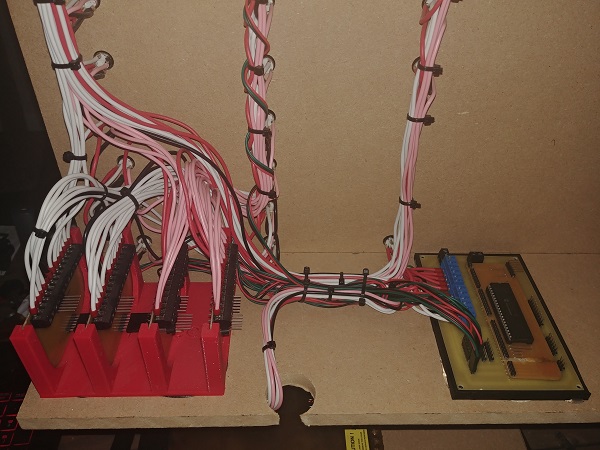
I connected the 5V supply to the same lines as those on the 24V supply. The 24V supply will power the main control board and also the turbo molecular pump. The 5V supply also powers the relay board. This relay board is to control the roughing pump, turbo pump, various valves and the high voltage power supply.

14 September 2019 - I tested the LED output boards with some resistors I had and then soldered them in place.
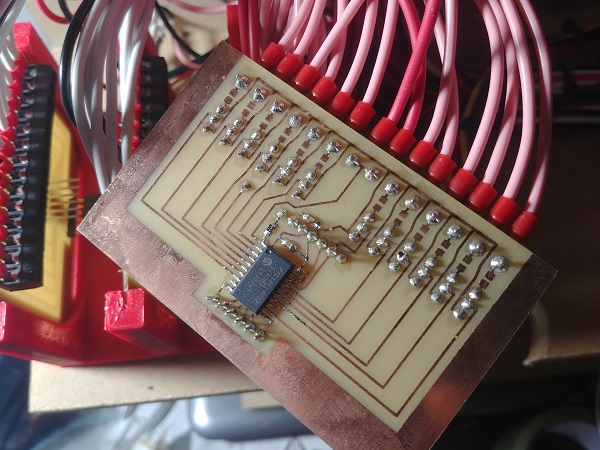
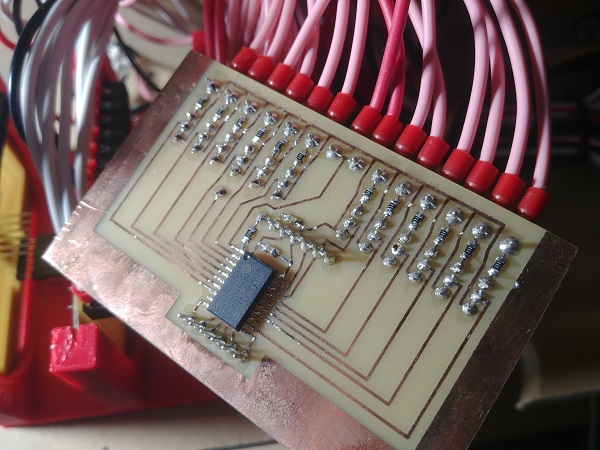
The LED's work great apart from one on each board, I didn't realise this one particular pin on the chip could not be used as an output. I do however think I can work around it since this pin is the output of the comparator module, a little more playing and hopefully I should have it working.
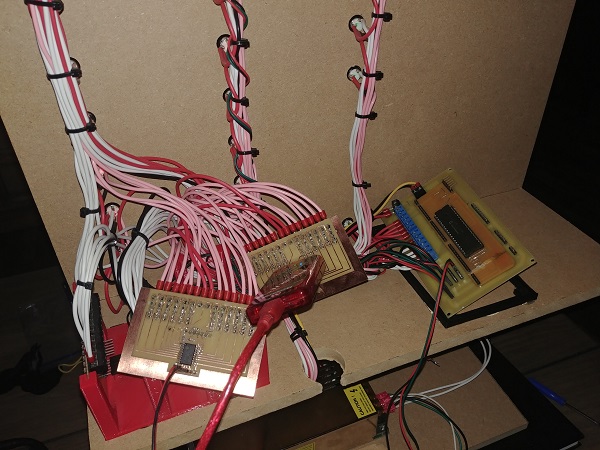
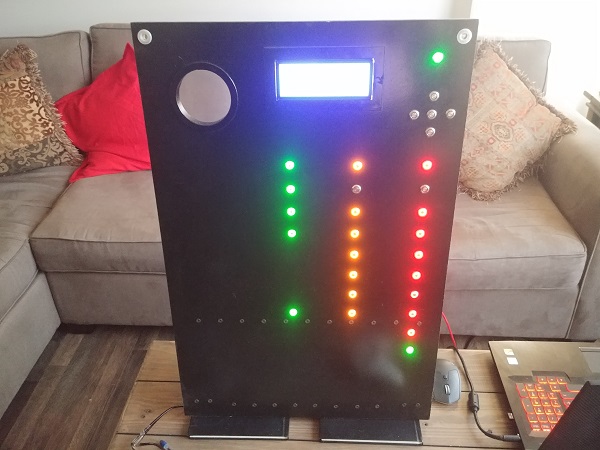
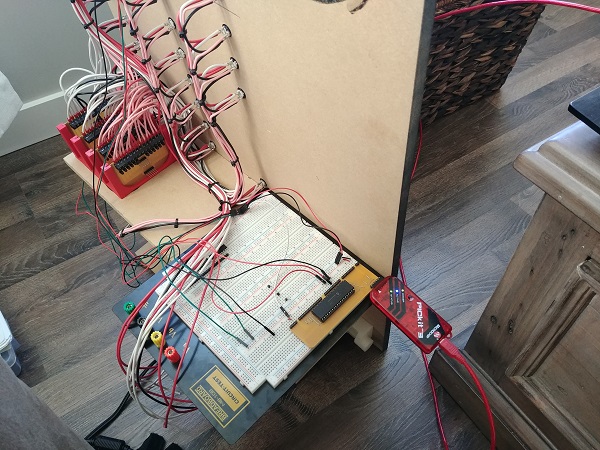
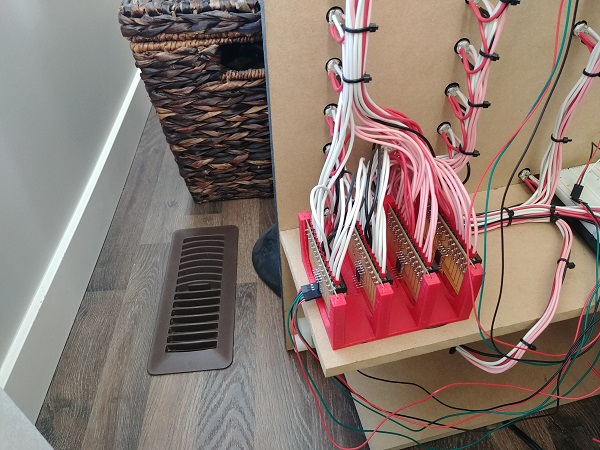
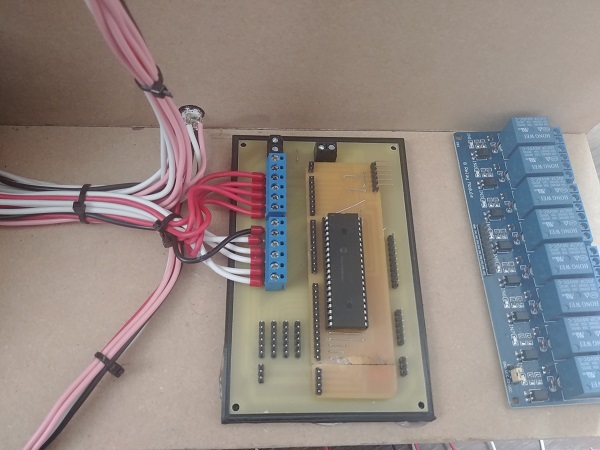
It's surprising how much wiring there can be to such a simple input board.
25 October 2020 - It has been a very long time since I did anything on this project, but I do believe it deserves an update because it is not dead. The power supply is the heart of the project and I'm aiming for 50kV or more, the current needs to be at least 1mA. I was originally going to build a supply, that in itself is a big project. Over the past year I have been enquiring about used X-ray power supplies, that I think is the best option. The big problem is that everyone is asking too much, especially when they rarely sell, I will get one eventually. They are typically 50kV at 1mA so should be perfect, and commonly run at 24V. I seem to think the ground is negative whereas this project requires positive, I'm hoping it is a simple modification.
The next huge problem is the turbo molecular vacuum pump as it uses a Profibus protocol which I know nothing about. I did enquire a while back to find I would need to purchase some very expensive software. I need to be able to control the speed of the blades to adjust the vacuum pressure. I have two options, one is work out the protocol and the other is to modify the control board. The pump is a basic 3-phase brushless motor with temperature sensors all over the unit. I have not opened it up yet but I'm sure I can eventually do something with it.
I did buy a vacuum gauge with an integrated controller, that I still need to design and test. I will likely build the control in tandem with the pumping system to lock onto a specific vacuum pressure. The overall control may have to be reworked as my cheap power supply decided to give out more voltage than it should have. This is when I chose to give the project a rest, I did not feel like testing everything from scratch. On another note I used to program in assembly language, but that is now obsolete and all of my programs will not compile anymore. It gave me the push to learn C language, with that I will upgrade to a larger chip and control the user interface with one chip instead of four.
I have been narrowing down my list of projects lately, that means this is one of five that I have left, it will be getting rebooted pretty soon.
To Do List
| Topic | Progress | Priority |
| Deuterium Oxide or Gas | Maybe found supplier | Low |
| Turbo Pump Control Board | Working out Profibus protocol | High |
| Main Control Board | designed, need to make board | High |
| Front Panel | Decals, make or buy? | Medium |
| High Voltage Supply | Everything | Medium |
| Valve + Power Control Board | design | High |
| Purge Valve - Turbo Pump | Find cheap valve | Medium |
| Sample Tray | 3D print quick release | High |
| Grid Electrodes | Stainless + tantalum/ W wire | Low |
Hello, if you have enjoyed reading this project, have taken an interest in another or want me to progress one further then please consider donating or even sponsoring a small amount every month, for more information on why you may like to help me out then follow the sponsor link to the left. Otherwise you can donate any amount with the link below, thank you!