Electric Supercharger Version 3 - Page 2
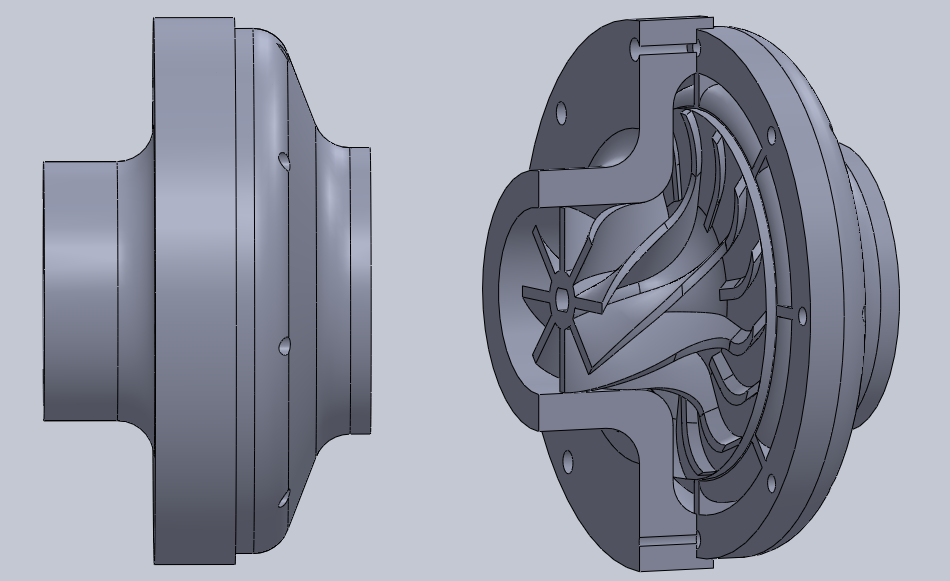
This is the third attempt at making an electric supercharger. Originally I saw a tuning product, basically a small 15W fan that was boasted to dramatically improve engine performance. After doing some quick calculations I realised that to boost my 140bhp car up to 200bhp would require around 10kW of power. I intend to make this project to augment my car, I don't expect massive increases in performance but this combined with a turbo will result in no turbo lag.
This is the second page of the project. So far I have managed to 3D print all of the parts and get a working prototype producing about 2psi at an input of 650 W. I have some battery packs on order so hopefully I will able to get nearer my 4kW power and get some reasonable boost, ideally 8psi.
13 October 2017 - I have ordered a pair of batteries to use in my grappling gun project which will also be used to test this project, 44.4V at my required 4kW will be easily achievable. I have started a project that will boost 12V up to 42V, however I will only continue with it if I can can get more than 2kW out of the motor otherwise I will opt for a 2kW 24V motor instead if the project works, a boost converter would be a lot easier to make at these lower voltages.
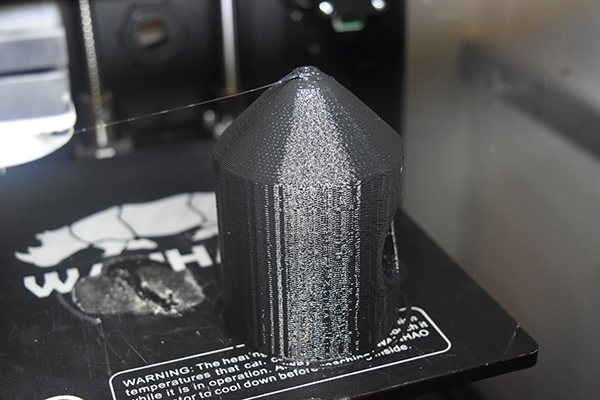
The objective of today was to 3D print an adapter that will connect my supercharger to my pressure gauge, for test purposes.
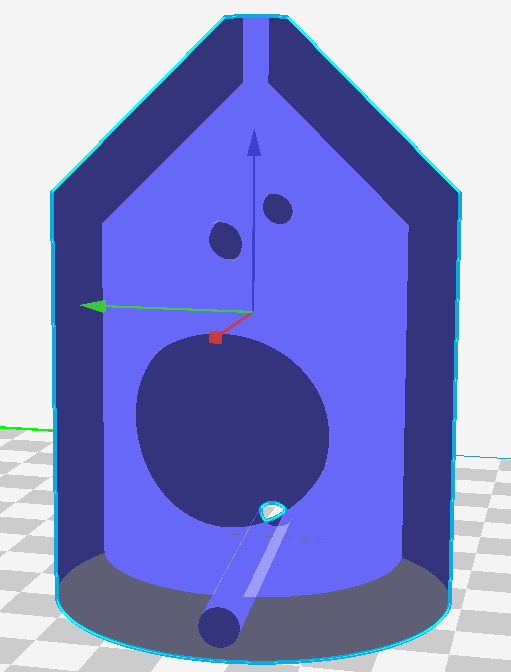
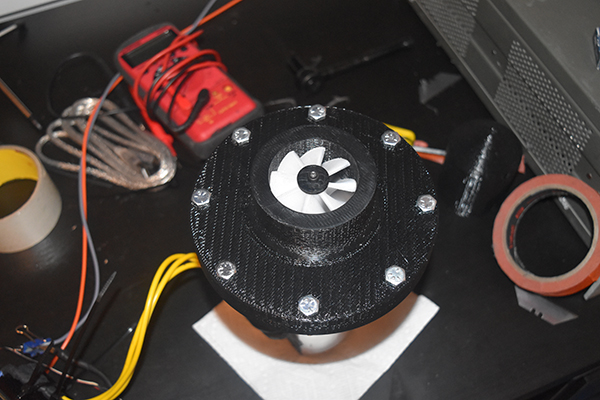
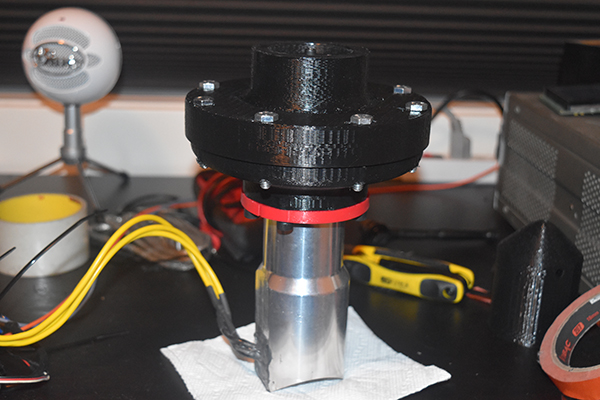
Here is the finished article, I just need some long bolts and to attach the boost line.
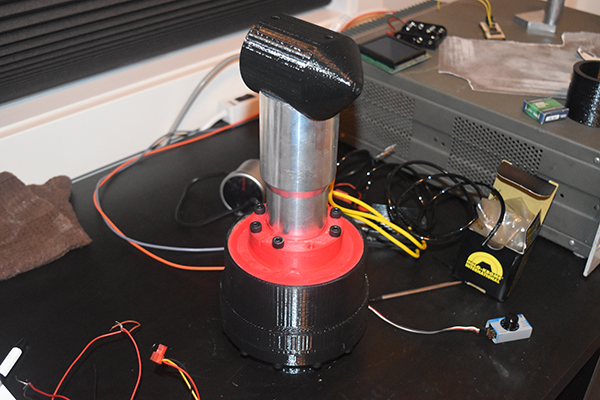
18 October 2017 - I received my batteries through the post and thought that I would give the thing a run. I had to buy some longer bolts to hold the whole thing together, I didn't get bolts for the test piece I had printed so instead opted for a load of tape.
So did it work, yes!, until it failed, I did however manage to achieve slightly over 5psi which is very respectable. Here you can see that the impeller shifted and wore itself away which resulted in a large drop in boost pressure, this clearly shows multiple stages does work. So why did the impeller shift, I was a little confused to how this could happen.
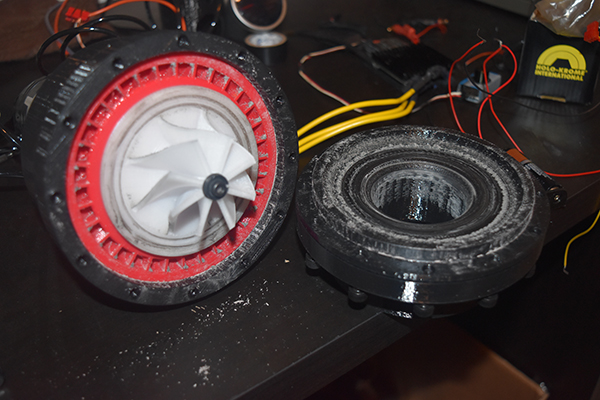
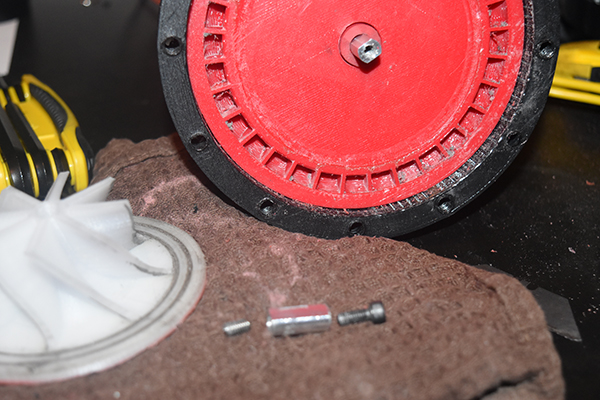
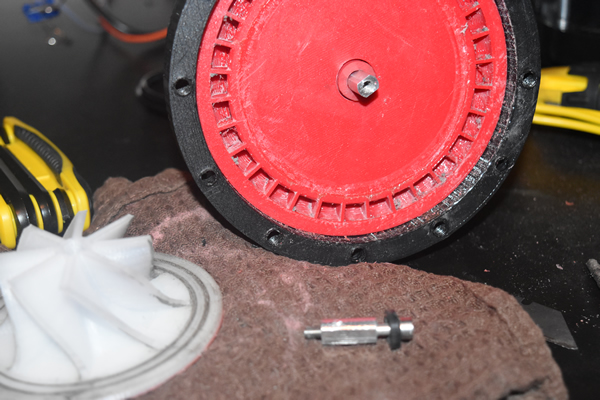
Remember that I chose to extend the drive shaft with a part that I scavenged from another, well I held it together with a short grub screw, the threads failed resulting in nothing securing the impeller in place. I chose to bore out this little piece and pass a longer bolt through the whole lot. Since I had cabbaged the impeller it meant that I needed to print another before testing further, this would take six hours.
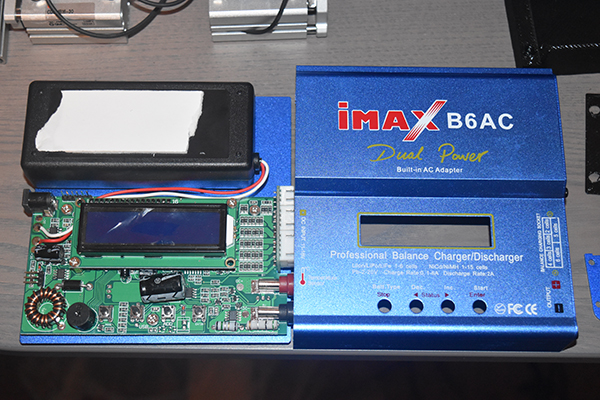
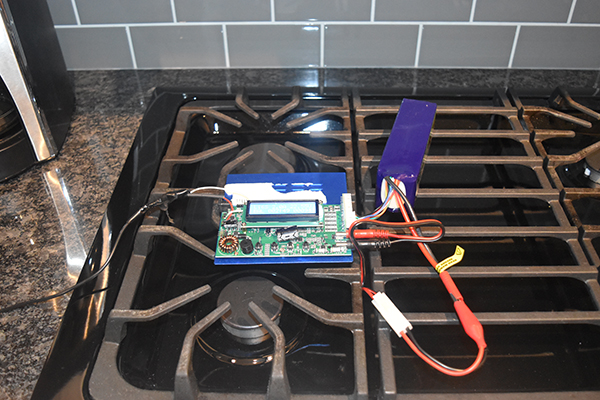
19 October 2017 - The impeller had printed and I reassembled the whole charger, the issue I encountered was that when I tightened down my bolts it clamped against the impeller, I loosened it up eventually but clearly the plastic was not strong enough. I realised that I should charge my batteries before running them further, half an hour later I could smell electrical burning, the charger supply had given up, it was brand new! Taking it apart I found a laptop style charger inside, I mocked up my own supply and set the batteries to charge again.
I will likely fit this to my car in the next few days to test if there is any performance upgrade, there should be some added low-end torque, the big issue is I cannot map my ECU, another project I'm working on, I have to be careful to boost at the correct AFR to avoid knock, I guess I'll see how robust the mapping is in my car.
On a side note I contacted a forum to see the feasability of a gearbox taking my motor output to 150,000rpm, generally it wasn't considered straight forward with some saying it impossible. It turns out that Kawasaki uses a planetary gearbox for the supercharger in their H2R, basically what I want to achieve but instead with an electric motor, so it can be done but it is likely expensive and difficult. I have done a lot of thinking and I think for now it is too much work, at those speeds balance is key and such things like lubrication and bearings become awkward. I still think I may mock up something with the 3D printer using actual sizing from exisiting components I would buy, I would then get an idea of scale and whether it would be worth making something, it also gives me the opportunity to work out a lubrication system.
I did some more research and it seems that most are going for huge impellers, a single unit with a very large motor. I also found a few different impeller designs that are supposed to produce pressure at lower rpm's, that is something else I will also test. There is certainly a lot of reasearch in the subject, people with a lot more money that me but no-one has used a gearing system to make it compact. I think in the next project I will try some larger impellers and different designs to achieve a higher pressure output with a single impeller.
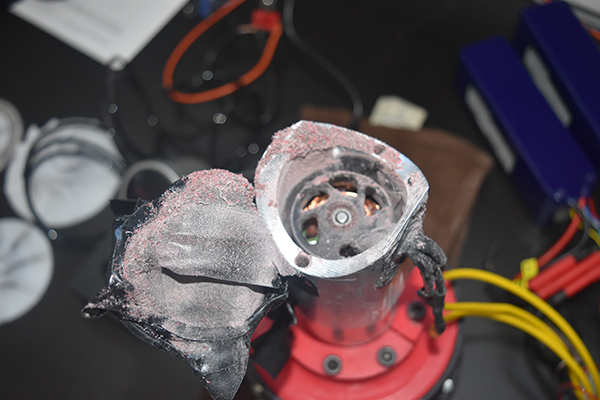
21 October 2017 - I had some vibration issues the last time I ran the supercharger, it seemed to be the fact that 3D printing is difficult to maintain tolerances and either things are too tight that they don't fit or they are loose. I ran it again and my impeller threw itself against the housing shaving some of the impeller off, vibration became too much of an issue to run it further. The right picture below shows how much dust was produced, I wouldn't be too concerned if this was entering an engine, of course it's not ideal. I replaced the first impeller with a small one I had printed in the very first project, it ran perfect, well almost, there was still some vibration.
I made a critical error and a rag that I had laid out on my desk was sucked into the supercharger, it blew the first impeller apart. Before all of this happened I managed to get some footage of it running and reaching 5 psi, you can see when it hits this pressure a load of dust is expelled between the tape I used to cap off the end.

29 October 2017 - I chose to have another stab at getting 5 psi, this time I chose to completely redesign with a much larger 100mm impeller, single stage. I think think this will be my last attempt, maybe I will make a metal version with the gearbox in the future, if this one fails I may also fix the vibration issues of my previous design and try it in my car, maybe. I will print all of the parts out of polycarbonate so they can handle the temperature of an engine bay.
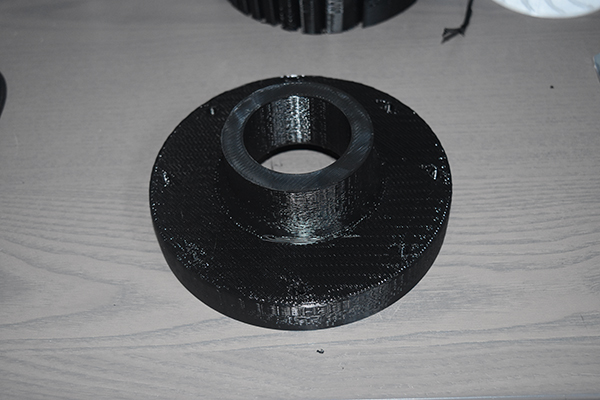
The first part of the housing was printed, I used only a 50% fill as to reduce print time, polycarbonate is a really nice material to print and there seems to be no warping.
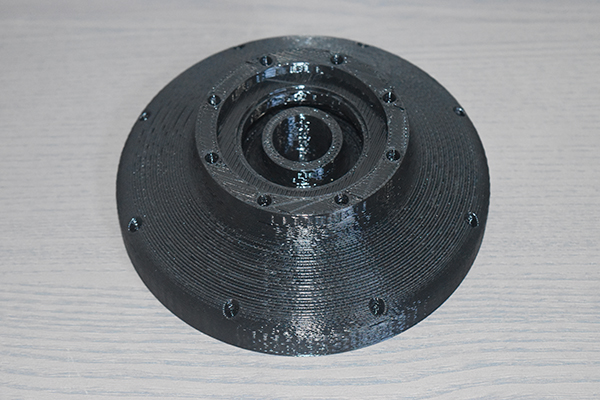
The bearings and drive shaft were pressed in place, this took some effort but at least there will be no movement.
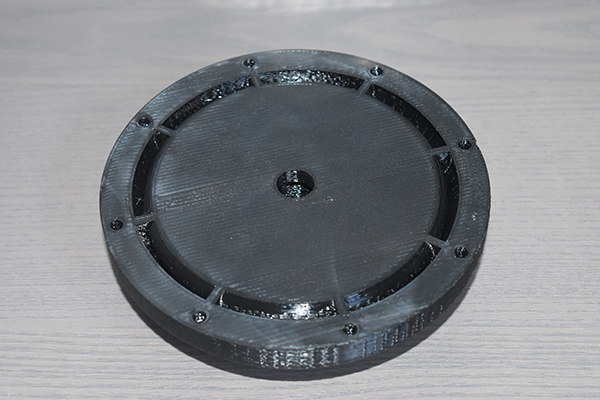
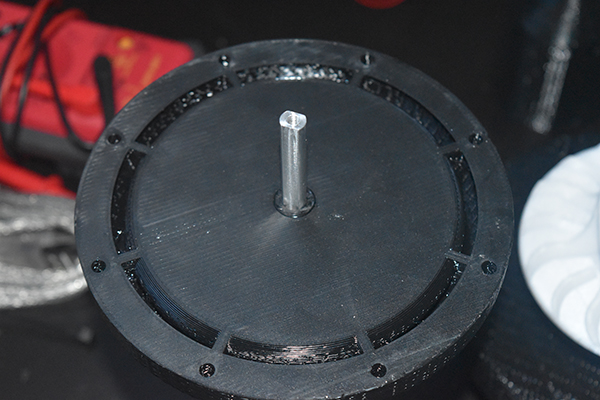
The second part of the housing printed, I had to use support this time.

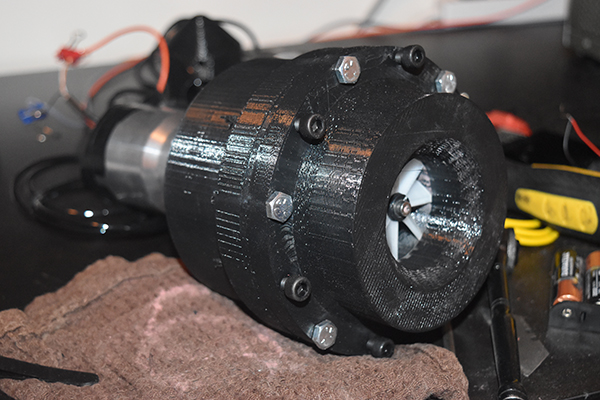
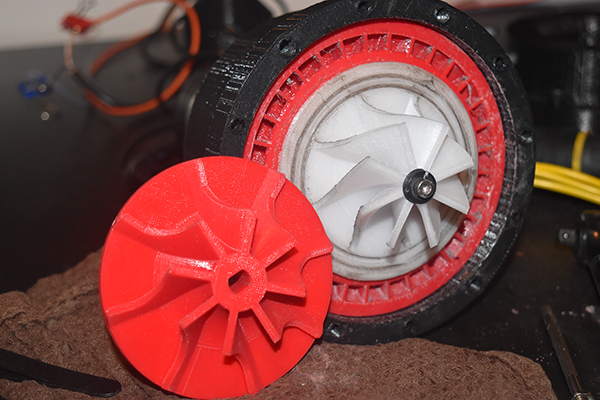
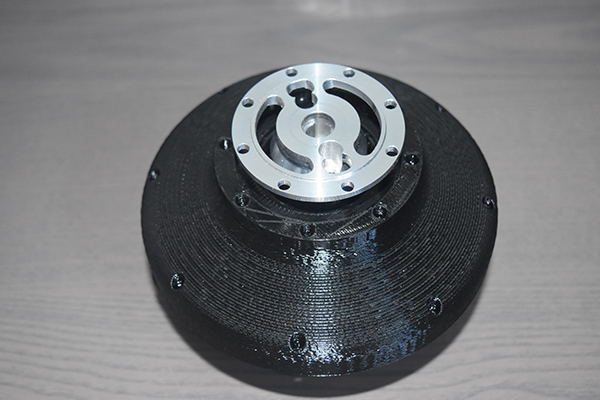
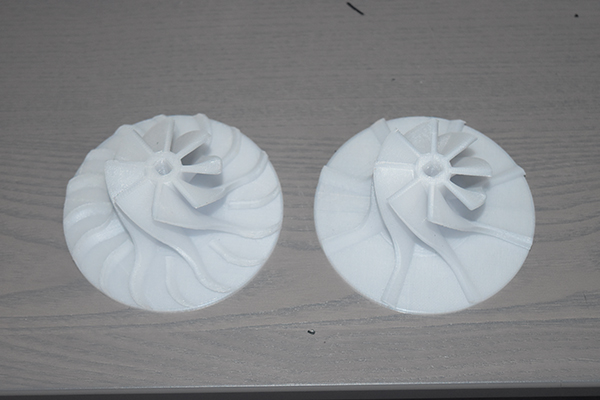
The motor was installed and ready for the impeller to be installed. I printed two impellers of slightly different designs, I chose to use the left design. I was going to try both and compare the results, as you will find later this was not possible.
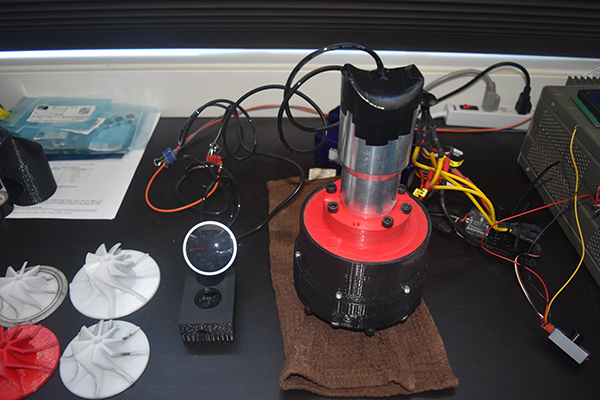
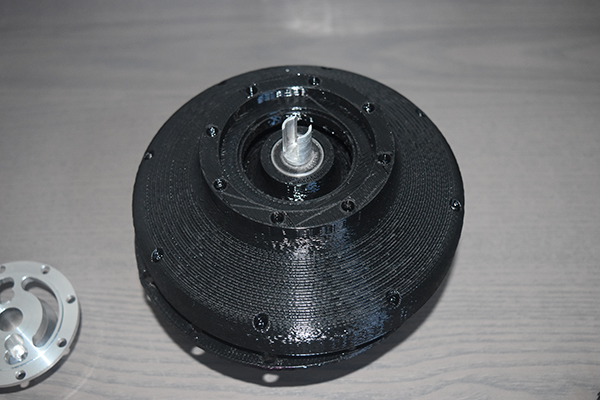
The whole thing assembled and ready to run. I really liked this design as all the parts fit properly, it looked good and it's solidly built.
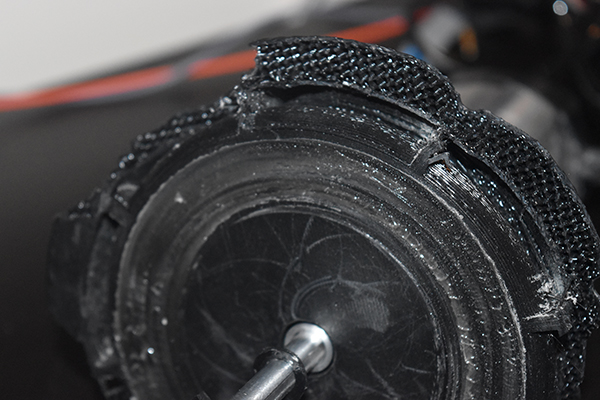
I did have quite a few teething issues however. The issue was that the material of the housing was the same as the impeller, where as previously they were different. This is something that should be avoided especially if they would touch, two different strength materials would just wear and generally not melt. Two of the same materials would likely melt together, well I had this issue. I spun the supercharger up and it was clear there was some binding, eventually the material cleared and it picked up speed. I raised the speed to 50% where it momentarily slowed meaning that material caught again, I should have stopped here and increased the spacing between the impeller and the housing. I chose to take up the speed which caused it to explode at full power, a stupid error on my part.
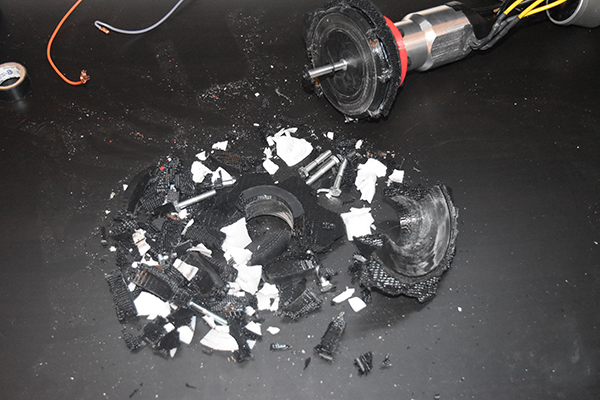
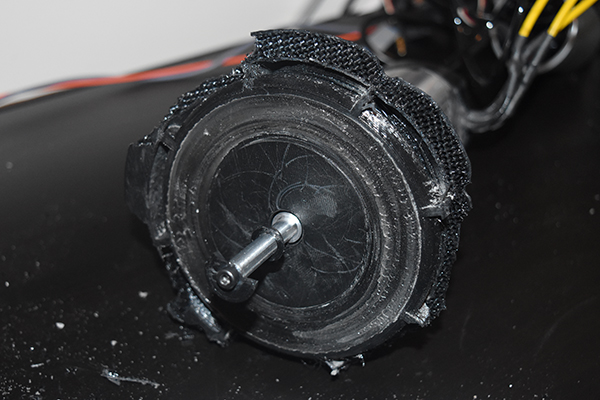
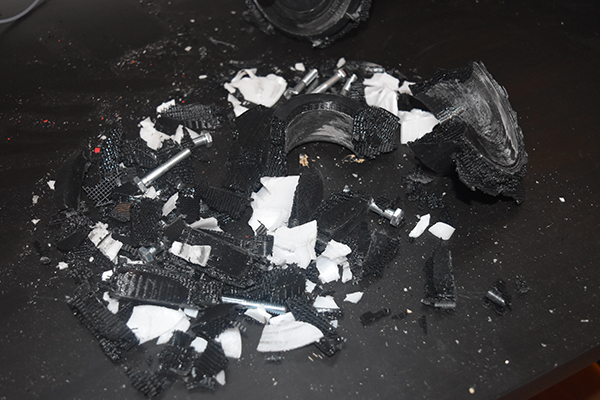
I did wear eye protection and did sit away from the supercharger as I ran it, I did have to hold it but did so in a way that I would minimise the risk of injury if it did fail. Here you can see that the melting was quite significant, it clearly weakened it enough to cause failure. I managed to hit 5 psi just before it failure, so it was successful in a way. It failed in quite spectacular fashion, as you can see in the image to the left it was completely obliterated.
I will not be making a reprint of this design as it's costing me material when it could possibly fail again, I knew I was taking a risk by running such a large diameter at these speeds. It is rather dangerous and potentially damaging to my engine bay if it was to fail again, it's simply not worth it.
So what did I learn from this project, well there is clearly a lot more power required to produce even a reasonable amount of pressure. To 3D print a supercharger is a viable option for prototyping but it is unlikely going to last it's time without failure, especially something running at these speeds. So will this project continue? Maybe. I do have the idea to use a planetary gear set to increase my rpm up to about 150,000rpm, the whole construction will have to be metal, there will also be a serious amount of kinetic energy which does concern me a lot, so yes, a maybe. I will fix the issue with the supercharger at the top of this page to see if it will boost my car, so the project is not quite over yet.
I have been asked a number of times for the STL files for this latest supercharger, here they are;
Housing A - Link
Housing B - Link
Impeller Design A - Link
Impeller Design B - Link
Hello, if you have enjoyed reading this project, have taken an interest in another or want me to progress one further then please consider donating or even sponsoring a small amount every month, for more information on why you may like to help me out then follow the sponsor link to the left. Otherwise you can donate any amount with the link below, thank you!