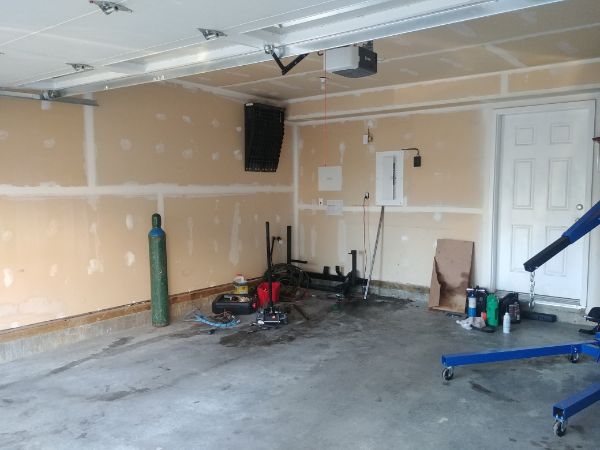
CNC Milling Machine - August 2020
Around a year ago the CNC milling machine I use for mould making stopped working, the control would not boot. A new machine replaced it and this one sat in the corner. The machine had a lot of accuracy issues and generally made a colossal mess. A year later I decided that I wanted the mill so that I could start to make more projects at home. I knew it would require a lot of work and possibly money to get it in a good running condition.
A deal was made that I would do some favours at work in return for the mill, sell my soul to the devil so to speak. The machine was basically worth scrap and would cost money to have it removed, regardless I wanted it. I got some quotes to have it moved but those were far too expensive. I chose to start breaking down the machine in order to move it, I also rented a truck to move the parts, I knew this would be a difficult and quite dangerous move. I scraped my project car so I could take the machine, taking a loss on that was worth the mill. Well a few days before moving the mill my boss decided that he would charge me 10 days labour, not money, but actual physical days. I had already put so much work into the machine and bought some control boards that I could not contest it.
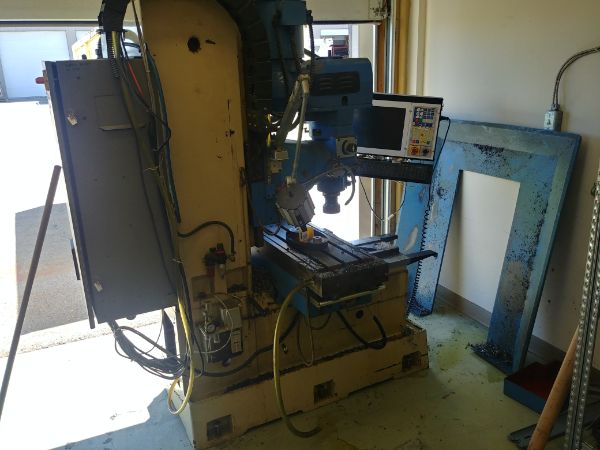
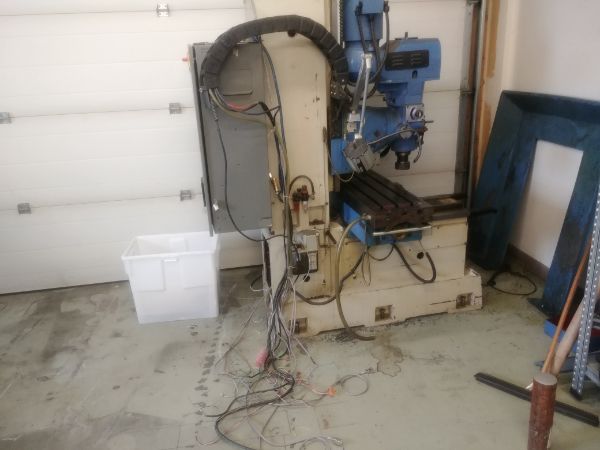
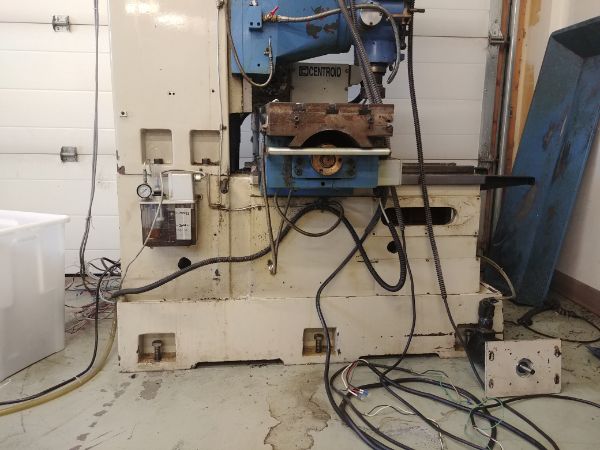
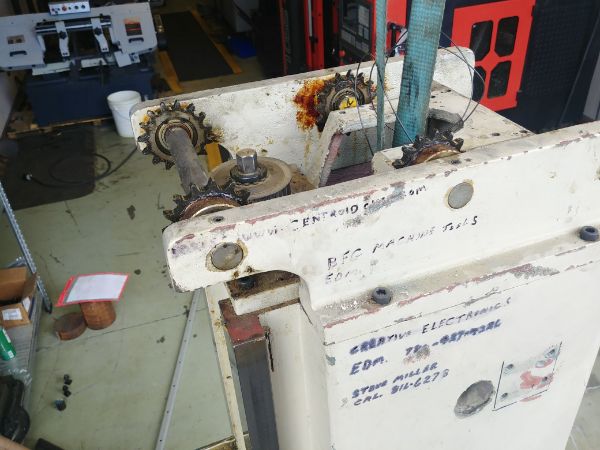
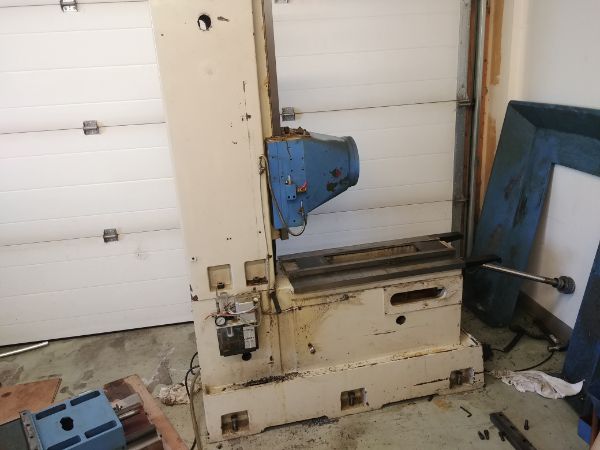
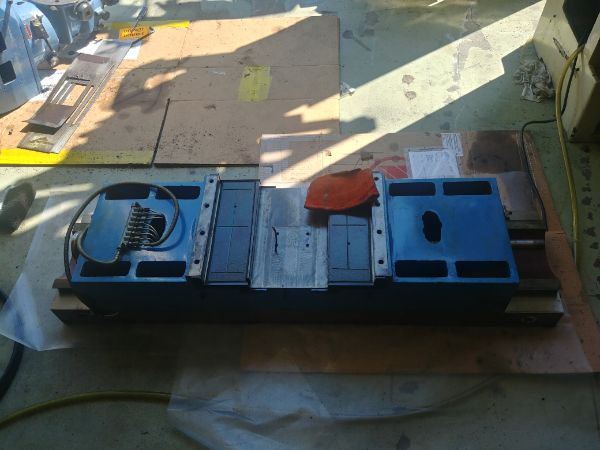
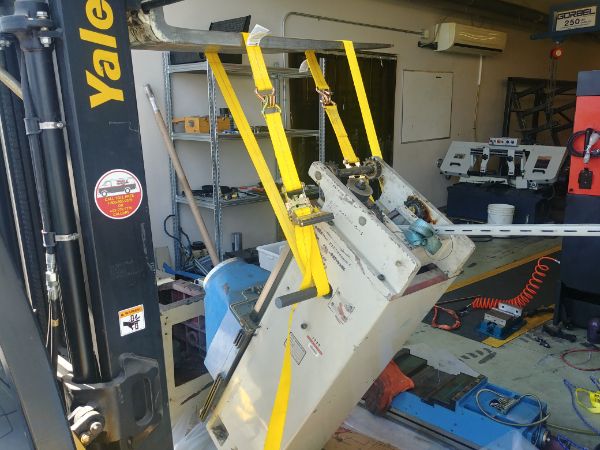
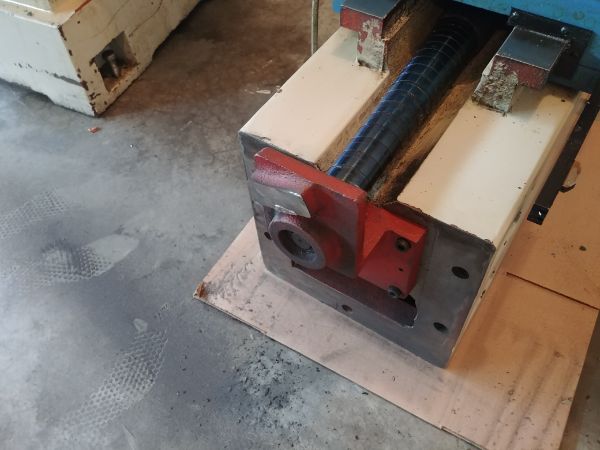
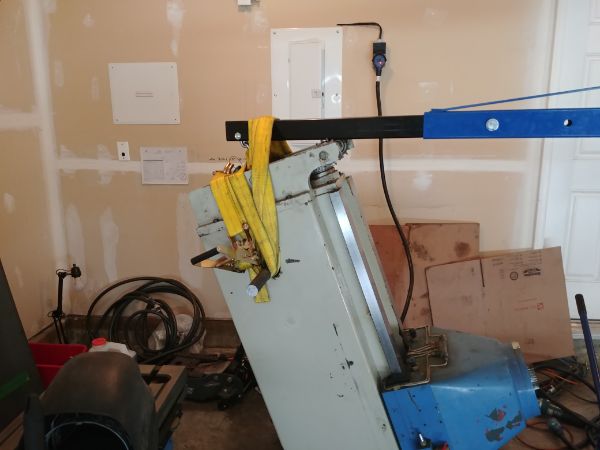
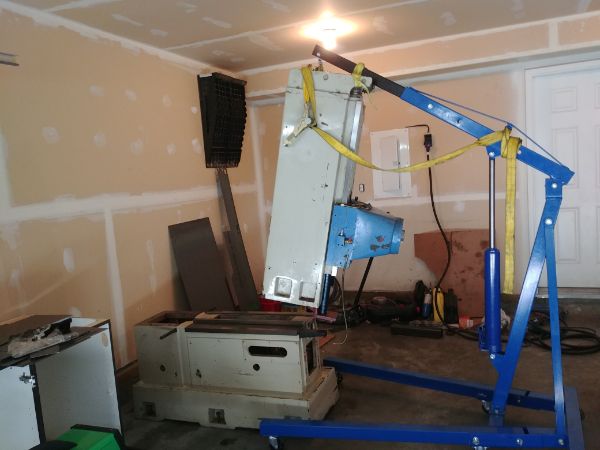
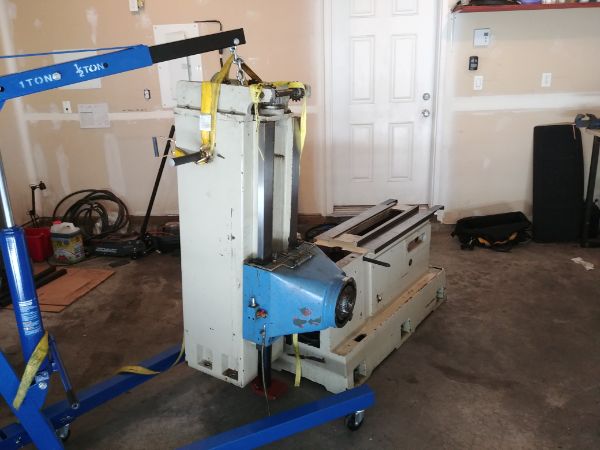
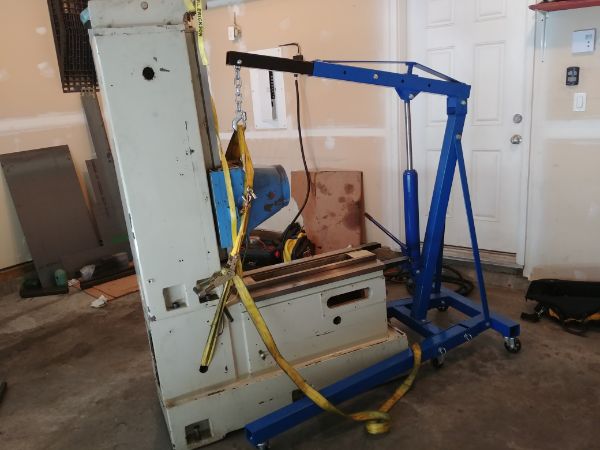
Here is the machine as it stands, it looks larger than it is due to the guards and the electrical cabinet.
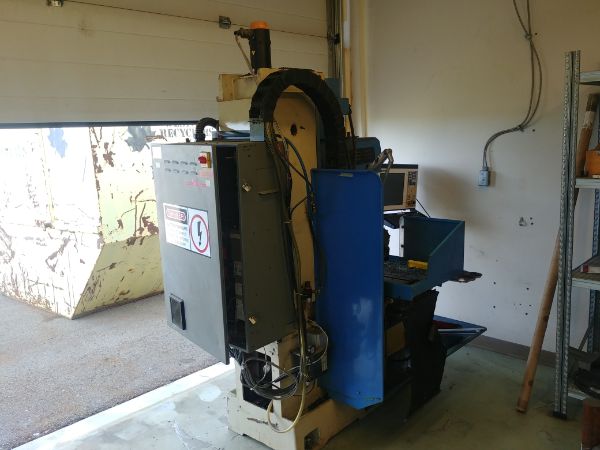
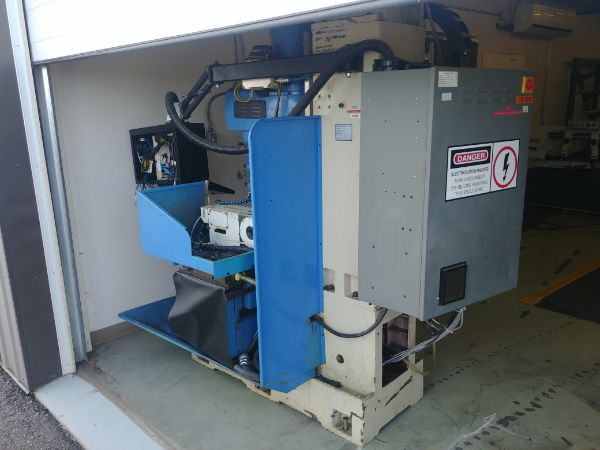
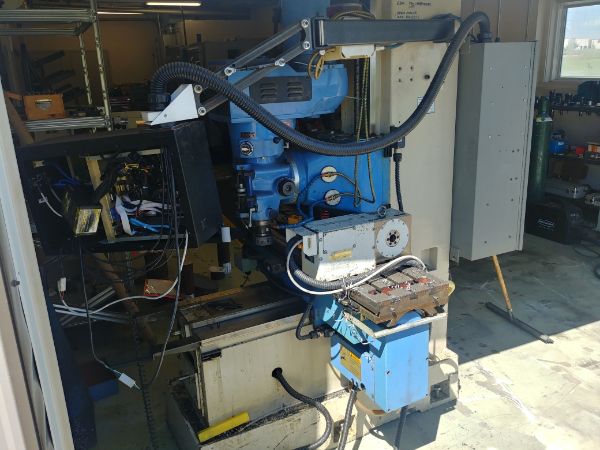
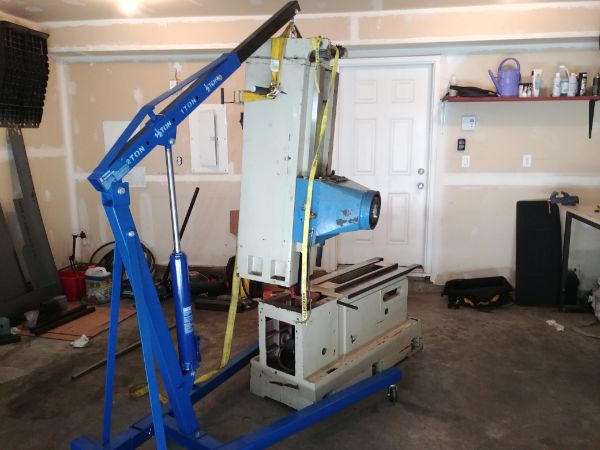
Just removing the guards makes a huge difference.
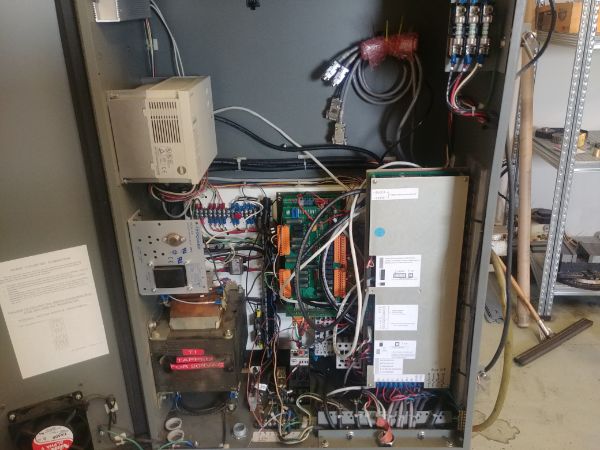
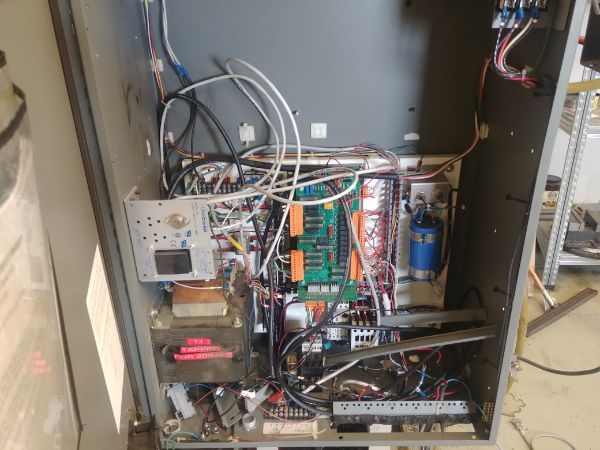
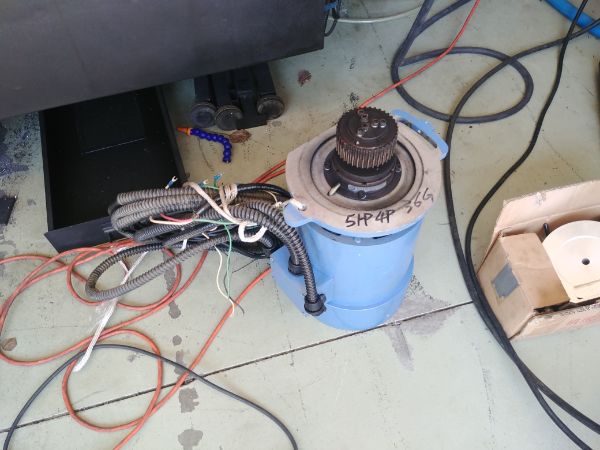
The only thing I might be able to salvage from the control system is the spindle drive and possibly the transformer. This machine uses servos that have their encoders linked to the computer, if the computer runs slow then the feedback may be affected, this is probably the reason for the accuracy issues.

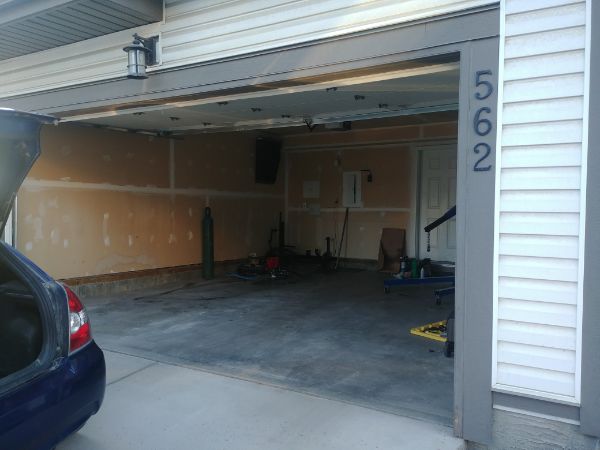
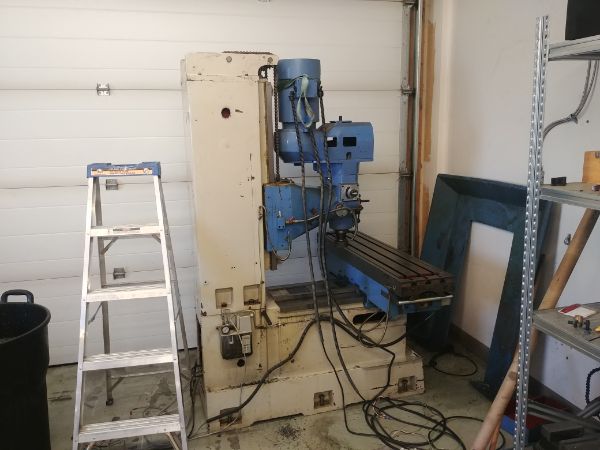
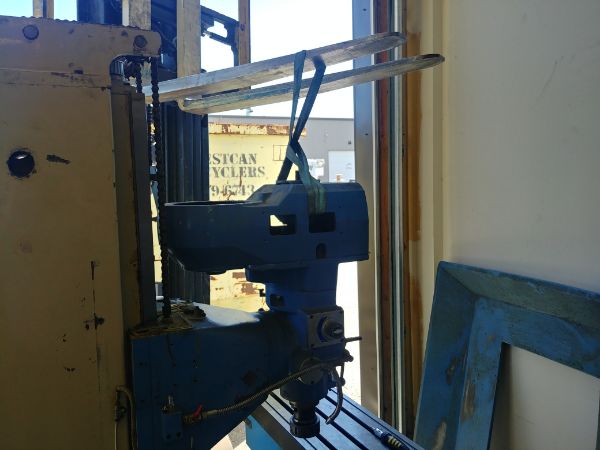
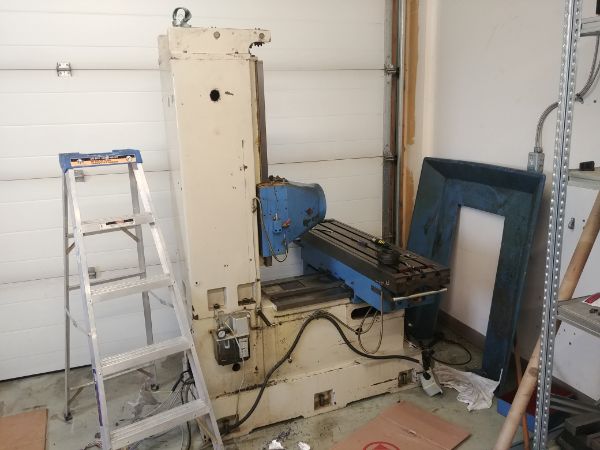
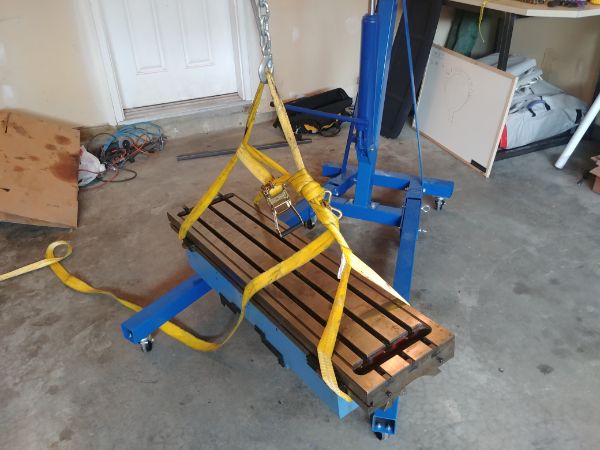
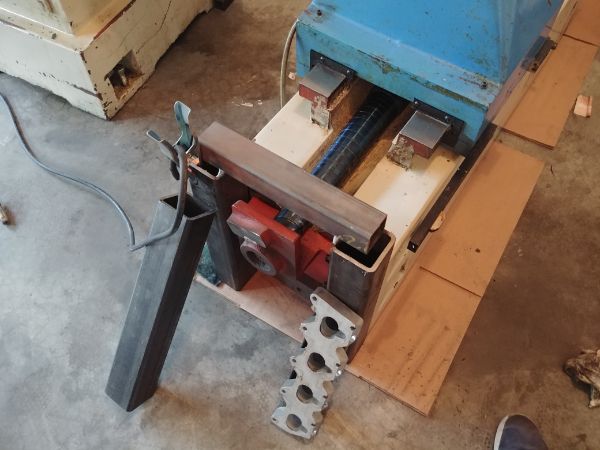
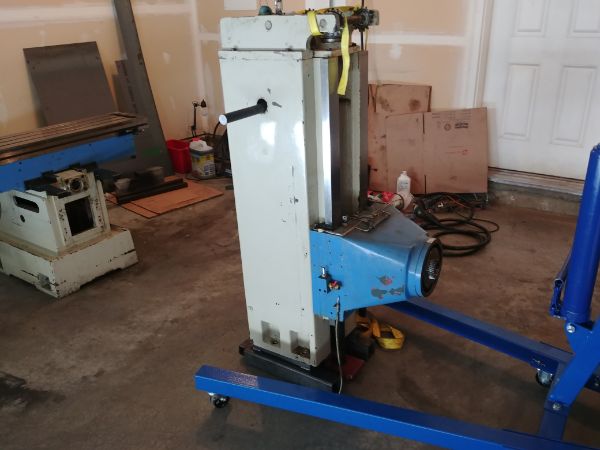
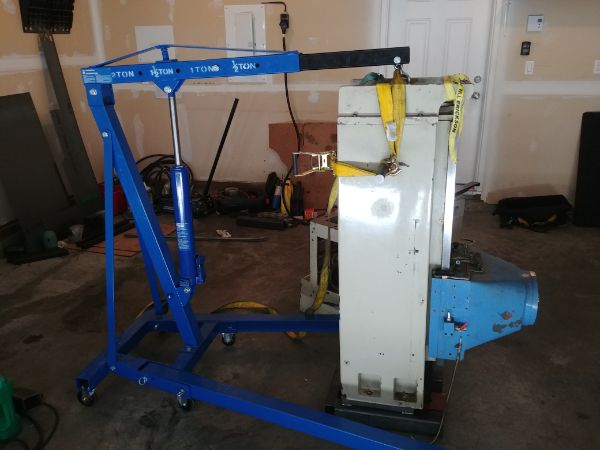
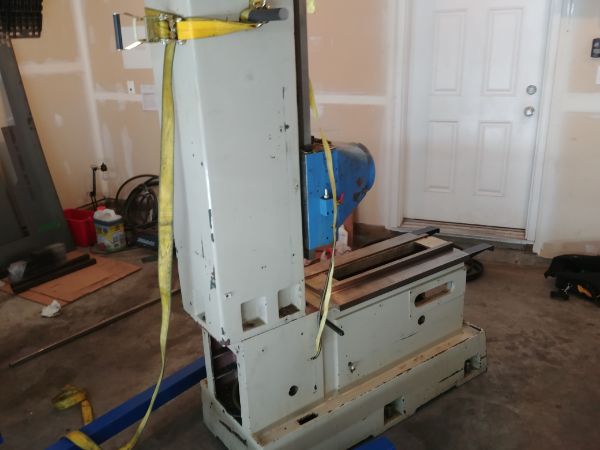
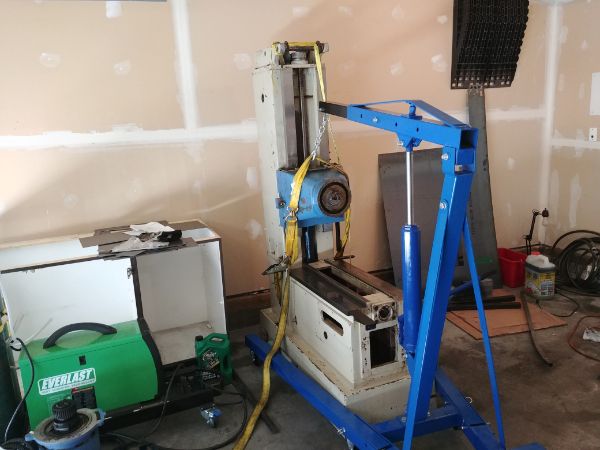
If I remove the Z-axis servo motor then it will clear my garage door by 4 inches. I looked into having the machine moved and was quoted crazy numbers, it seems like I will have to move it myself.
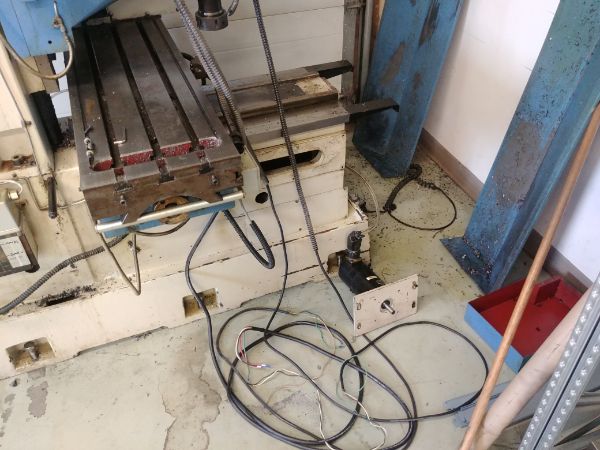
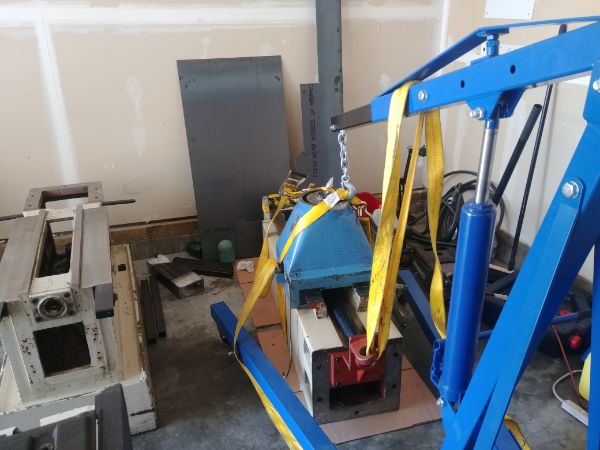
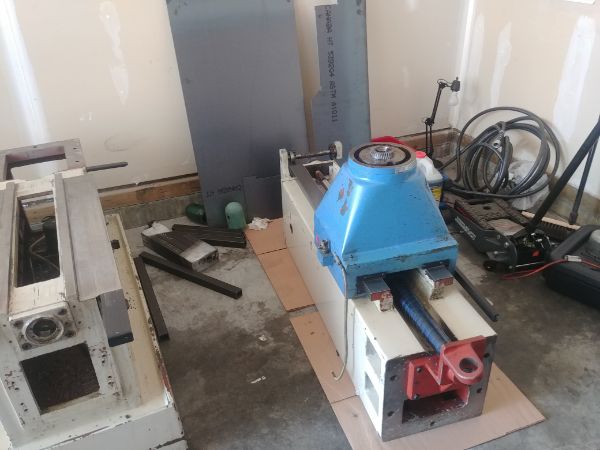
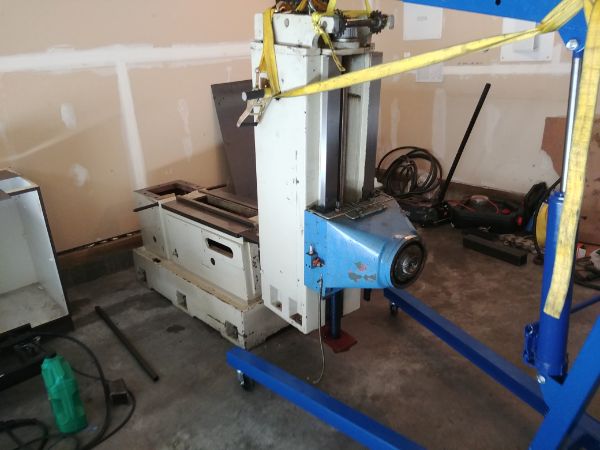
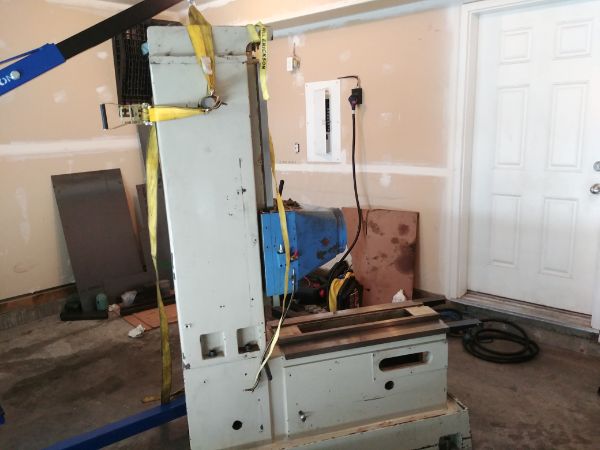
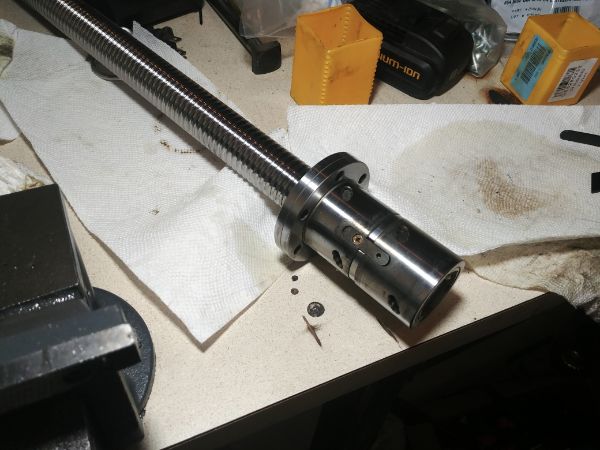
The next step was to remove the motor and the spindle.


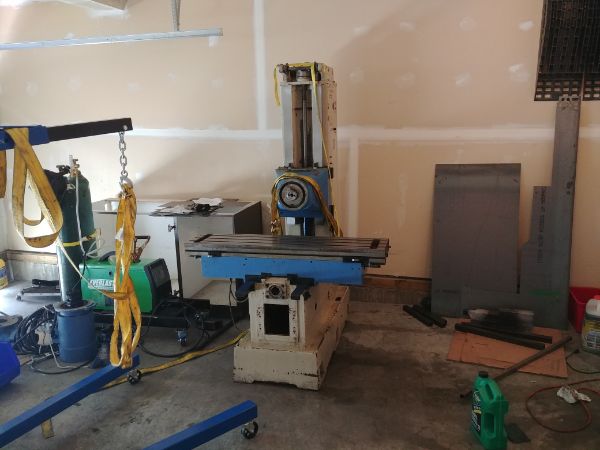
I detached the chains on the counter weight and lowered it to the bottom, I also lowered the head to keep the center of gravity as low as possible.
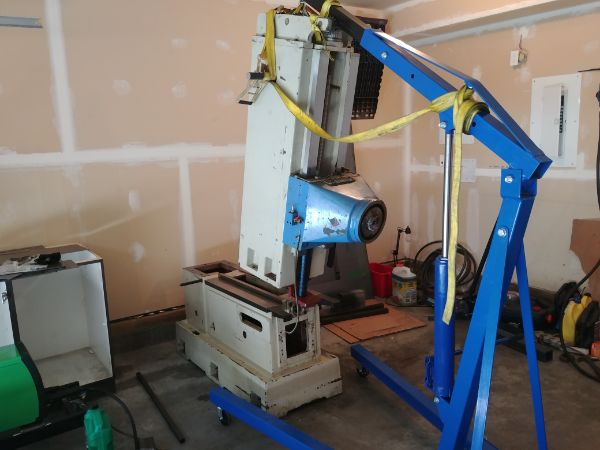
I made a bit of a mistake with removing the lead screw, as you will read later on. Sometimes it can be hard to gauge how to dismantle a machine like this.
The bed was quite easy to remove once the lead screw was out.
This was probably the most stressful part of taking the machine apart, especially not knowing how heavy this back bone is. At this side I had access to a forklift, at the other end I did not.
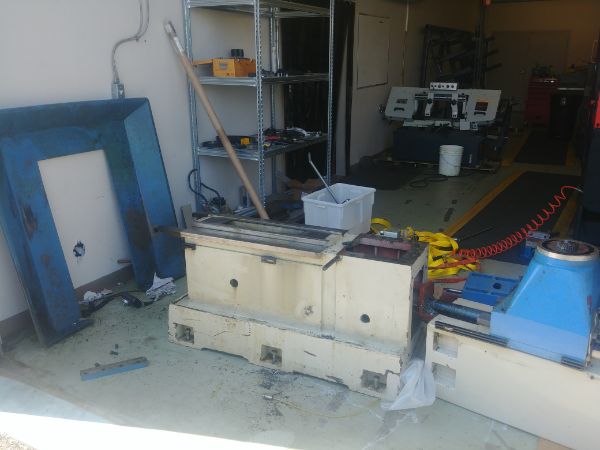
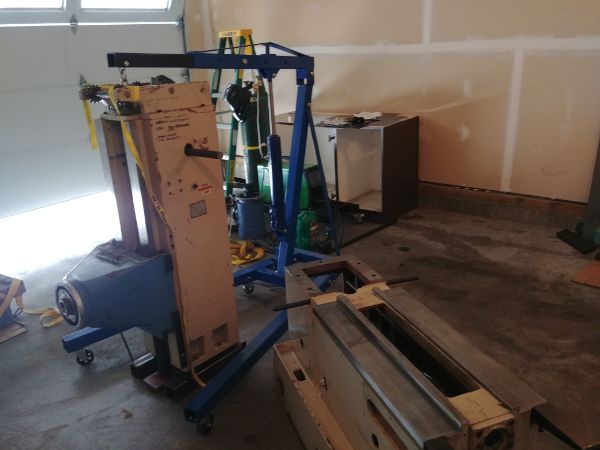
The machine completely dismantled into several parts, these are still incredibly heavy, especially when doing all this by myself. This was at the moment when my boss decided to tell me that he now wanted something for the machine. A deal is normally a deal, but not here. I was now told to work an extra 10 days to pay the machine back. I was technically doing them a favour by removing it, but now I am paying vastly more than its scrap value.
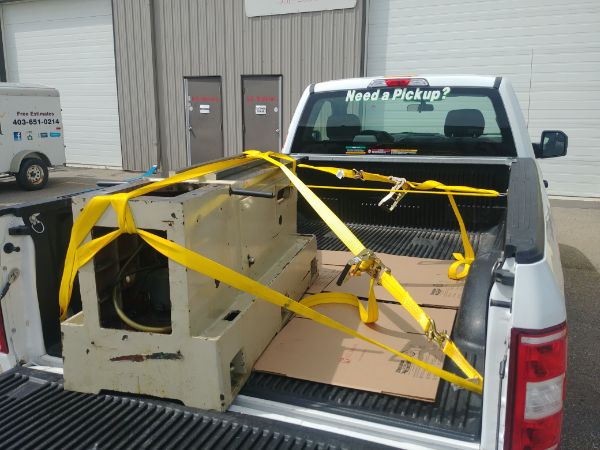
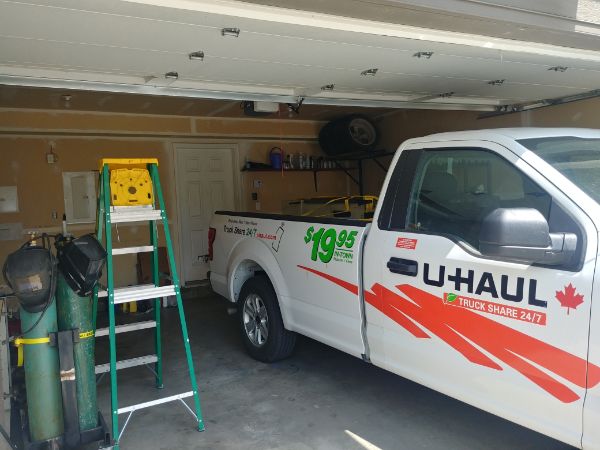
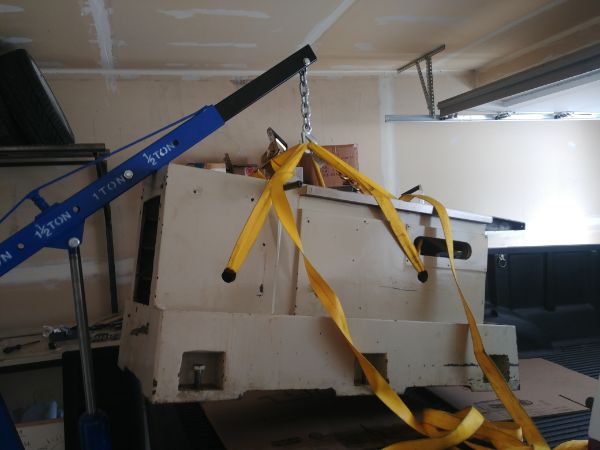
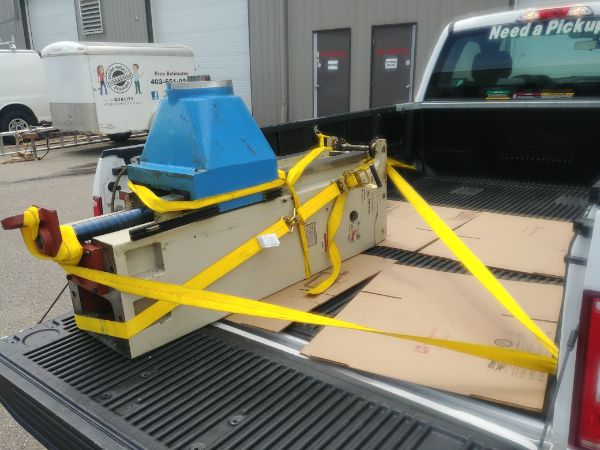
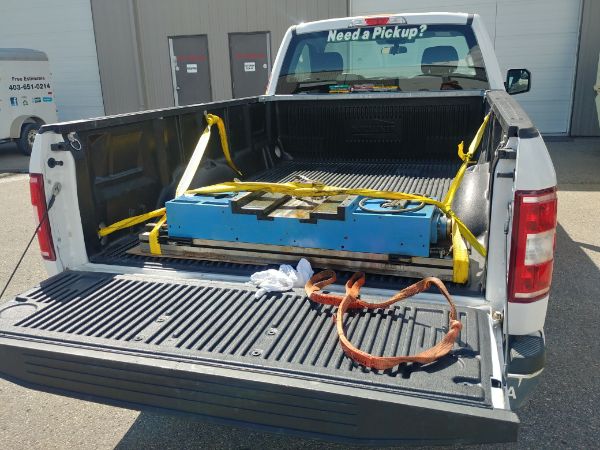
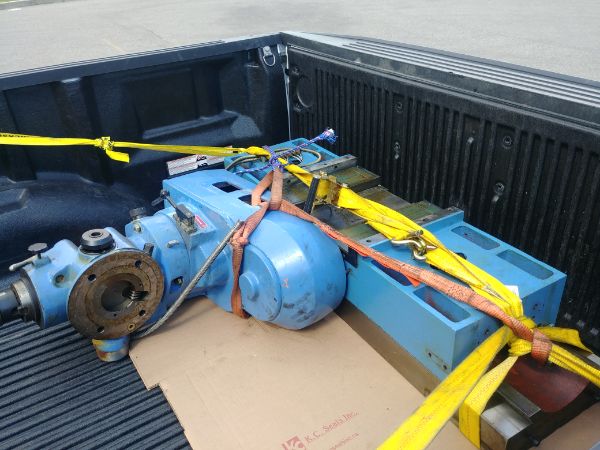
I picked up a rental truck since this was the only thing to carry the weight and allow me to use my engine hoist. What was very interesting is that the 10Km drive to my house was quite a safe one, every car kept a huge distance behind. I will also say that I'm glad it had air-conditioning, it was a little nerving.

The base had to be placed as close as possible to the tail of the truck, that way I could pick it up with my hoist.
I had no idea what this thing weighed but I physically could not push the hoist around by hand. I had to inch the hoist around with a lever bar underneath it.
That was one part moved and it went without a single hitch, thankfully.
The backbone of the mill was placed very close to the end of the truck, people stayed far back. I did try a few hard accelerations and hard brakes before setting off, it didn't move all that much.

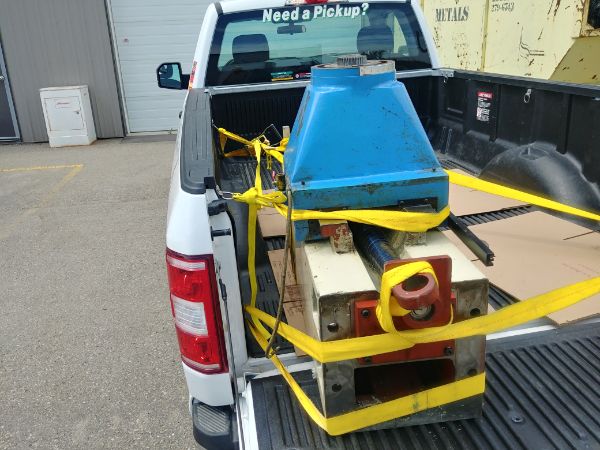
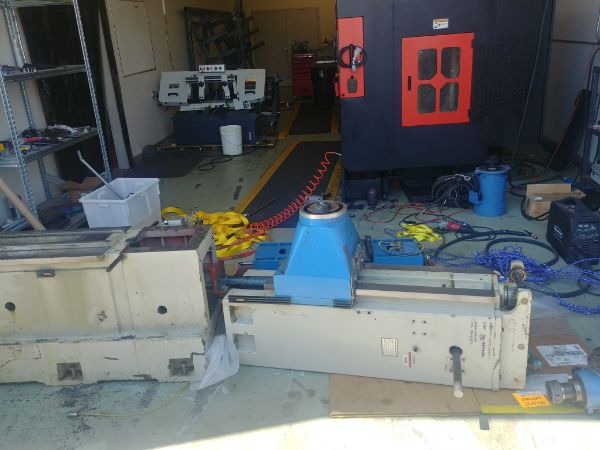
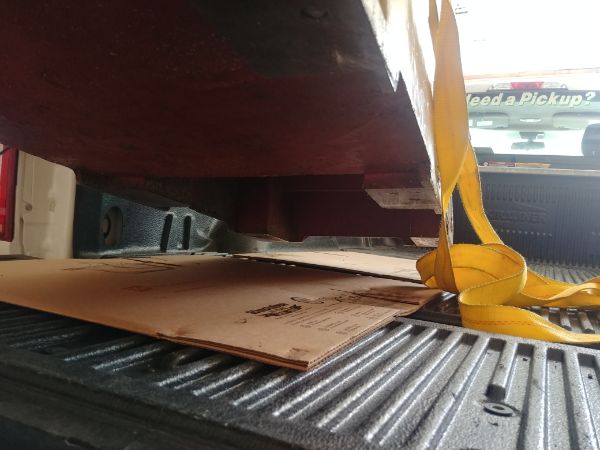
The rest of the parts were an easy move. In total it only cost me $45 as there was more fuel in the truck than on the paperwork. I managed to do three trips, 60Km and all the loading in just four hours.
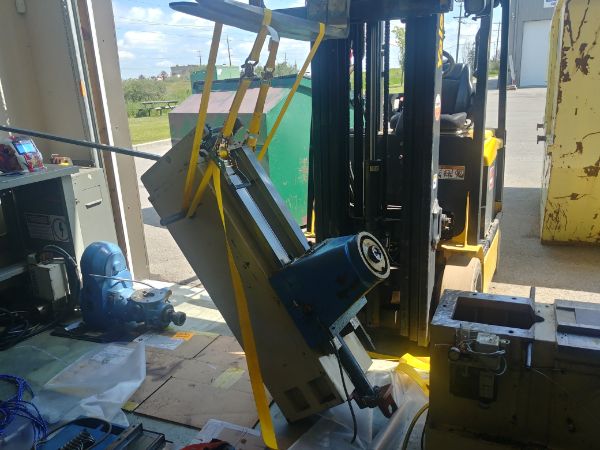
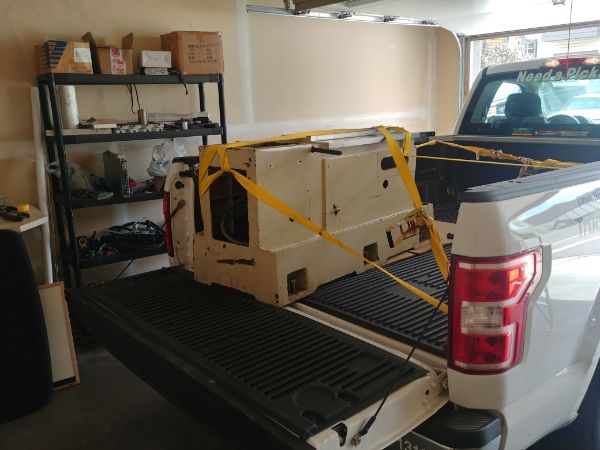
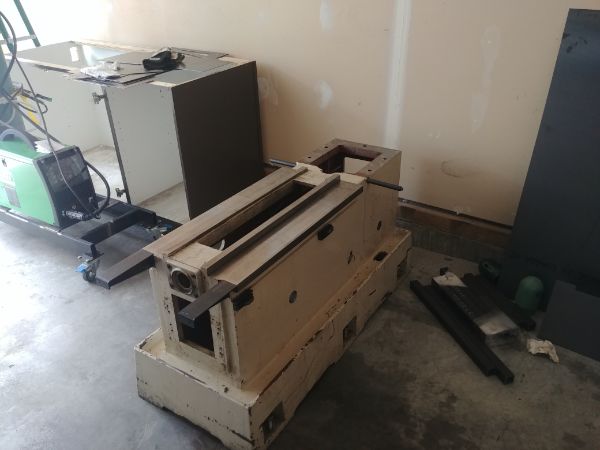
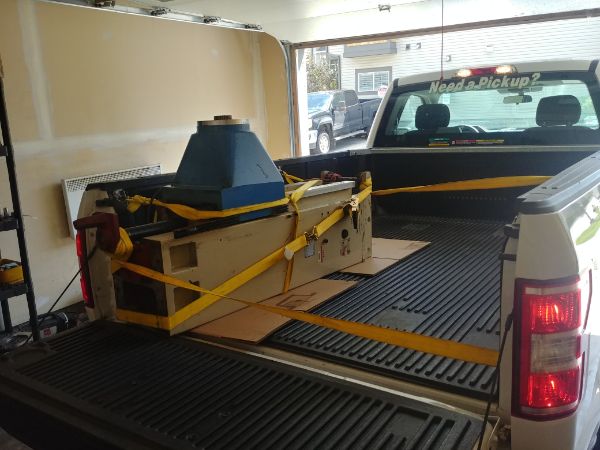
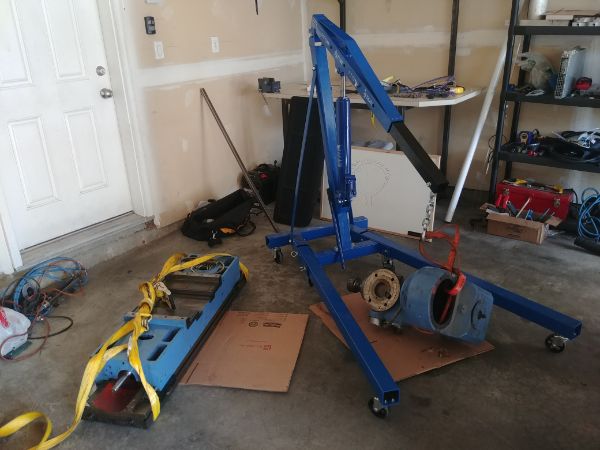
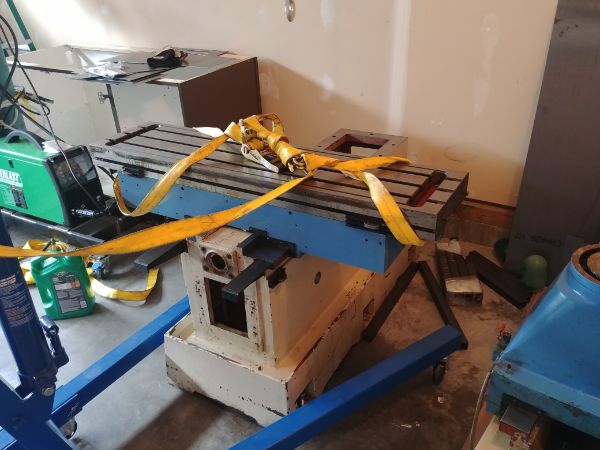
The day after I chose to assemble the mill, I knew this would be very stressful. I first started by placing the bed on the base, not the wisest choice.
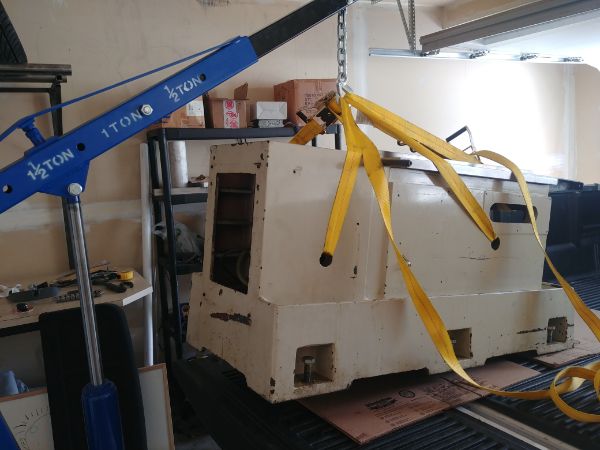
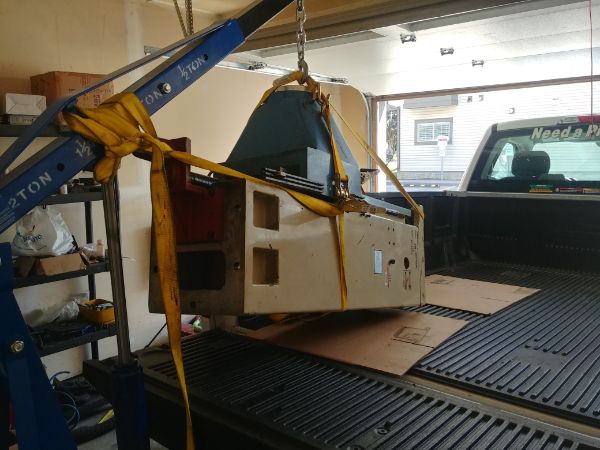
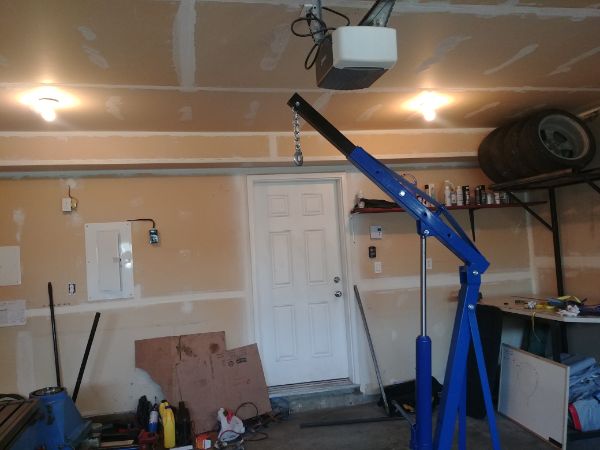
I checked the height of my hoist and realised it would be very close getting the back bone to pass over the bed.
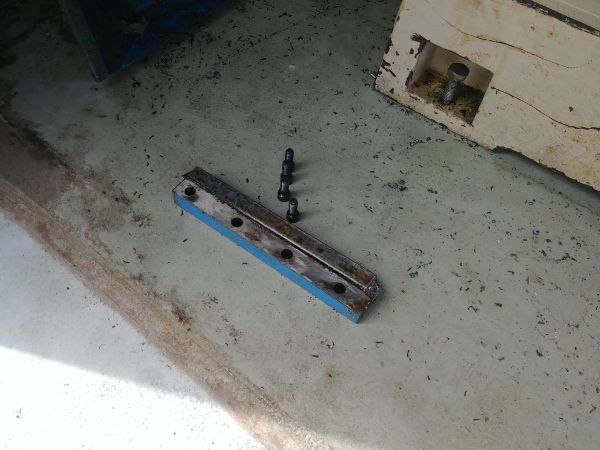
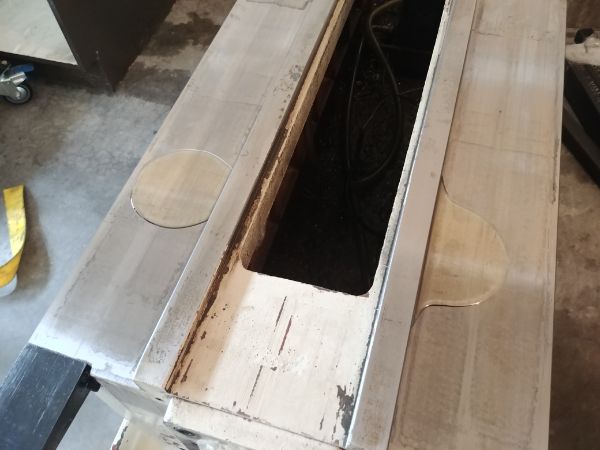
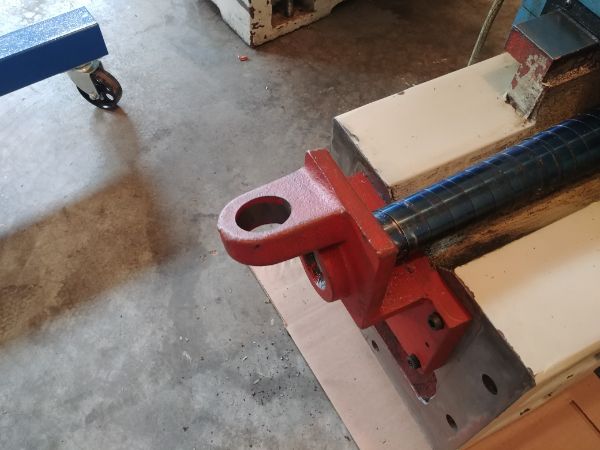
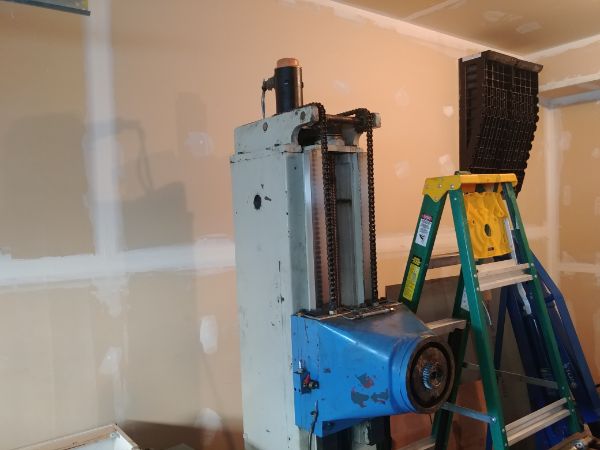
At the bottom of the back bone was this eyelet, not sure what for so I cut it off to give extra clearance.
I made a simple frame so I could stand the backbone on top of it, this would allow me to adjust the lifting belts if necessary.
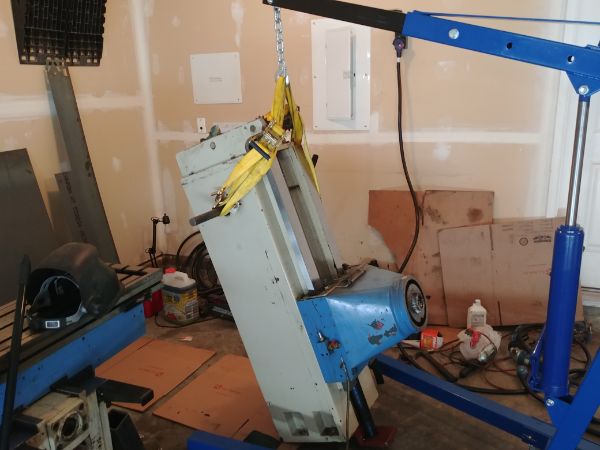
I quickly realised it was too dangerous to even try to get it to clear the bed, so I removed the bed.
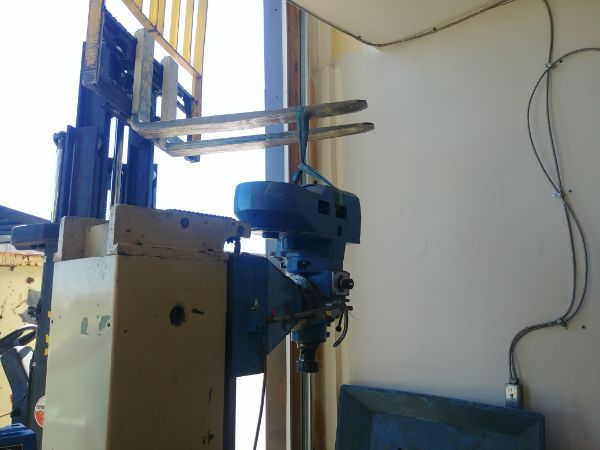
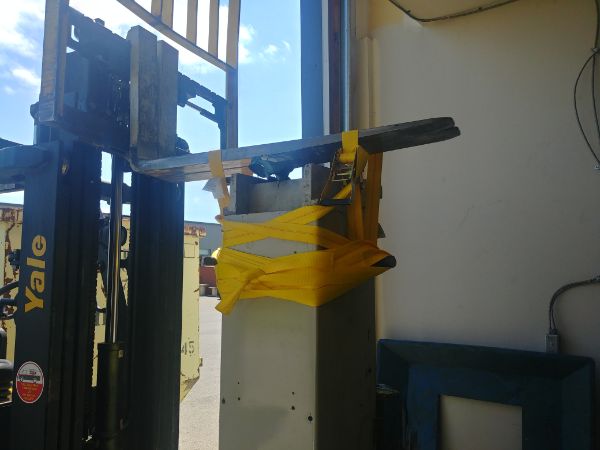
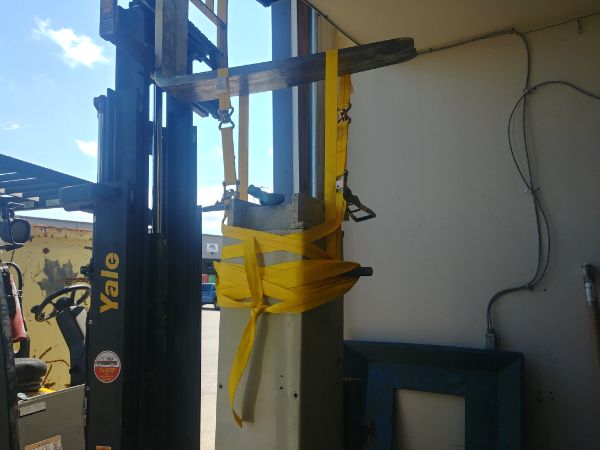
I then found that my engine hoist was not long enough to get to the back of the base, short by about 8 inches. I knew the only way would be to go at it from the back, that would be a very heavy lump to put back in place.
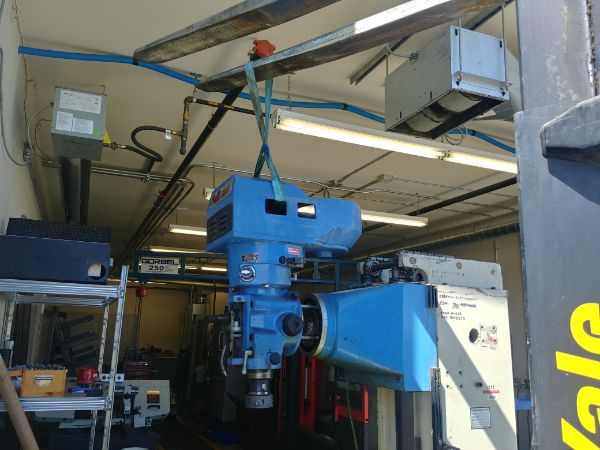
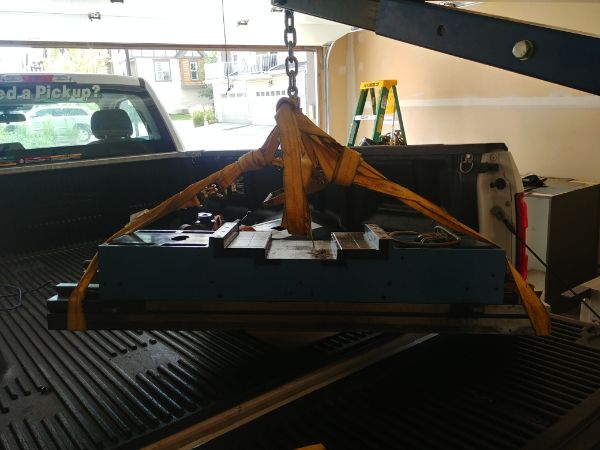
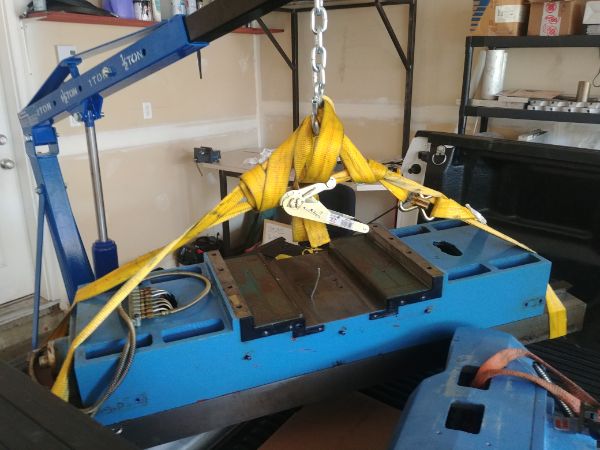
This was definitely the most stressful thing I have ever done with moving machinery, probably the most dangerous too. The hoist was technically rated to do this, but that much weight so high up was unnerving. In the end I got it in place and bolted down.
This assembly was clearly a lot heavier than what the hoist was happy with, so it must be over a tonne. It took me about 2 hours to move the machine six foot, but I got there in the end.
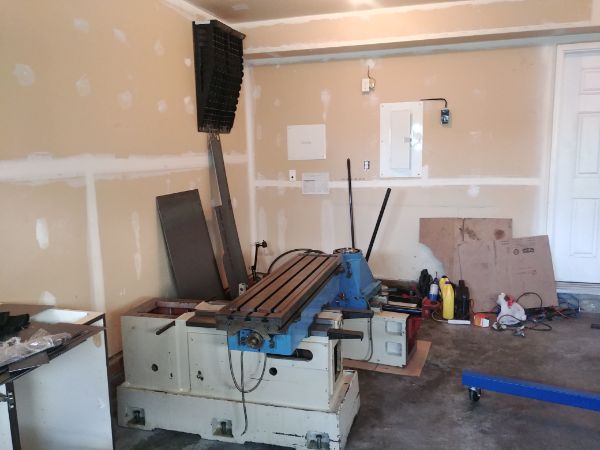
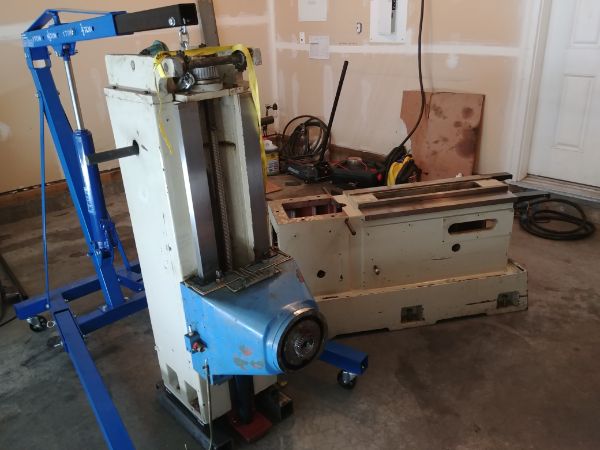
I placed the bed back on the base, connected the counter-weight chains and the servo motor.
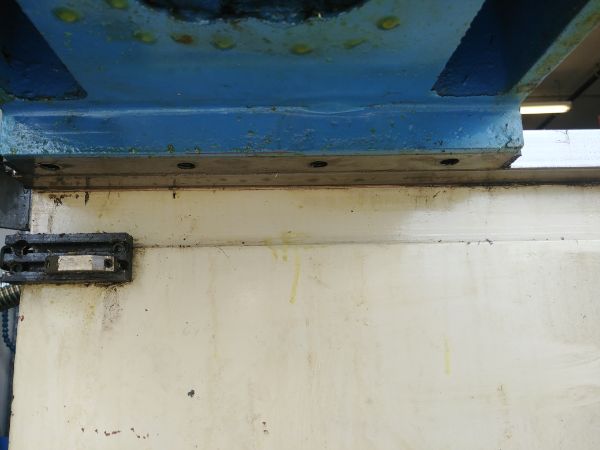
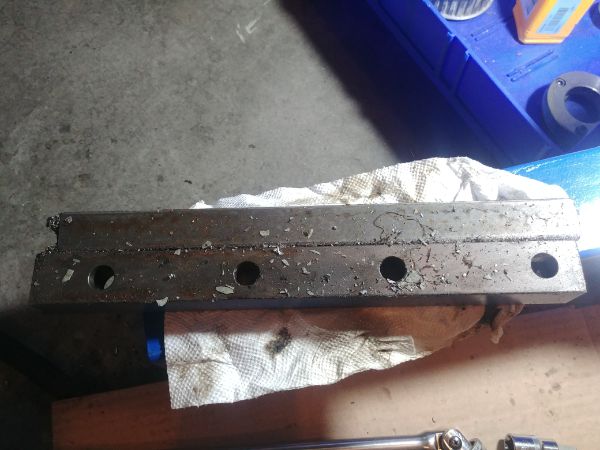
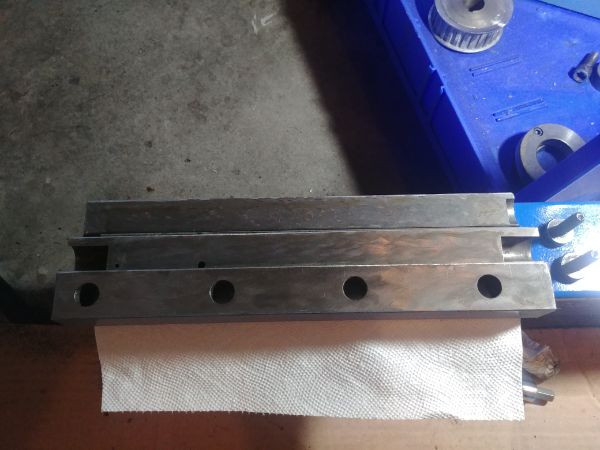
The gib-strips were filthy so I gave them a good clean and oil before assembling.
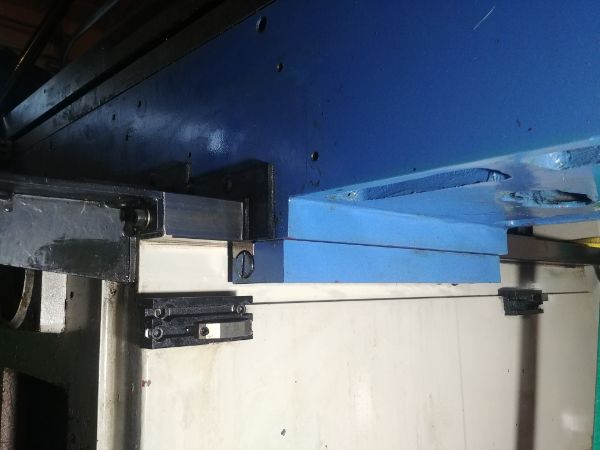
The X-axis servo was connected and tensioned.
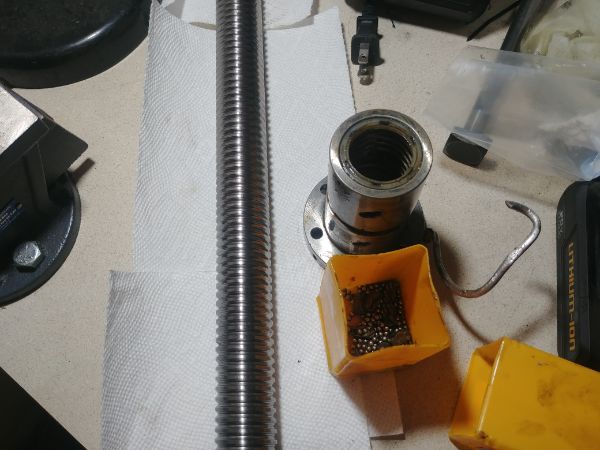
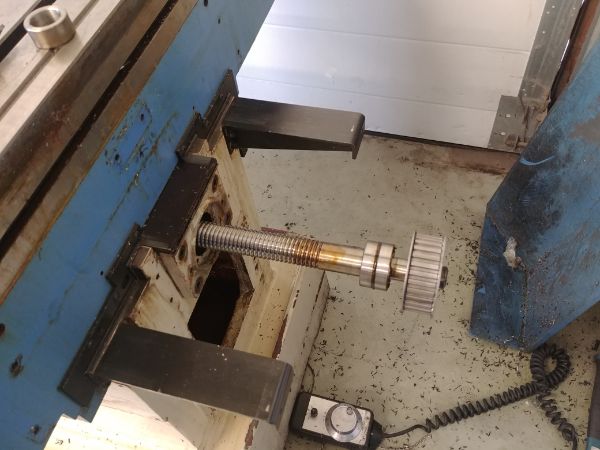
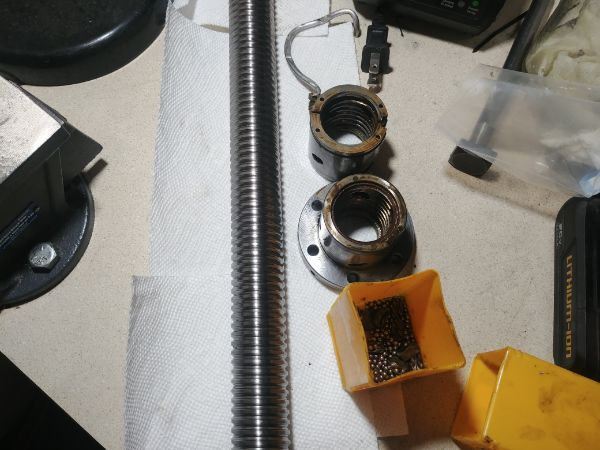
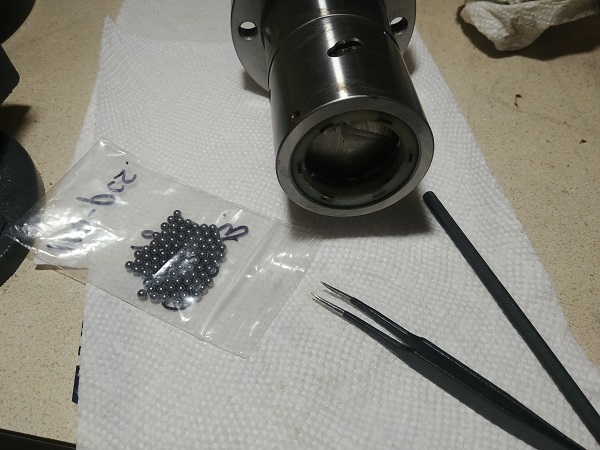
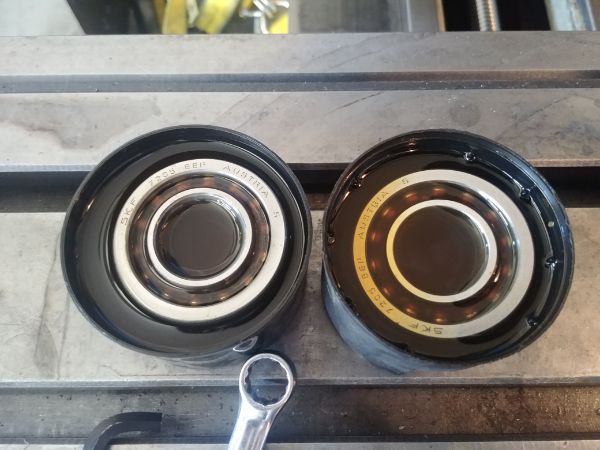
I directed my effort to the Y-axis and its ball screw. I've literally had zero experience with these and was shocked to find hundreds of ball bearings fall on the floor when I removed the lead screw. It was probably a good thing since it was clearly in very dirty condition, I also needed to check the lubrication line since I damaged it. I did some research on how these things were put together. It was quite interesting to learn that the ball bearings would only remain in one pitch of the nut, a special insert circulated them to the beginning after one turn. In total there are eight inserts and eight separate races in which the bearings circulate. I gave all the parts a thorough wash in brake cleaner to remove all grease and particles.

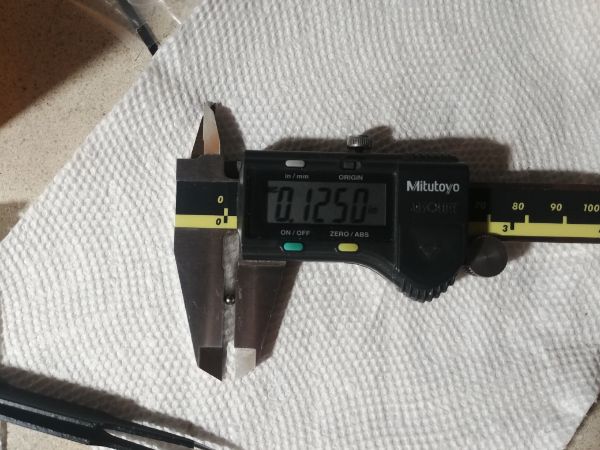
It was fairly easy to work out the assembly, still it took me around 2 hours in total. However, I got to the end of assembly to find I was short by around 50 bearings, I believe one of the races was not filled, although it was clear I had lost about 15 of them. They were thankfully 1/8 of an inch, a very easy size to source in Canada.
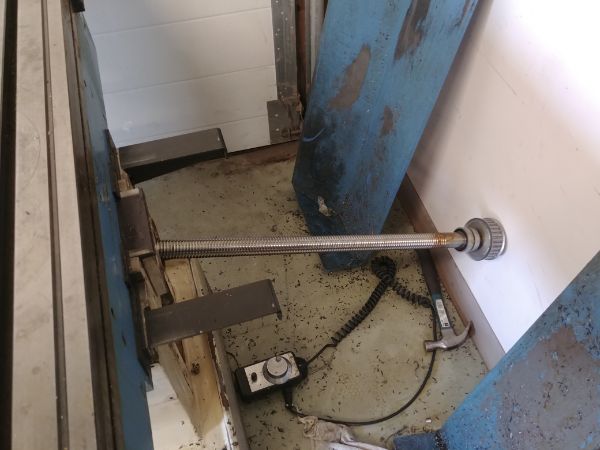
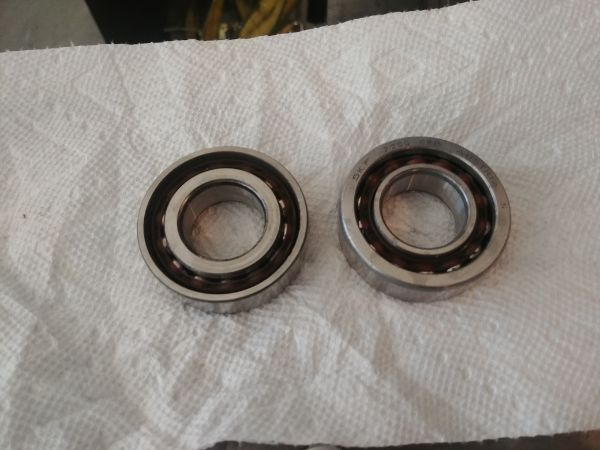
I sourced the bearings and finished the assembly of the nut. I took a look at the bearings for the screw itself and noticed the grease was dry, I left them to soak in some solvent overnight. All of this is for the Y-axis and it made me wonder whether I should work on the others before I assemble any more. I do need to remove the top half of the bed to access an oil line, I will have a further look at the X-axis.
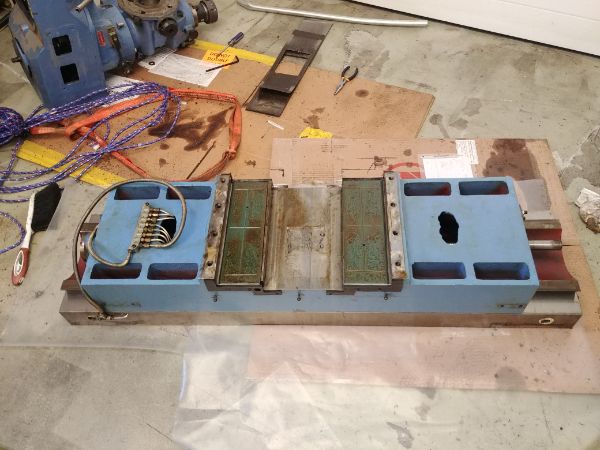
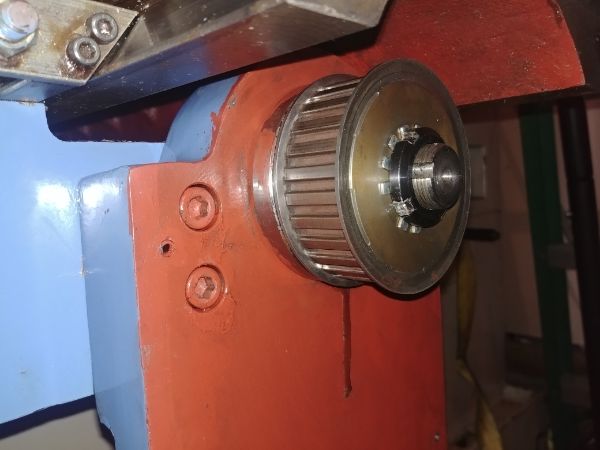
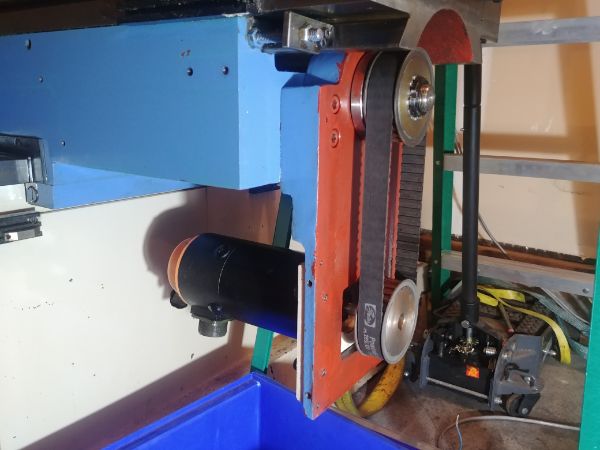
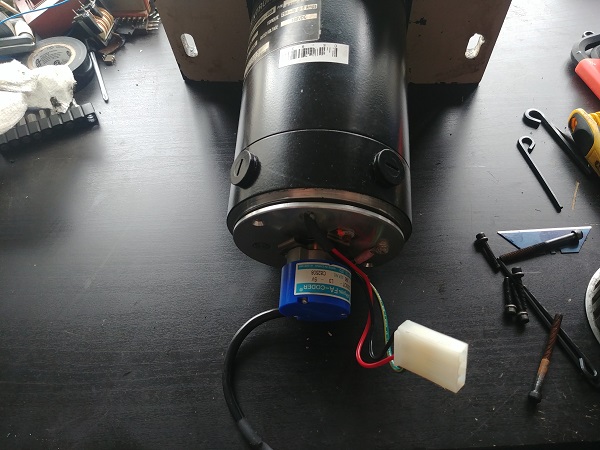
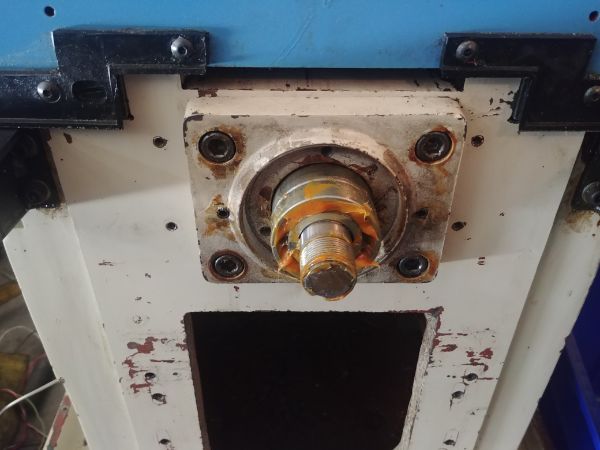
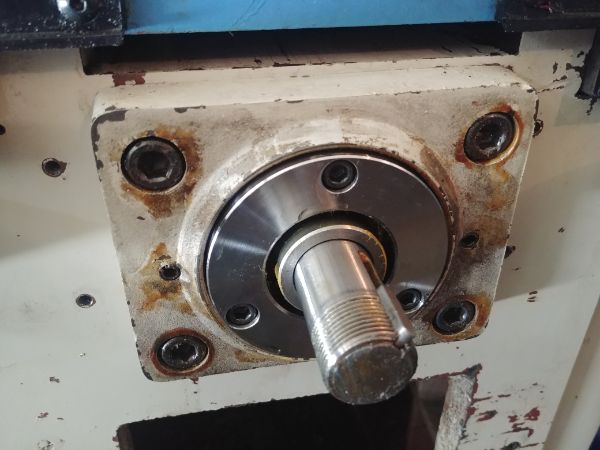
In the mean time I started a little work on the control system. I had already purchased the computer and control boards before I moved the mill. Since I got the bad end of the deal I decided to keep with the current DC servo motors on the mill. I purchased some drives that should do the job, but first I needed to know what encoders were installed. This is the motor for the Y-axis with the rear cover removed.
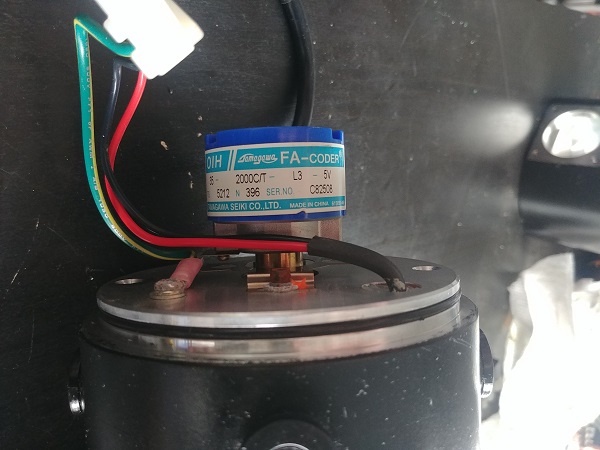
I have little experience with how encoders are wired and if they are all to a standard. I thankfully managed to find the exact data sheet for this encoder along with the diagrams, all of the colour codes were the same too. What I did know is that A and B channels were common to almost all encoders and are the minimum any bi-directional control system needs.

The data sheet for the servo control itself gave me this pinout, only two channels needed from the encoder.
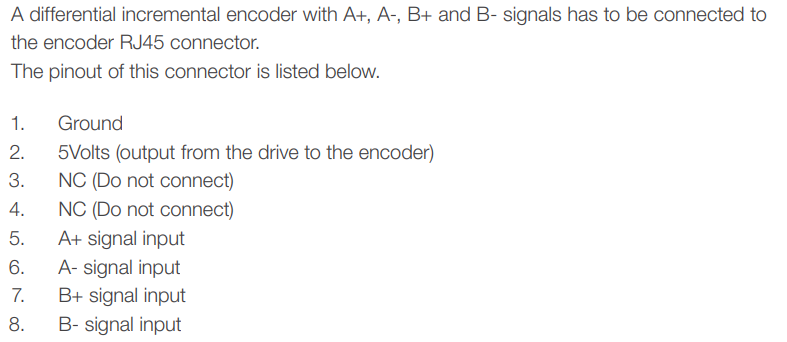
I connected the encoder to the drive, the motor to the drive, the drive to the power supply and the USB programmer to my computer. The encoder in my motor has 2000 steps per revolution. The drive software allows the user to select a 2x or 4x multiplier which counts both rising and falling edges of the encoder signals. This means I can have up to 8000 steps per revolution.

Increasing the number of steps per revolution on a stepper motor is to aid in smooth motion and not so much resolution or accuracy. A servo motor already has smooth motion, increasing the steps will in theory increase the resolution, but like a stepper, not necessarily the accuracy. I found that changing from 2x to 4x multiplier only made the system more unstable, that leads to more wear on the brushes, noise and power consumption. Even on the 2x multiplier that is 4000 steps per revolution, and with a 1/4 inch lead screw that equates to 0.0000625 inch per step. Considering the most I can measure to is 0.0005 inches I believe this multiplier is just fine.
I spent a little time playing around with the tuning at 60V bus voltage. In general people post on a forum when they run into issues, and of course there are people saying to avoid these drives. I however, like many, have had no issues at all in getting them working and tuned. I will be running them at double the voltage, but I will also be using a software that has acceleration parameters built in, so far I'm pretty happy.
On a side note I need to build a chopper circuit for my supply bus voltage. When a servo motor is decelerated it acts like a generator and pumps power back into the bus. A chopper circuit is a transistor and resistor that absorbs power when a certain voltage threshold is met, it can also be know as dynamic braking or a crowbar circuit. My bus will be at 120VDC and the limit for my drives is 160VDC, I therefore think 135V is a safe cut-off level. I've found it really hard to source one of these modules at my particular voltage, normally they are set much higher for VFD's. The resistor needs to have a suitable pulse rating but doesn't necessarily need a high wattage. To work this out you need to know how often the motor decelerates, the duty. A milling machine is constanly changing direction so it could be as much as 50%. There are other considerations such that the motors won't be running their limits, some power is being lost as friction, some going into the part being made, some being dissipated as heat and some of the regeneration being used by another motor. It's quite hard to calculate this value and it is often sized through actual practise. I will go for one rated at 750W, which is likely overkill for what I'm doing.
The VFD that came with this mill is rated for a 3-phase input, although further reading says single phase is perfectly fine. The difference is that with single phase the ripple current will be much higher and only 2/3 of the rectification circuit will be used. The manual suggest a de-rating, this should not be an issue as I don't intend to run it hard. The other option would be to swap out the diodes for higher ratings and add a few more filter capacitors.
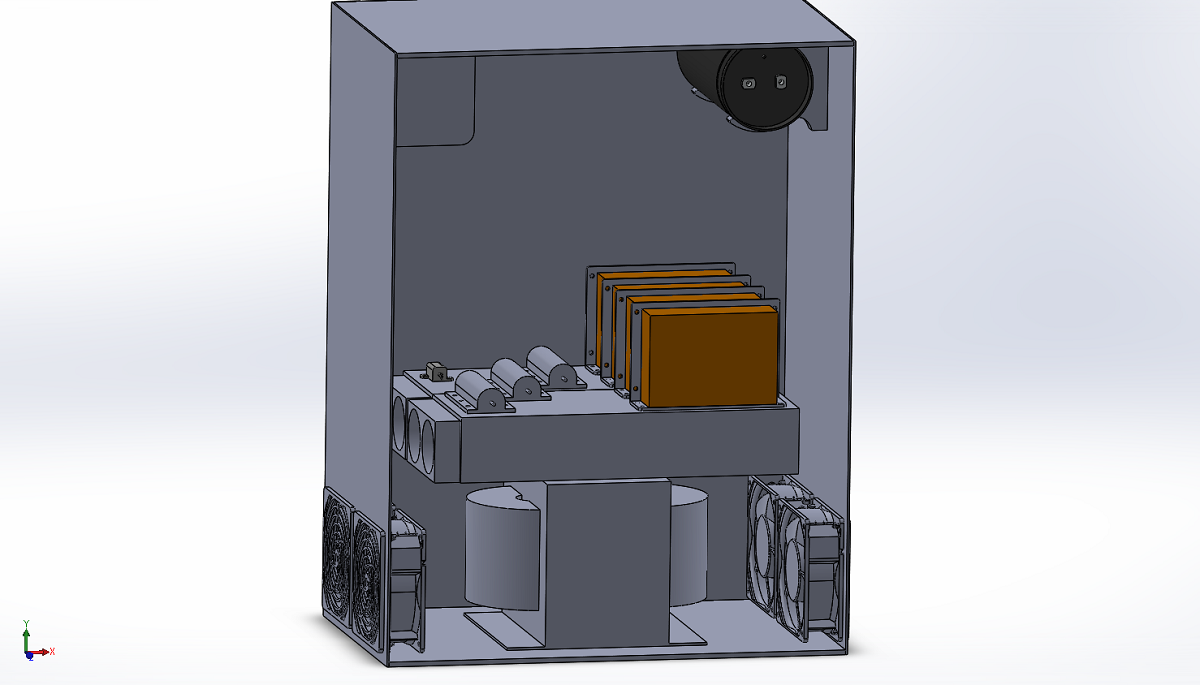
This leads me to the control unit itself. I want it to be small and portable with connectors for all of the motors and switches. The transformer, resistors (drive and chopper) and VFD will all be producing some heat, this definately needs some air flow. The servo drives, computer and control boards can probably be sealed without circulated air. I have started making some designs but I cannot finalise anything until I have the dynamic braking board designed, the resistor alone will be about 13 inches long. I also need to source some filter capacitors for the supply, the one I already have is on the small side and pretty old.
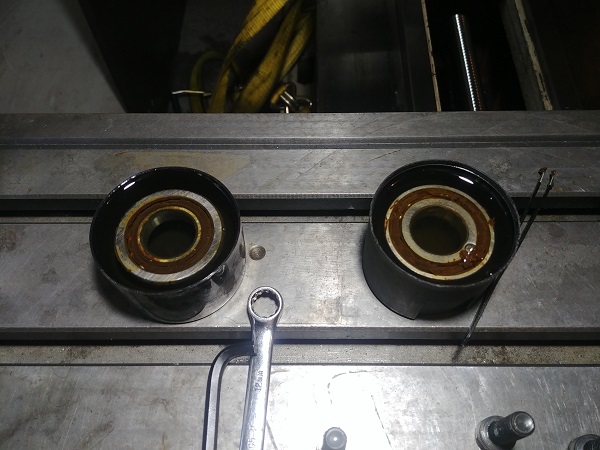
The bearings had soaked for 48 hours and were totally free of grease, I gave them a quick rinse with brake cleaner.
I worked some grease into one side of the bearings until it started to protrude out of the other side. I made sure to pack both sides with plenty of grease, for this application there is no such thing as too much.

I assembled the bearings and tightened everything down. I installed the pulley and could definately feel some backlash, but not like that on a manual mill. The Y-axis feels to be quite tight and needs a lot of torque to get it moving, this may be because I used engine oil instead of a dedicated slide way oil. I believe once it is lubricated properly the backlash will be minimal.
I did a little more playing with the servo controller by reducing the resolution, this made it much more stable. I then started working on the control unit, this took quite a lot of thought to get to this stage and it is still not complete. A major decision was to leave the spindle control drive out of this unit and install it in the back of the mill instead. The reasoning is that the spindle may change in the near future, the main control servos will not. I also chose to leave the computer out of the control unit, this saves a lot of money in connectors. I want the computer to be portable since I have a PCB engraver in a different room.
The computer is connected to the control unit via a standard ethernet cable, that's it. The computer is miniature in size so will be attached to the back of the display and easily portable.
I have done a lot of thinking about the mill recently, I really hope it is accurate. I noticed that in all of the major mating areas had a lot of grinding marks. The mill did seem to be stable when I used it but that still does not mean everything is seated properly. I have recently done a lot of researching into machine scraping, I believe the grinding was a form of this, hopefully done accurately. I have made the decision to invest in some basic scraping tools so that I can check the head of the mill. If the head is pretty flat then I can assume that the back bone to the base is also flat, if not then I'm a little worried. If I can get a large granite block then I can check the alignment of the back bone, this is the most crucial part of the mill.
I won't be milling anything large but I would hope to achieve a thou per six inches of travel in all directions. I will place the granite block on the bed of the mill, then place a dial test indicator from the spindle to the block. Raising and lowering the head will show any variations in both the X and Y axis. If this proves to be accurate then working on the head should be fairly easy, well, easier. Overall the main thing is that the spindle is perpendicular to the bed, if not then the finish will suffer the larger the milling cutter. Lastly this mill does have a tilting head which once set I will never change, ensuring there is a flat mating surface will stop it ever from moving. To make it flat means removing the Z-axis assembly and checking it on a block.
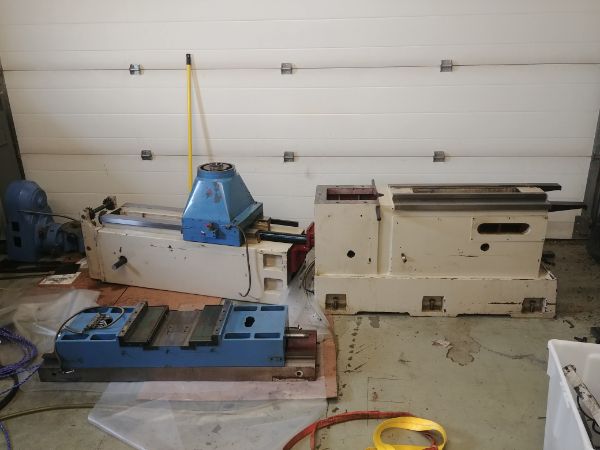
The last option is to get the mill together and working. If the results are ok then I don't have to do the extra work by flattening all of the surfaces. Now that I know how it is all assembled and how much each part weighs it is not all that bad to take apart.
Hello, if you have enjoyed reading this project, have taken an interest in another or want me to progress one further then please consider donating or even sponsoring a small amount every month, for more information on why you may like to help me out then follow the sponsor link to the left. Otherwise you can donate any amount with the link below, thank you!