CNC Milling Machine - Page 2 - September 2020
This is the second page in rebuilding and updating my new CNC milling machine.
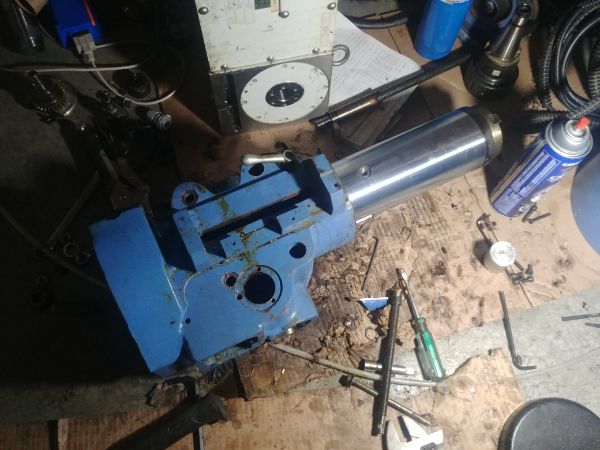
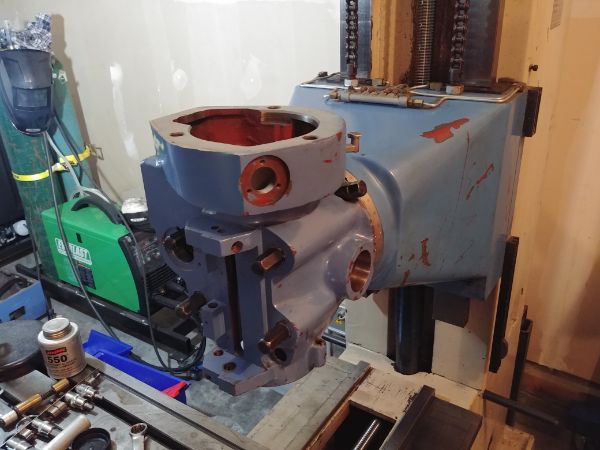
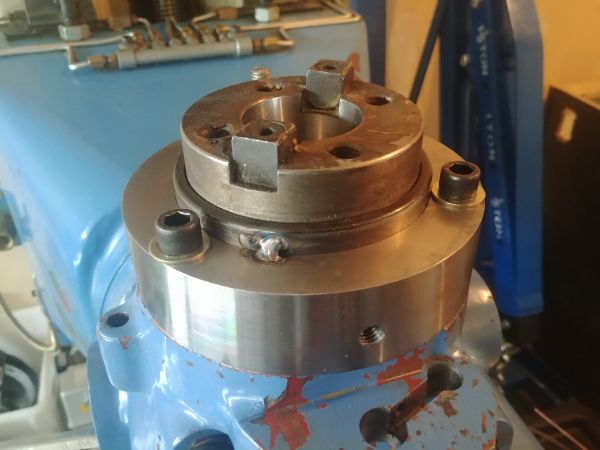
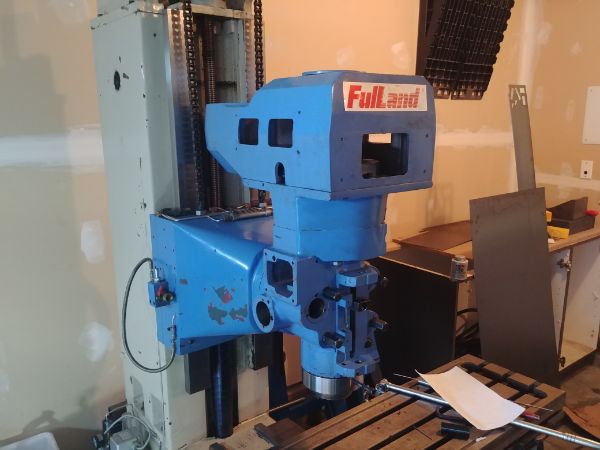
Here is where the head bolts on to the mill, it also allows it to tilt.
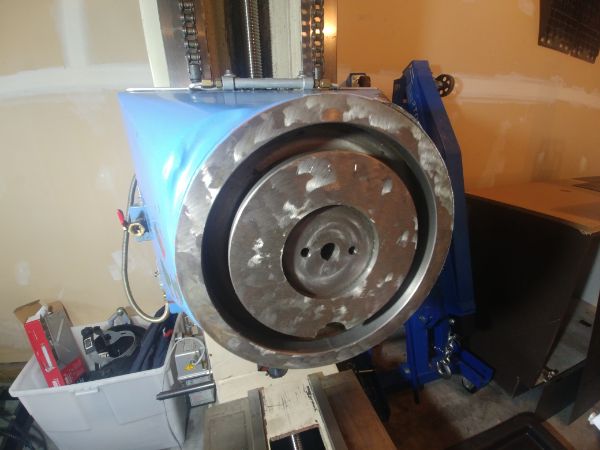

I spent some time breaking the head down and removing all of the unused parts. It was clear someone had given the machine a service, a lot of grease used.

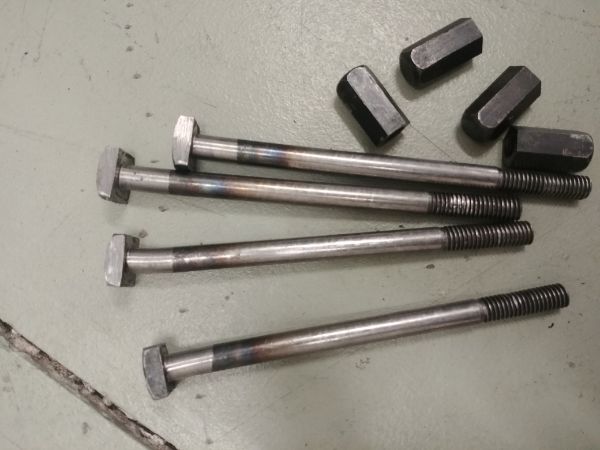
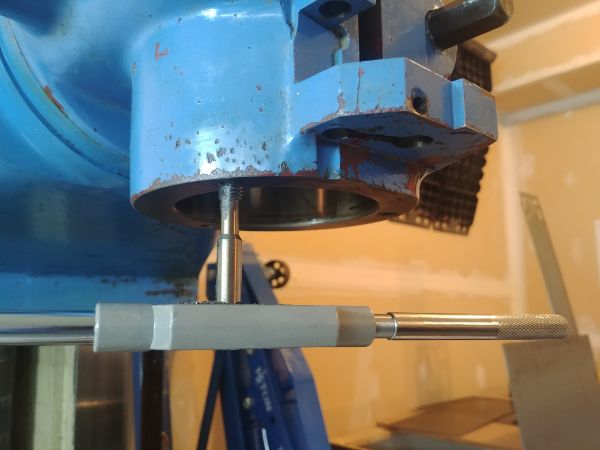
When I removed the head of the mill the studs got damaged, I thought I would see how tough it would be to make some more. I started out with some long bolts and sand blasted off the coating.

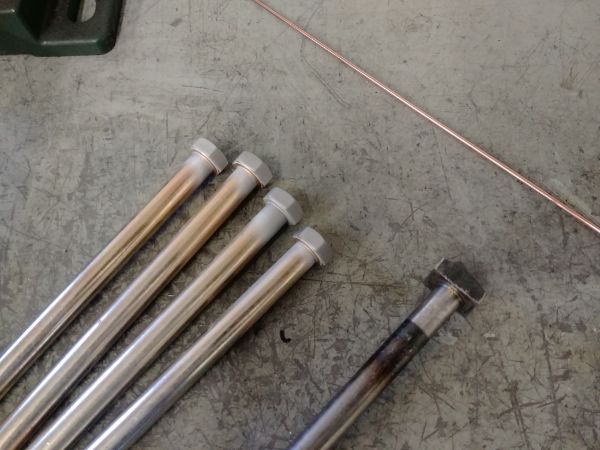
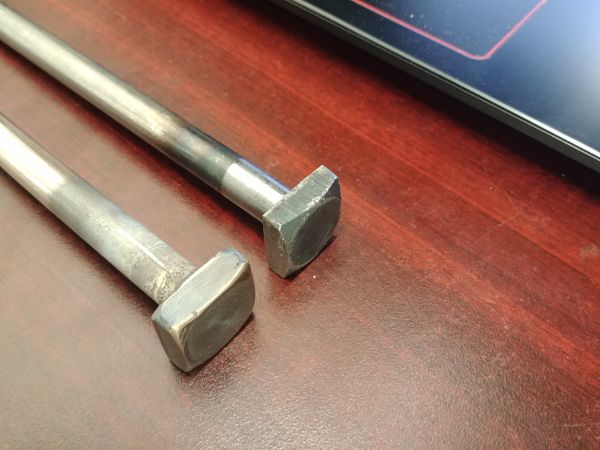
I then TIG welded extra steel to the head. Once it cooled I trued it up on the lathe and then ground the head to the correct size.
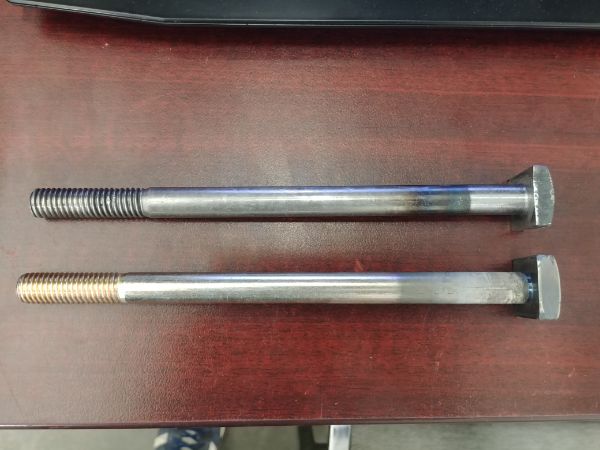
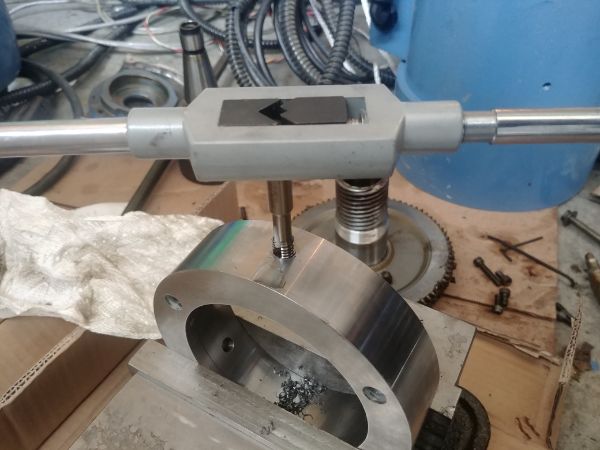
I was really happy with how the bolt turned out, but in the end I managed to straighten the original bolts. I will put them aside and finish them off. The reason not for using them was they did not match the original thread. In the future I will make some long length nuts to suit it.
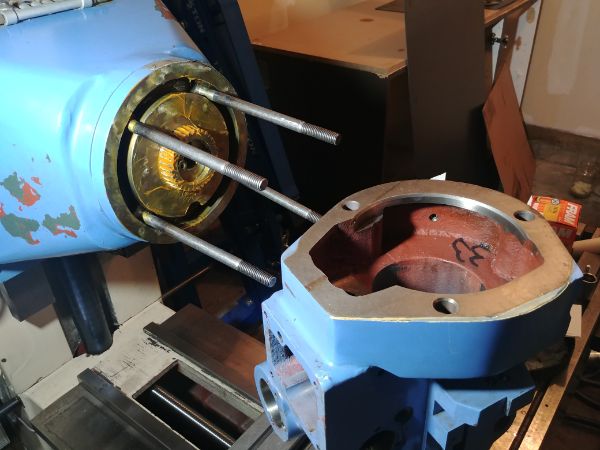
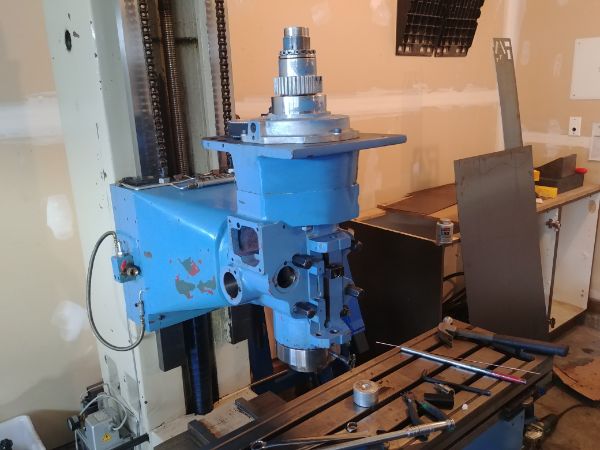
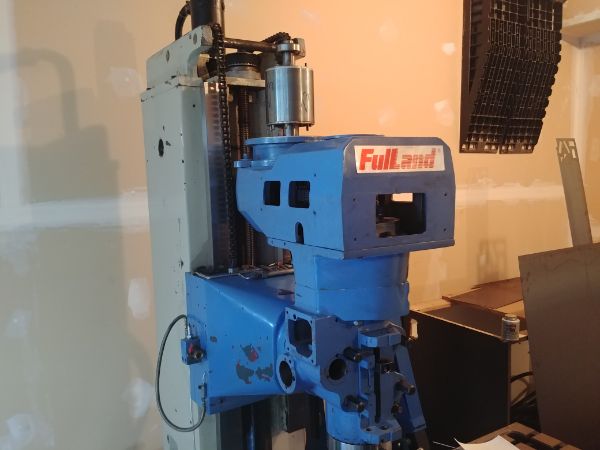
I greased up the tilting gear and the faces of the head. The grease not only allows it to glide better when being aligned, but it also prevents rust and parts sticking. The head was a little tricky to install but I got there in the end.


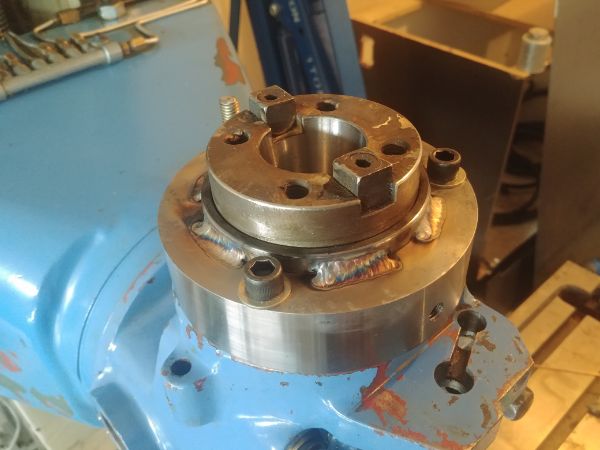
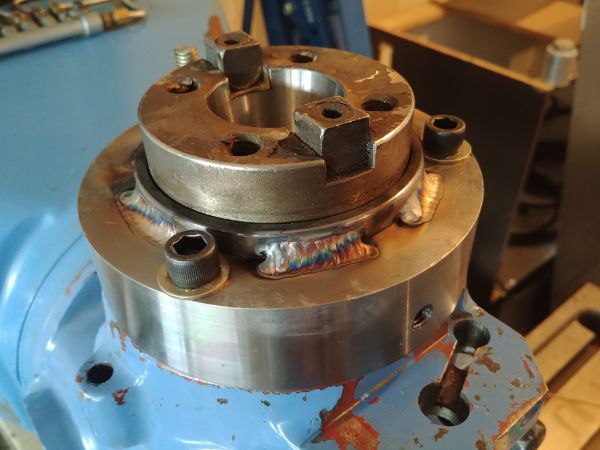
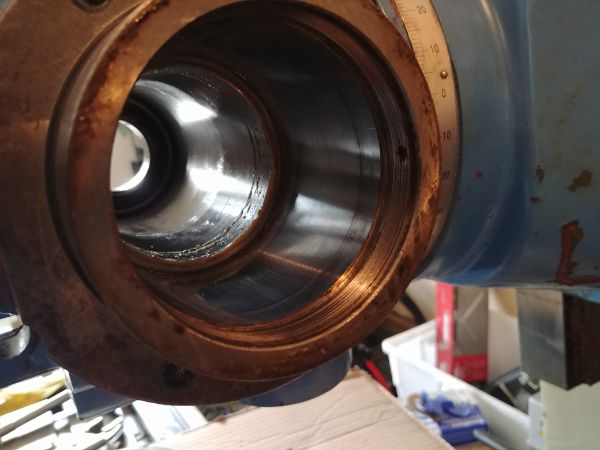
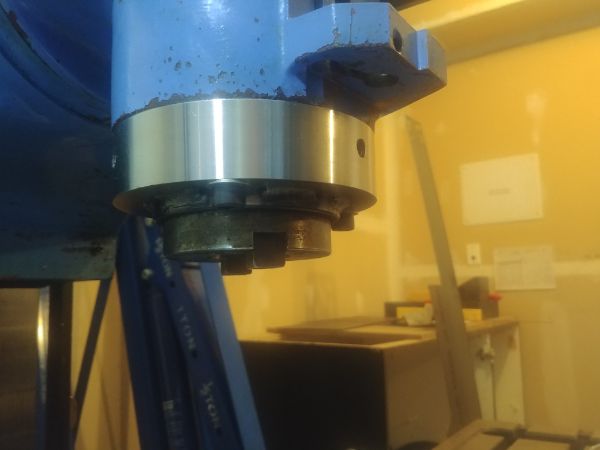
I tried my best to remove the spindle cap, but to no avail. I then chose to make a permanent modification to the mill. I made a collar that will weld on to the spindle cap. It will contain set screws to bite into the spindle and stop the cap from coming loose. The bolts will also pass into the head of the mill to stop any quill travel, this should make it sturdy.

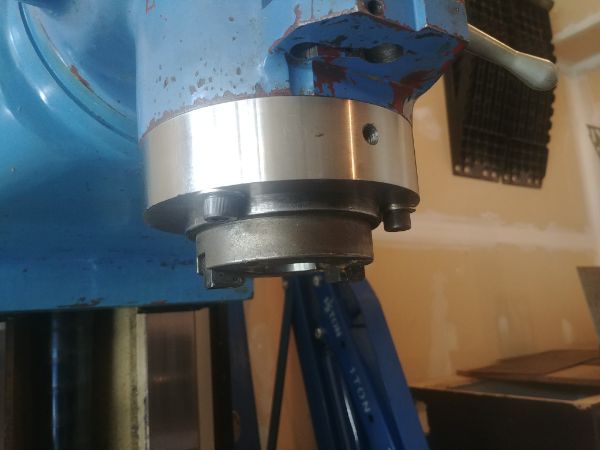
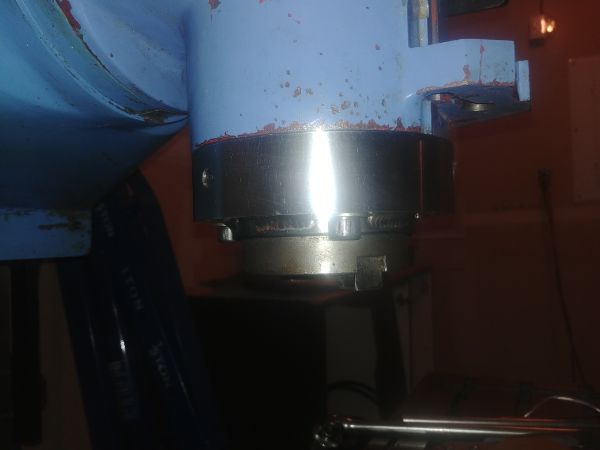
I welded the collar to the cap with a TIG welder, I made sure to prevent warping by welding small sections. The welds came out good and the heat dissipated nicely into the head, I did not cook any bearings. The cap was a lot easier to unscrew since I could insert some heavier bolts into it. Note that nearly all imported milling machines use a left-hand thread on this cap.
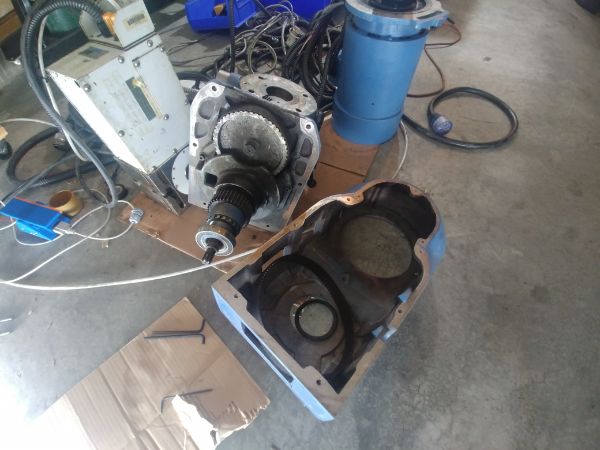
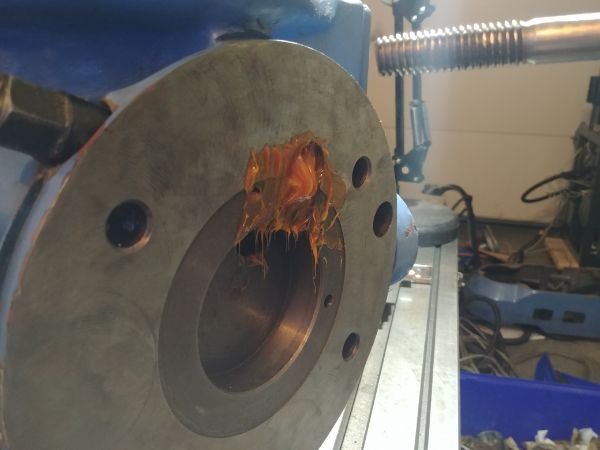
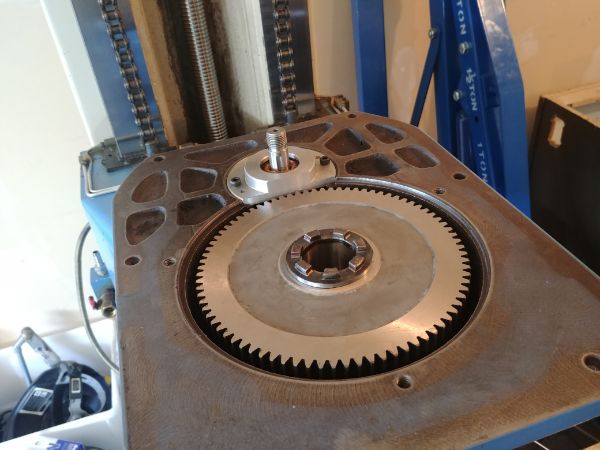
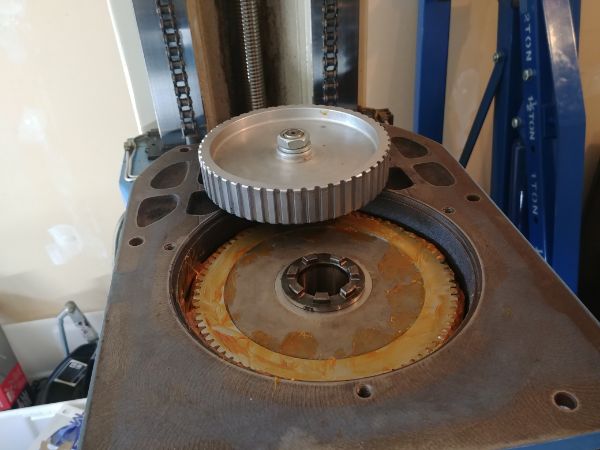
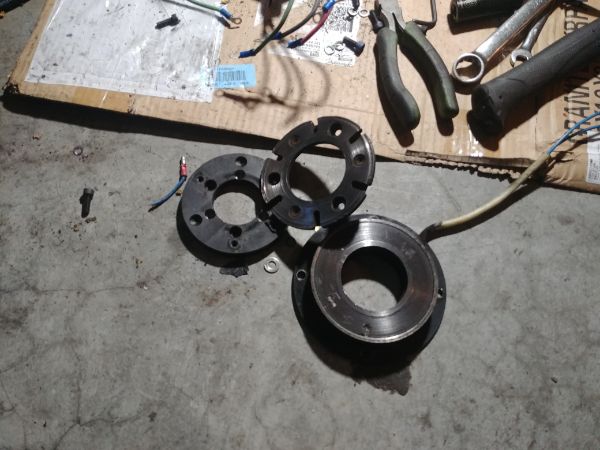
I missed a lot of pictures with dismantling the gear reduction system. This part never worked on the mill and it was clear why with how dirty it was. Someone had gone crazy with copper grease, it wasn't that the mechanism didn't work, the grease was just too thick to move it. I used a sticky grease as a replacement and the mechanism works perfectly, now I have a low gear with some torque!
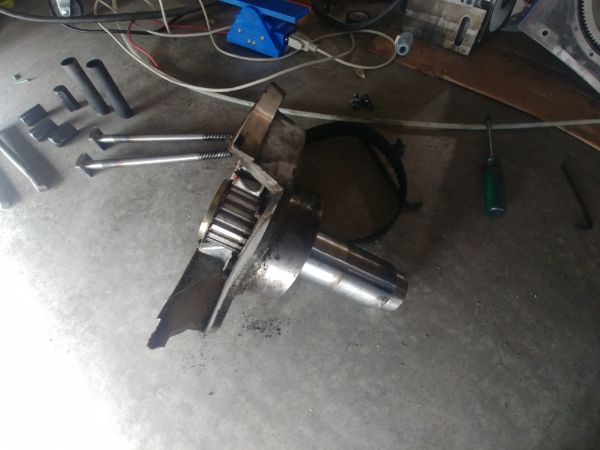
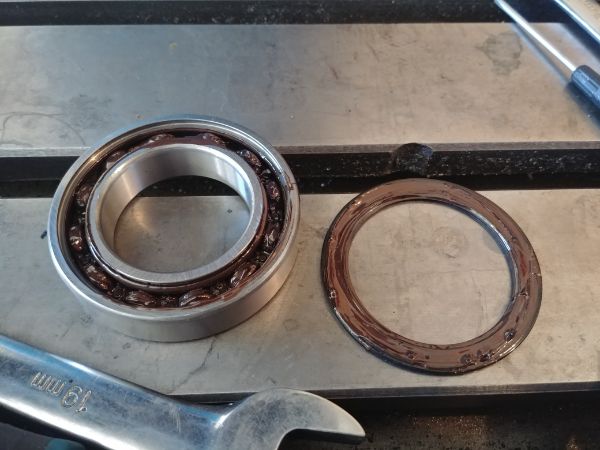
One of the bearings in the spindle assembly was also packed with copper grease, I could barely turn it by hand. I dissolved the grease with solvent and lightly packed it with the correct grease, it turned freely afterwards. I do remember the spindle getting warm, this was clearly why. Copper grease can be good as an anti-seize compound and is great for high temperatures, but the very last thing it should be used in is bearings. A bearing should use a thin sticky grease, that way it provides lubrication but little friction. Heat is what causes the grease to run out of a bearing and make it become dry.

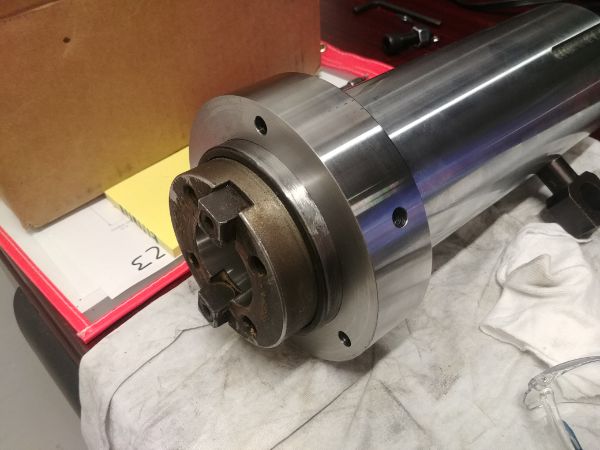
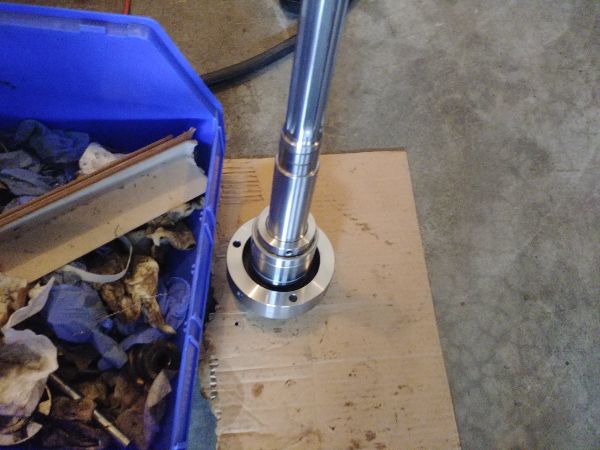
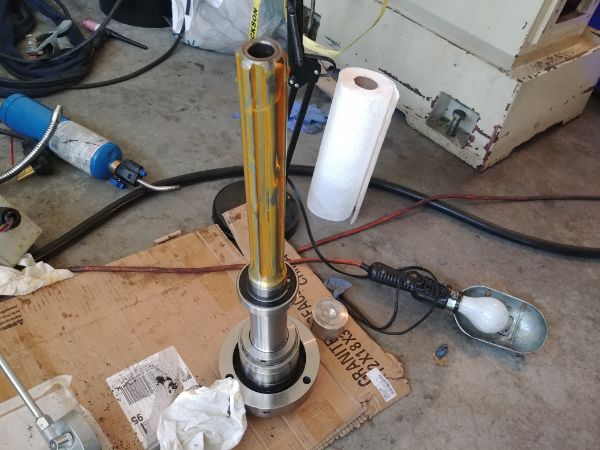
I assembled the spindle back into the head. The spline is to allow the quill to move up and down, but in this case it will be fixed. I still used grease as it will stop any corrosion, it will also reduce noise and wear on the spline itself. The bearing assembly was lightly oiled, again to ease in future disassembles. A misconception is that grease and oils will allow bolts to become loose and parts to slip, in reality it is very very unlikely. All mating parts should have some kind of lubrication to prevent any galling or corrosion, it greatly helps future servicing.
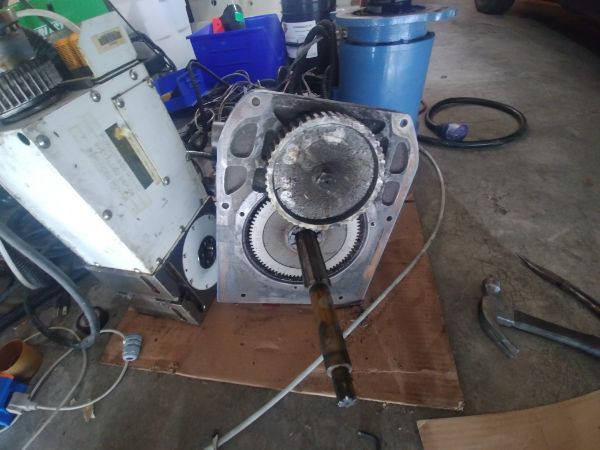
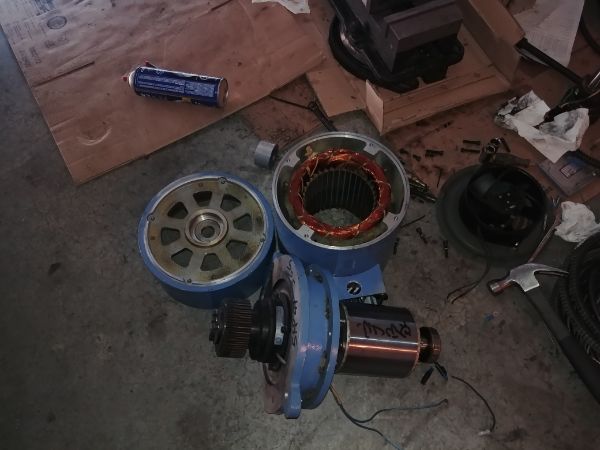
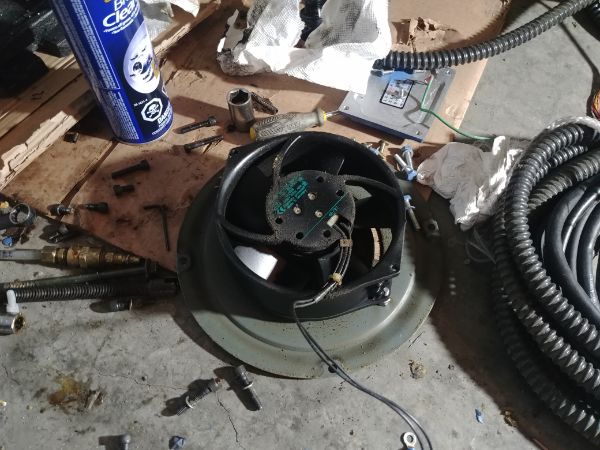
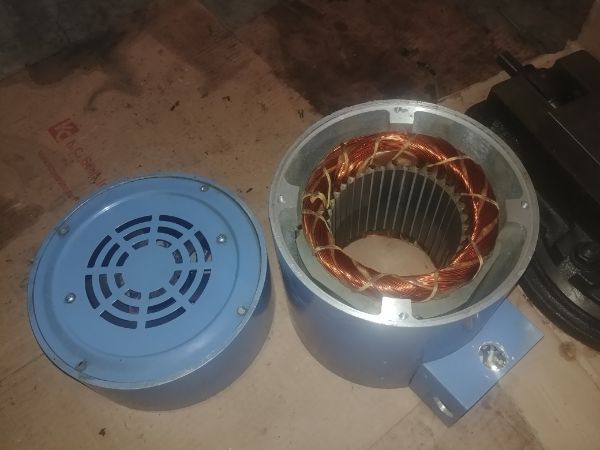
The motor was the last part of the head to be serviced. The difference between this motor and any other is that it can be run at any speed. A set speed motor provides itself sufficient cooling at its rated speed, lower speeds can cause failure. The difference with this motor is that it has a separate cooling fan and the stator has vents for cooling air. This motor can be run at any speed but will get the same amount of cooling regardless.
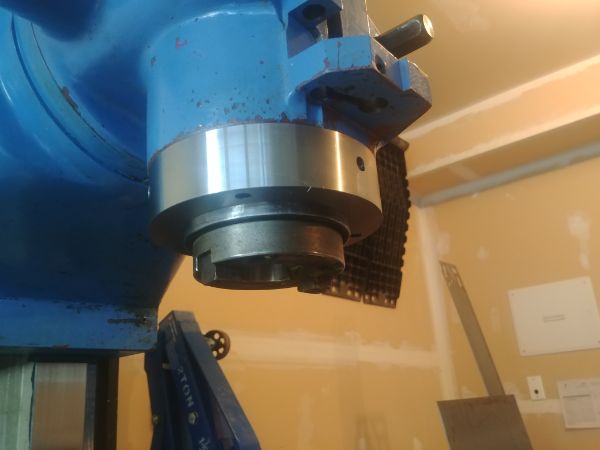
I inserted the front end of the motor first along with the rotor just to make sure the pulleys aligned correctly.
I removed the brake from the motor since I remember it being useless, it also made noise. The pulley sandwiched the brake pad to the brake itself, the reason the brake did not work is because it was worn out. I had also noticed the spindle had not been assembled correctly so the pulley sat higher than it should have. Now that all of these corrections have been made the pulleys now align, whoever serviced this machine last made a few mistakes.
I got the correct bolts and set screws to finish off the spindle. The quill is now fixed and solid to the head, this should boost rigidity by a fair amount.
I cleaned the motor in my lunch break at work. It was full of plastic / wood dust and generally just dirty. Overall the motor seemed to be in very good condition and the bearings did not require greasing.

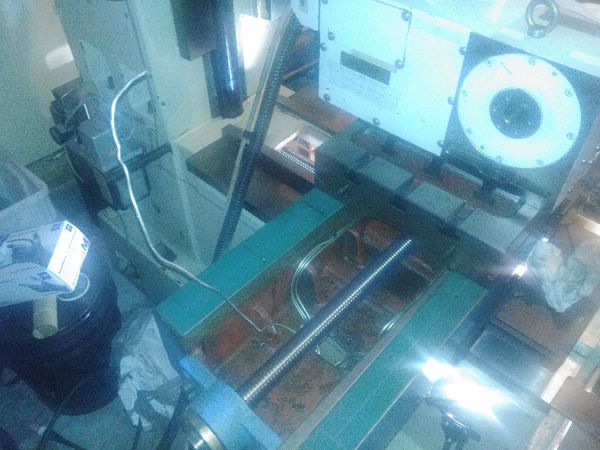
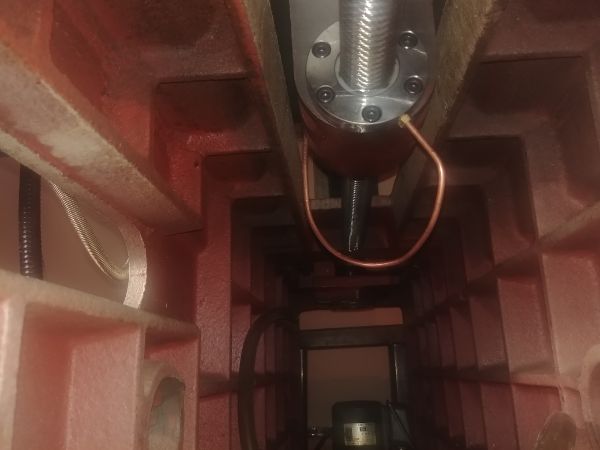
These pictures are not all that great but I finally got around to fixing the oil line for the Y-axis ball screw. I removed the old damaged aluminium line and replaced it with a copper one, it turned out to be a lot easier than expected.
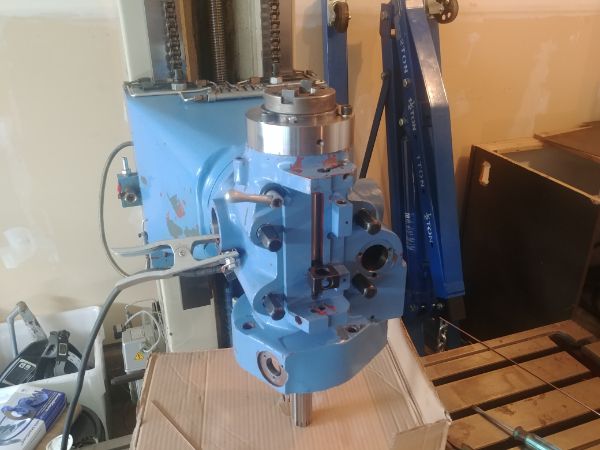
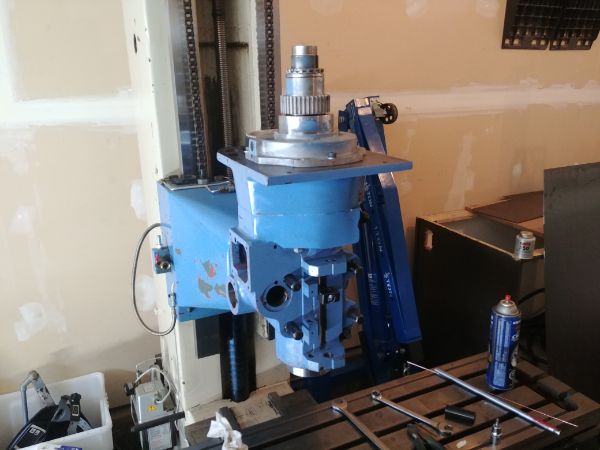
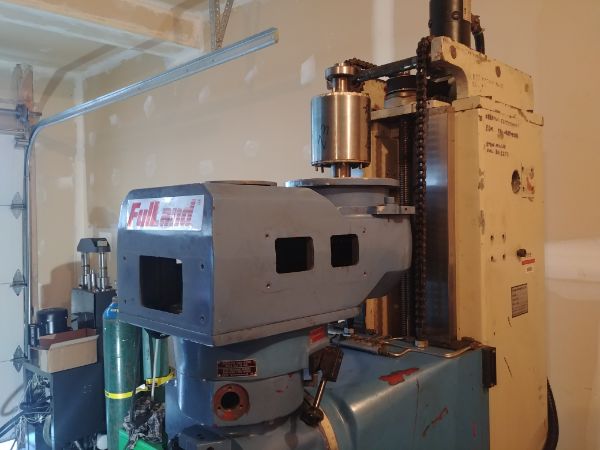
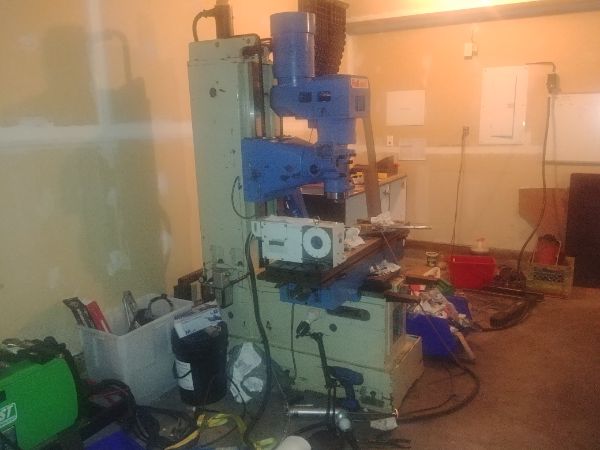
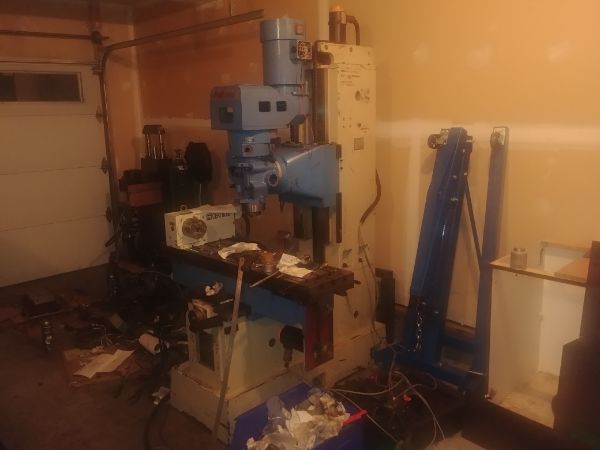
This is how the mill is looking so far, again sorry for the quality, this was very late at night. I need to install the Y-axis servo and then the mechanical parts are pretty much done. I need to give all of the original servo cables a good clean and then it is just the control system to work out.
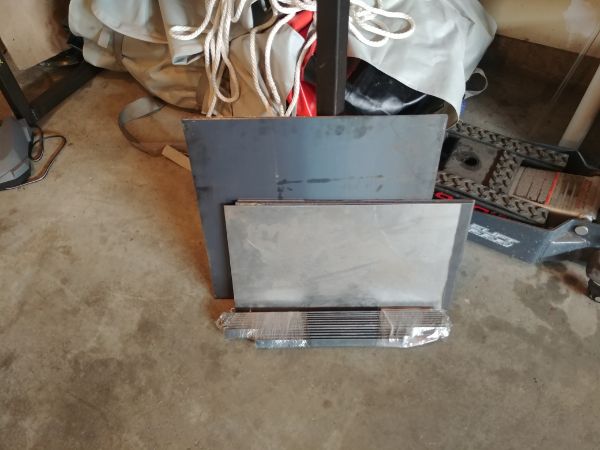
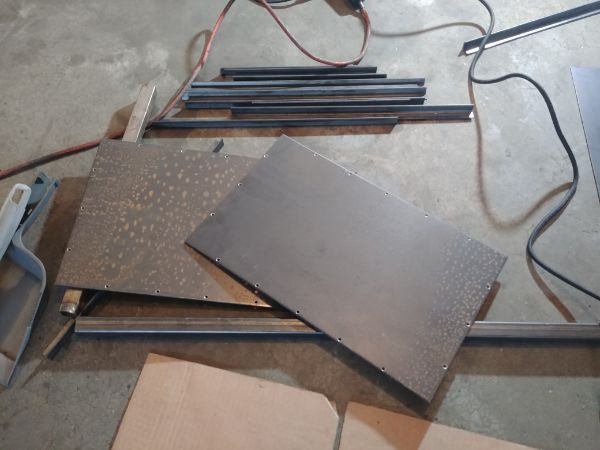
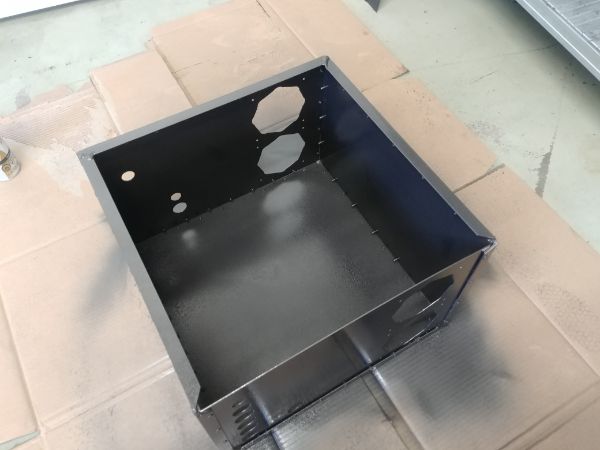
I cut out some sheet steel left over from the forging press project, I also picked up some angle section. The top and bottom of the control unit will be made from 3/16 steel to stop it from bowing. I drilled some holes around the circumference of the plate, I will opt for rivets to save some time as welding is just overkill.
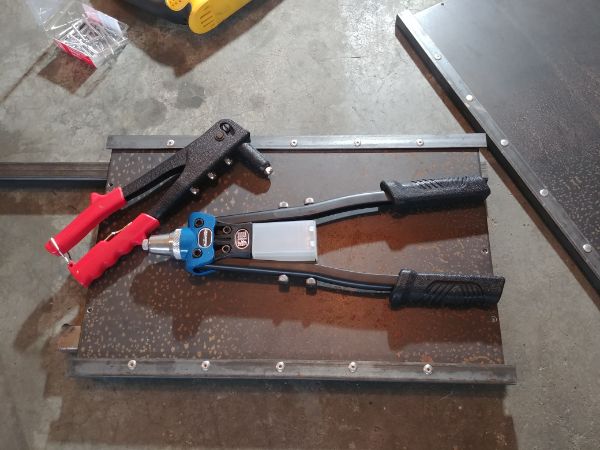
I quickly found my rivet gun was useless, the one with the red handles. I used 3/16 rivets and broke the stems on 9 out of ten of them, I knew it was the gun at fault. I chose to pick up a different style of gun for a similar price, this thing has not broken a single stem, and it's a lot easier to use on the larger rivets.
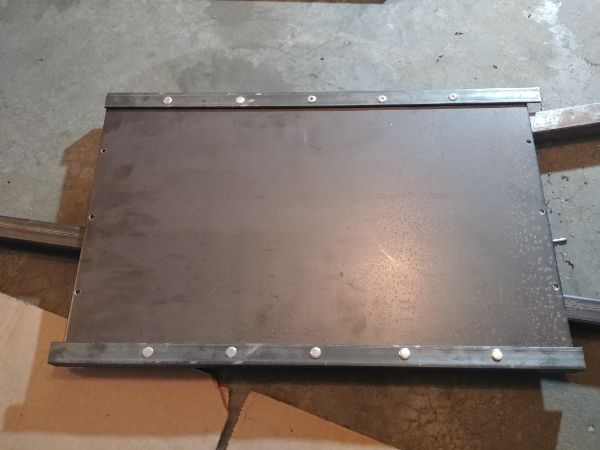
It didn't take too long to assemble the case, although cutting the angle iron by eye was not the most accurate method.
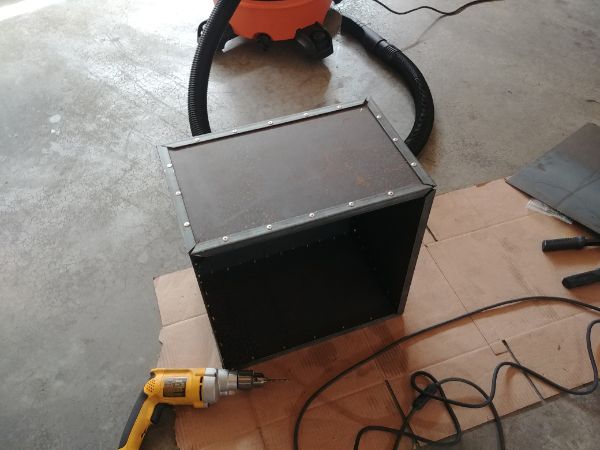
I then welded up the corners of the angle iron and extended the weld onto each section of plate. I have no doubts that the strength of this case is adequate for its task.
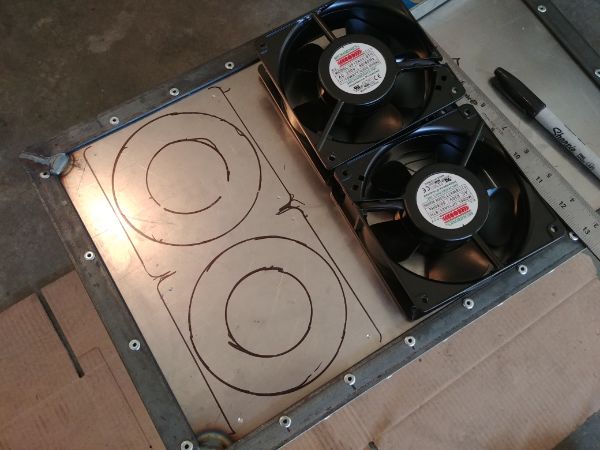
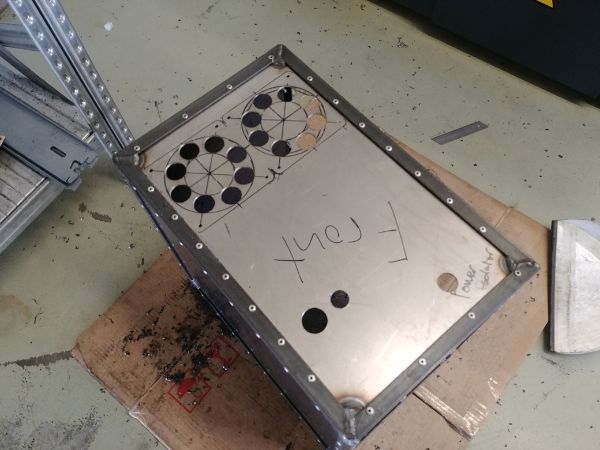
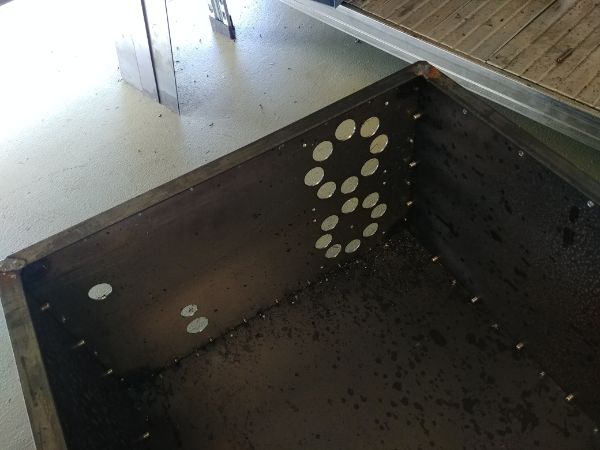
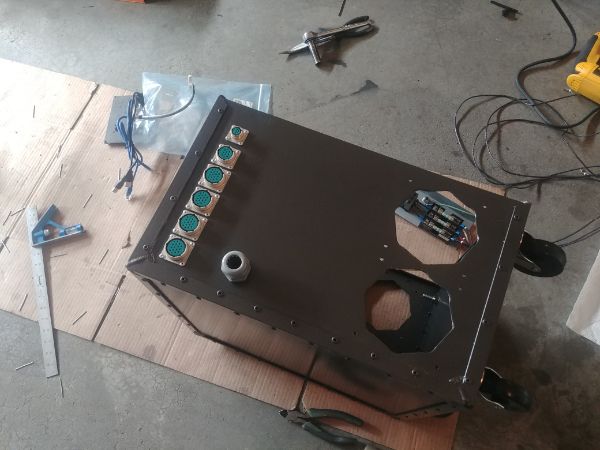
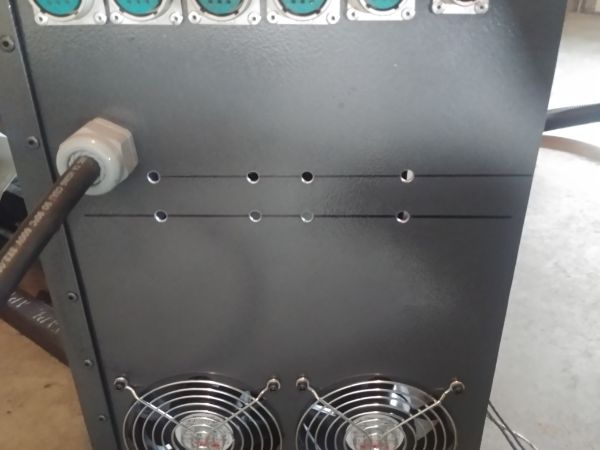
I did some marking out of where the cooling fans would mount. I had originally done a case similar to this and drilled a series of holes around the circumference of a circle, that was a laborious task. I instead went with a step drill, something I have never used before.
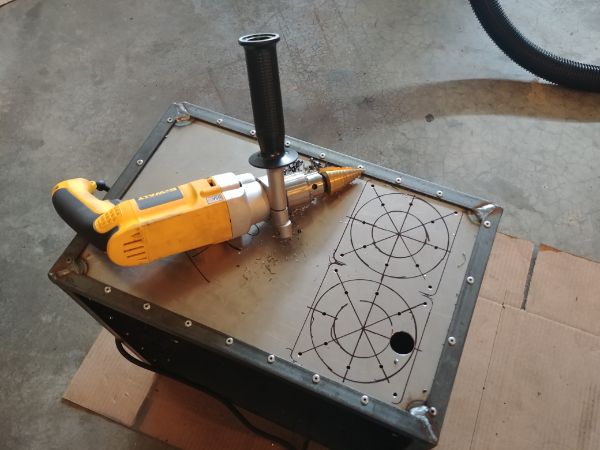
The drill proved to be quite loud so I chose to do it in my lunch breaks at work, it worked perfectly though.
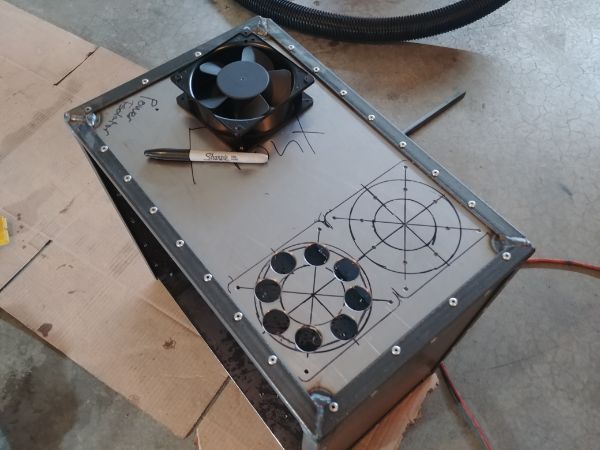
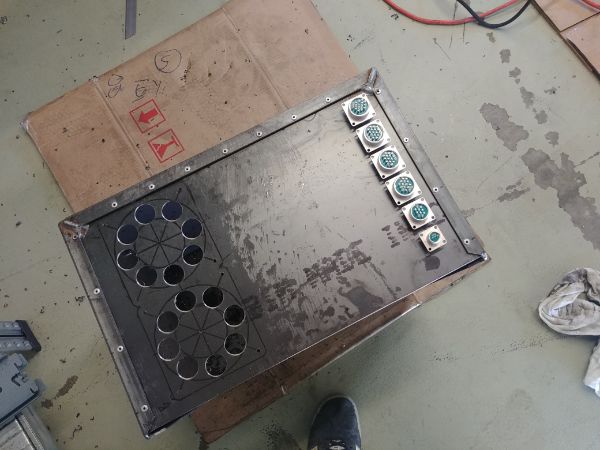
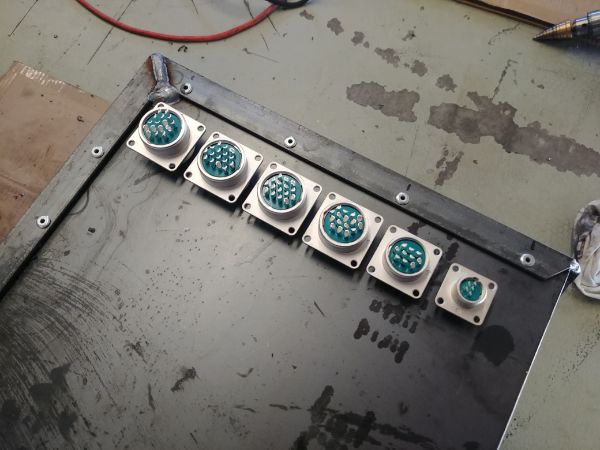
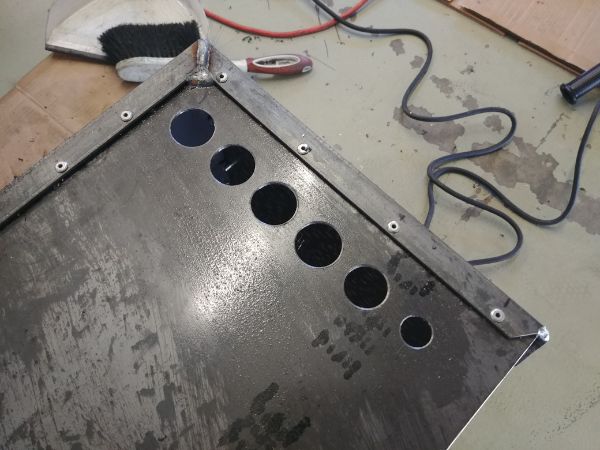
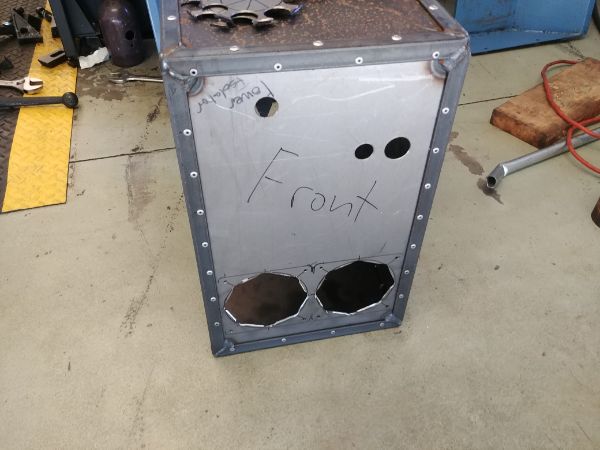
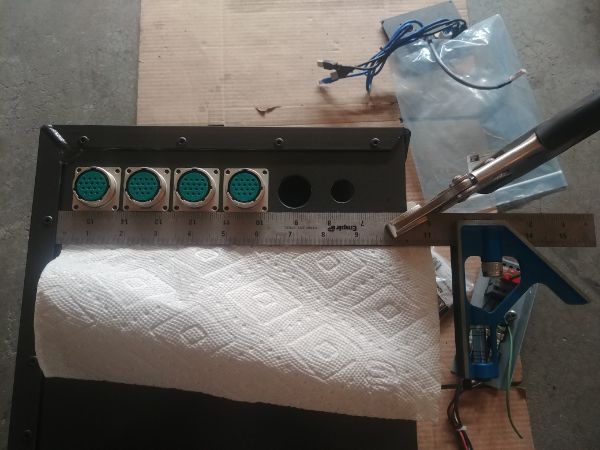
I then started drilling a series of holes for the electrical connectors, the wire feed-throughs and switches.


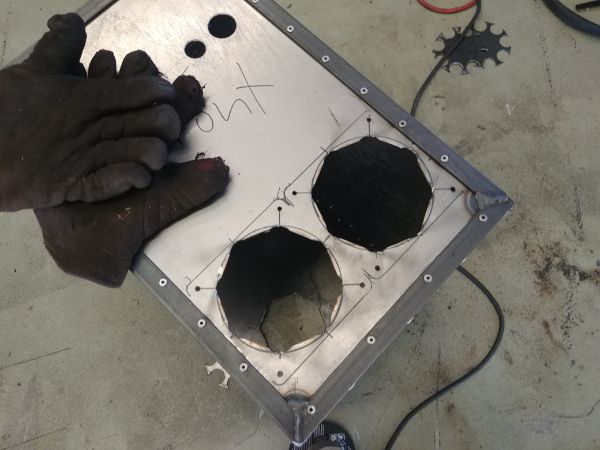
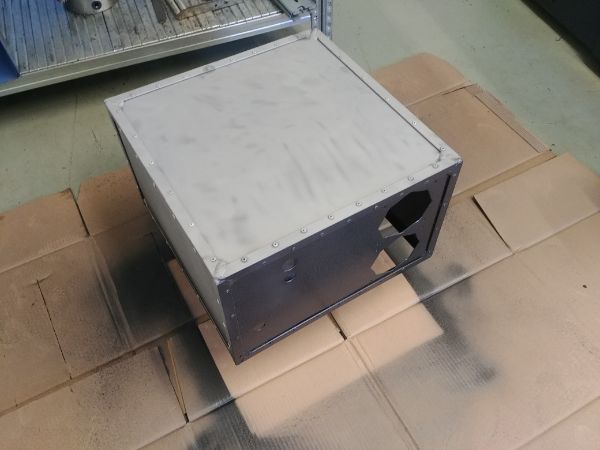
I used the angle grinder to finish off the holes for the fans, it doesn't have to be a work of art, plus the holes will be covered by either guards or particle filters.
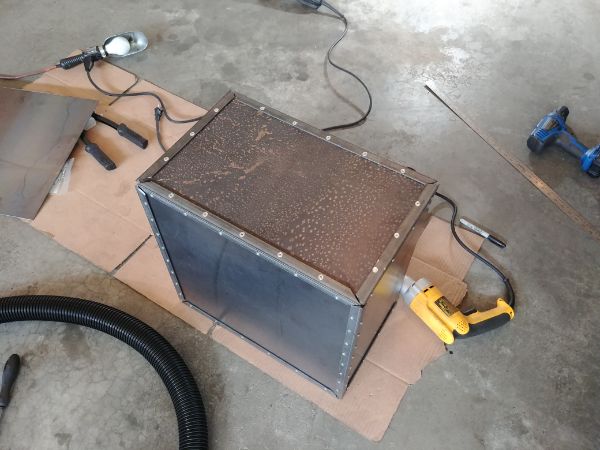
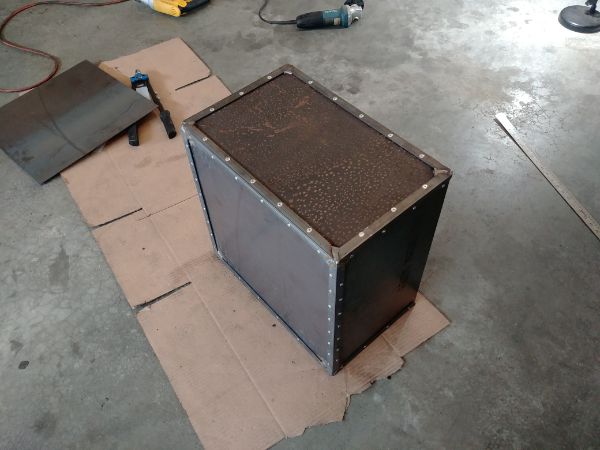
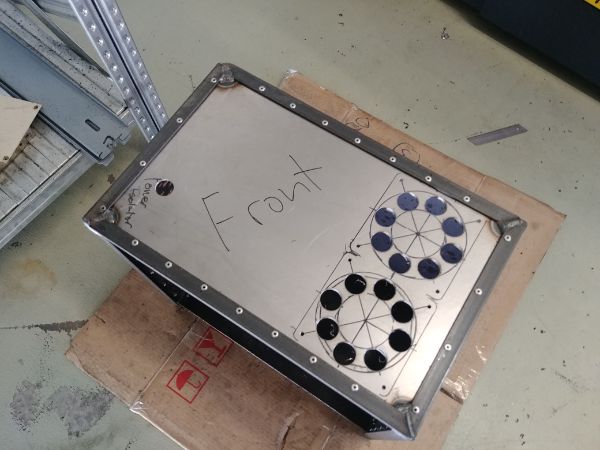
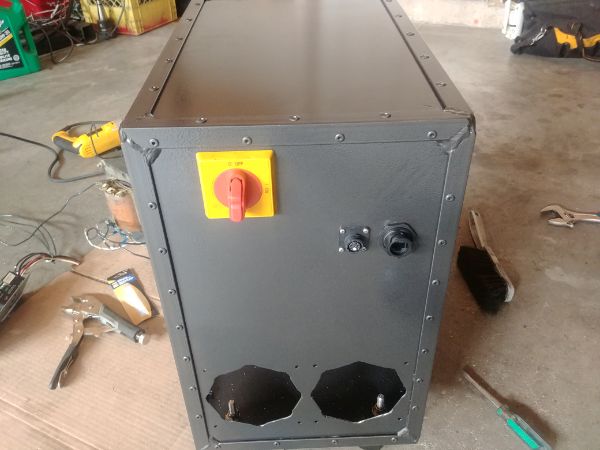
I used a sand blaster to clean the surface, plus it also gives something for the paint to stick to.
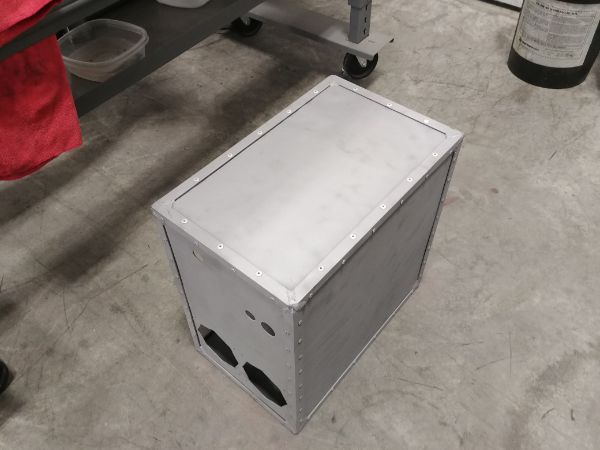
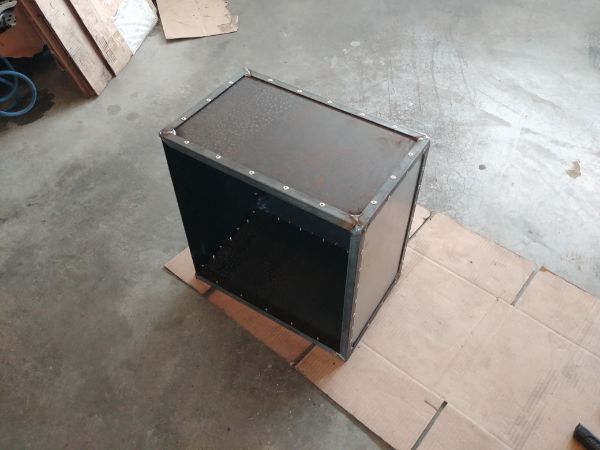
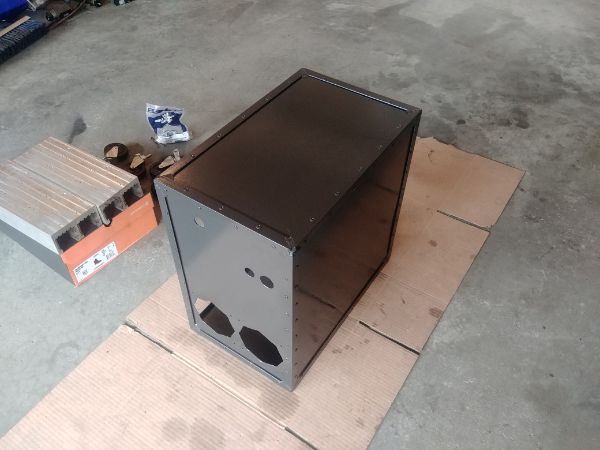
I used a self priming hammered effect paint for both the inside and outside. I am really happy with how it turned out.

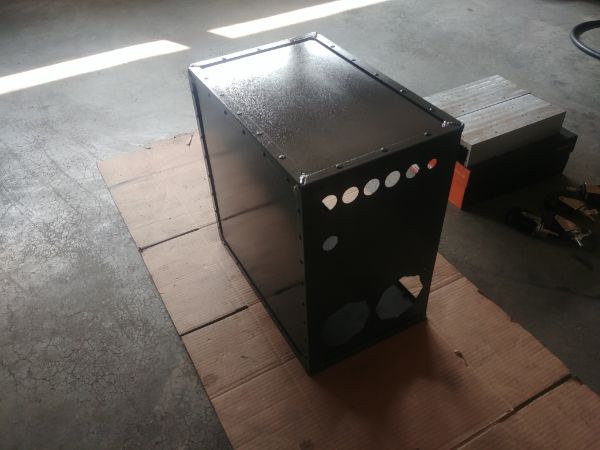
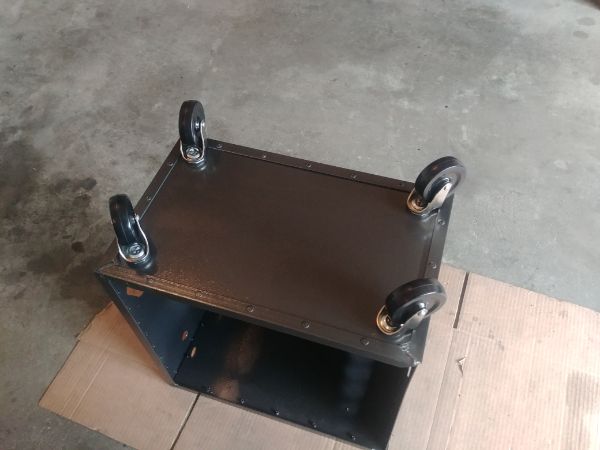
Originally I was going to use feet for the unit but instead went with castors. The unit will be fairly heavy once complete so I really don't want to be picking it up, I may however add some carry handles on the top at a later date.
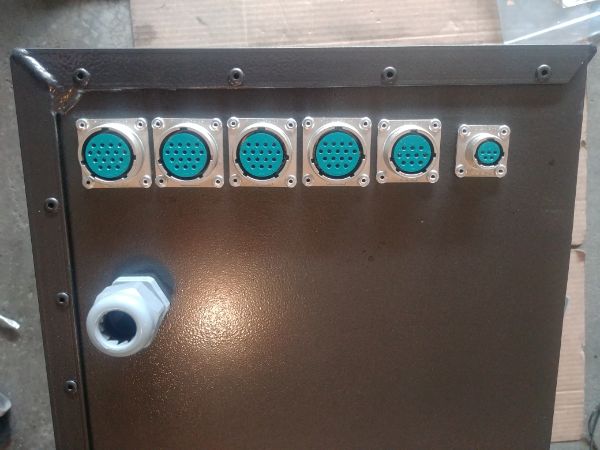
I used rivets to secure the electrical connectors in place, it's just a lot faster than using screws.
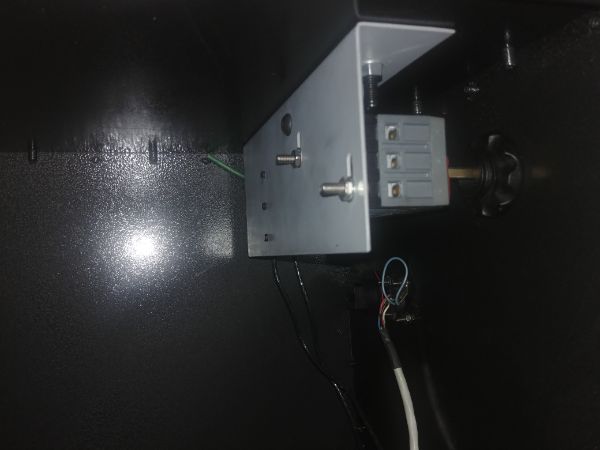
I recycled the old power switch as to save some money.

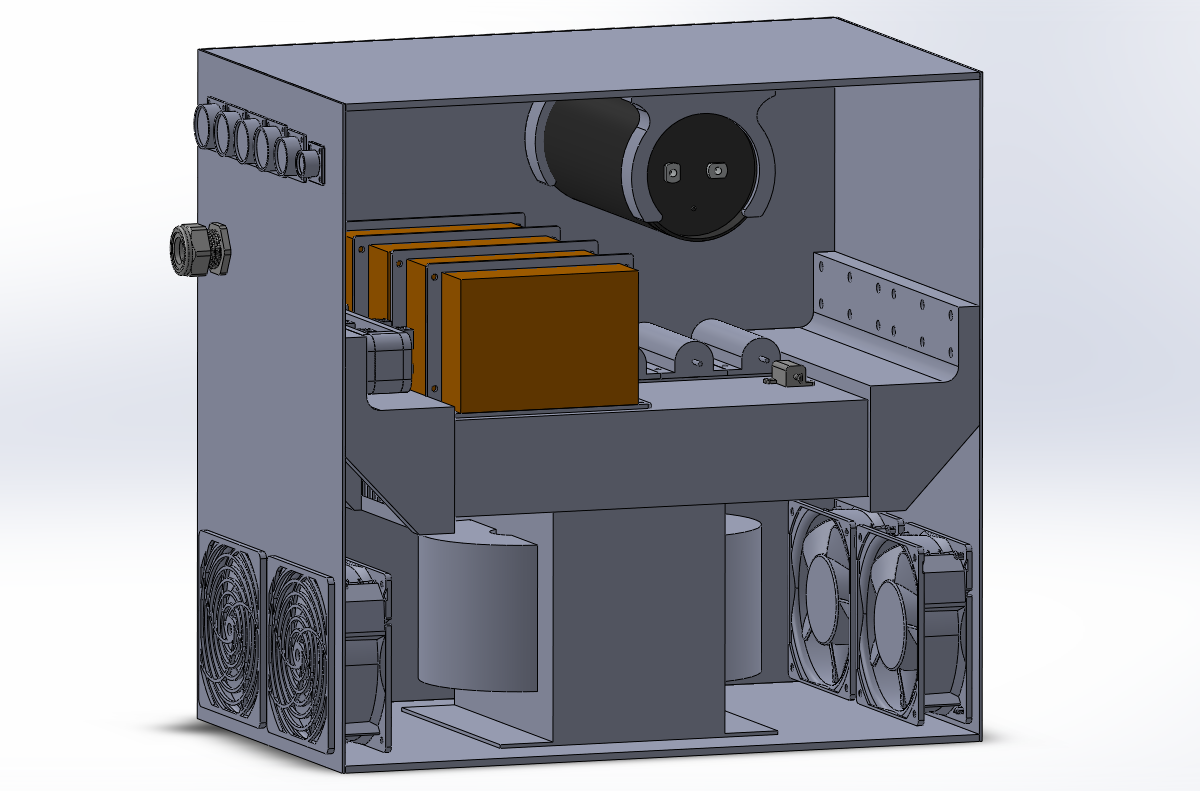
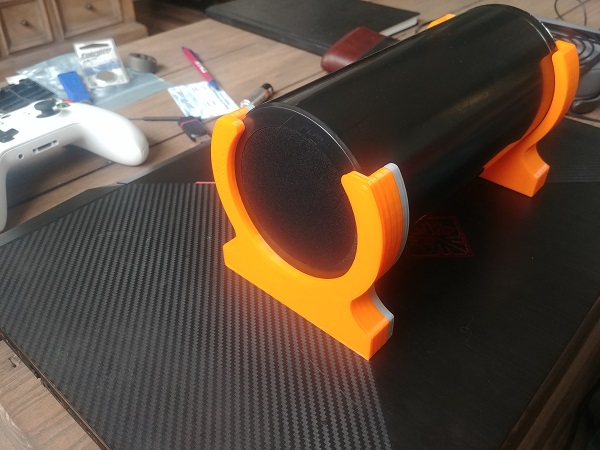
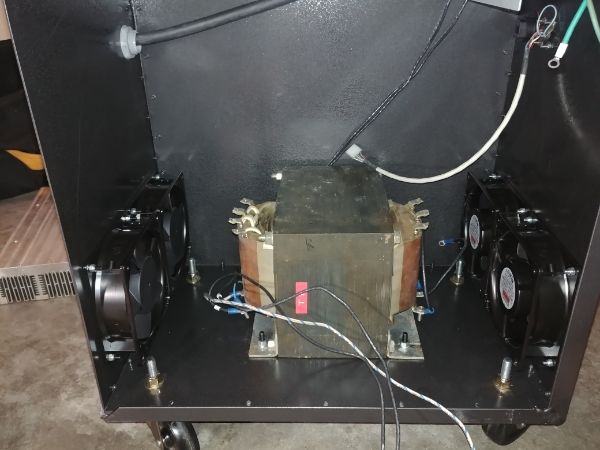
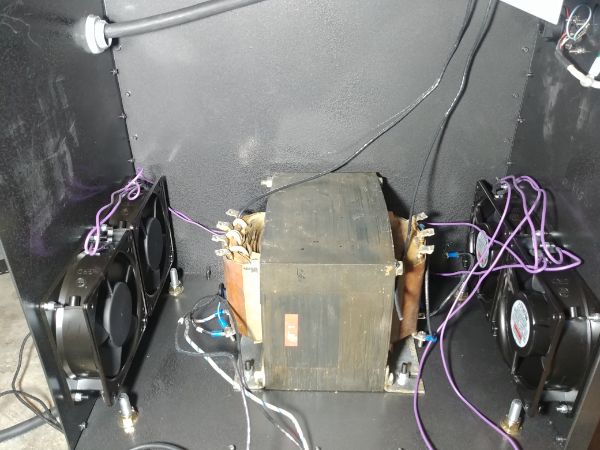
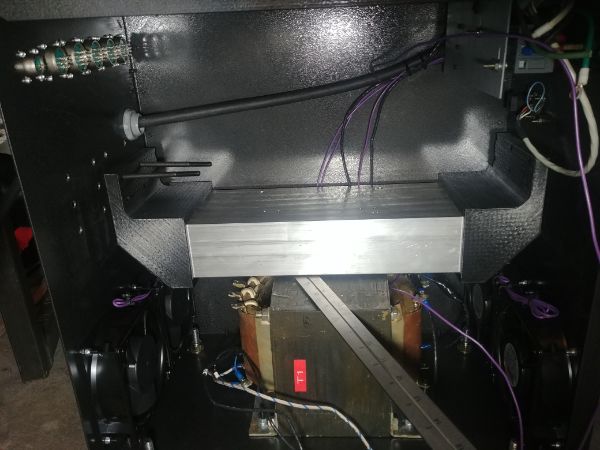
I chose to do some updating of the design as it has changed slightly. A large 3D printed frame will hold the heat sinks in place and allow the air to be directed through the fins and over the top of the transformer. I'm not at all worried about the heat in this unit as the cooling system is really overkill, that's why I can use a lot of plastic parts.
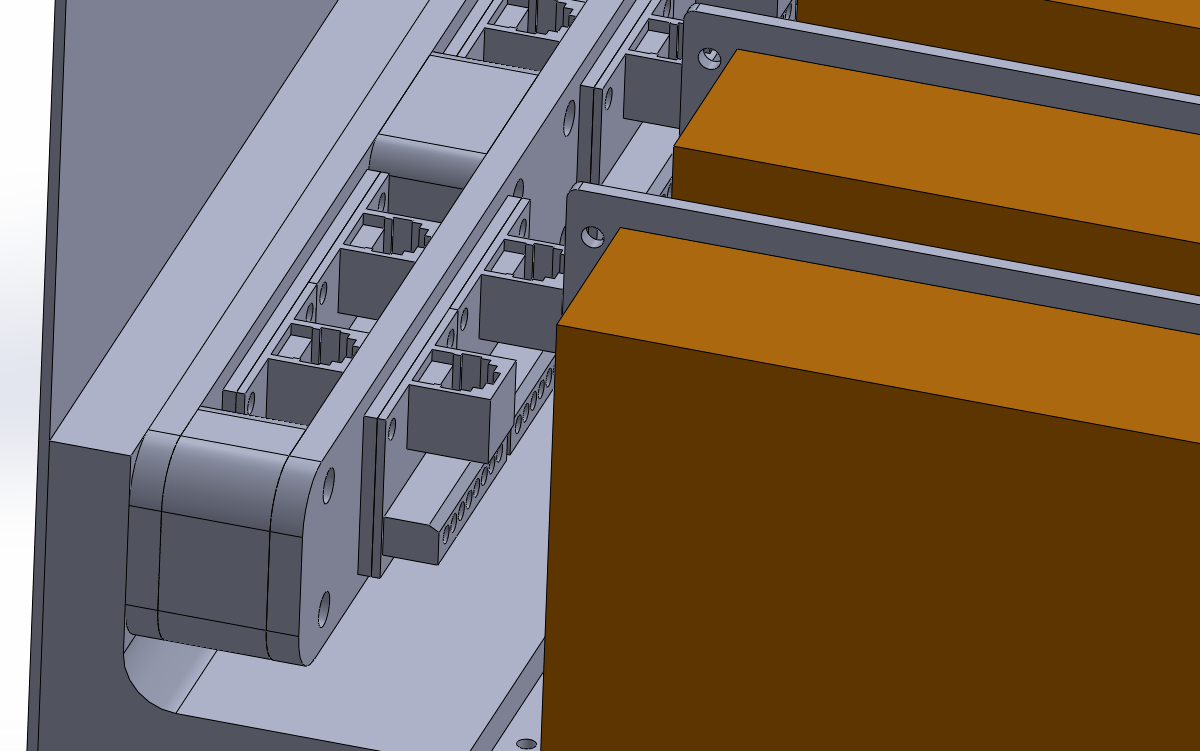
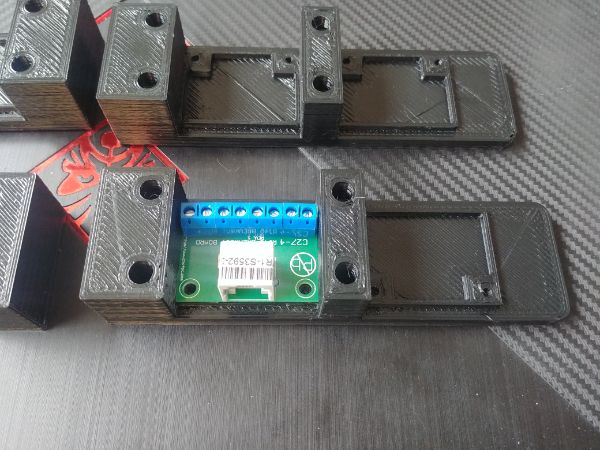
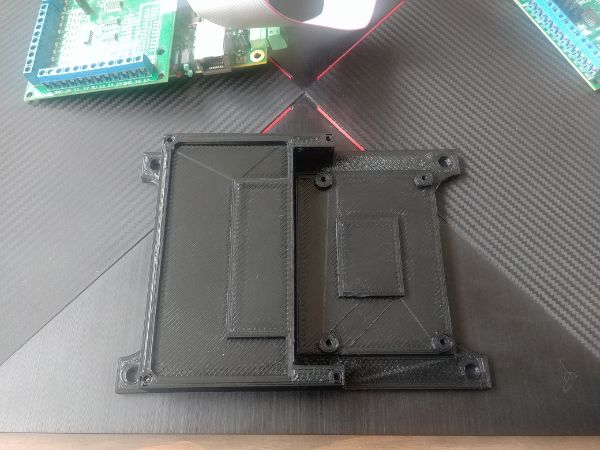
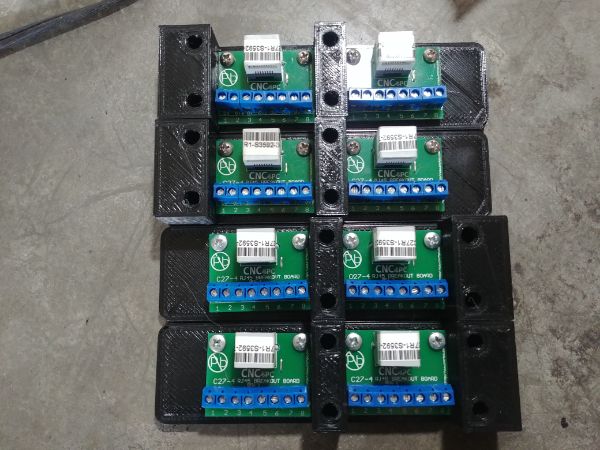
I have to use eight breakout boards to connect the RJ45 connectors on the drives to the connectors on the case. All of these mounts will be 3D printed and are designed to be compact.
The large electrolytic filter capacitor did not come with mounts, so I designed some to be 3D printed.
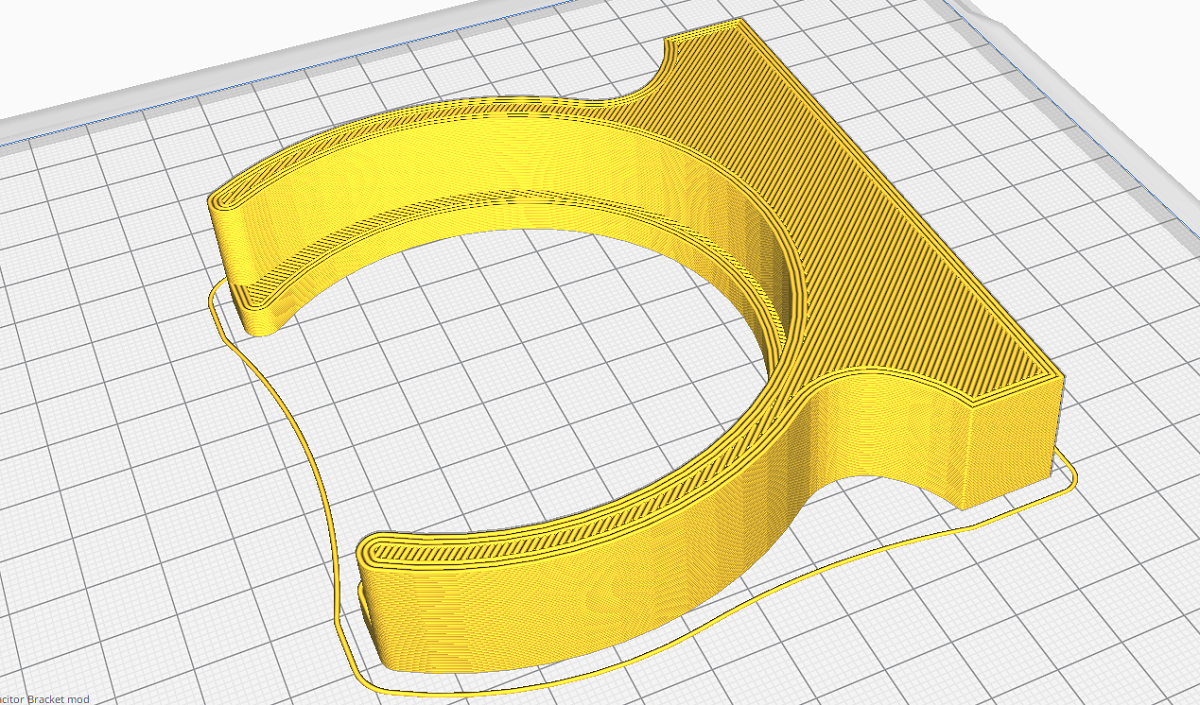
This capacitor is rated 200V at 47,000uF. It is almost four times larger than the original capacitor, but it will help to protect the drives, the manual does also state a capacitor of this size is required. Note that the difference in colours is because I'm using up the last of some reels.
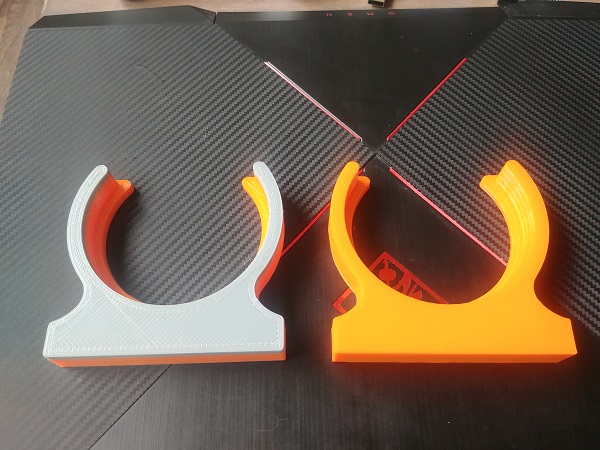
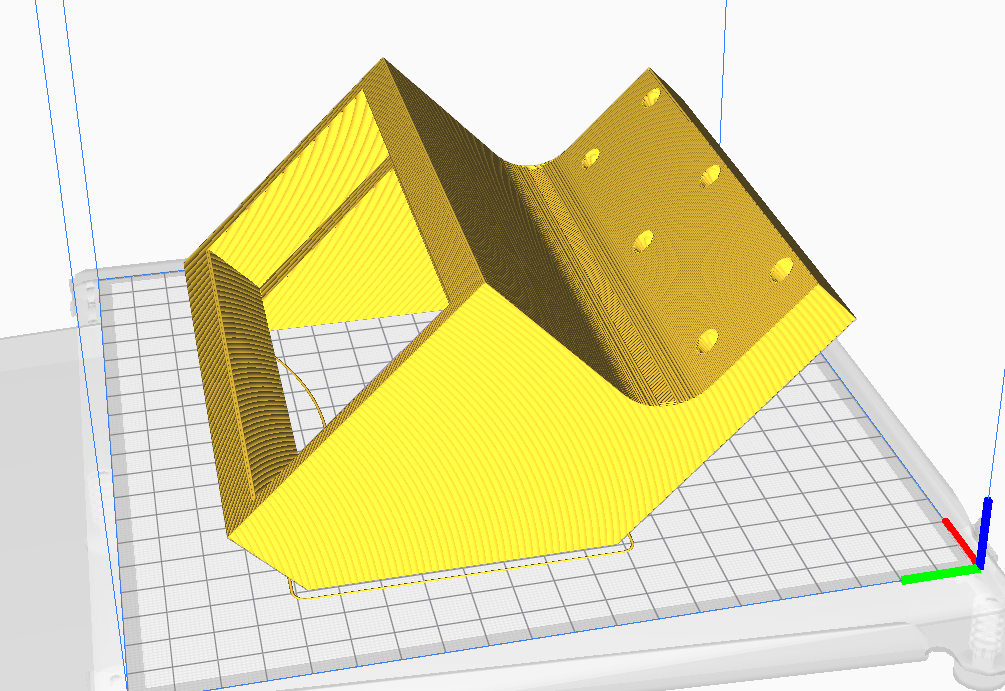
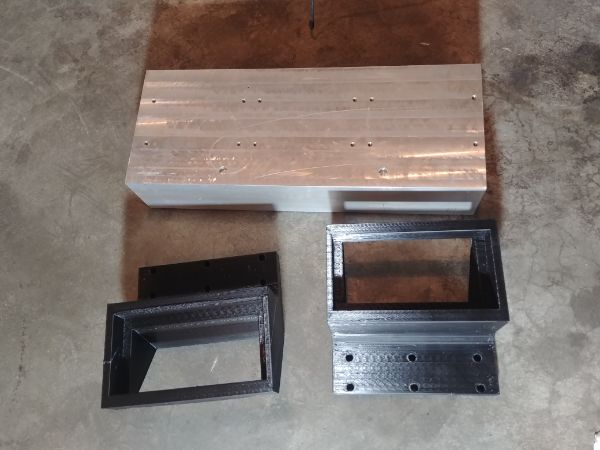
I started printing the mounts for the heat sinks, these are so large that I have to print them in two pieces.
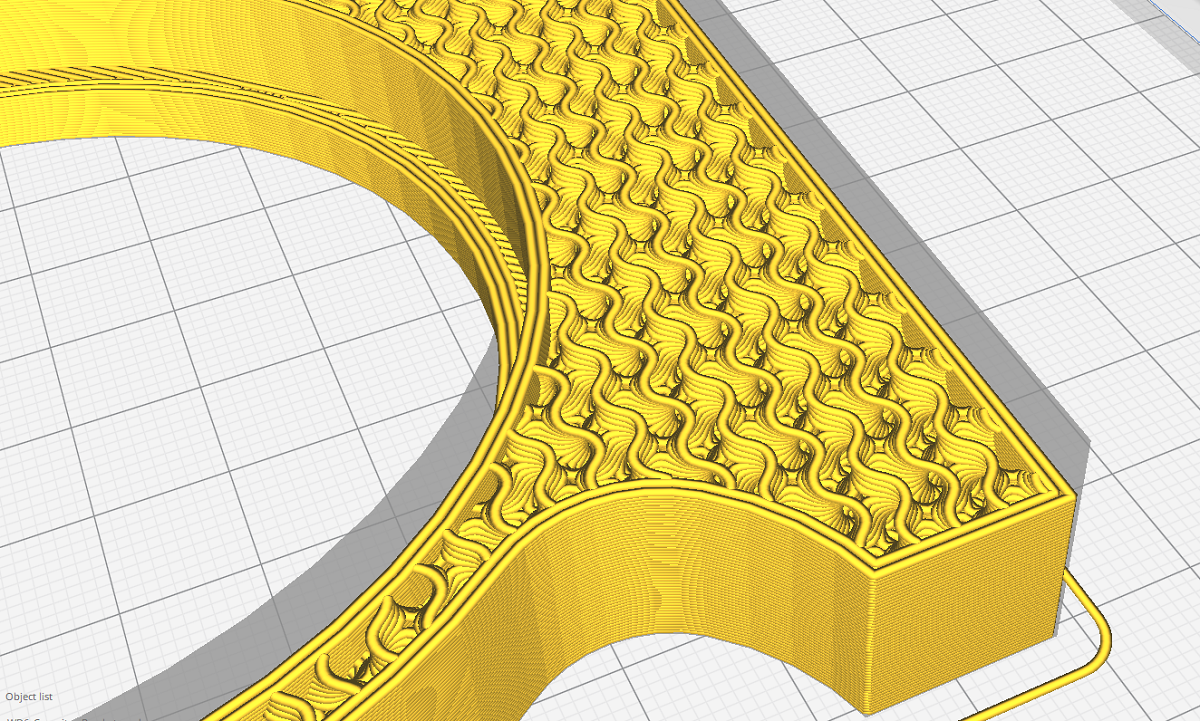
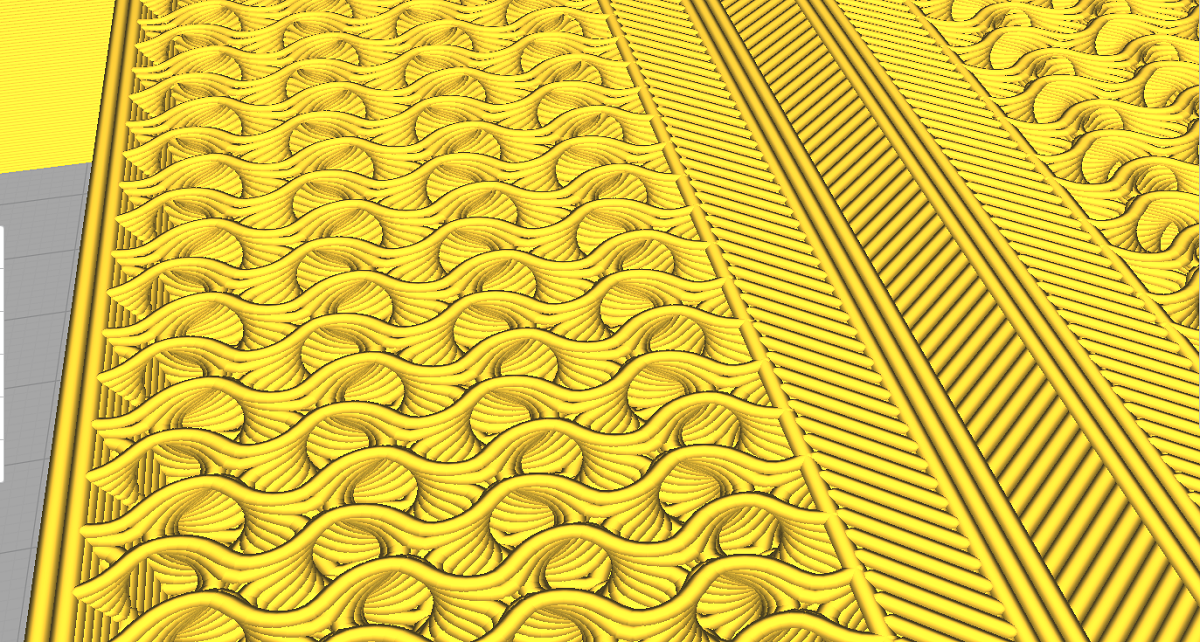
The slicer software now allows me to infill with a gyroidal pattern, this is supposed to maintain strength while reducing the amount of material, either way it looks pretty cool.
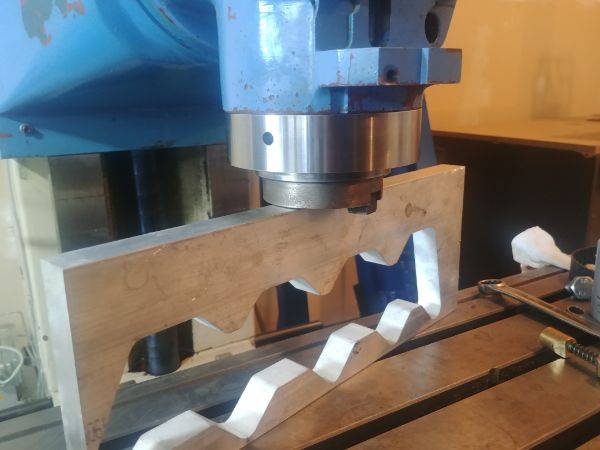
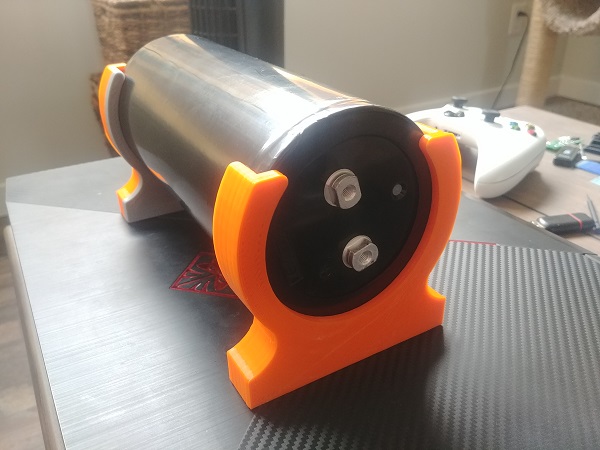
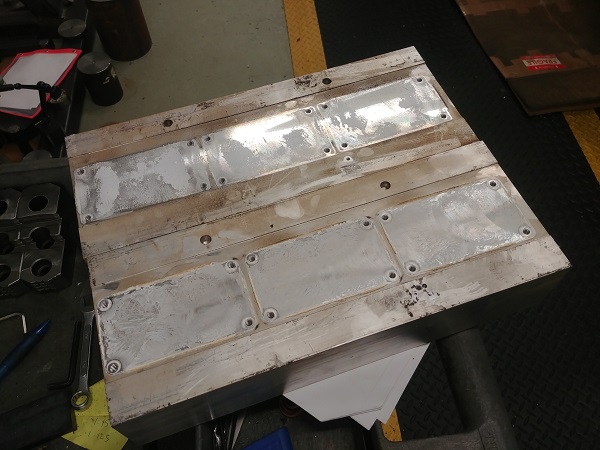
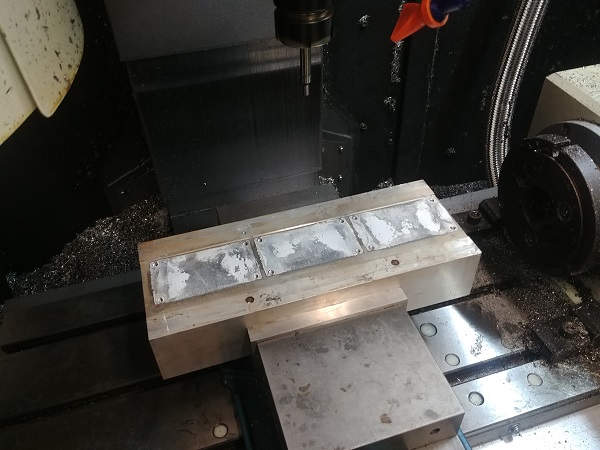
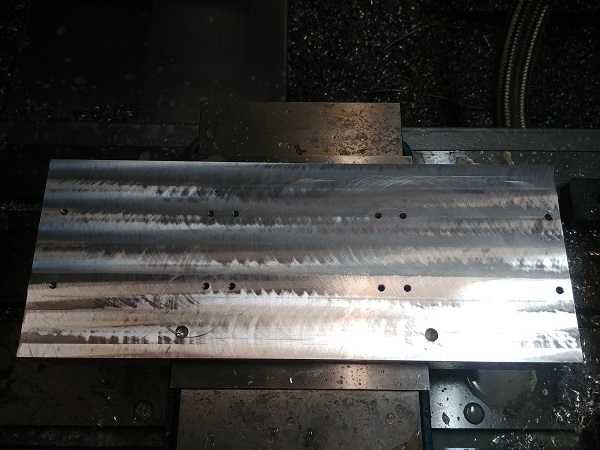
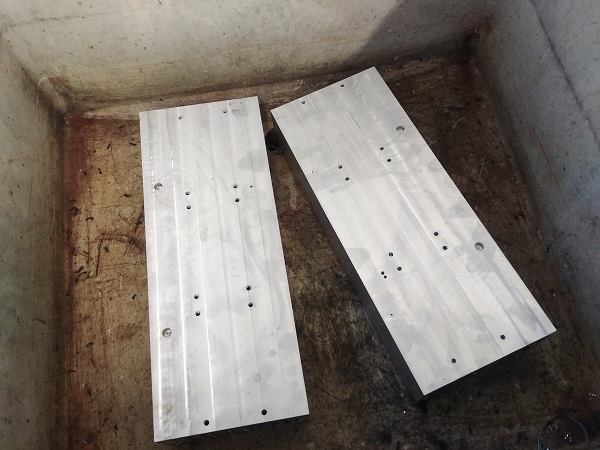
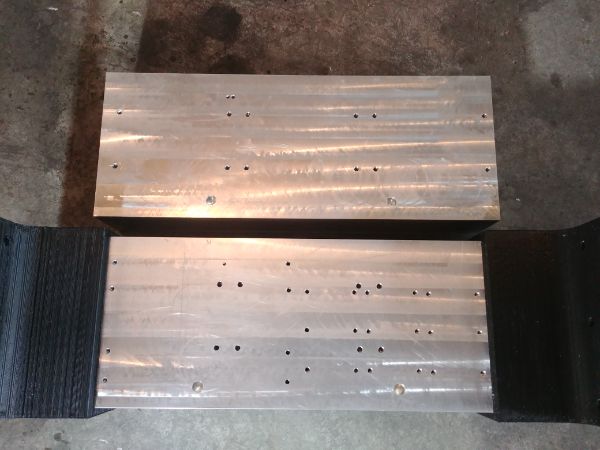
On a side note the heat sinks I'll be using are recycled ones from spindle drives. These are both identical, I used the mill in my lunch hour to skim them flat and to the same height.
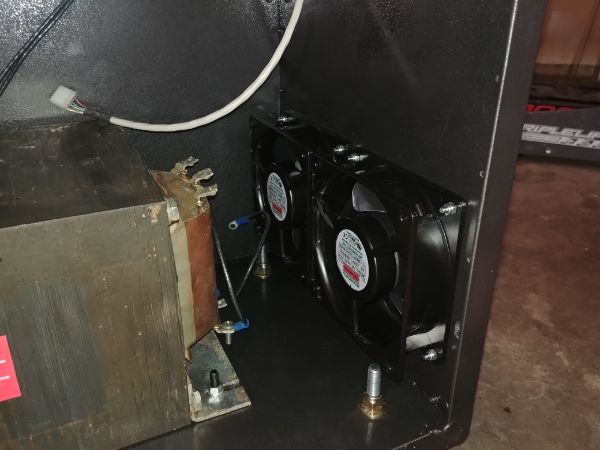
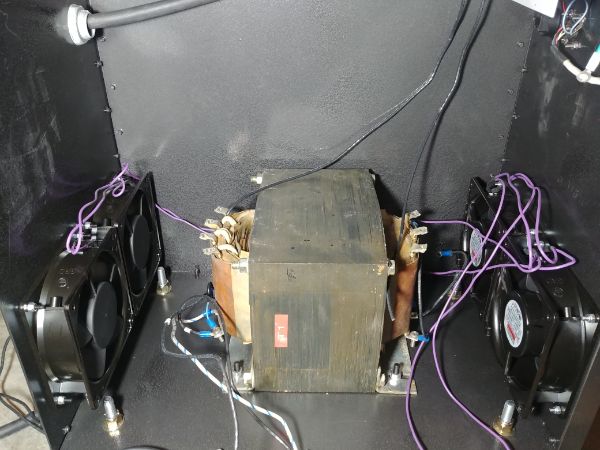
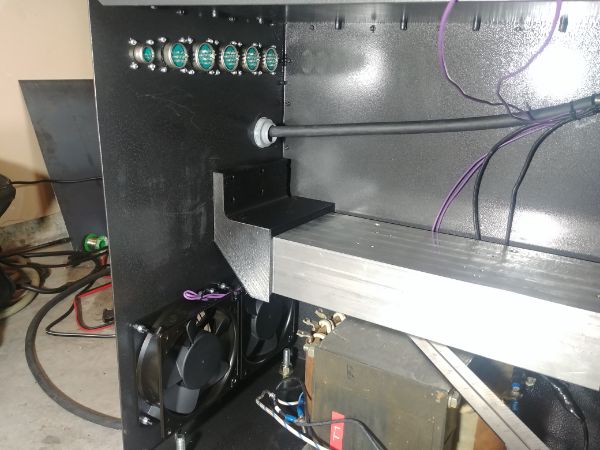
While the parts were 3D printing I chose to install the cooling fans.

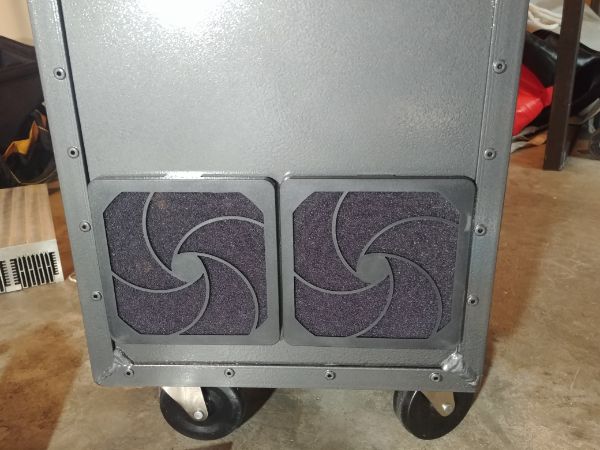
The front fans that draw the air in have replaceable filters, it will be in a workshop after all.
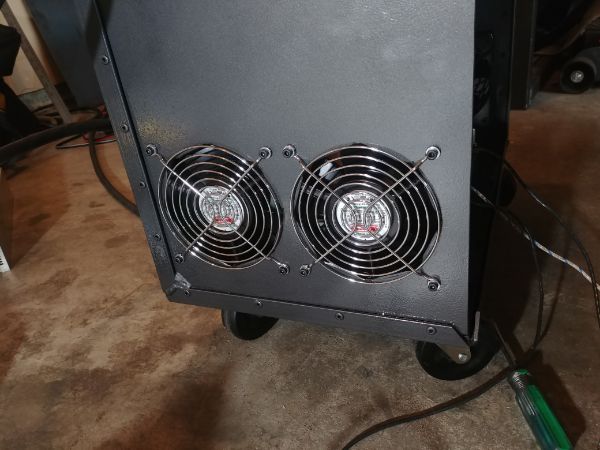
The rear fans use simple guards as to not restrict any flow.
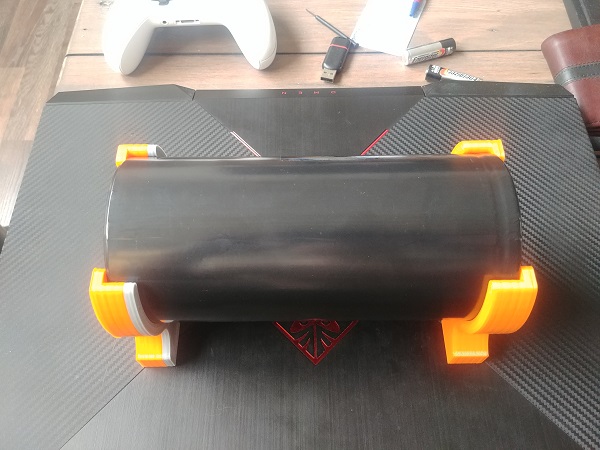
The first pair of heat sink mounts had printed and thankfully they fit.
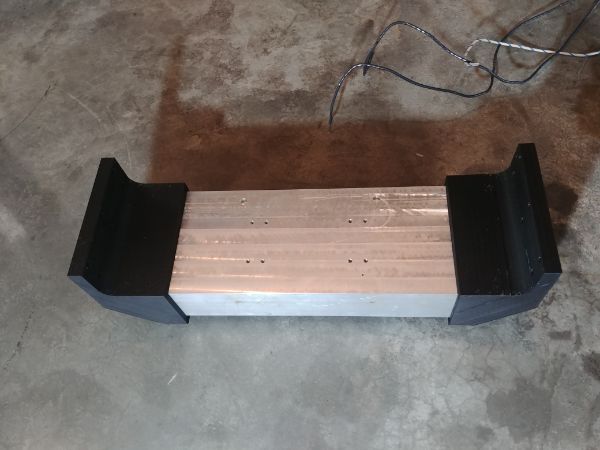
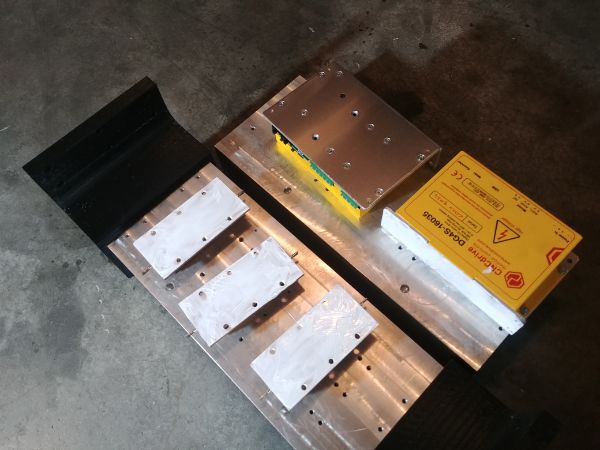
I made sure they would fit in the case and then laid out the components to mark the drill holes.
The holes were drilled and tapped to M4, I used a drill to tap the holes to save some time. The resistors and the drives were coated in thermal paste before installation.


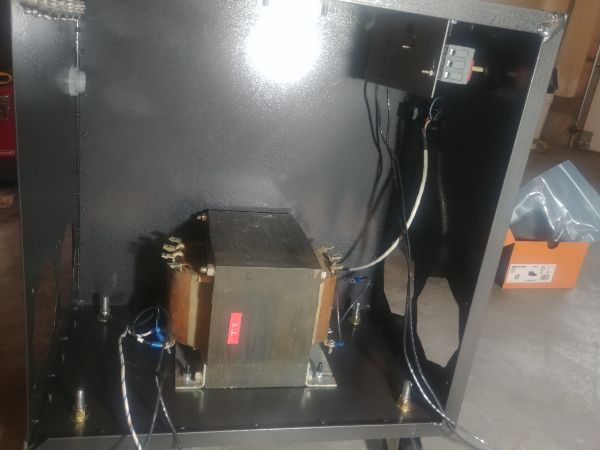
I wired up the fans and completed the high voltage section of the unit, this would be difficult to do with the heat sinks in place.
As the last mount printed I set some breakout board holders to print. These holders will connect the external connectors to the RJ45 connectors on the drives.


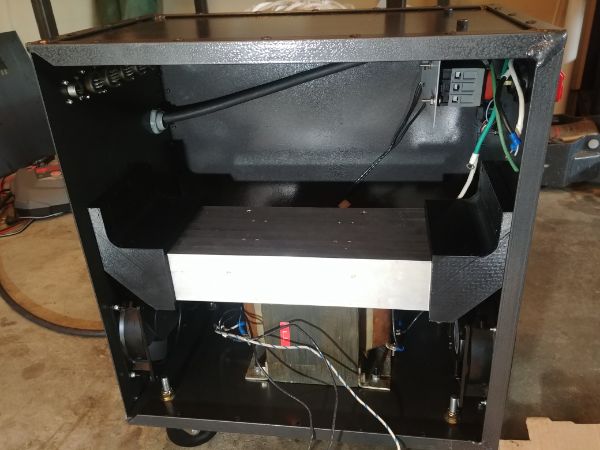
A heat sink was installed so that some holes could be drilled, the heat sink spaced an eighth from the transformer. I did manage to mess up by drilling some holes on the back in the wrong place, I will cap them off later.
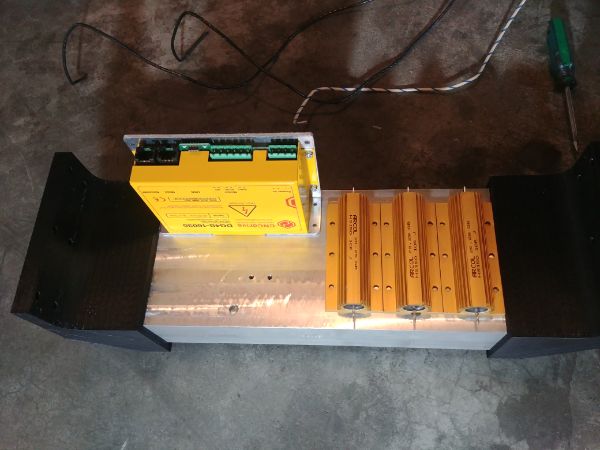
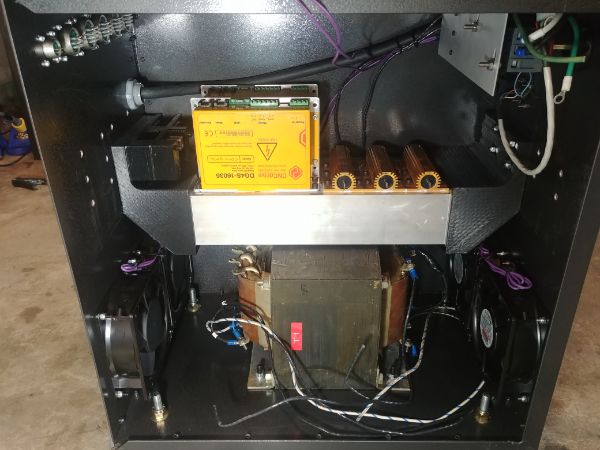
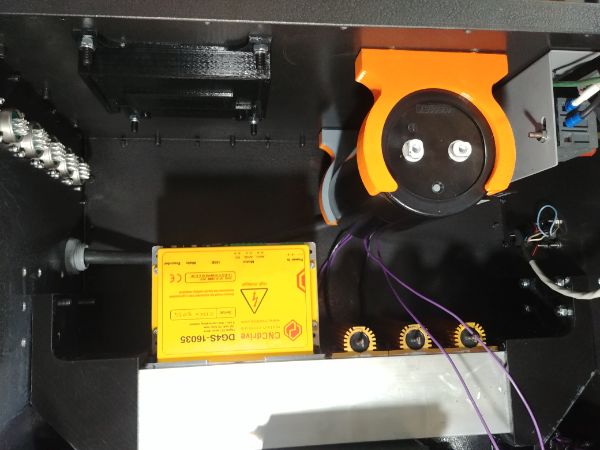
The X and Y axis drives are installed along with the dynamic braking resistors. I still need to purchase a fourth drive before installing the second heat sink. There will also be the bridge rectifier, bleed resistor and the dynamic braking transistor to install as well.
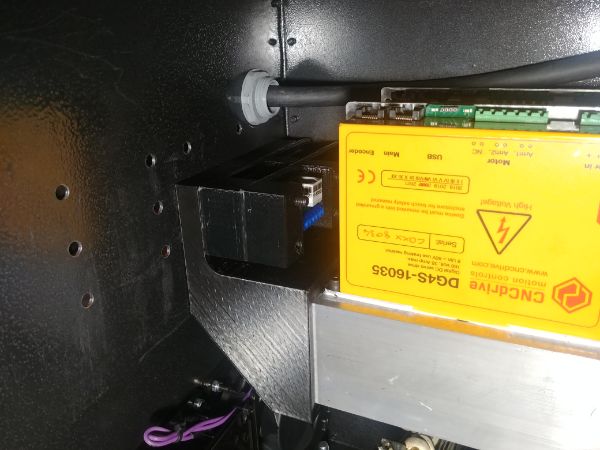
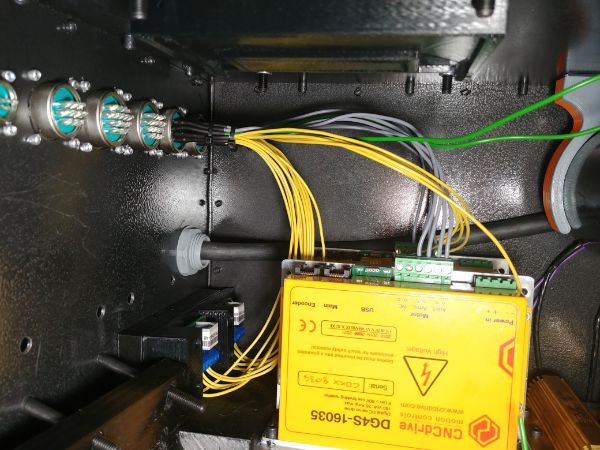
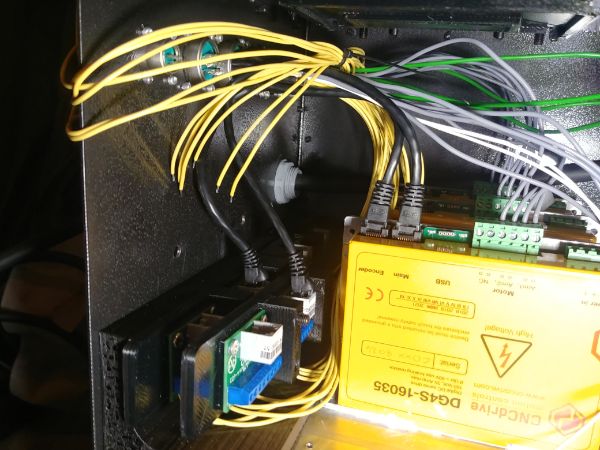
I designed and 3D printed a base for the control board, this uses an ethernet from the control computer.
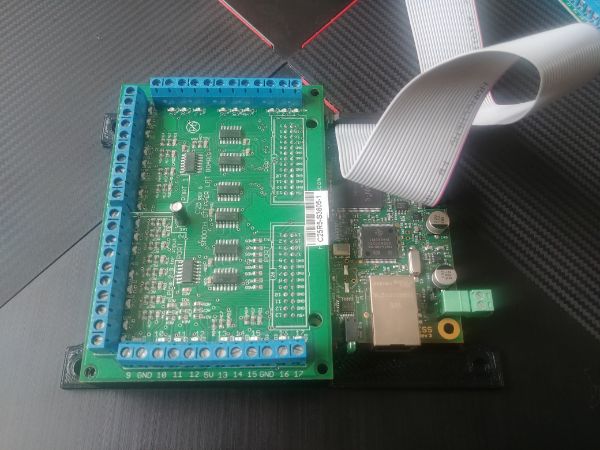
The drives use RJ45 connectors so I use these breakout boards to connect them to the main control board. I installed both the board mount and the filter capacitor.
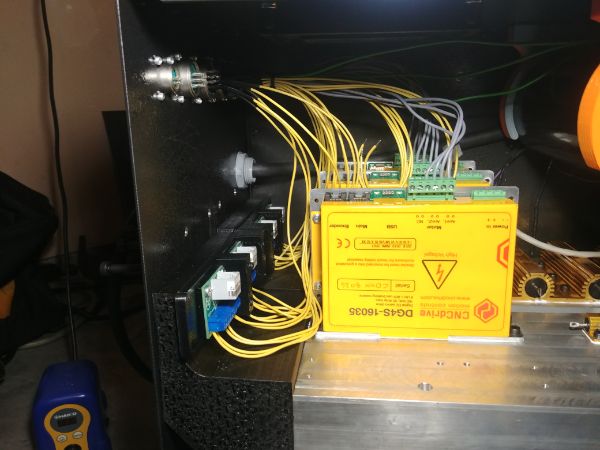
It was time to start some of the wiring, that is soldering wires to the external connectors.
I drilled out holes in the second heat sink for two drives, the bleed resistor, bridge rectifier and dynamic braking transistor. I will be soon ordering a forth drive to control the A-axis.
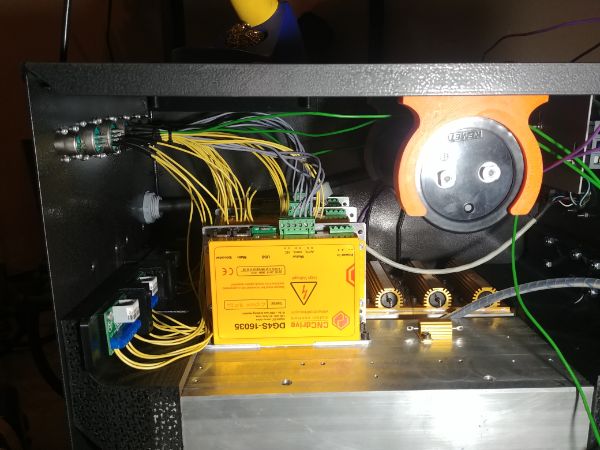
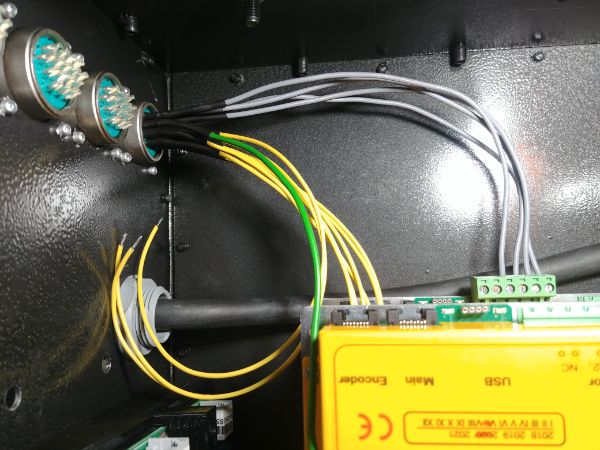
All of the wiring to the servo motors are complete, I am almost ready to connect the control.
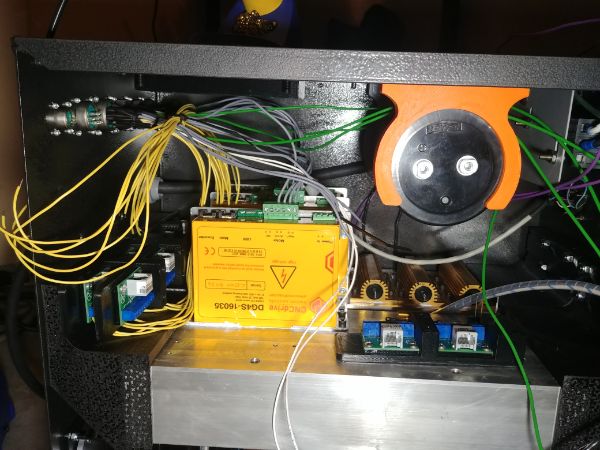
The extra wires from the servo connectors are the homing switches on each axis, these I will be connecting to the control pretty soon. I will then be wiring the control pins from the drives to the control. There is still the MPG, spindle control, tool probe, power supply and dynamic braking circuit left to do. I am so very close to getting the machine moving.
Hello, if you have enjoyed reading this project, have taken an interest in another or want me to progress one further then please consider donating or even sponsoring a small amount every month, for more information on why you may like to help me out then follow the sponsor link to the left. Otherwise you can donate any amount with the link below, thank you!