General Metal Fabrication
Work Bench
September 07/09/2014
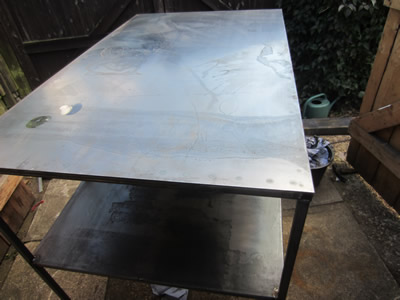
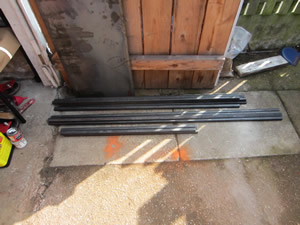
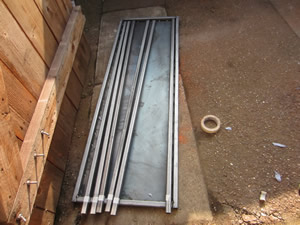
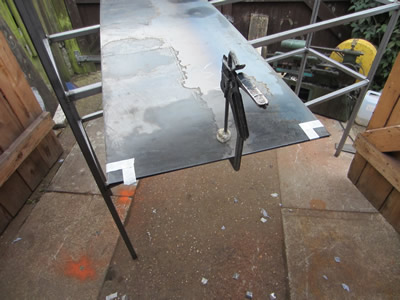
Today I started work on organising my workshop, I managed to get one of the benches done. There will be a smaller bench and two more racks to follow. I ordered loads of steel box section and several sheets of steel. I firstly tack welded some box section lengths down each side of the steel sheet.
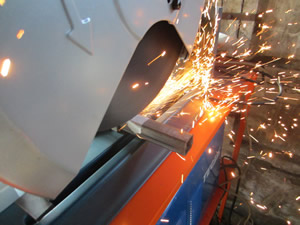
Using a chop saw I cut the centre pieces, these were tack welded to the sheet and then each corner of the box section was welded together. Since everything was aligned using the steel sheet (assuming its square) I used it as a template to make two of the legs.

Using a corner vice and several measurements I managed to get all of the legs square. I added a small shelf for the TIG welder to sit on, I used a chop saw to make a slit for the shelf to sit in one of the legs.
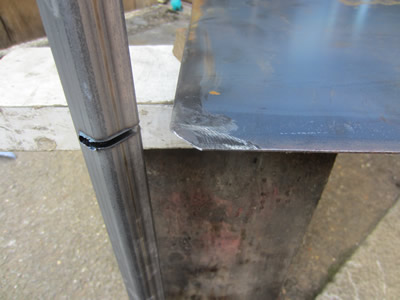
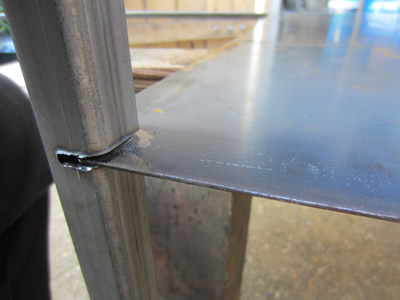
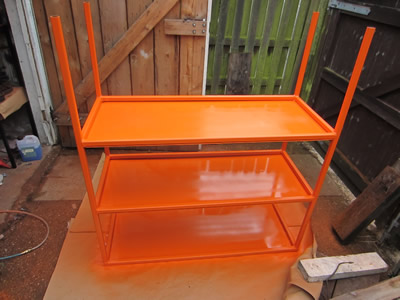
All the welding was then finished including the shelf, it was then all degreased. All of the metal came covered in a preservative grease, it can be welded without even removing it, but cannot be painted, I cleaned every piece down before welding which was quite time consuming. After a second cleaning I then painted it all using the paint that was actually intended for my car.

Work Bench 2
September 15/09/2014
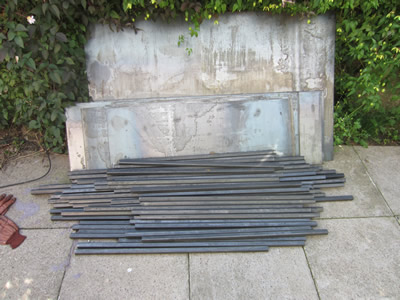
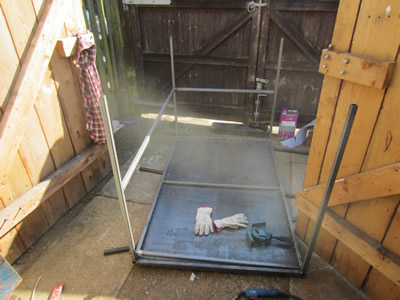
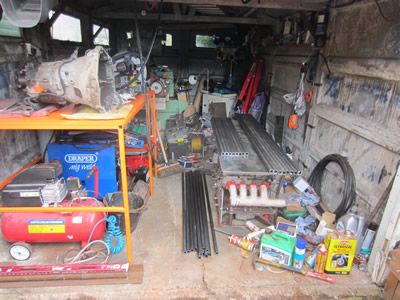
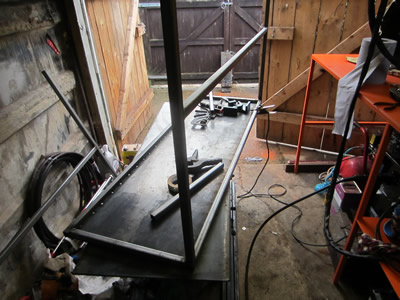
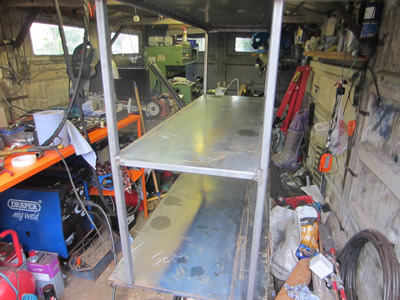
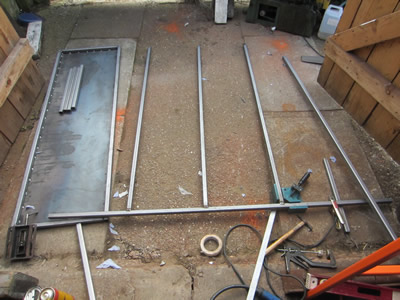
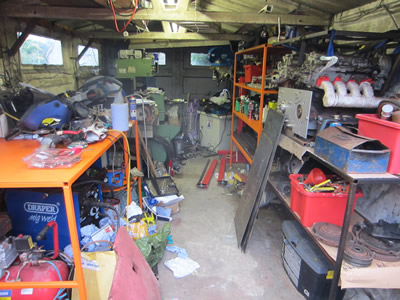
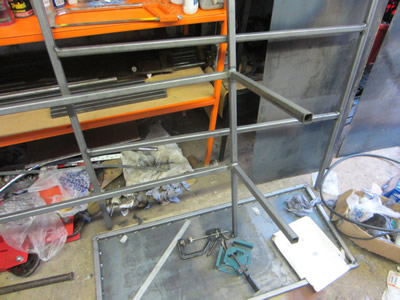
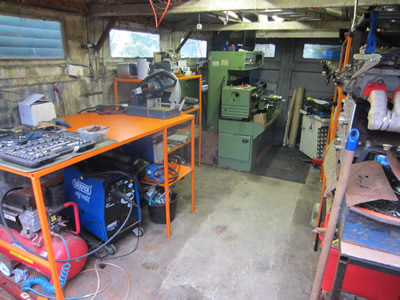
I have taken a week off from work to revise for a test, I'm also going to make use of this time by getting on with my workshop, today I built a second work bench. My garage has been in such a mess for a while, all because I have no where to put anything, and because some engines from another project have been put in my garage, there is very little room to move around. The first photo really doesn't do justice of how crowded it is.
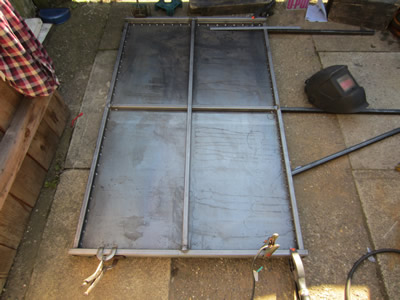
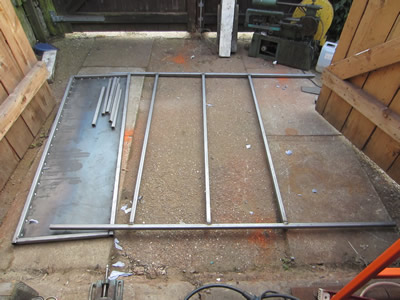
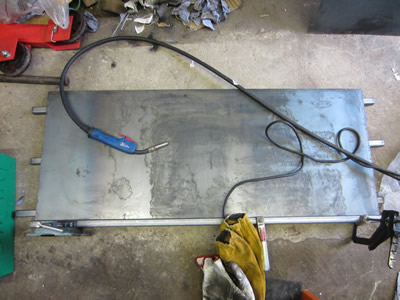
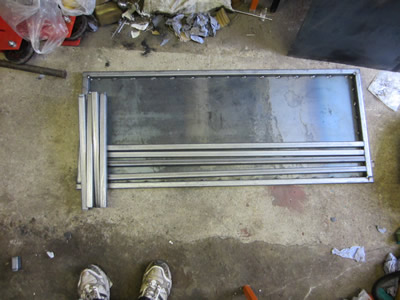
The first step was to de-grease of all the metal that I was going to use, this took about an hour to do even though there was only ten lengths of box-section and two sheets of steel. Then as a guide I spot welded a frame around one of the sheets, assuming they were square. I then used this as a template to make the "H" pieces for the legs.
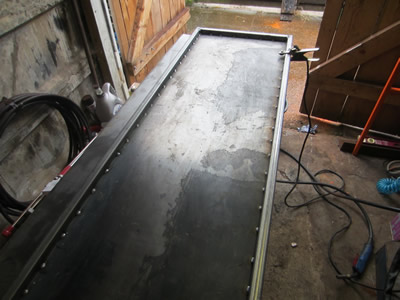
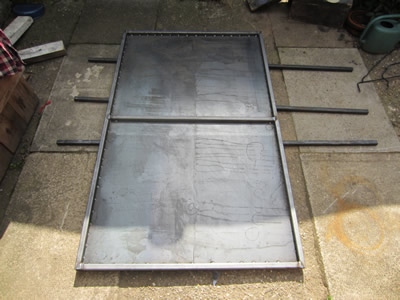
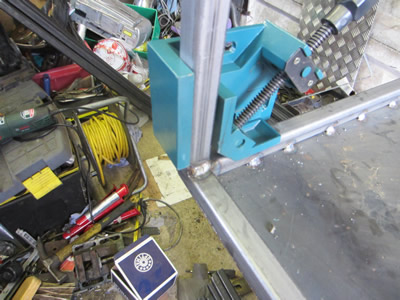
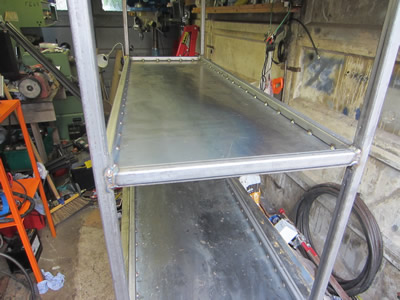
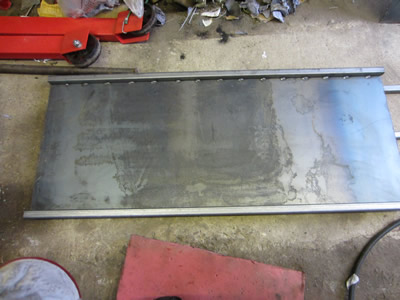
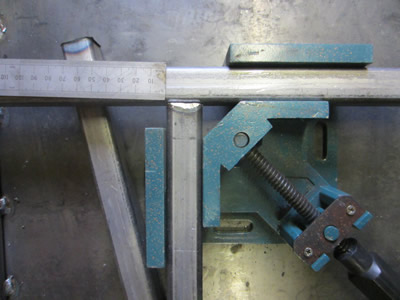
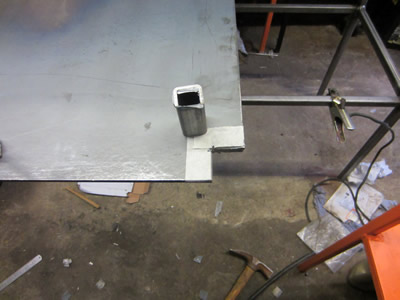
I used a 90° angle vice to weld the legs perpendicular to the top, if everything has been welded square then it would mean that the two centre struts as shown in the middle picture should slot in place with minimal effort or gap. I was quite surprised when they fitted perfectly, I don't have a great deal of faith in these angle vices. Before welding in the struts I first ground away the weld at each side, then welded them in place.

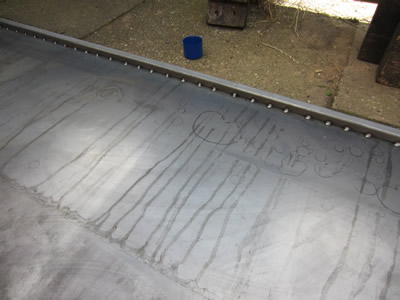
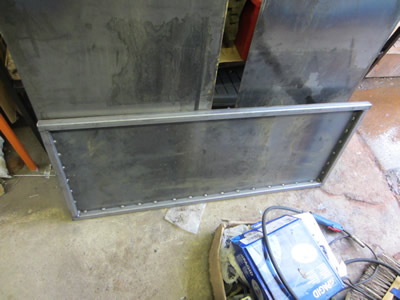
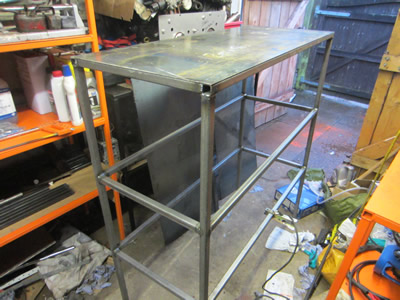
Then using a piece of box-section as a template I marked out an area of which to cut out, on each corner of a steel sheet. This sheet will be used as the middle shelf, the cut out's are to allow it to fit around the legs, the cut out's were cut 4mm bigger to allow for the welds on the frame. I welded around each of the corners, then flipped the table and spot welded the underneath, the bench is now complete and ready for painting.
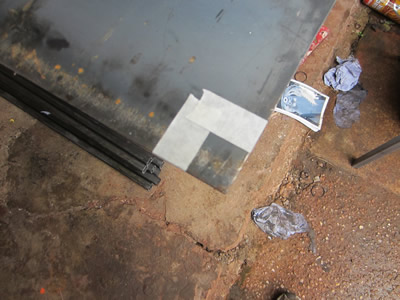
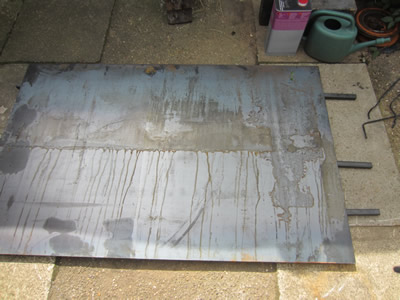
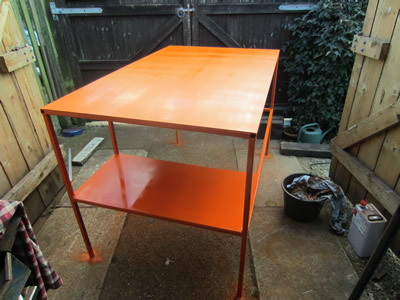
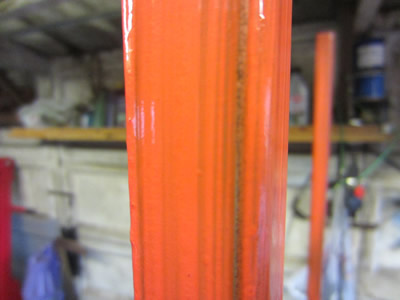
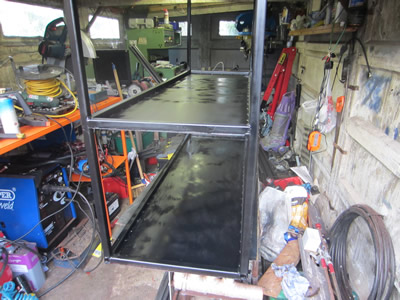
I prepared the table ready for painting and decided to use a plastic coat paint, it was the worst decision. The paint would not cover and neither would it dry, the first picture shows how streaky the paint is, the large plate sections were even worse. So instead I removed all of the paint which took around an hour, I then painted it with some matte black paint that I had spare, I would have used the orange, but it was raining outside and the over-spray from the gun would have gone everywhere inside the garage. After waiting about an hour for the paint to completely dry, I cleared where the bench was going, put it there and then dropped my engines on the top of it (Gearbox to follow). I then layed a piece of paper down on the middle shelf and put the remaining box-section on it (not shown in photo). There is probably a total weight of 300kg, the bench seems solid and doesn't even rock.

There are two racks to follow, one for general storage and one for the lathe accessories. The general storage rack should allow me to clear up my garage and allow it to be a functioning workshop.
Storage Rack
September 16/09/2014
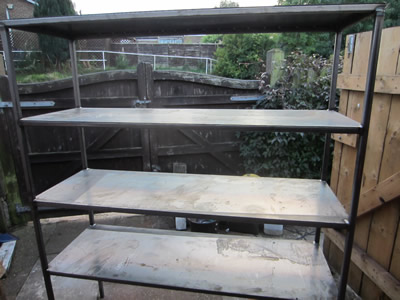
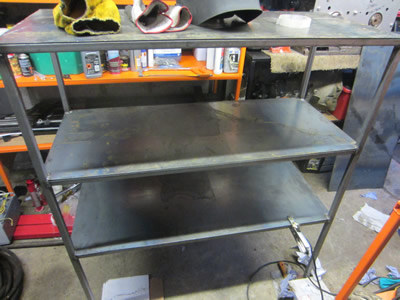
One of the racks was next on the list, and yet again I had to de-grease all of the metal, which took around an hour. I then welded the rack top together and put it aside. I then cut all of the piece's of metal on the chop saw and started construction on the rack legs.
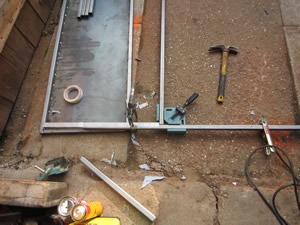
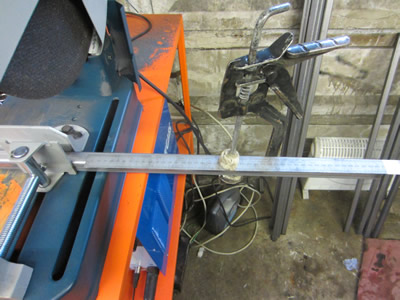
Using the 90° vice and a ruler, I measured out the legs and welded them together.
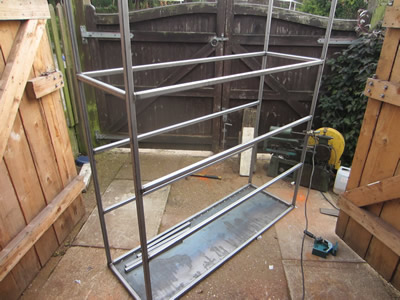
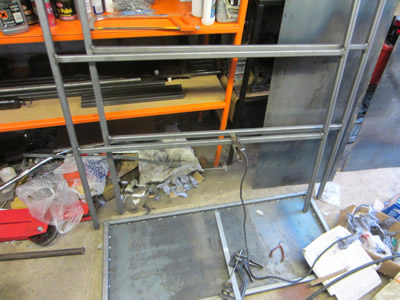
Further welding and I completed the frame. I sandwiched three steel sheets together, cut out the corners using a grinder and then welded these shelves inside of the rack. I only welded the corners of the sheets as this will be sufficient for the purpose they are intended for.
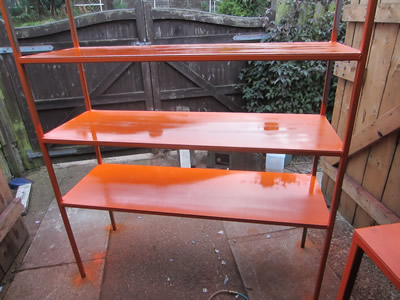
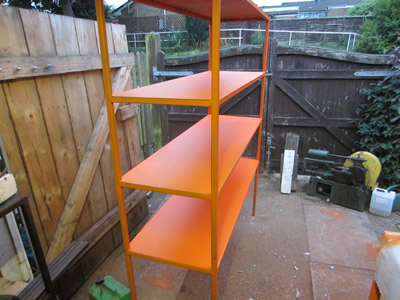
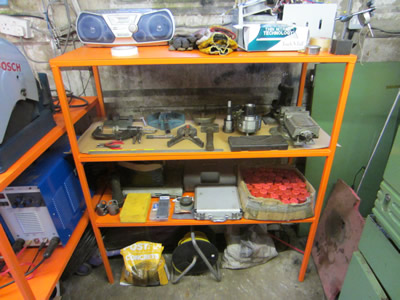
I thought that I would give it a go again using the spray gun, the whole lot orange again. Now that I have this racking up it now means that I have the room to put things, the last picture shows how over-crowded my garage is. When it gets to friday (tuesday today), I will have the time again to finish the last rack which is intended for the lathe, then my workshop should be complete.
Lathe Rack
September 19/09/2014
The final rack has now been fabricated, it is a little different in design from the original, basically I removed 500mm from the height and removed the top shelf. Yet again I used one of the sheets as a template, assuming that they are the correct size and square. I have only tack welded the top sheet on both the work bench's and both racks because the top shelf is the one that can hold the most weight, it is also likely that larger heavier objects will be placed on top.
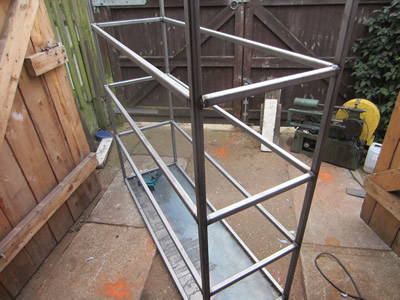
I cut all of the tube piece's using a chop saw, I then started construction of the frame.
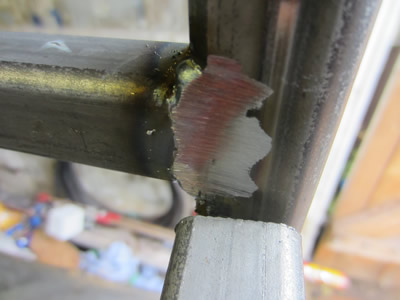
I used my 90° vice to get everything perpendicular, which the legs were below, although when I welded the smaller struts (as shown in the last picture) they somehow didn't. It all required a bit of twisting and effort, but I got there in the end, and it actually ended up fine.

I started the construction a little late as I had to smash up the previous bench and do a lot of moving around, but I got there in the end and managed to cut and weld the shelves in. Unfortunately I did not get the time to paint it, so I will have to do that tomorrow, hopefully it doesn't rust too bad.
September 20/09/2014
Today I finished the rack off, tidied the garage and now the workshop is complete.
Hello, if you have enjoyed reading this project, have taken an interest in another or want me to progress one further then please consider donating or even sponsoring a small amount every month, for more information on why you may like to help me out then follow the sponsor link to the left. Otherwise you can donate any amount with the link below, thank you!