Melting and Casting Aluminium
Back in 2008 when I was about 15 I saw a video of someone melting down some scrap aluminium with a homemade foundry. I first experimented by making one out of a plant pot and actually managed to melt some aluminium using coal as a fuel source. I wanted something bigger and better so decided I wanted to make one from an old gas bottle. I spent a lot of time searching around for a suitable insulating refractory material, there were a couple of people making it from cat litter and cement. I managed to get a large sack of refractory cement from a local supplier for about £20 which was cheaper that making the fake stuff, which was great because I was in school and had little money at the time.
All I had was an old stick welder with huge rods and a hacksaw, I managed to get someone to grind the top off an old gas bottle for me and then proceeded to sawing up some scrap metal I had. I made a progression of holes at the base of the bottle and welded a couple of steel tubes coming off it to supply air, the whole thing was then welded down to an old sack barrow. I mixed up some cement and lined the bottle, it was more like a putty and took me quite a bit of time to do, ensuring there were no air pockets. I left it to set for a couple of days and then lit a coal fire inside of it using a hair drier as a source of air. I used an old mug as the crucible and hey presto I had some molten aluminium.
A few days after I got hold of an empty disposable welding bottle, chopped the top off it and used it as a crucible. Coal really stunk so I opted to go for charcoal instead and it seemed to transfer heat a little better towards the crucible. I had managed to melt a litre of aluminium and cast myself some 30mm aluminium rod to use in the lathe, which was great. I remember running it for a few hours at a time and the refractory cement worked so well that I could still touch the outside. I didn't have enough money to make any moulds and the foundry couldn't be used as a forge so I left it in a shed. A year after my computer hard drive failed so unforunately I lost all of the constructional photo's.
10/02/2016 - February
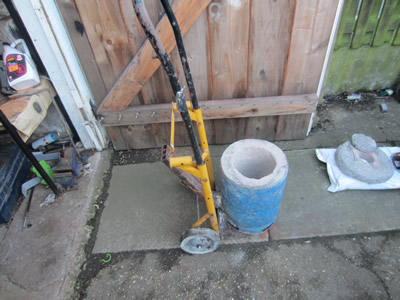
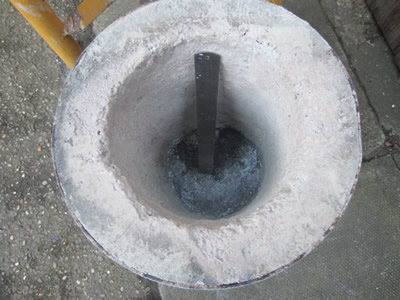
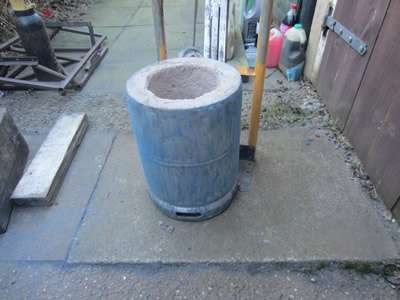
Eight years later and I still have the foundry so I thought it was about time that I did something with it. It's about 14 inch deep and the bore is 8 inch wide. The lid has no frame to it and I fear that it will likely break in half, so if I come across another bottle I may make a proper lid for it. I'm not even sure if the blower I've found will supply enough air to melt metal in a resonable time.

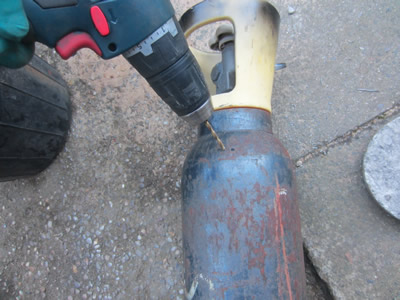
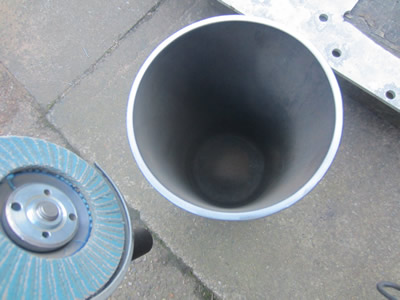
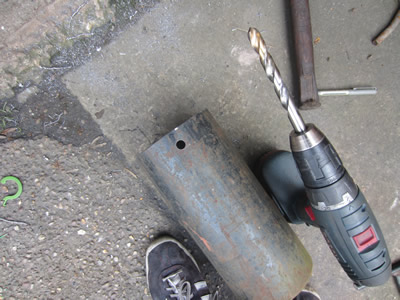
I chose to recycle one of my empty CO2 welding bottles. I first drilled a hole in it to ensure that it was completely empty, then chopped the bottom off at a height of 12 inch and then ground around the edge to remove burrs. This will serve as my crucible, I now need to create some kind of a handle as this thing will nearly hold 4L or 10.5kg of aluminium.

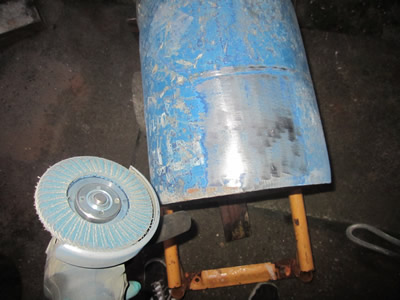
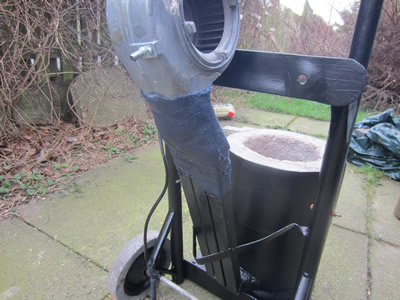
I thought that I would first clean up the foundry before melting anything in it. I had quite a lot of bed liner left from a past project so I figured I could use this as it shouldn't get too hot. (Bed liner is two part resin used for the pickup truck bed for protection). I first ground down the exterior and then proceeded with trying to spray the liner, the temperature was 5 degrees and it wouldn't spray through the gun. Instead I chose to brush paint it, and the only brush I had was a half inch one, so it took a while, but overall it came out ok, there were brush marks but considering it's viscosity and what I had I think I did rather well.
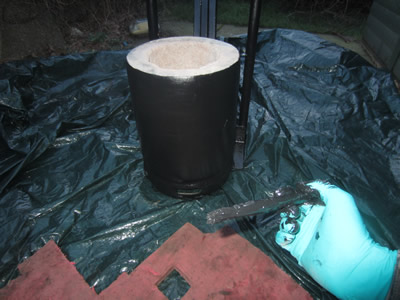
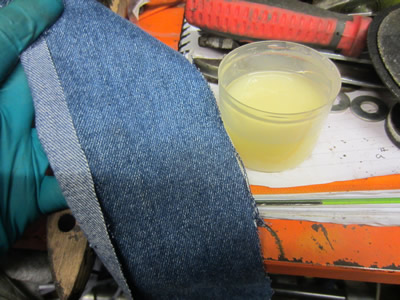
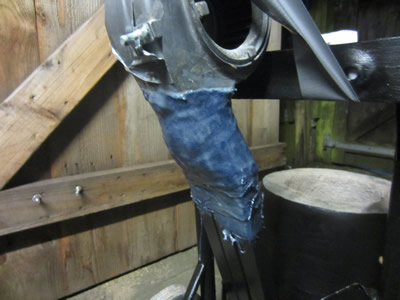
The next step was to fix the blower to the induction pipes, so I held it in place with duct tape, mixed up some epoxy resin and wrapped it in place, I used denim fabric as it was free and is surprisingly strong. I wasn't too sure if the blower would be big enough but it did come from a 25kW gas boiler, I am running charcoal and I'm sure power will be less, but I'm not sure how much less.

The next day the epoxy had set and there was no reason why I couldn't run the furnace. I first wired up the blower motor and ensured that the previously exposed terminals were covered, safety first. I created a sturdy handle for the crucible as dropping it would be unthinkable and drilled some holes in the crucible itself. I also cut up a load of scrap aluminium from past projects, it was ready to melt. I picked up a cheap bag of coal, not my first choice but it was all they had. At first all seemed to be going well but as more of the coal caught fire I started to get more smoke, it got so bad that it was billowing yellow smog and I had to douse the fire with sand. It was so bad that I didn't get any pictures but the inside is lined with thick black soot, I need some clean burning charcoal.
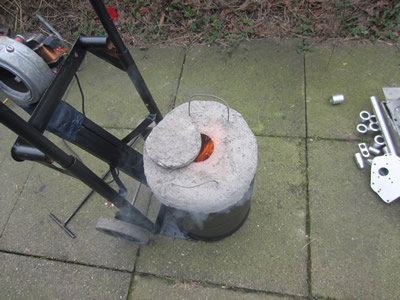
My first test with coal proved to me that the blower was sufficient for the task, but coal as a fuel was not.
We ended up with a string of bad weather for a while andsomehow with all the confusion of selling all fo my workshop I managed to forget about firing up the forge again. As of (May 2016) I'm living in Canada, I left it in the UK but I doubt it will be there if I go back.
Hello, if you have enjoyed reading this project, have taken an interest in another or want me to progress one further then please consider donating or even sponsoring a small amount every month, for more information on why you may like to help me out then follow the sponsor link to the left. Otherwise you can donate any amount with the link below, thank you!