Grappling Gun - Page 2
October 27 / 10 / 2015
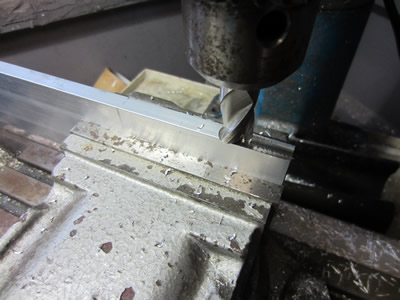
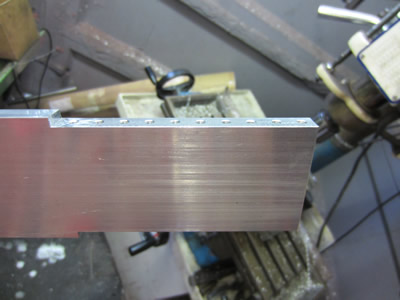
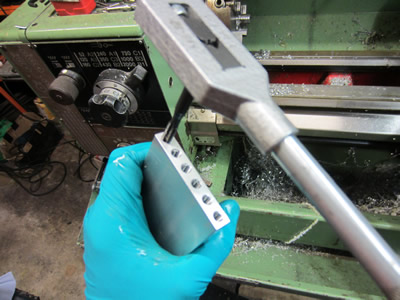
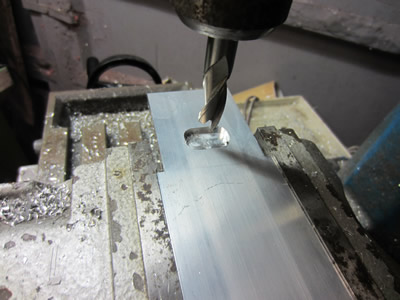
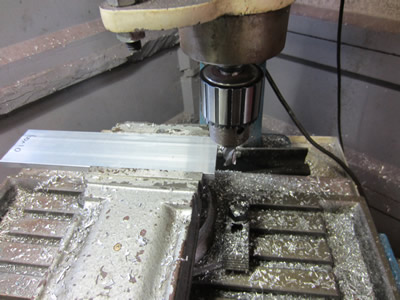
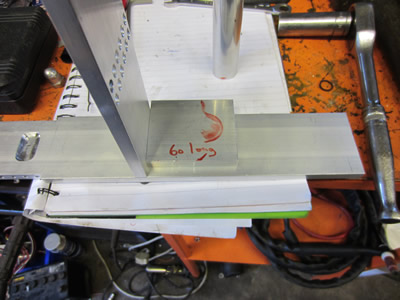
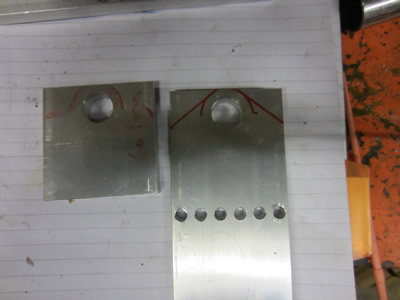
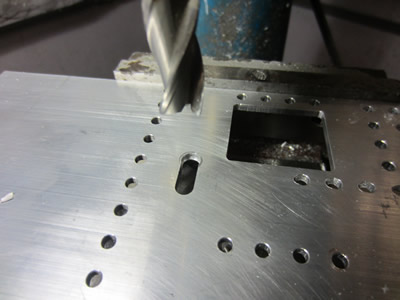
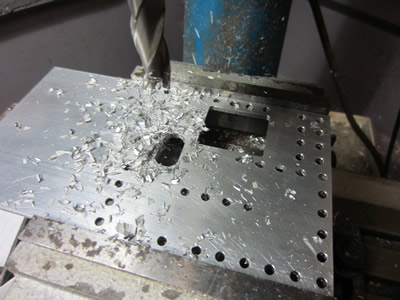
I got some more aluminium through the post which will be used to make the rest of the chassis. The first step was the machine the sides down as it needs to slide between the sheets that I drilled earlier, I then centre drilled some dimples ready for drilling.

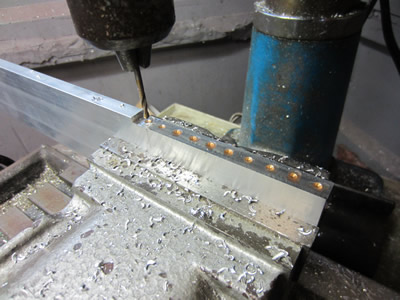
These dimples were then drilled and tapped, this took so long to do.
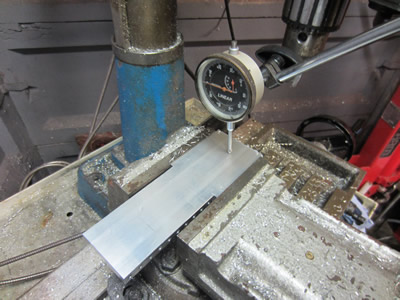
It was chopped down with the hacksaw and then milled to the correct height.


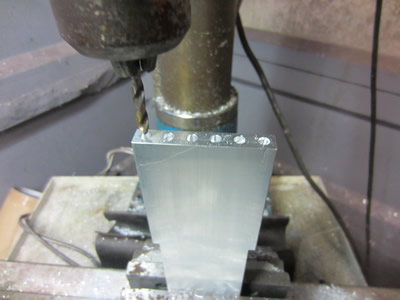
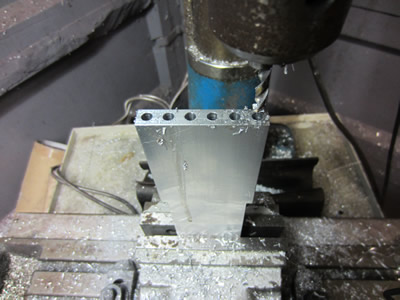
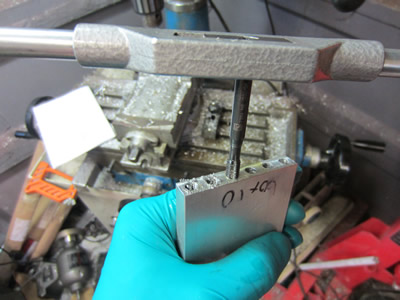
It was then placed vertically in the vice to have one of the ends drilled and tapped.
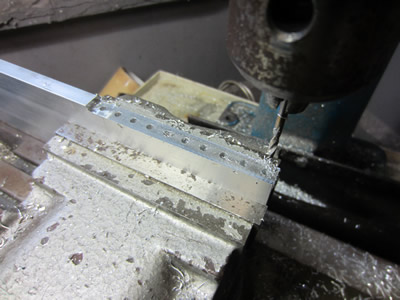
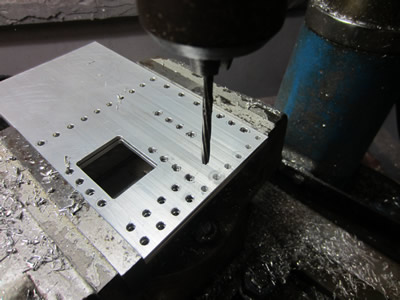
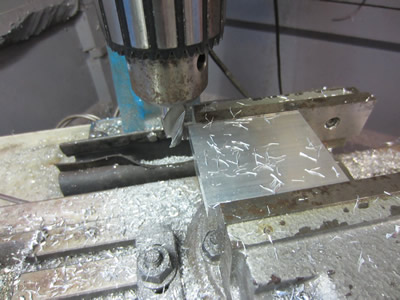
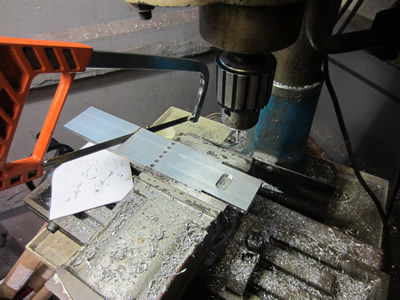
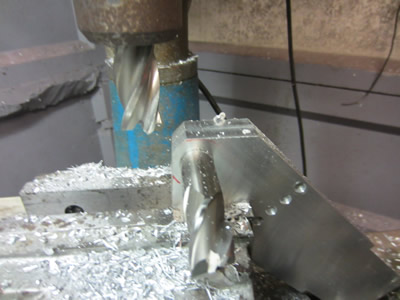
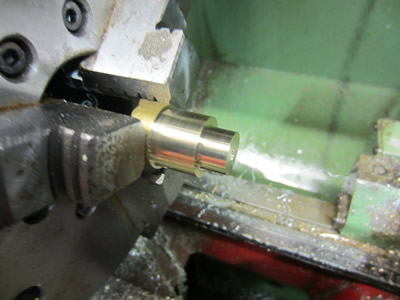
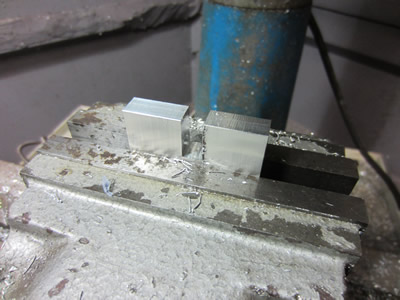
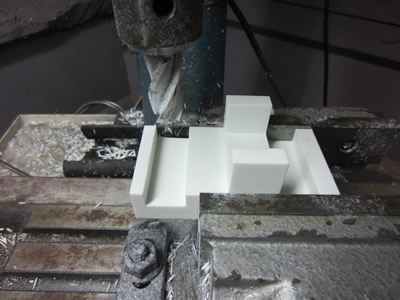
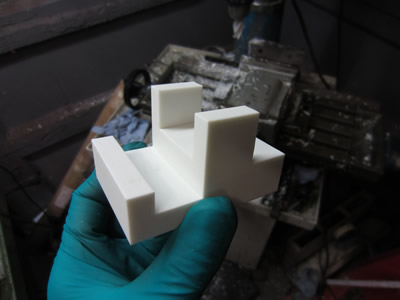
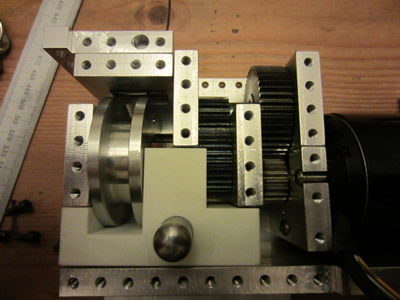
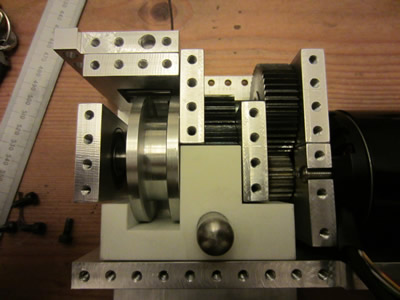
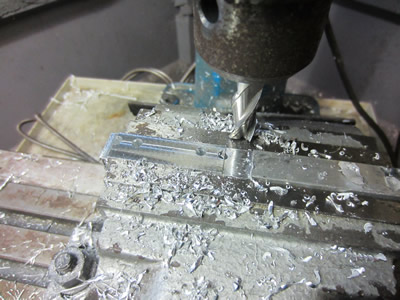
Another part of the chassis was then to be milled and drilled from the same size billet of material.
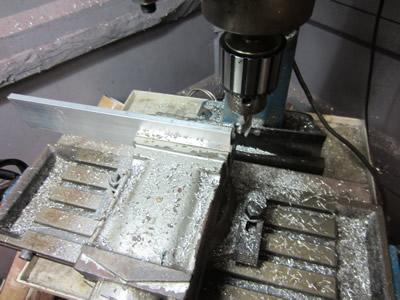

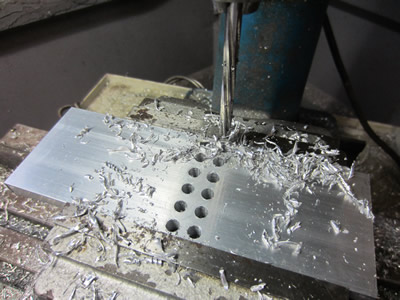
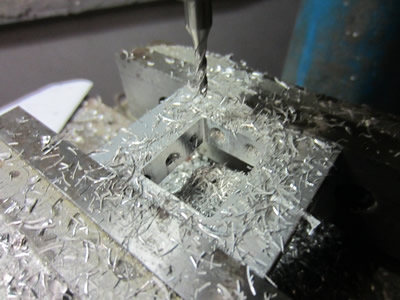
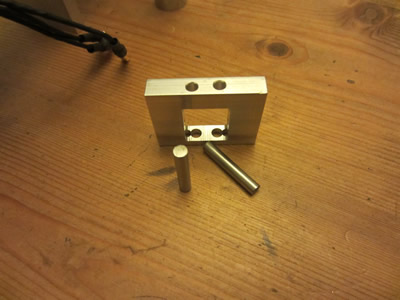
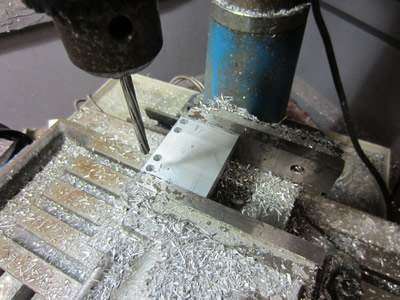
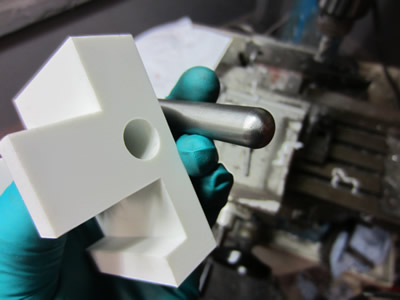
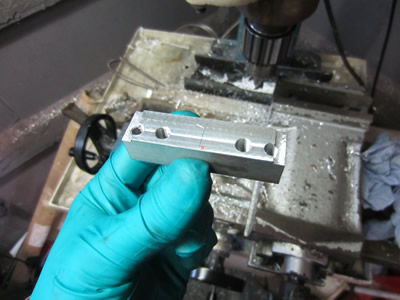
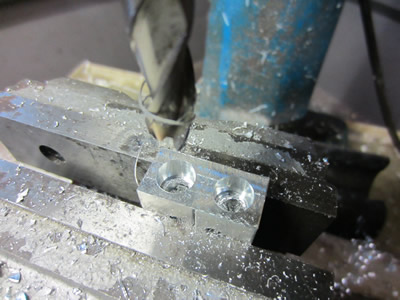
This time it needed clocking in the vice to which a series of holes were drilled and reamed, these holes are for bolt's. A little recess was also milled into one side to provide clearance with one of the gears.

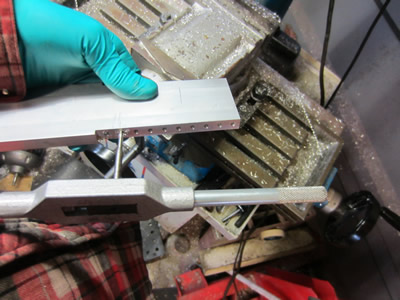
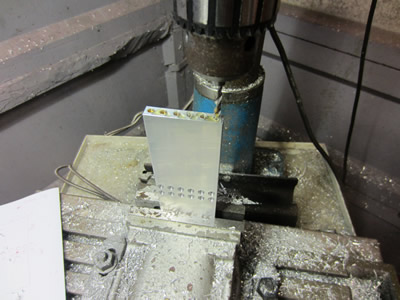
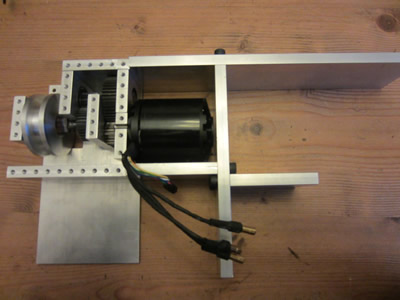
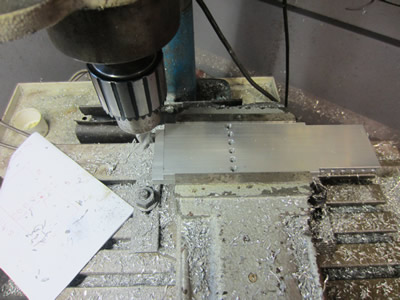
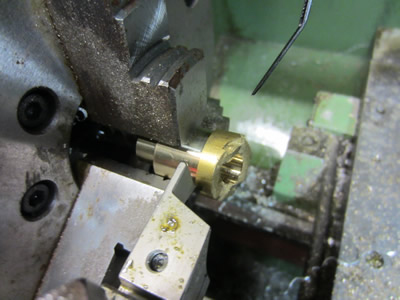
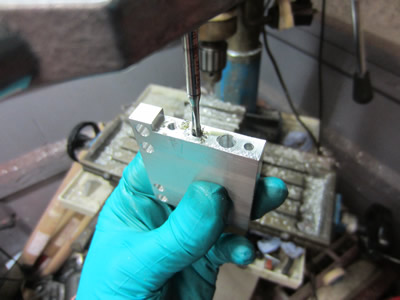
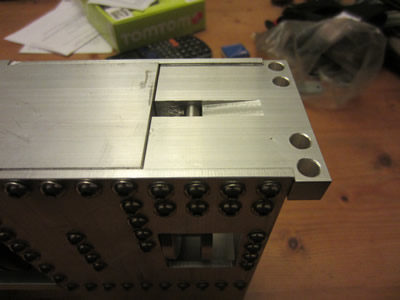
The main chassis was placed back in the lathe and a few extra holes were drilled. I bolted everything to it so far, it is getting very close to being completed.
October 29 / 10 / 2015
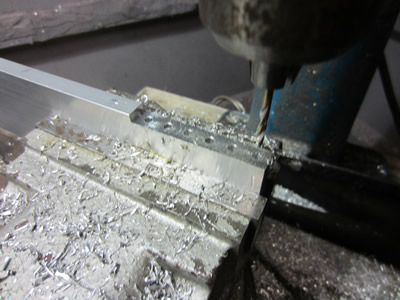
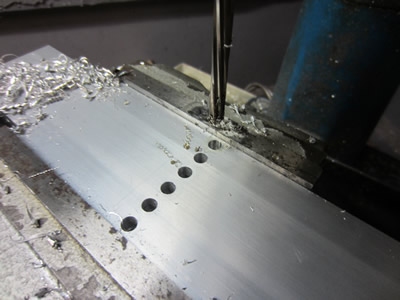
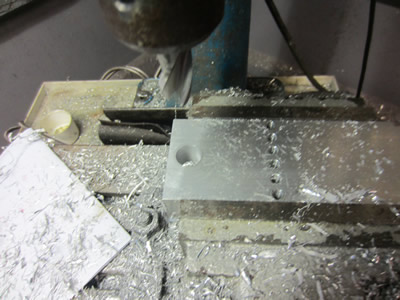
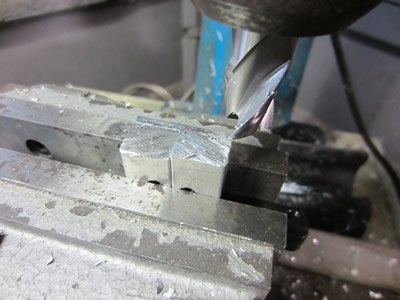
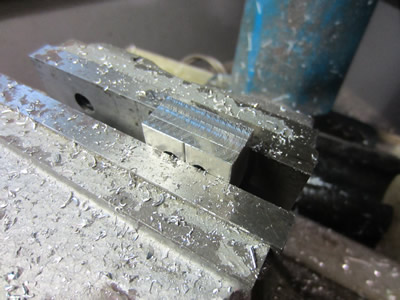
I started work on some more of the chassis, more drilling and reaming.
Then some more tapping. I just need to chop down the right side of the chassis and attach a hand grip to it, then the chassis will be more or less complete.
November 01 / 11 / 2015
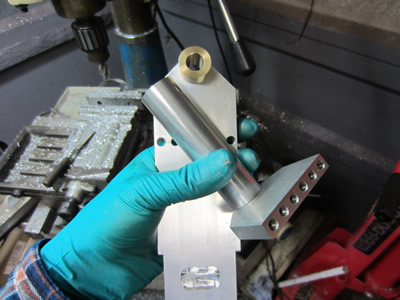
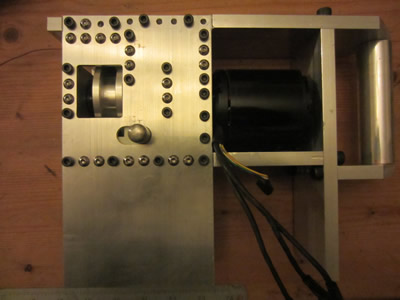
Last night I machined a holder for some rollers that guides the line onto the reel, the design was some PTFE sleeves to go over these rollers to reduce friction, but now I'm not too sure. The main objective for today was to finish off the handle.
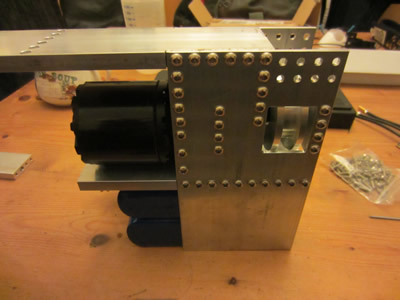
Firstly I had to cut one of the long lengths of aluminium down from the top section of the main chassis. Both pieces of aluminium for the handle brackets were placed together in the vice, they were milled to the correct length and then a hole was drilled through them both.
To remove the "squareness" of the chassis at the back where the handle is I chose to mill out two large chamfers.

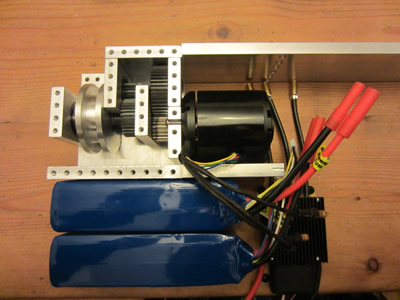
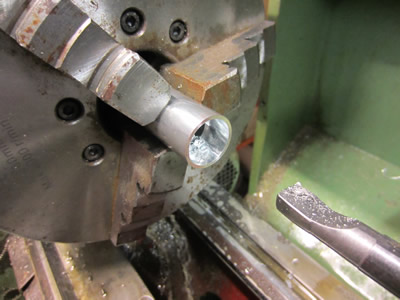
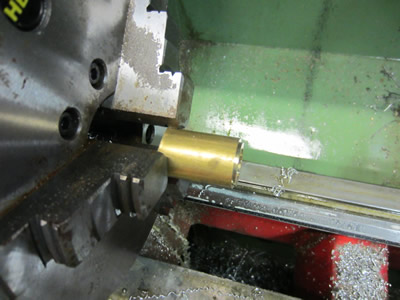
The handle is out of aluminium tube as it will hold the control electronics for the motor controller. The end caps were machined out of scrap pieces of brass bar.
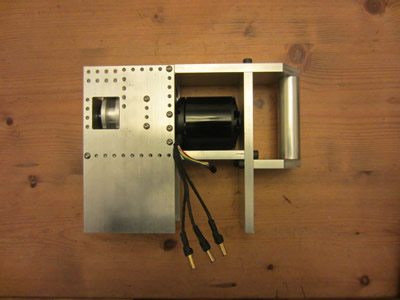
The whole lot was then assembled, the line follower is next on the list.
November 02 / 11 / 2015
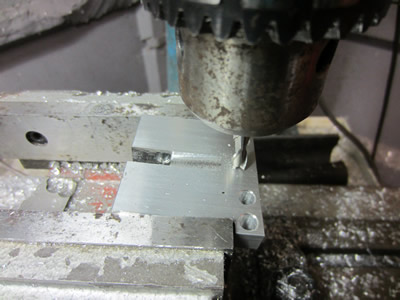
I cut down some more aluminium to make another guide for the line, I first milled it to the correct height. Then a series of holes on the top were drilled for the line receiver to bolt to and then a slot along with some holes were drilled and tapped into the sides. A larger hole was drilled and reamed down the side for a roller pin to go into.

A slot was milled down the centre along with a milled ramp to stop the line catching the aluminium.
November 03 / 11 / 2015
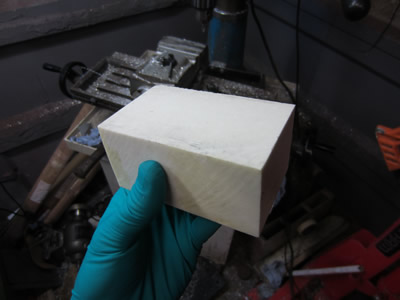
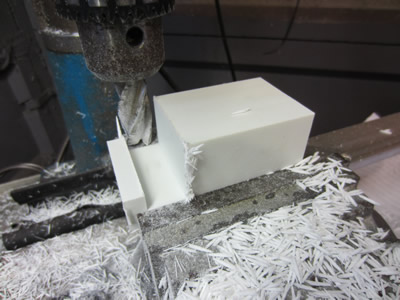
I needed some way of engaging the pulley to it's drive and also the ability to disengage it when firing the grapple. I had been given some pieces of glass filled PTFE a while back so this was my material of choice. I first milled the block to the correct dimensions and then just milled away the profile I had designed the previous night.
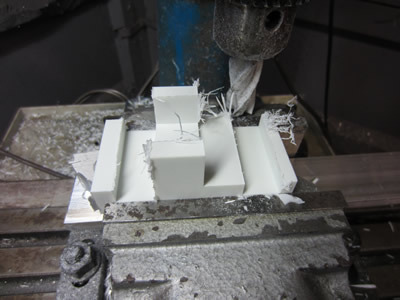
The profile was milled to the correct height, de-burred and then put back in the miller for a hole to be drilled in the side.

A handle made from silver steel was cut and then a radius grinded on the end of it, the handle was then pushed into the hole along with some glue. One of the chassis plates was placed in the miller to have a slot milled for the handle to protrude from.
The whole lot works as it should, I now need to make the line receiver and then test it's operation. If all is good then I can proceed onto the launcher.
November 04 / 11 / 2015
The last thing on the list to be machined is the line receiver, so this was my little project for today. Using some scrap pieces of aluminium I constructed some blocks to hold a shaft. Firstly I milled out the final dimensions of the blocks, then drilled out some fixing holes and these were then tapped. I then chopped down the block and milled it to the correct height. This block was then split down the centre into two pieces to then be milled to the correct heights.
After these two blocks were milled to the correct heights I drilled into their centres and then finished them off with a slot drill recess.

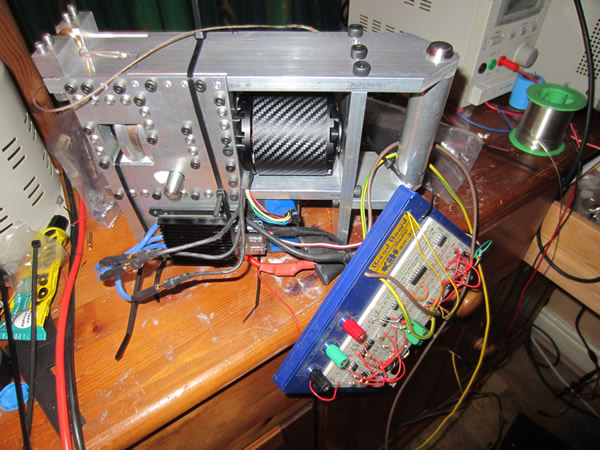
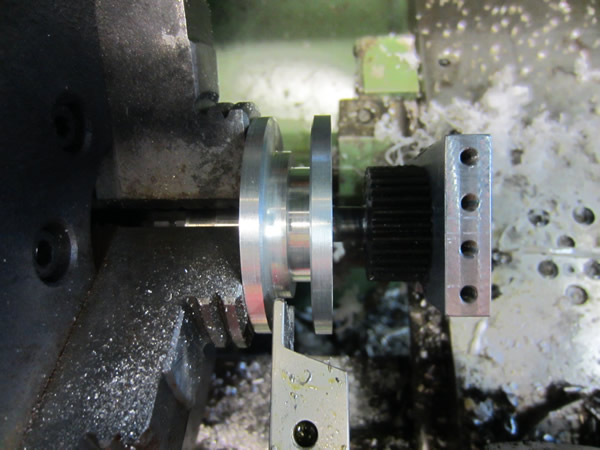
The pieces were thoroughly de-burred before being placed onto the grappling gun along with the pulley and it's shaft. The shaft and pulley were made without pictures as the camera ran out of power. I spent the rest of the afternoon trying to make some kind of program that the ESC would be happy with. It must have taken me a few hours to get the program right, it was getting the ESC to initialise without the motor powering up. I also made the program with the intention of using just a single push button, the program and the ESC will work out the acceleration.
November 14 / 11 / 2015
Just an update, I'm waiting to receive another ESC through the post as this one will not allow myself to program it through the laptop. It still hasn't arrived so I'm guessing the seller is waiting hoping that I will forget about it, even though it cost me £80 so It's not exactly a small amount.
November 15 / 11 / 2015
I've had to dispute the transaction through paypal, the seller is acting rather childish about the situation, so I will have to wait another ten days for an update, grrr.
November 21 / 11 / 2015
 I bought another ESC off an internet auction site, it is used but does have a programmer. I got it through the post today and it worked perfect straight away. I made a quick setup on the breadboard just to control the servo output signal.
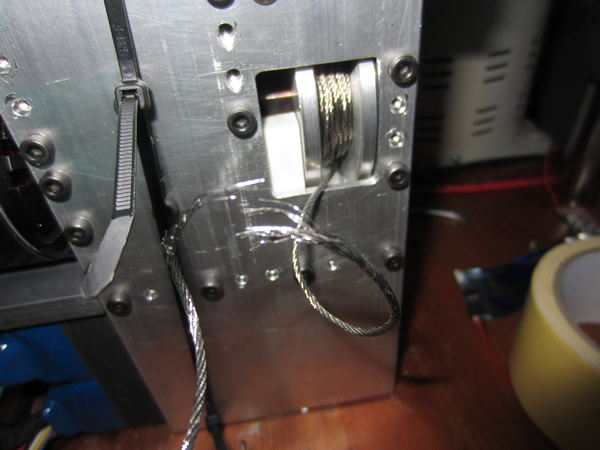
It was a little make-shift as I wanted to make sure the whole thing worked properly. So I hooked up the batteries, tied the line to a pull-up bar and pressed the trigger. The line snapped, I tried several different knots and the line kept snapping. The line is rated for 100kg and I'm pretty sure I'm no more than 60kg.
The reason I went for braided line is because it is light weight, flexible and supposed to be very strong. I'm not sure if steel cable will work properly as it's no where near as flexible and not as strong meaning that I will need a thicker line. I have ordered 10m of 1.5mm stainless wire rope which has a minimum breaking load of 135kg. Due to the massive increase in volume I may have to change my parameters, maybe 5 metres or I may need to greatly modify the reel.
November 24 / 11 / 2015
I got my steel cable through the post and did some calculations to find what dimensions the spool would have to be to hold 8 metres of cable. I took all of the gun back apart, pulled off one of the bearing blocks and then stuck the spool in the lathe. I had to turn it down to a minimum diameter of 30mm which was simple enough and then extend the width from 10 to 11mm. So I did all of this, assembled the gun and reeled in the wire. I tied the cable to my pull-up bar again, pressed the trigger and the cable snapped. I'm pretty sure that it snapped this time becuse the cable was going around a 6mm roller, exceeding it's minimum bend radius. The gun was not designed to take cable and I'm pretty sure the spool disengaging to fire the cable wouldn't have worked properly either.
So what am I going to do? well I won't give up on the idea. So the first line was braid rated at 220lb and the second was steel cable at 300lb. The reason both of them were snapping is due to the bending radius, the braid broke in the knot and the steel cable broke at a roller. I wanted to make the gun multiple shots, literally within a few seconds another shot could be fired, this is the reason it was all integrated into a spool that could be disengaged. Instead I'm going to make something called a "line asscender" which pulls rope through itself but does not store it. I still want to make this thing fire the rope, so I have gone for 550lb parachute cord. The cord will be spooled up at the front of the gun, one end on the grapple and the other into the gun. It seems as though I will have to re-design the gun, but that shouldn't be too much of an issue, it's getting it to wotk properly that could be.
Hello, if you have enjoyed reading this project, have taken an interest in another or want me to progress one further then please consider donating or even sponsoring a small amount every month, for more information on why you may like to help me out then follow the sponsor link to the left. Otherwise you can donate any amount with the link below, thank you!