Grappling Gun - Page 3
December 09 / 12 / 2015
I have been doing quite a bit of thinking in to how I can make some kind of a rope ascender with my current setup. I have however thought of this by making everything modular, this means that the current line receiver and the spool can be removed. It has proved difficult as one side of the line has no load on it and therefore cannot aid in a gripping mechanism. I must use something else to physically grip the rope itself, I have two designs and I hope the first one works. The first is a v-shaped spool that will hopefully grip enough of the rope and the second choice is a ribbed pulley running inside of a tube, the rope will be squashed on the inside of the tube moving the rope. The issue with the first choice is making the V and the issue with the second choice is dealing with the friction and the amount of heat produced.
December 21 / 12 / 2015
 I spent quite a bit of time wondering what I could do with a single pulley, rope is so incredibly difficult to grip without damaging it.
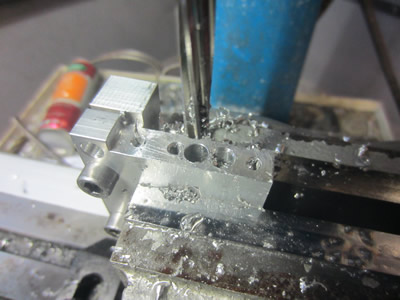
One of the idea's was to wrap the rope around a pulley several times and then incase it in a tube to keep tension on the rope, I feared this would create too much friction.
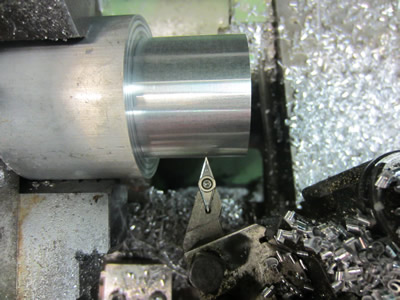
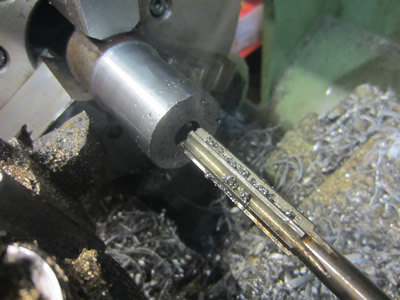
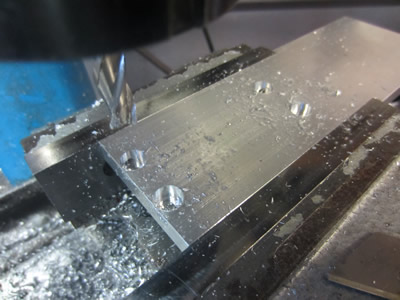
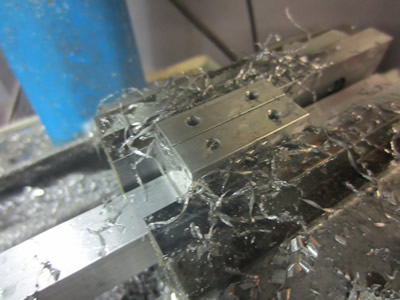
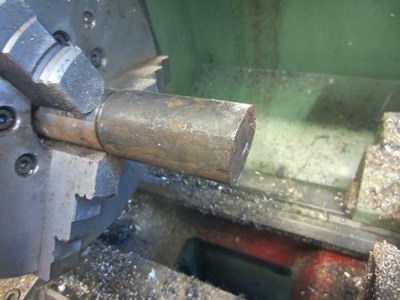
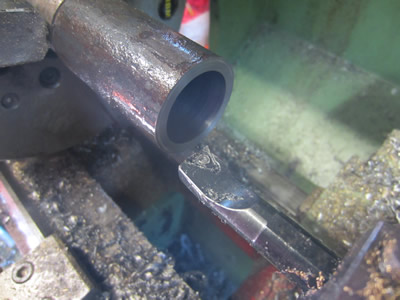
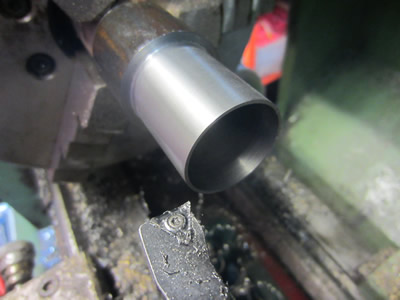
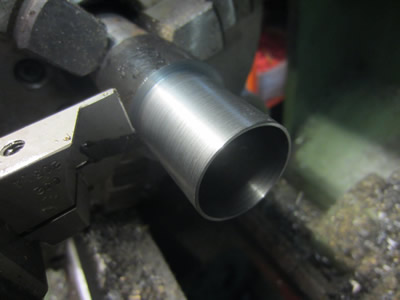
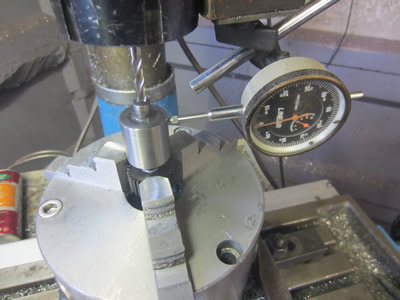
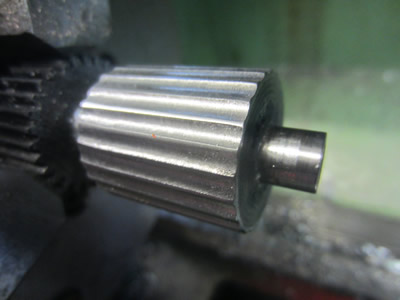
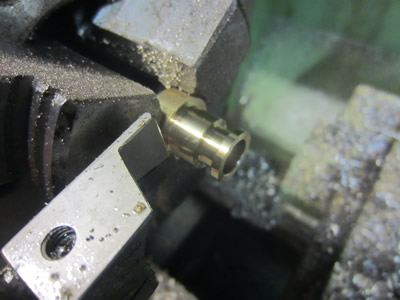
On a whim I tried a sharp groove as shown to the left, I were hoping that the rope would squeeze down between it and grip. I even plunged the tool in fast to cause it to chatter but even that didn't work.
Now there seems to be only two more options, a larger spool or two spools. The larger spool could hold a larger volume of rope, the only issue is that it may be difficult for it to spool evenly and it would take up a considerable amount of space. The other is to drive two shafts instead of one and wrap the rope in a special configuration. The rope will be wound around a spool several times, keeping tension on one side of the rope will cause the rope to grip around the pulley and feed rope. The other pulley spins slightly faster than the other and press the rope between it to keep constant tension on the rope. With one pulley running faster than the other it will cause a little bit of friction due to slipping but hopefully with the short duty it shouldn't melt the rope. I don't have to gear the other shaft any different, I only have to make the shafts different diameters and then I can determine the amount of slip.
January 07 / 01 / 2016
Everywhere has been closed due to the holidays, but now I can finally order another gear for mechanism. I ordered another 30 tooth gear which means I should be getting the grappling gun functioning soon, there is a little more machining too as it was it wasn't originally designed this way. The main pulley doing the lifting work will be a diameter of about 28mm, with the gearing being 4.4:1, the motor being 130kV, the batteries being 37V then the gun should do 8m in 5 seconds, it could be even better with fully charged batteries.
March 02 / 03 / 2016
I've been occupied with other projects but I now have the time to get this one out of the way. I didn't want to do much work in the way of modifying the frame so I spent a little time working a design out that required minimal machining. The first thing to do was see how thin I could squash the rope so I could make the rollers as big as possible. Once I worked that out I got on with making some rollers out of mild steel.
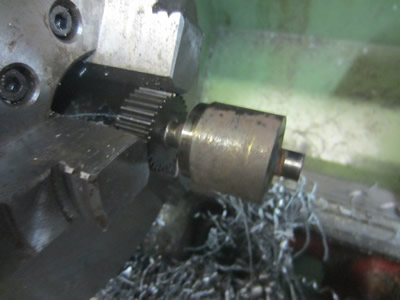
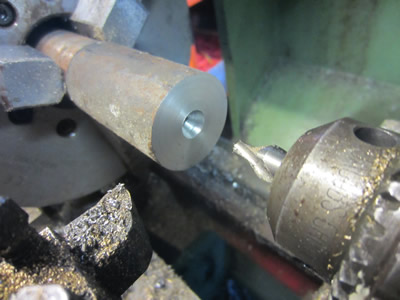
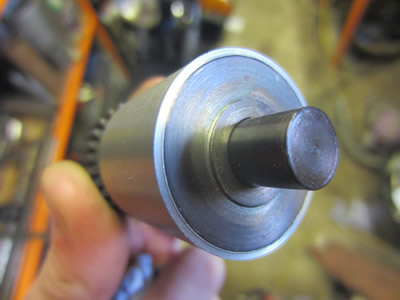
I first machined down the existing shaft that once held the spool, while the collet chuck was in the lathe I got on with machining the other spur gear.

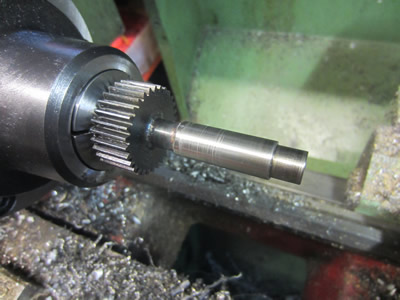
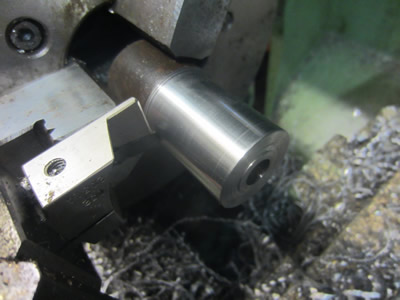
The bore was drilled and reamed to 10mm to suit another shaft I made earlier. I then placed the chuck in the lathe to make the first roller.
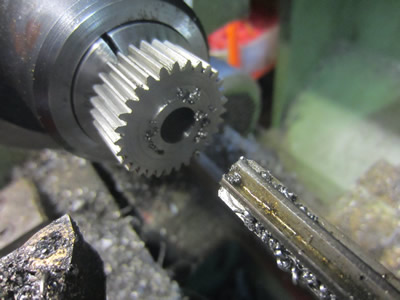

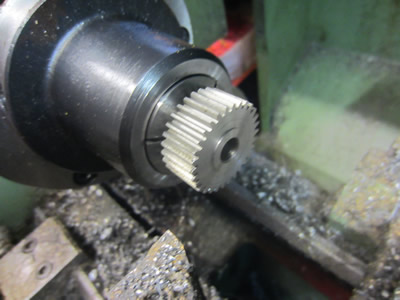
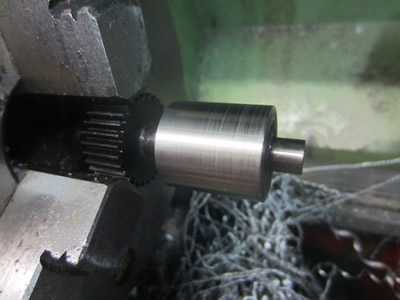
The shaft was spot welded into the gear and then the roller pushed over the shaft and then TIG welded to the gear.

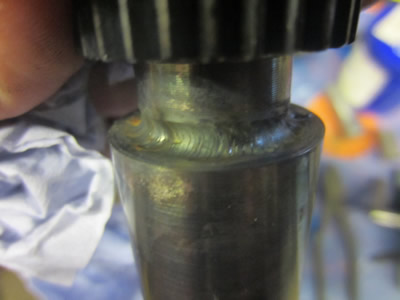
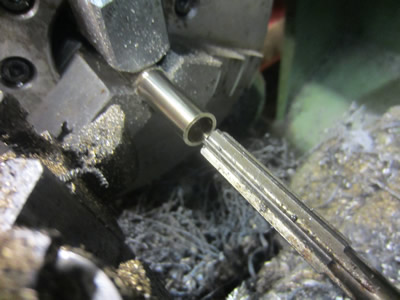
I only had a small piece of steel left so I chose to bore it out, face it to the correct length and then weld it to the shaft. I could then place the lot into the lathe to turn its outside diameter to the required size.
March 03 / 03 / 2016
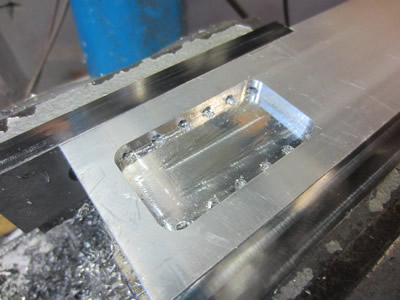
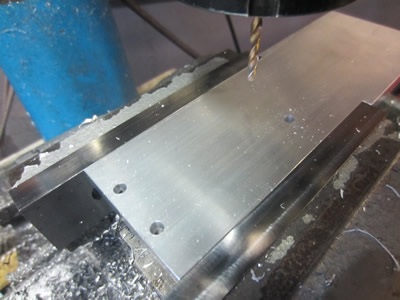
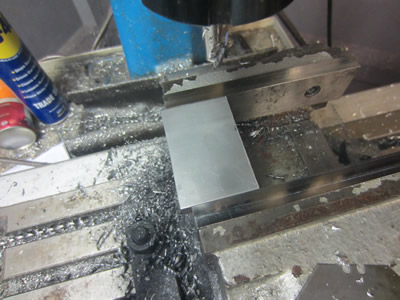
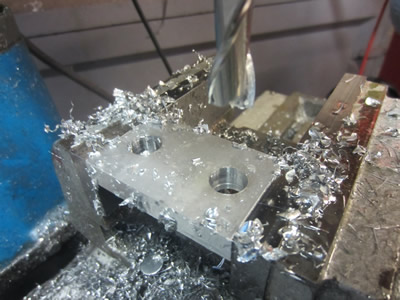
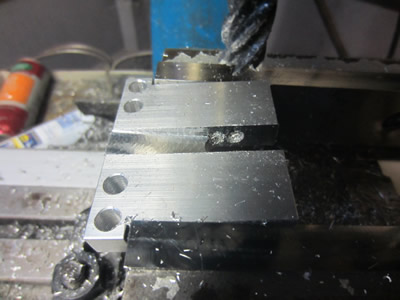
Due to the room taken up by the extra spur gear and roller it meant that I had to mill a recess into the frame strut that runs through the middle of the grappling gun. Once the recess had been milled I flipped it in the vice to drill and recess some holes that will be used to bolt some bearing blocks that hold the new roller.
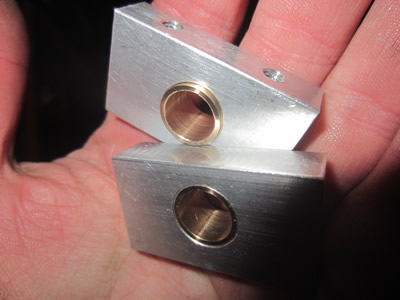
The bearing blocks were made from a piece of aluminium, I slot drilled two holes for the bushes and chopped the lot in half to ready them for being milled.
Both of the blocks were milled at the same time to get them the same height, they were then drilled and tapped to accommodate the bolts.


Two bushes were made from phosphor bronze and then pressed into the blocks. The whole lot was assembled, I passed some rope through the rollers to test the operation. The rope still slipped on the rollers, they were however finished quite smooth. I also noticed that there was the possibility of the rope slipping off the top roller, this should be quite an easy fix as I will show later. I'm in two minds whether to weld a sleeve over the bottom roller to close the gap or knurl the rollers to improve grip and hopefully not damage the rope, or both options.
March 05 / 03 / 2016
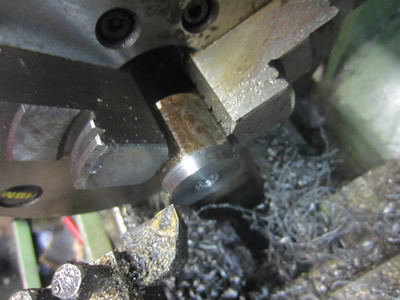
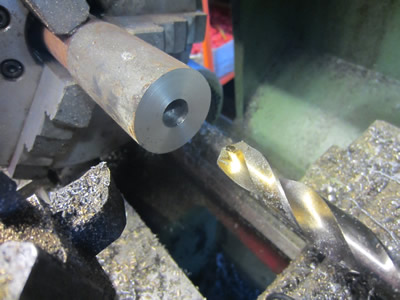
I first started out with the bottom roller making it from mild steel, it was faced, centre drilled and then drilled out.
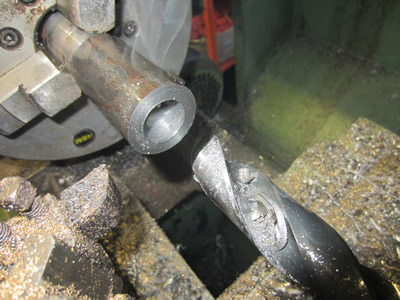
Then lot's of smoke - a larger drill. The bore was cut out to just under 29mm and the outside cut to 31mm.
It was parted off and pressed onto the roller, it didn't require any welding. The top roller was placed into the rotary table and clocked central.
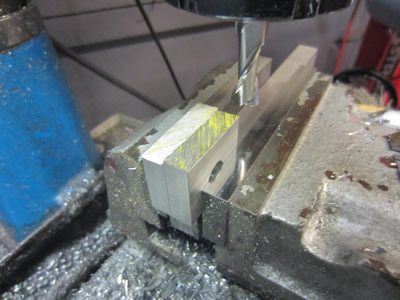
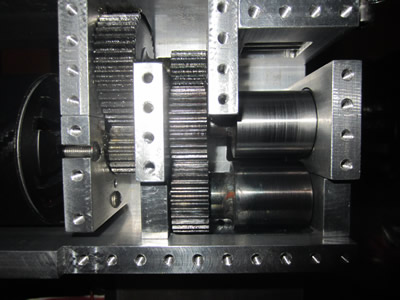
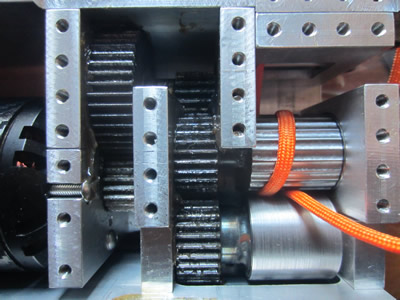
A series of slots were milled onto the roller to add some grip, it was sanded in the lathe to remove all burrs.


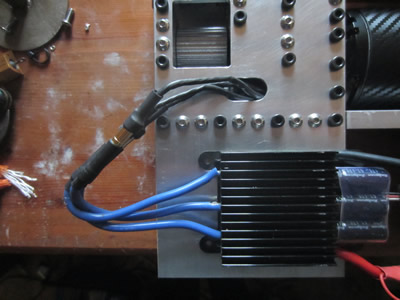
It was assembled with lots of grease, there was an unbelievable amount of grip on the rope and I'm pretty sure just one and a half coils should be sufficient. The clips didn't fit together between the motor and the speed controller so I chose to chop them down and solder them together. The blue wires strands were extremely fine and very difficult to solder, all of the heatshrink shrunk so I had to resort to taping it over, I will probably make a cover eventually.
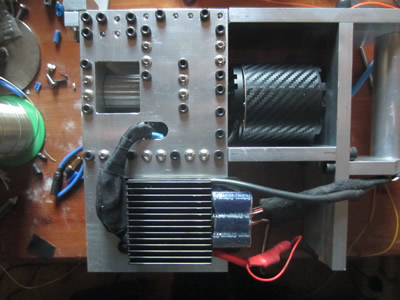
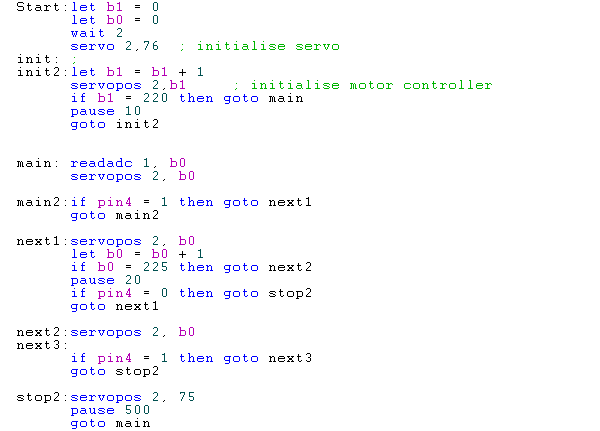
I gave the motor a quick run but I used an old program that didn't start the motor at the right point, infact it wouldn't stop. I wrote another program in "basic" just for the quickness and ease of doing so, I altered the program to include an input which sets the starting point. To explain what I mean, when the button is pressed the program ramps up a variable in the from of 0 to 255 and outputs it as a servo signal, at some point the motor will begin to turn, set too low there will be a pause before the motor turns on, too high and the motor will keep running, the situation I have now.
I tested the program and it worked, there was a small pause between pressing the button and the motor spinning up.
Before I can test the gun out properly I first need to make a new pulley for the front of the gun, I also need to offset back one of the small rollers as the rope isn't feeding into the centre of the main rollers.
March 06 / 03 / 2016
I had to modify the line reciever by offsetting one of the smaller rollers back 7mm to bring the rope into the centre of the pulleys. I also had to machine a new roller with a wider groove to accept the parachute cord. I then put a circuit together on a prototype board to control the speed controller, I had to leave it for the glue to set before I could test the gun out for real.
March 07 / 03 / 2016
When I created the new circuit board I managed to use the charging ports of the battery pack to power it, all I had to do was tape the battery packs in place and I was ready to give it a go. Firstly by running the rope through the rollers twice they managed to collide and consquently damaged the rope. The second test was to see how one wrap of the roller would cope by dragging my weight along a floor, it turned out that this was not sufficient enough. I will have to install a dividing screen in between the rollers to stop collision happening between two pieces of rope as I need as much grip as possible.
March 15 / 03 / 2016
A quick update, I'm leaving for a different life in just under 7 weeks now and I really couldn't afford to risk myself not selling the contents of my workshop in time. I spent the last week cleaning things up and putting them for sale which means that I cannot use them. I do have some basic tools left and I should be able to finsh off the grapple gun, I won't be able to make something to shoot the grapple but that wouldn't have required several designs and would have been straight forward to make.
May 04 / 05 / 2016
Time just seemed to fly by and I simply never got round to finishing the grappling gun. I will be away from the UK for at least two and a half years so unless I ship it out to myself it will otherwise be left in storage to be completed at another time. I have no doubt that the gun would work, all it needed was a divider between the rollers to stop two pieces of rope overlapping and jamming the system. I admit I'm a little frustrated with myself as it only needed one piece making in order for it to function but I guess some things have priority in life and this wasn't one of them, truthfully I had that much on my mind that I postponed each day working on it until time ran out.
Check the next page !!!
Hello, if you have enjoyed reading this project, have taken an interest in another or want me to progress one further then please consider donating or even sponsoring a small amount every month, for more information on why you may like to help me out then follow the sponsor link to the left. Otherwise you can donate any amount with the link below, thank you!