Chuck fixing plate adapter for rotary table
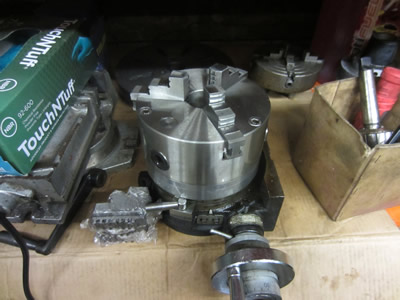
I picked up a cheap rotary table for the miller but pretty much everything I need to do on it involves the need of a chuck or lengthy clamping and clocking procedures. My idea is to make a backing plate for my chuck with a recess on the other side that's exactly the diameter of the table bed. The point of this is so that I don't have to spend time clocking and can quickly place the chuck on the table reliably and fairly accurately.
January 08/01/2016
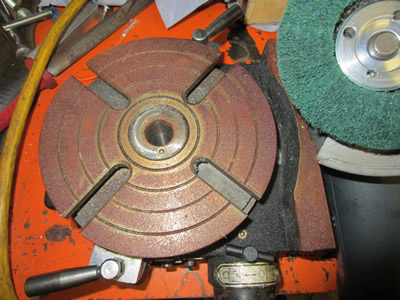
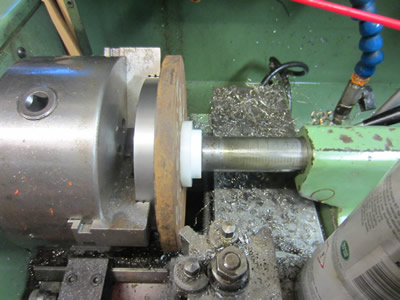
I picked up a 200mm diameter offcut of steel for £5 to start with, it's a lot bigger than I needed but shouldn't take too long to machine down. The first thing to do was work out a design due to the chuck having bolt holes on the back, I didn't realise that my chuck was infact bigger than the table itself. I decided that I will have to bolt my plate to the table first, drill the chuck backing holes all the way through to the front and then I can bolt down to the plate from the top. I first cleaned up the table with a scotch pad and then ground a chamfer round it's edge to ensure the plate will not sit proud due to the tool tip radius.


The chuck was a diameter of 160mm and the piece of plate was 200mm, this was going to take a while to turn down.

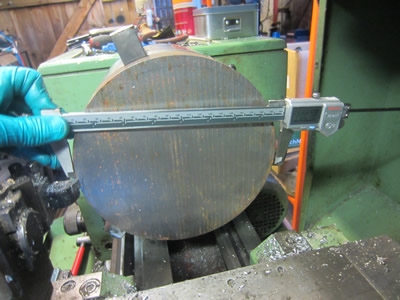
Normally verniers come 150mm or 300mm long, luckily I was given a damaged rare 200mm one for free because the internal points had been ground off. I kept the lathe running pretty slow at 420rpm and fed everything by hand to achieve the high feed rates needed to get a good finish on steel.
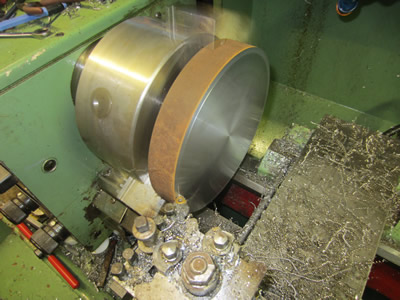

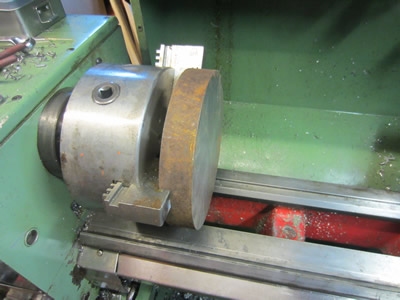
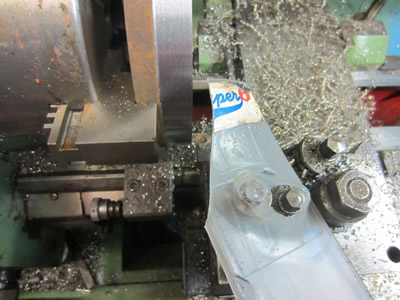
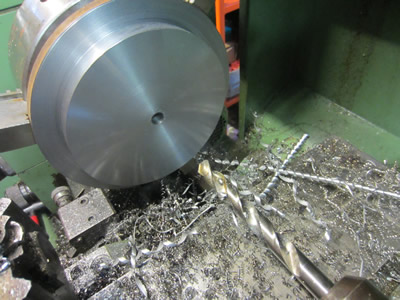
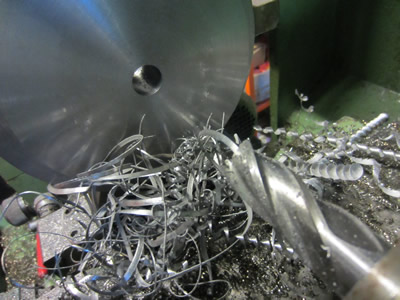
The outside needed 40mm cutting from it and at 1mm per pass it was quite a lengthy process, I really didn't want to abuse my lathe. Hot chips were flying everywhere which was a little unpleasant so I fixed some scrap plastic over to tool to deflect the chips back into the lathe. The whole process must have take about an hour, something I wouldn't want to replicate again so was very cautious with measuring accurately.
The table itself has a morse taper 2 hole in it so I chose to drill the plate out to 19mm just incase I need to use it.
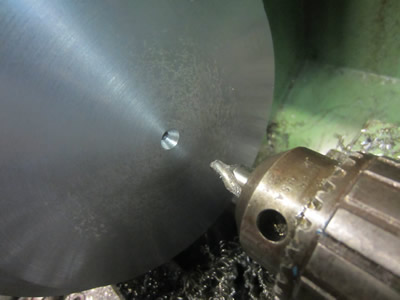
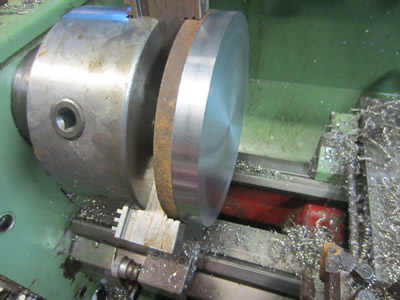
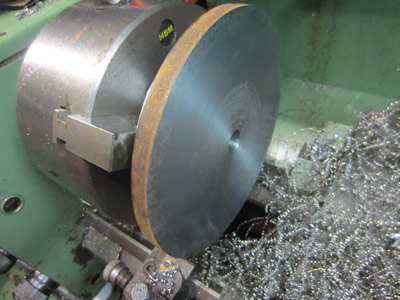
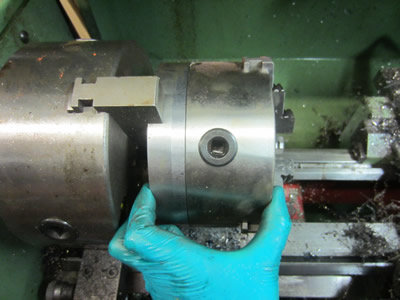
I swapped my tool to a boring bar with an aluminium insert to get a good finish, it turned out that I could take 5mm passes with little effort. I made the plate with a clearance of 0.04mm to the table, it fit perfectly.
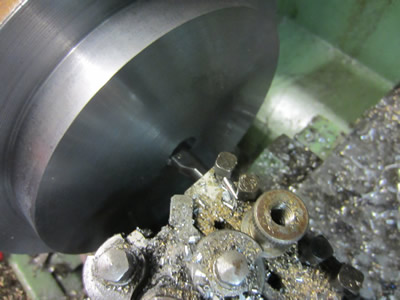


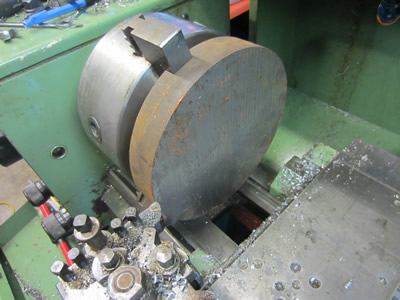
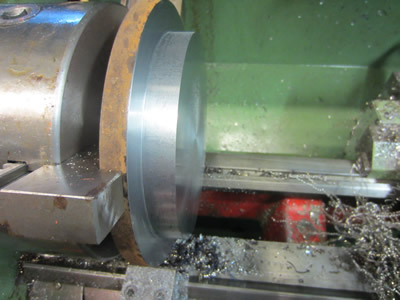
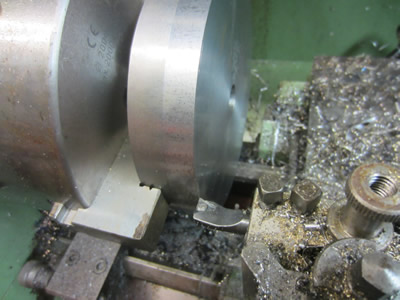
The risky part is placing this back in the lathe to do the other side as I could encounter some runout from the chuck. I used the tailstock to press the plate against the jaws when tightening to ensure it would be flat to the chuck. The outside took for ever to machine down again, for some reason I didn't use the aluminium insert, turned out that it was perfectly concentric too.
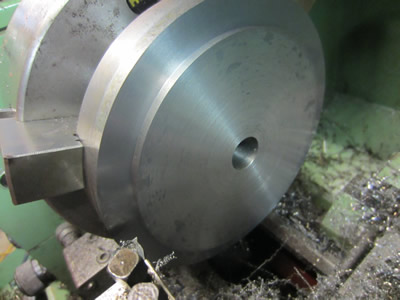
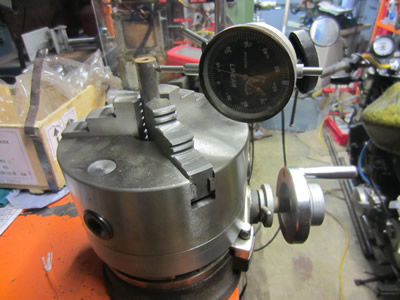
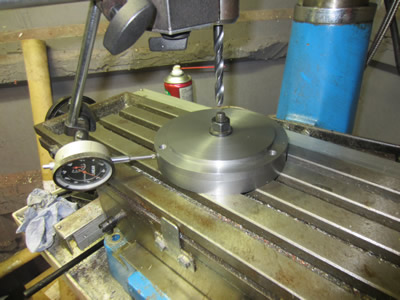
I stuck in the aluminium insert this time to turn a step down for the chuck to fit onto, keeping it to a clearance of 0.03mm. I still need to drill the holes to bolt it to the table but I clocked it to see what the runout was when stacked together, 0.08mm. Considering I'm dealing with a chuck that has maximum runout of 0.25mm I think this is a very reasonable value.
January 09/01/2016
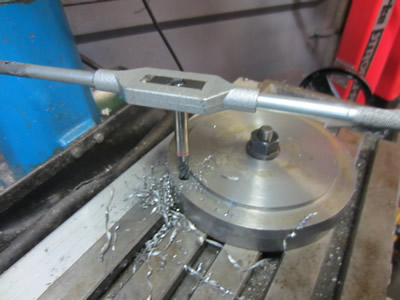
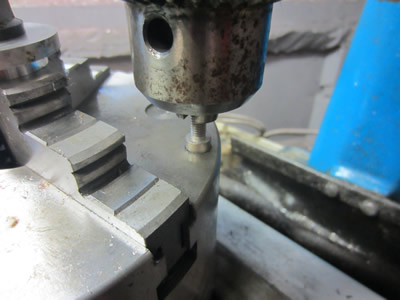
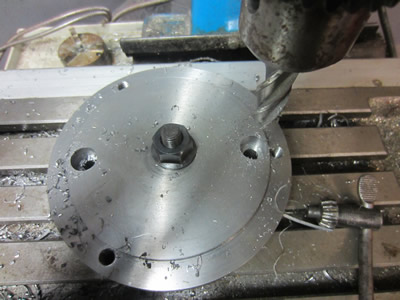
The first thing I did was drill the chuck through with a 10mm drill, the chuck seemed to be made from cast iron which is quite harsh on drills. I then placed the chuck on the plate I made earlier and used the holes to pilot the drill, only one hole was drilled first.
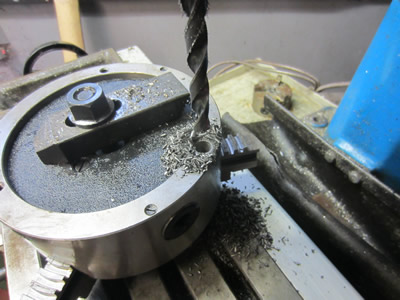

The hole was tapped to an M10 thread and then some recesses were drilled into the chuck itself for the bolt heads, cast iron really destroys cutters.
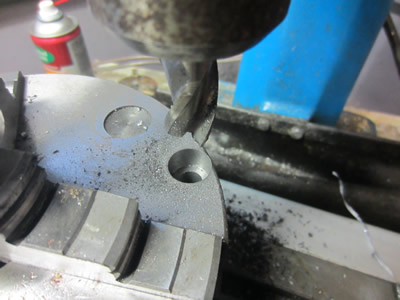
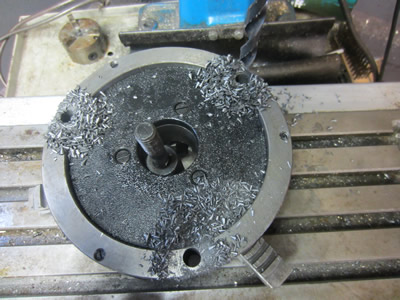
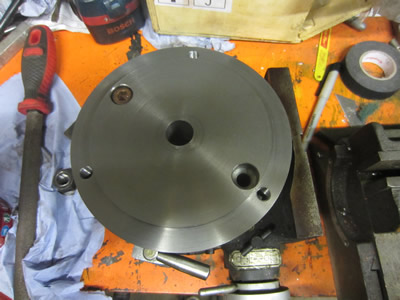
A bolt was then placed through one of the holes securing the chuck to the plate, I then drilled and tapped the remaining holes. The reason for doing only one hole first was to ensure I could align everything accurately and this could only be done with the chuck fixed to the plate. The plate was stuck back in the miller, clocked and then two holes drilled and recessed.
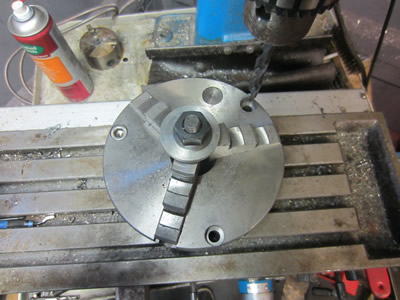
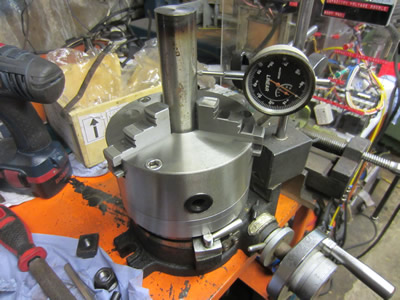
Everything was bolted together, the runout checked to be the same as earlier, but this is acceptable. I'm really happy with the result and now I should be able to make things I couldn't do earlier.
Hello, if you have enjoyed reading this project, have taken an interest in another or want me to progress one further then please consider donating or even sponsoring a small amount every month, for more information on why you may like to help me out then follow the sponsor link to the left. Otherwise you can donate any amount with the link below, thank you!