Inertial Confinement Fusion Page 5
December 16/12/2015 - Age 22
I did some research and found a forum totally dedicated to fusion, it has thousands of posts covering every single topic. I searched for this forum as I needed to know what vacuum I need to attain, it turns out that between 5 and 20 microns is the optimum range and that my pump should indeed be capable. The biggest problem I have is my power supply as it needs to be positively earthed. I was hoping that I could get away with insulating the whole of the fusor setup but I did fear that arcing could occur down the vacuum tube. I made some more insulators out of acetal and installed them on the fusor setup. I got the vacuum down to a steady 35 microns and turned the supply up to around 4kV in which it started to arc down the insulator tube. I have only two options, one is to remove the centre tap on the transformer and then ground one end or get a higher voltage supply transformer. The only problem with removing the centre tap is that it could cause the insulation to break down, which could be very bad.
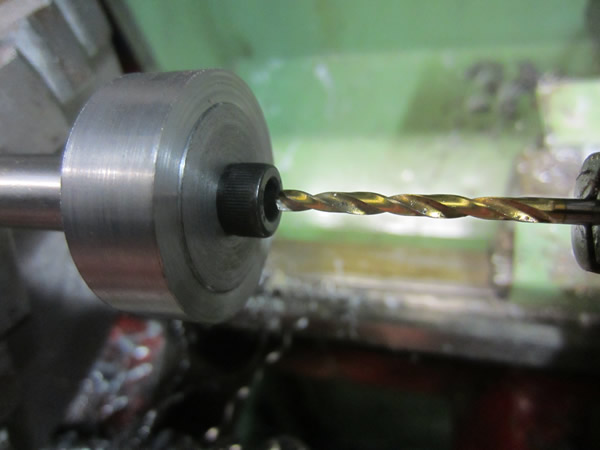
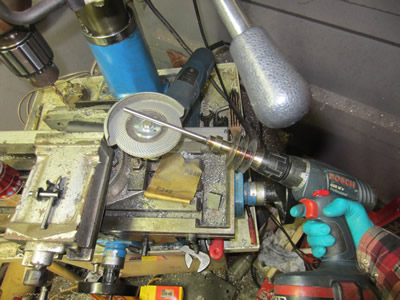
I have enquired to a company about old x-ray units that are headed for the scrap to see if they would allow me to buy one. The two pictures below show the new acetal insulators and me drilling out the centre of the bolts that hold the wire grids, this is to stop gassing. I now have to positively earth the fusor which means that I can get rid of one of the insulators for the large wire grid and weld the electrode in place, I will do this when I aquire some more stainless.

December 17/12/2015 - Age 22
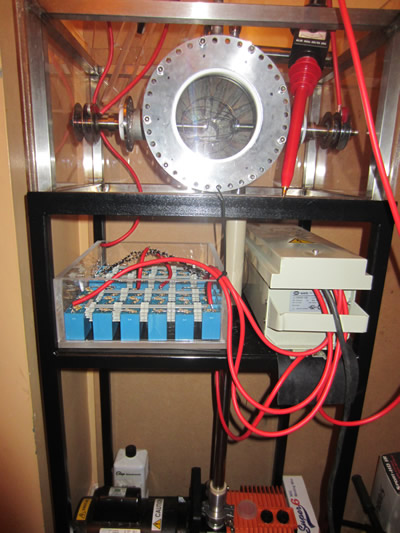
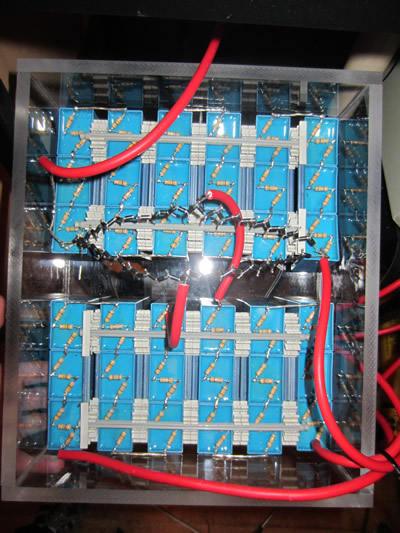
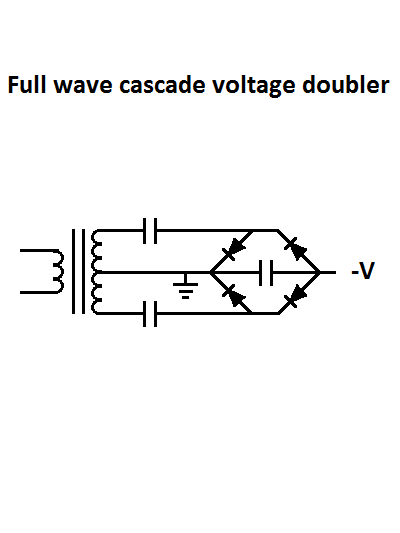
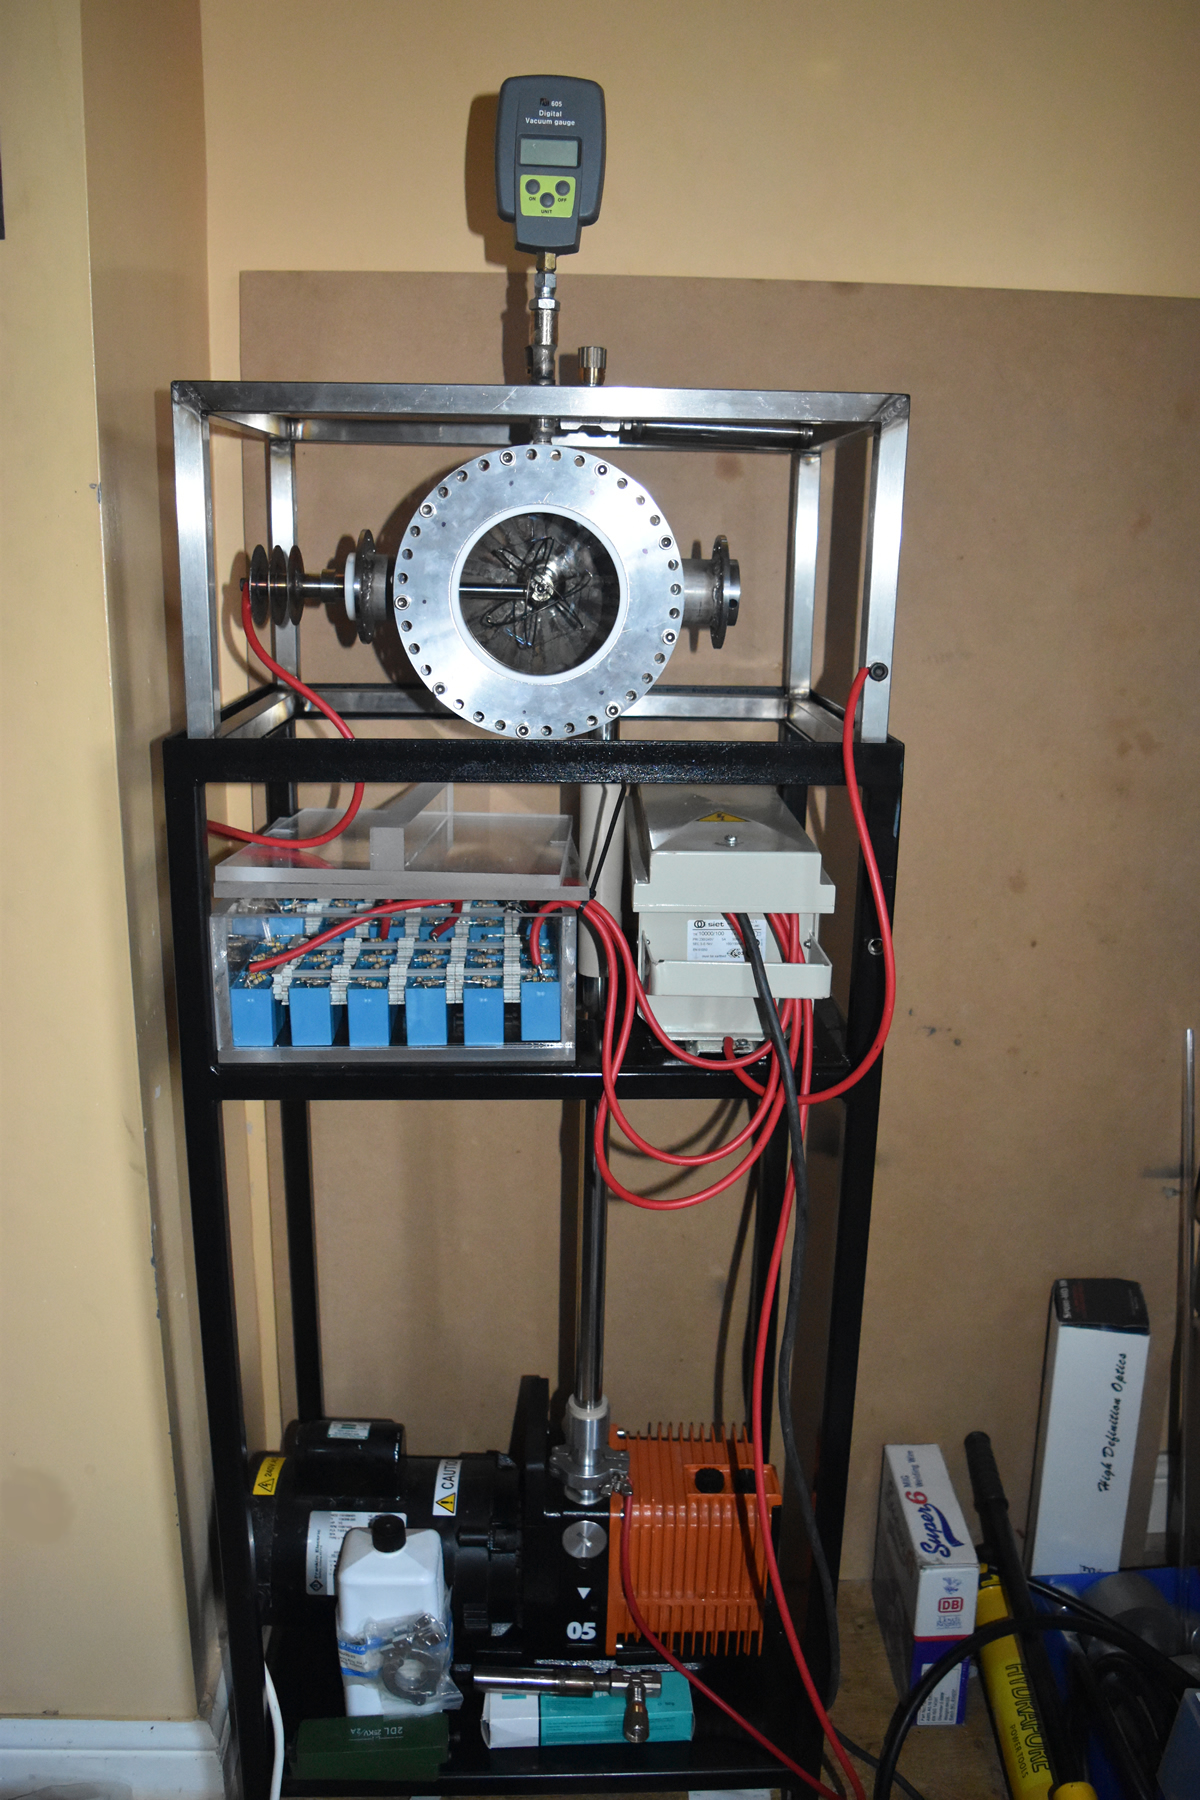
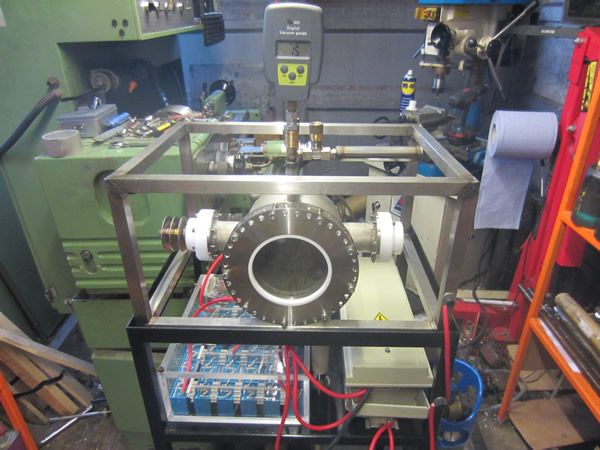
I got a reply back from the company that I asked about the x-ray transformer, they said they had nothing which in most cases mean that it's too much trouble than what it's worth for them. I instead chose to modify my existing power supply by splitting the bank into three sections and then used the existing diodes to create a full wave rectifier. I created the schematic to the right, this means that along with my variac I should be able to get around 16kV. This kind of voltage will be enough for fusion but it will be difficult to detect a number of neutrons until I reach the 25kV mark. I can however spend another £145 to triple my capacitor bank to 24kV, but first I will make sure that I can attain a vacuum low enough to make use of the voltage I have at the minute. The first picture shows the increase in the amount of wires as everything now has to be earthed, the fusor is a hell of a lot more safer to be around.
I turned the voltage up to about 6kV but the glass insulator had a crack inside of it which caused arcing between the grid. I need to grind down the electrodes as when they expand it causes the glass to crack, I will then turn up the voltage to see if I can get to 16kV. I also need to make some modifications to the vessel and my setup to make it more safer.
December 18/12/2015 - Age 22
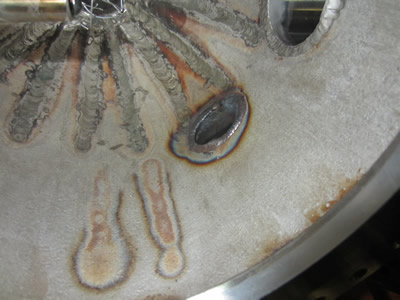
The first thing on my list was to finish off the weld for the vacuum pipe inside of the vessel, this is just to reduce the chance of gassing. I removed the perspex enclosure from my setup which meant I had to shorten one of the stainless tubes by 7mm, as shown in the last picture.
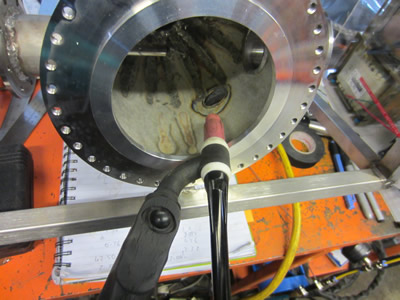
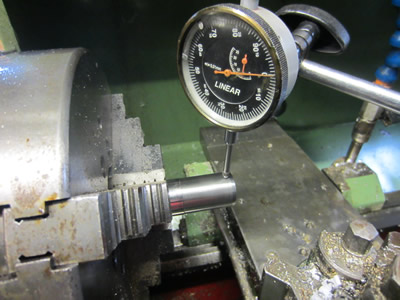
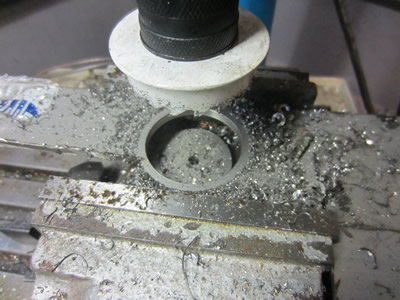
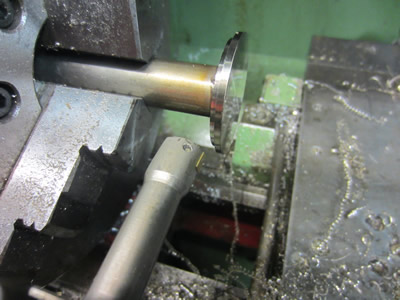
The positive grid electrode is tied to the earth which means that I can weld it to the fusor and remove some of the seals out of the equation. I first started out by making a disc out of some stainless sheet with the aid of a hole saw. I then turned down a stainless shaft, pressed it into the disc and then welded it in place.
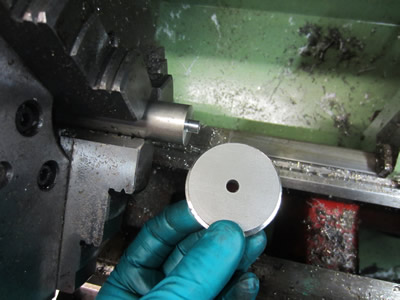
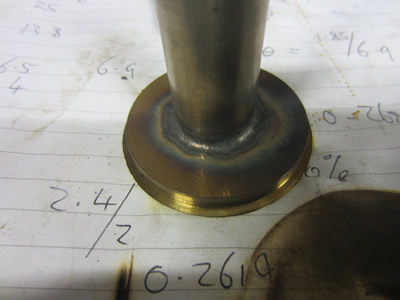
The disc was turned to suit the end of the fusor so that there would be minimal gap and to allow things to align properly when it came to welding. The shaft was then cut to the right length, the end drilled, threaded and tapped. A hole was drilled through both sides while breaking through the tapped hole so that there will be no gassing from blind holes.
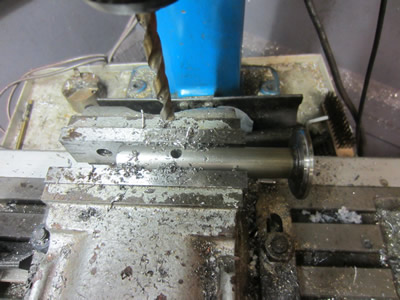
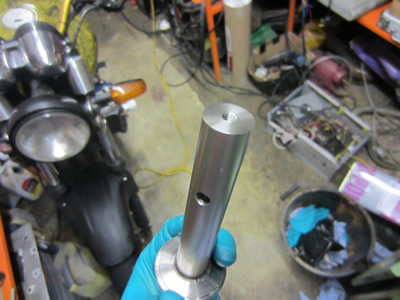
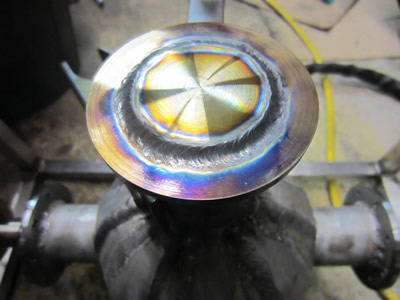
The cap was TIG welded in place, I chose to make the disc small as the reduce the possibility of trapped gas. I had a problem of the electrodes expanding and cracking the glass insulators so I clamped the angle grinder in a vice and then use a drill to evenly turn the shaft as I ground it down. I just need to make another wire grid for the inner electrode and I should be good to go.
December 19/12/2015 - Age 22
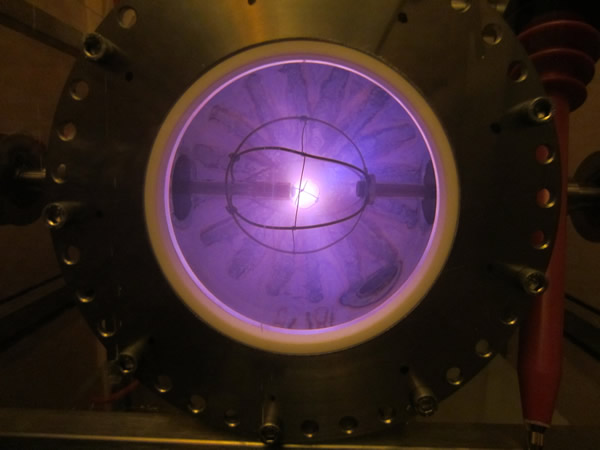
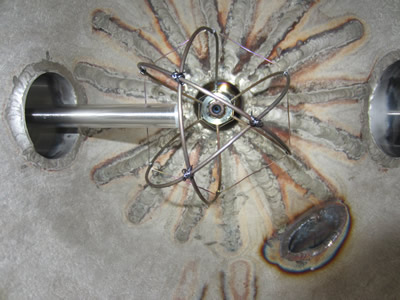
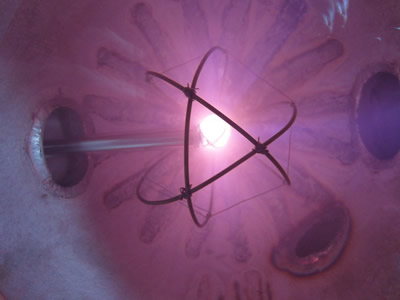
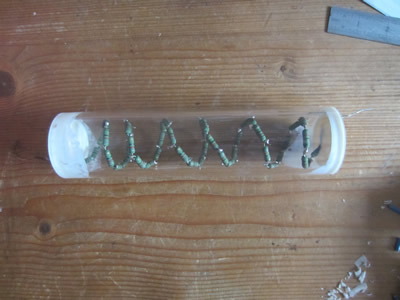
I made a spacer for the large wire grid to centralise it in the vessel, I also made another wire sphere out of tantalum for the inner electrode. I tested my power supply to see what voltage it would make, it made the full 16kV as predicted. I connected everything back up to the vessel and I'm still having issues drawing a high enough vacuum, it seems to sit around the 35 microns mark, I still suspect theres some leaking around the gauge even though it's covered in vacuum grease. At 35 microns I'm able to turn the power up to 8kV at 90mA, so hopefully at half this pressure I should be about to get the full voltage out of the power supply. There could be a slight issue with my power supply as the transformer is built to work at short circuit conditions where the voltage is much lower, about 2kV. The trouble with neon transformers is that they are built to saturate really easily as to limit their current capability, a normal transformer would probably burn out. This means that at the full 16kV I may only be able to draw around 10mA before the voltage drops. This will be acceptible as the inner wire grid would melt at higher powers, for my test I could only run it at about 150W continuously to keep the electrode from melting.
January 22/01/2016 - Age 22
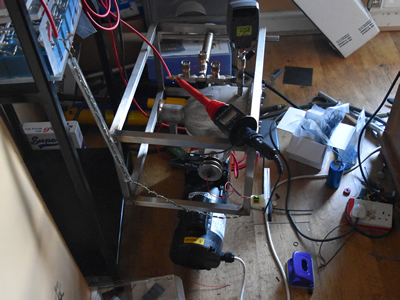
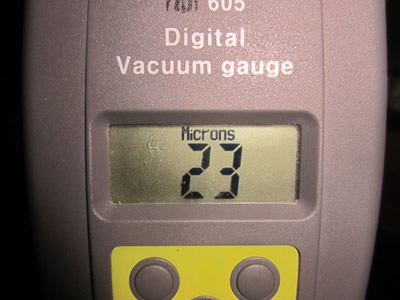
I did a little test today to see if I could increase the vacuum inside of the chamber by removing the pipes as shown in the first picture, the fusor setup sat on top of the pump. After about half an hour the pressure was down to 25 microns, after an hour and a half it was down to 23 microns. I turned the power up and managed to achieve 9kV at 90mA, there is no way I'm going to be able to achieve fusion at these pressures, I need something nearer to 15 microns.
I'm currently running out of resources and cannot afford to be putting more money into the project and I'm pretty certain I need a turbomolecular pump, which are very expensive. Due to my current circumstances I'm going to have to drop the project, I have only a couple of months left with my workshop. It has learnt me a great deal about vacuums, high voltage supplies, machining, TIG welding, fabrication and nuclear theory. I have managed to build a working demo fusor but was so close to building an operating "fusion" fusor. I do hope in the future I can start up another project and prove fusion, but for now I have to accept my circumstances.
March 10/03/2016 - Age 23
I sold the fusor and the exploding wire project, so just before I packaged it up I chose to run it one more time. I first put the resistor bank in a plastic tube to make the setup less messy. I also drilled out some holes in the fusor stand and frame to allow some threaded inserts, these are earthing points. I also made a proper lid for capacitor bank.
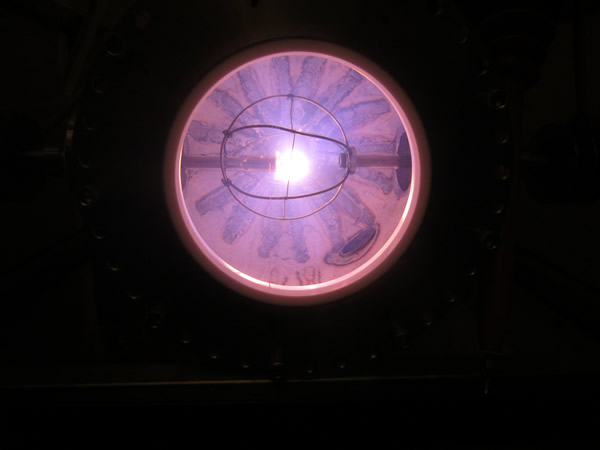
I chose to run some Argon gas through the system to see what effect this would have, when I first turned on the power I was confused to find there was no plasma present but there was 16kV at the electrode. Air consists mostly of Nitrogen and has a mass of 14 whereas Argon has a mass of 40, naturally a bigger and heavier element is going to be processed easier by the pump. I connected a battery to my vacuum gauge to find it to be off the scale, so I opened the argon valve to increase the pressure to let plasma form, I closed the valve and watched the pressure quickly drop off the scale and then the plasma faded due to the pressure being so low. I worked out that the pressure was between 1 and 5 microns which would easily perform fusion, it seems I should have pumped with Argon and then introduced Deuterium afterwards to achieve fusion.
I thought with this setup that I wouldn't be able to achieve fusion without a more powerful pump, if only I had pumped it with a heavier gas first and then introduced deuterium I could have easily achieved fusion. The time at finding this out was the day I packaged it up to be sent to a buyer, I can now relay my findings and hopefully they have the time to suceed where I did not.
I will however not give up on the idea of fusion, some time in the future I will have the means to do so. Keep checking for updates, of course I may have already done so.
Hello, if you have enjoyed reading this project, have taken an interest in another or want me to progress one further then please consider donating or even sponsoring a small amount every month, for more information on why you may like to help me out then follow the sponsor link to the left. Otherwise you can donate any amount with the link below, thank you!