Electrostatic Nuclear Fusion
This is my third attempt at nuclear fusion, the first being a z-pinch, the second being electrostatic and now the third being electrostatic. I was very close with the second attempt but I moved country so had to sell all of the equipment. The method of nuclear fusion I will be attempting is known as "Inertial Electrostatic Confinement". The reason I want to achieve nuclear fusion is because few have done so in the general public, there are some other projects I would like to tie into this one which will make me the first in the public (in the world) to have achieved.
What is Nuclear Fusion ?
In very simple terms it is the fusing of two atoms into a single atom, so for example transforming Hydrogen into Helium. An atom naturally has a positively charged core (nuclei), this means that naturally atoms will want to repel each other, ignore the electrons for now. For two atoms to fuse together they must get sufficiently close enough that they overcome the repelling forces, they must overcome the coulomb barrier. Once sufficiently close enough the cores want to join each other, a process known as "quantum tunneling" is what joins the nuclei together. The larger an atom is the harder it is to overcome the coulomb barrier and therefore the more energy is required.
In the core of an atom there are always Protons and Neutrons (with the exception of Hydrogen). There must always be a Neutron present for more than one Protons to join, therefore fusion of Hydrogen is impossible without extra Neutrons being present. An isotope of Hydrogen is Deuterium which has a Neutron, this means that Hydrogen and Deuterium can fuse into Helium-3. The easiest fusion occurs between Deuterium and Tritium (Hydrogen with two Neutrons).
So is fusion possible with any other elements, well yes and no. It is easier with lighter elements and these also produce the most energy, with Deuterium being so abundant it is really unnecessary to go with fusion of heavier elements, it also becomes exponentially more difficult in terms of the energy requirements.
Fusion Methods - Electrostatic Inertial Confinement
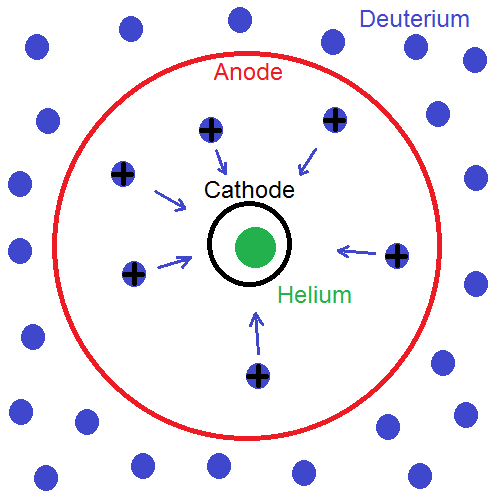
There are many different methods of fusion but the most easiest is known as "electrostatic Inertial Confinement" and uses the piece of equipment known as the "fusor". For the rest of this page we will assume that the fuel used is Deuterium since it is the easiest to obtain and achieve fusion with. It works on the simple basis that a Deuterium atom is positively charged by an electrode (Anode), it accelerates towards a negative electrode (Cathode), it works on electrostatic attraction. The electrodes for a fusor are in the shape of two spherical wire grids, the outer is the anode and the inner much smaller grid is the Cathode. As the ions (charged atoms) gain a positive charge on the Anode and travel towards the Cathode they gain a huge amount of energy, they miss the inner grid and collide with one another in the centre causing them to fuse.
This method is by far the most simplest way of achieving fusion and also the most reliable. It is however the most inefficient and produces a relatively low count of neutrons, this setup is still capable of creating a dangerous amount however. An improvement to the design is to use ion guns to fire neutrons, this method produces a huge amount of neutrons, probably too much for a hobbyist. For this project I will use the wire grids to produce fusion, in my next project I will attempt to build an ion gun.
Design
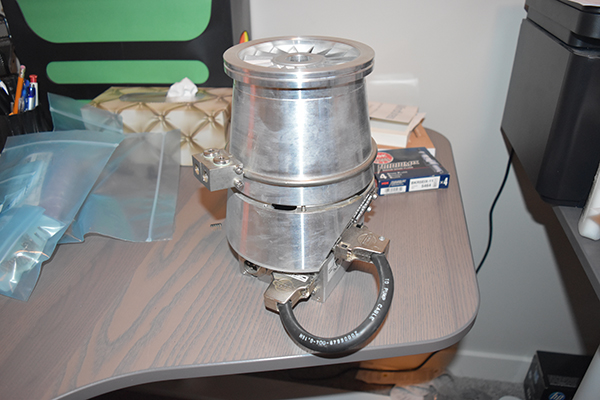
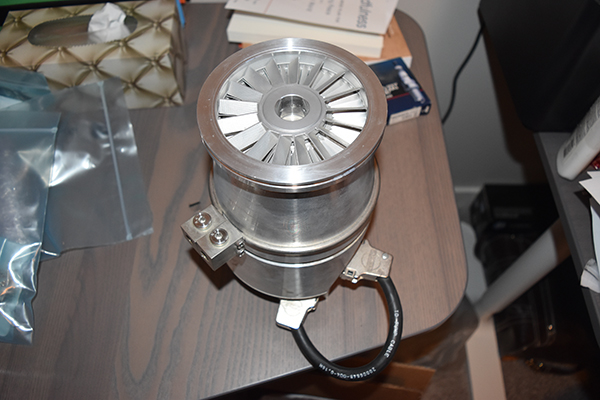
I was not planning to build this project for another couple of years but I made a low ball offer on a turbo molecular pump and I won it. I got the pump to find that it was in like new condition and worked perfectly. The pump is a Leybold TW250S with a Profibus drive, I got it for $250 CAD, a third of that was delivery. I would have expected to pay around $2500 for a working pump and drive in this kind of condition, so this is the reason I started the fusion project early.
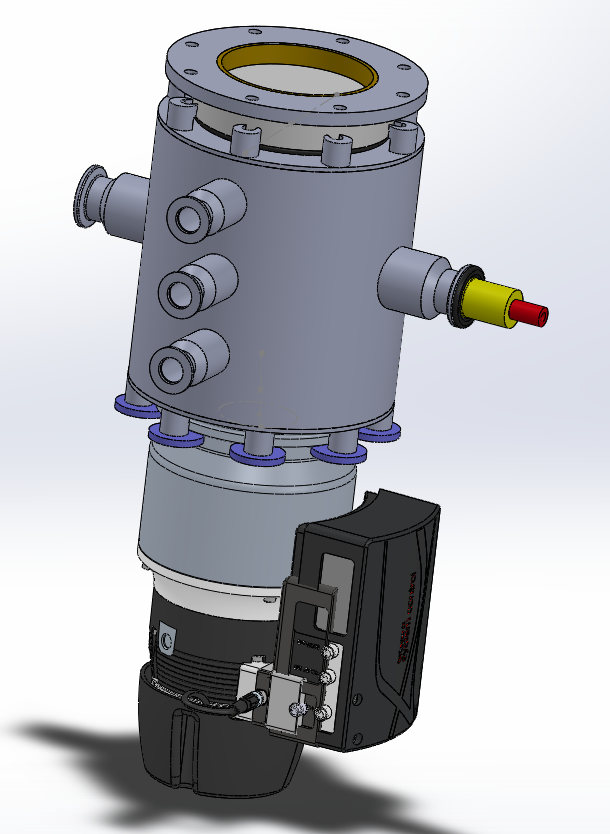
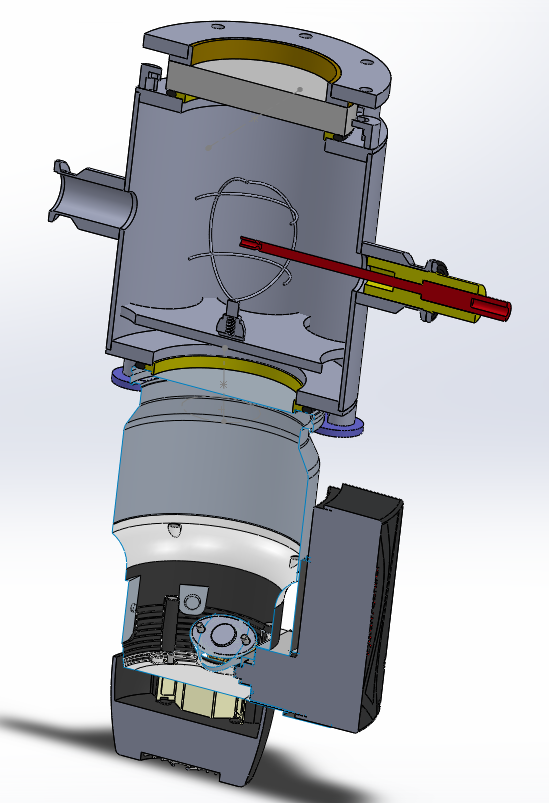
I spent a few days working on a design in Solidworks, I haven't completed the design but most of it is there. The only parts I could not design were the main frame, power supply and roughing pump since these do not exist yet. Here is the current design, I managed to get a CAD for the pump, it's the newer version but most of the dimensions are the same.
The Build
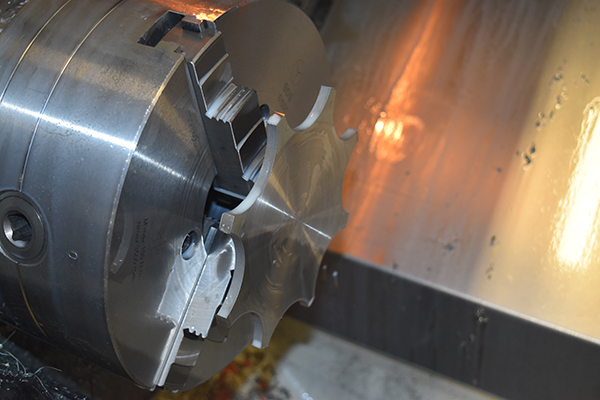
21 April 2018 - The first step in the build was to get some end plates water jet cut, these could not be plasma cut as it would surface harden the steel. All of the vessel has to be made from stainless steel since it is not porous and does a great job at blocking X-rays. I managed to get some material and get the machine shop next to where I work cut it at short notice.
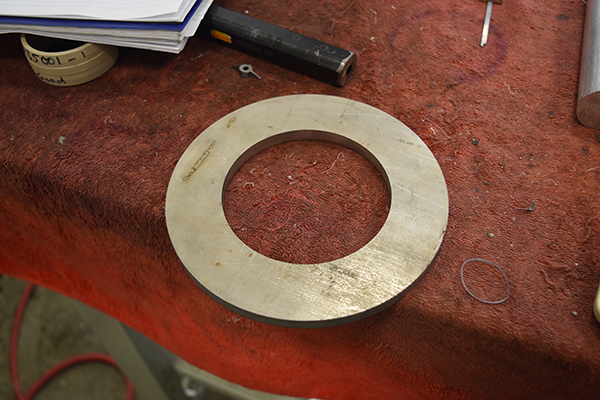
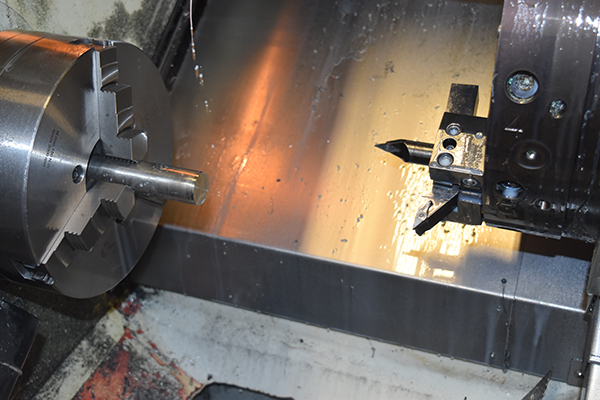
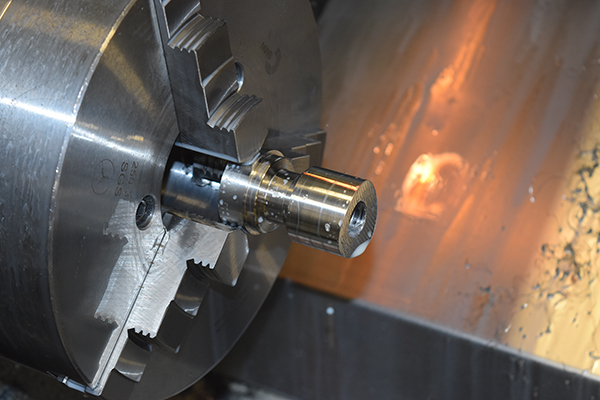
Even though the plates were pretty thick I had some issues with resonance so had to turn them at a very slow speed, the finish came out pretty good.
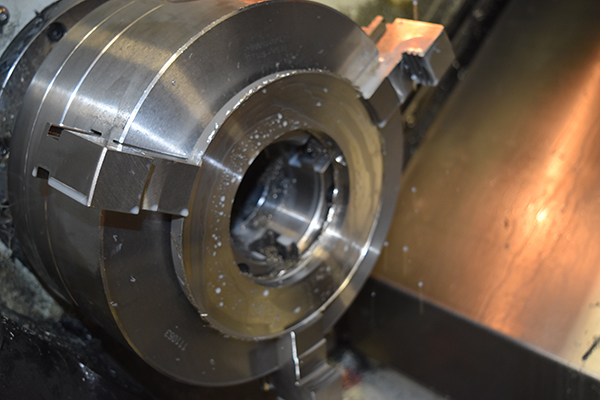
The finish came out almost like a mirror, the big issue I had was facing the full length without hitting the jaws. The tool radius I used was pretty large too so it certainly was not ideal.
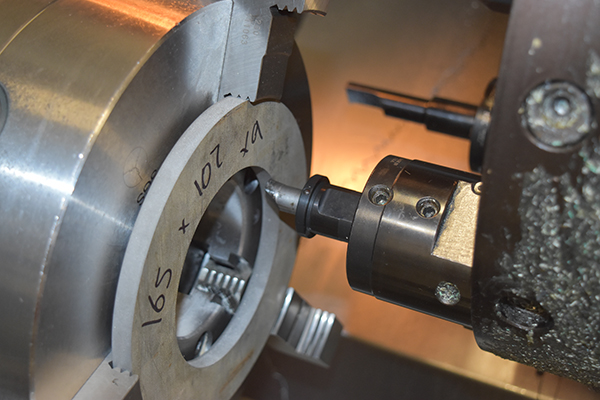
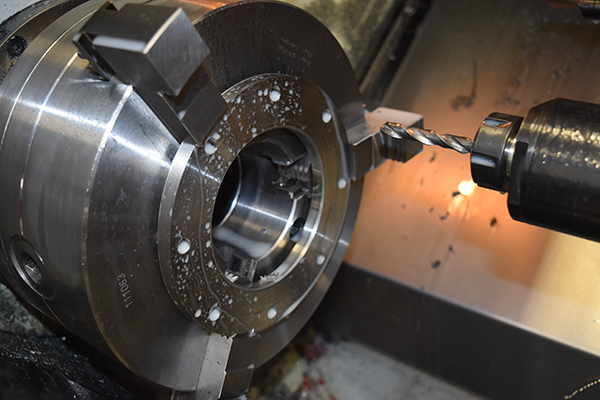
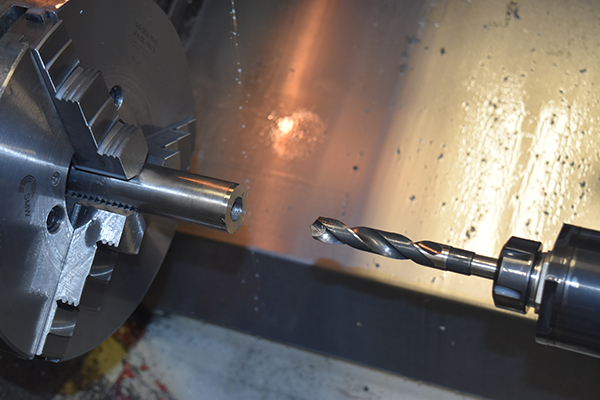
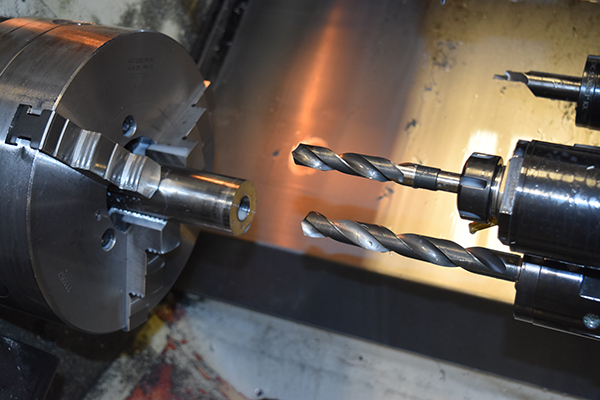
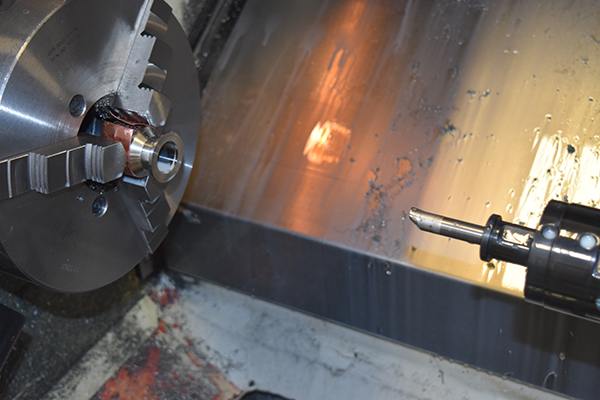
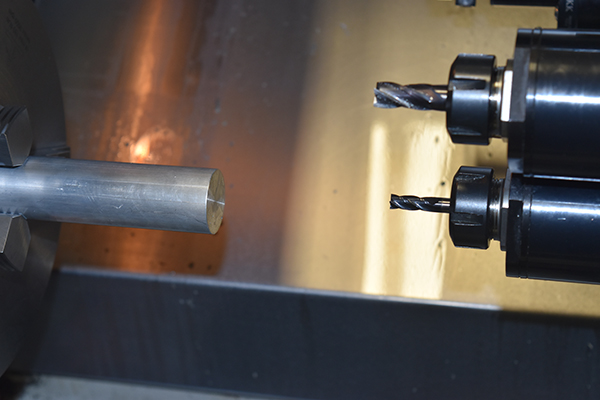
This plate is going to be a flange for the glass window, here it shows me placing the machine in MDI mode. The machine has live tooling which is where the drill will go, M27 is a code to hold the spindle with a pneumatic brake.
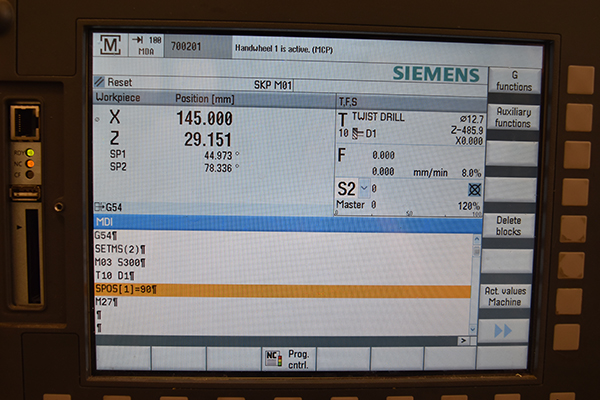
Since I was drilling stainless with a regular HSS bit I had to go at 300rpm and a fast feed, I chose to do it manually with the hand wheel. The two end caps and the flange came out really good, I had to turn some chamfers to get rid of the burrs due to the tip radius.

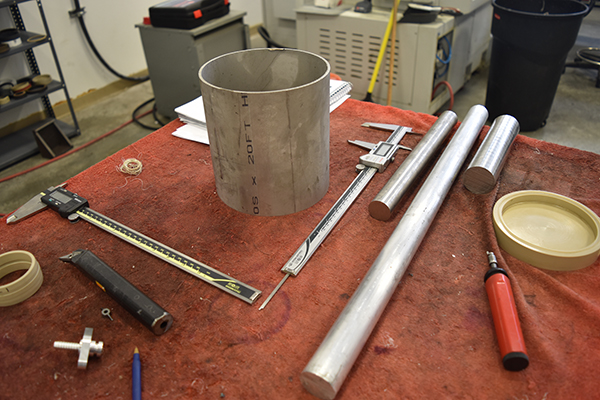
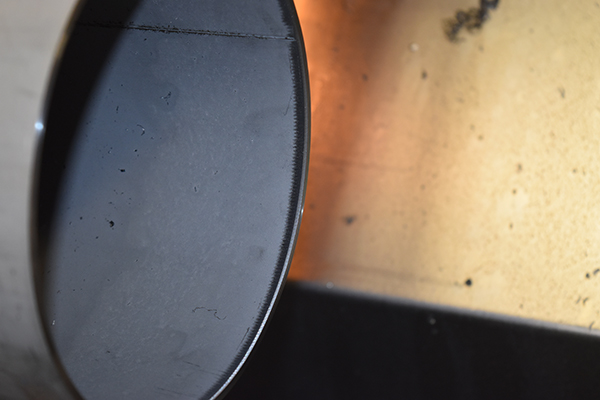
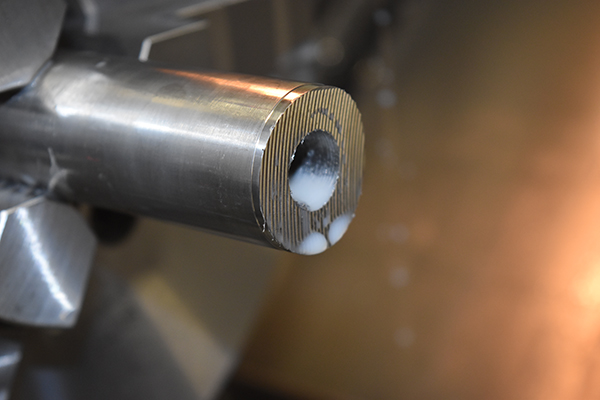
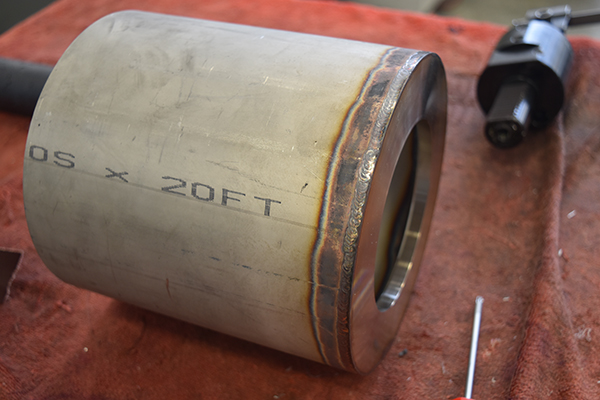
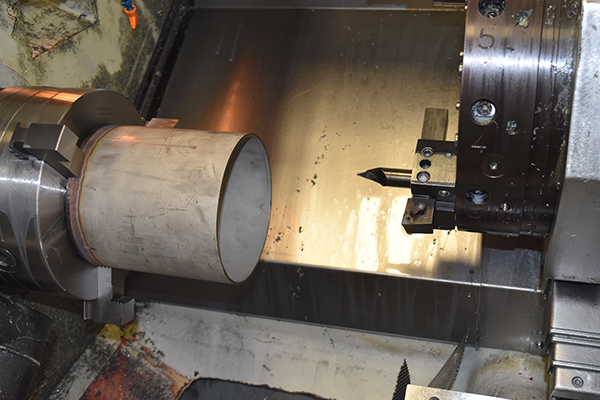
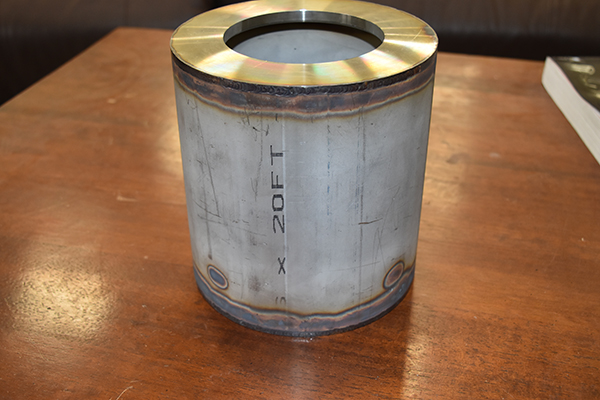
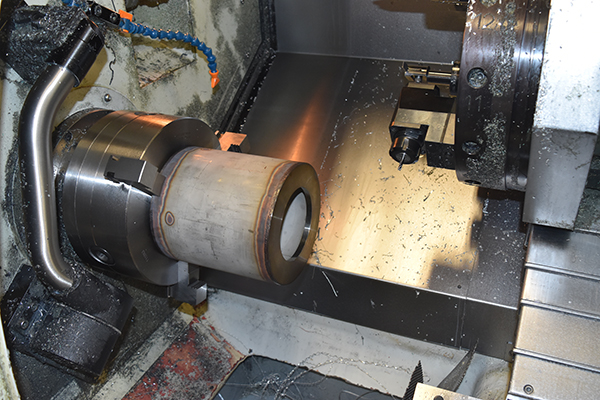
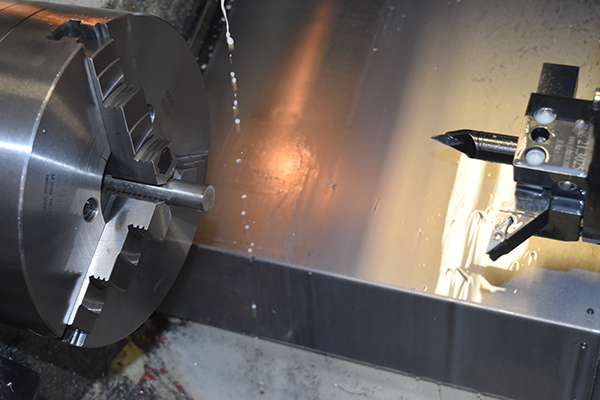
The main body of the vessel was made from some 6" schedule (something) tube, all I knew is that the OD was 168.3mm and the wall was 3.18mm. I first started by facing it square in the lathe, the big issue was that it was 8mm oval and that there was nothing I could do about it.
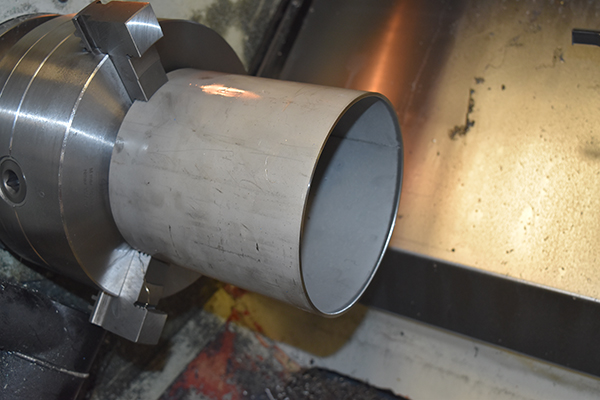
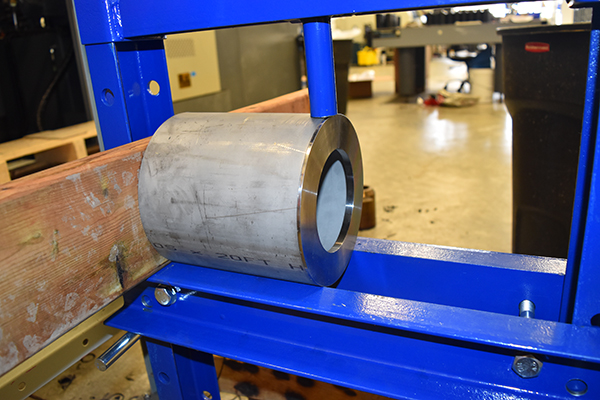
I had to use a hydraulic press to squash down the tube in order to insert the end cap, it was a tight fit. Due to the tube not being round when turned it meant that the seam around the cap varied slightly.
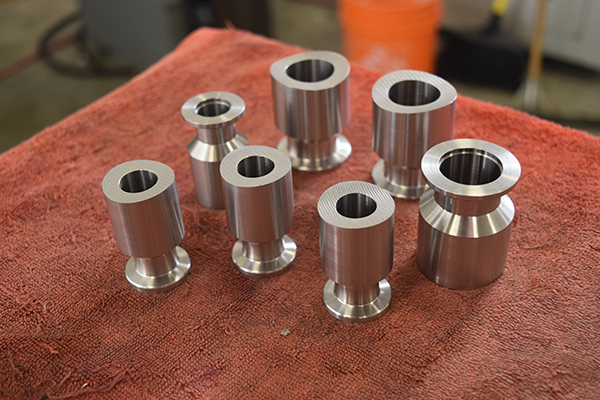
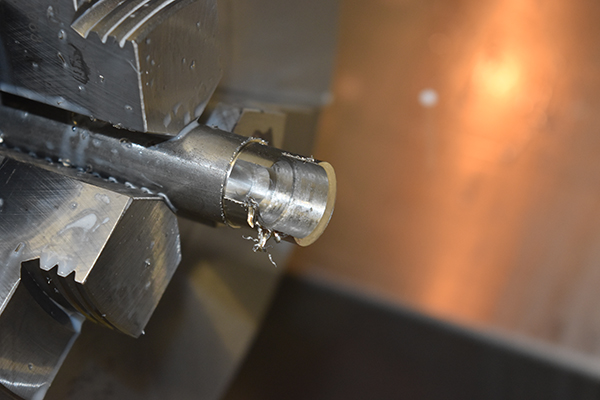
22 April 2018 - Next was to make some flanges for the electrode, sample holder, gas supply, pressure meter and an auxiliary port. These again had to be made from stainless as they were being welded to the vessel.
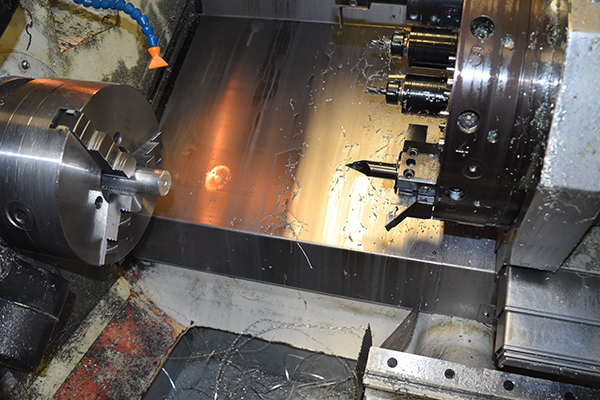
I used a simulated milling program in the lathe to mill a contour into the face of the port, this contour will allow it to butt against the vessel with no gaps.

I didn't have the correct profile insert for stainless so used one intended for aluminium instead, all it meant was that I had to take very shallow cuts.
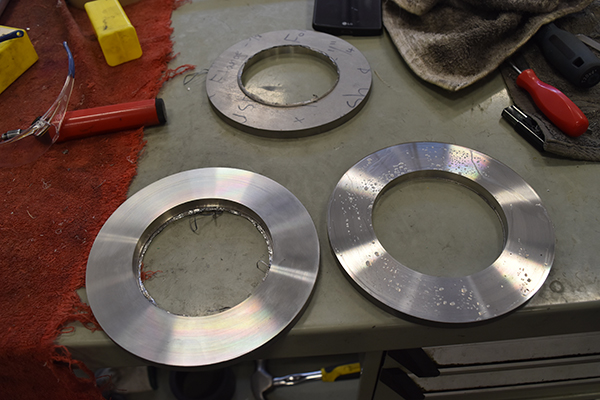
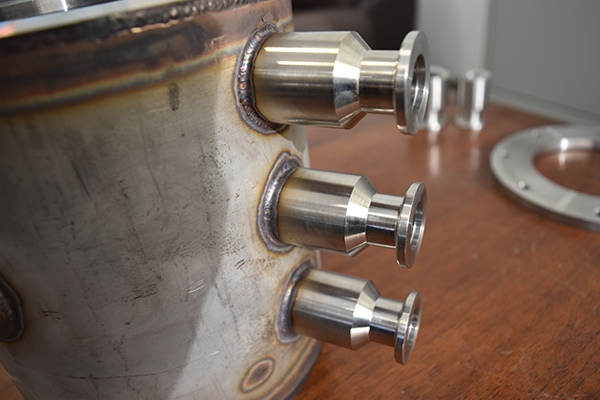
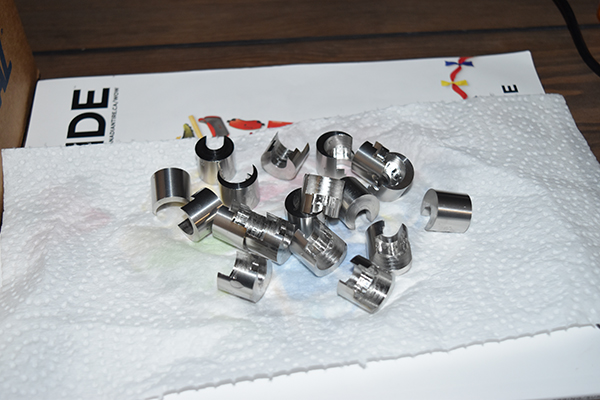
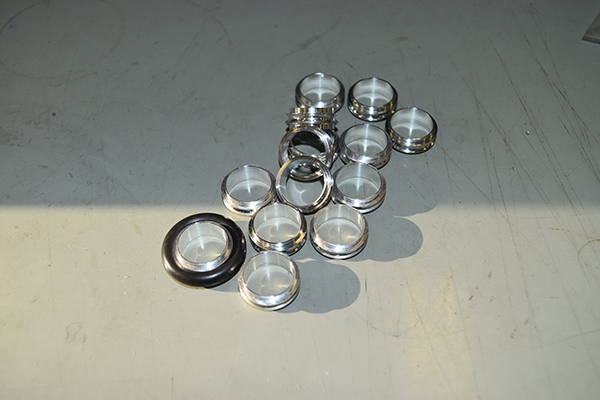
I made a total of four KF16 flanges, only three would be needed.

I also made three KF25 flanges, again I only needed two of them.
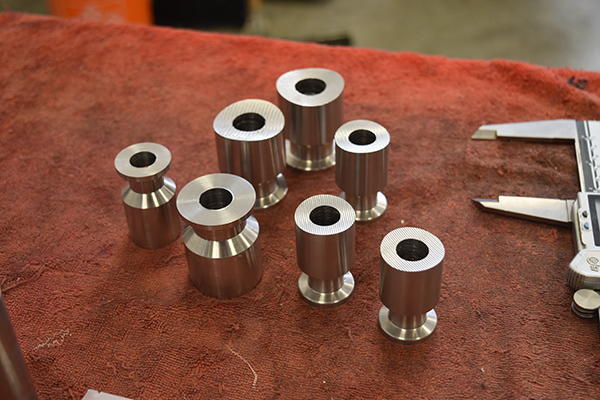
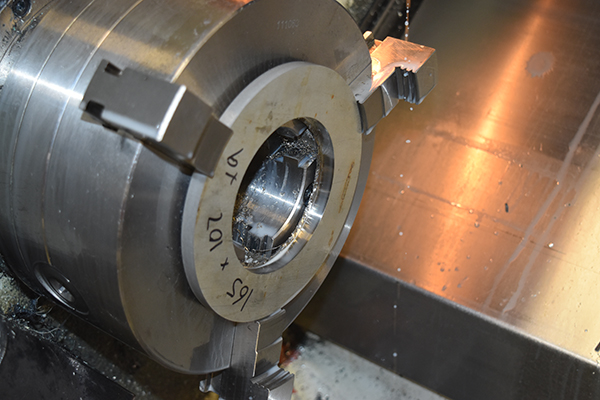
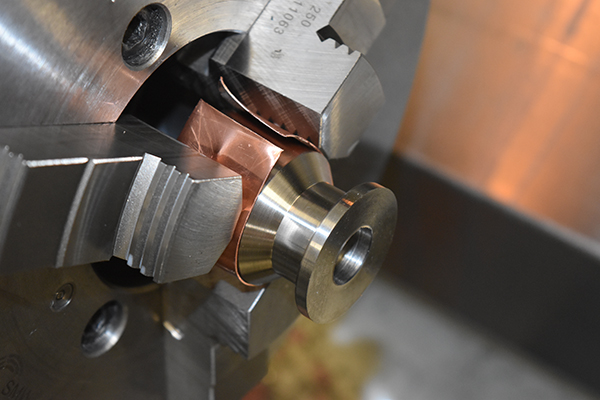
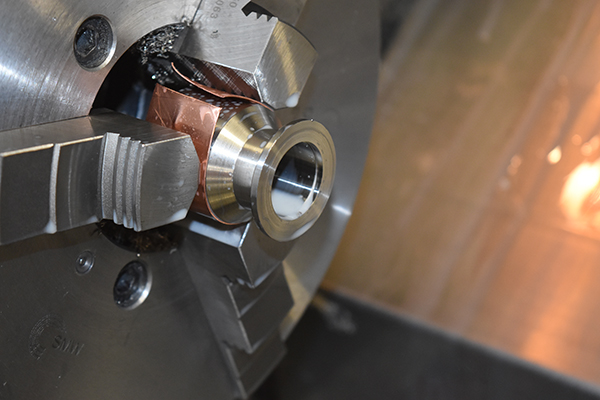
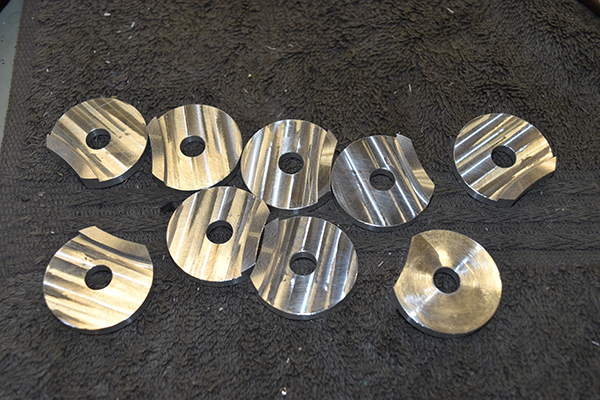
I had to double op them so that the centering ring would fit. I used a piece of copper as to not mark the part with the jaws.
The finish came out amazing.
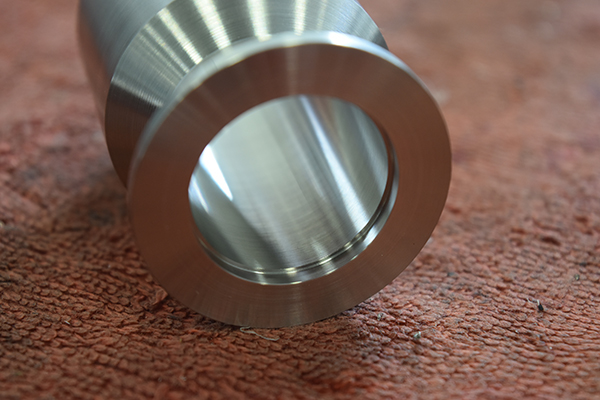
Mirror finish.
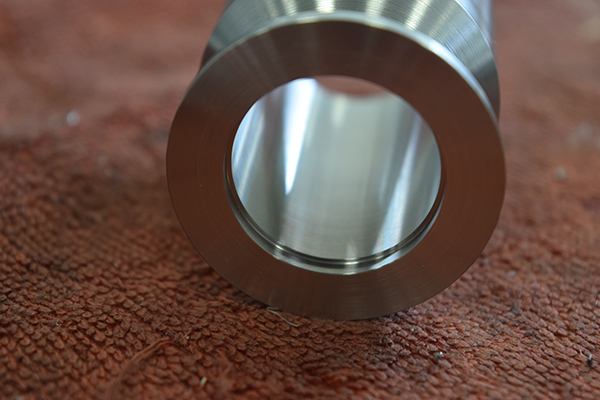
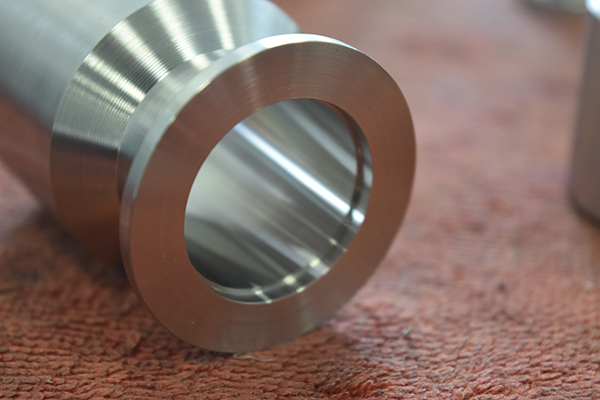
The parts came out really good, I had no mishaps either.

23 April 2018 - The machine shop a few doors down allowed me to use their TIG welder, I made the parts close fitting so that I would not need to use any filler. I had not welded for a few years and was pleased with the results, the main thing was getting used to the foot pedal.
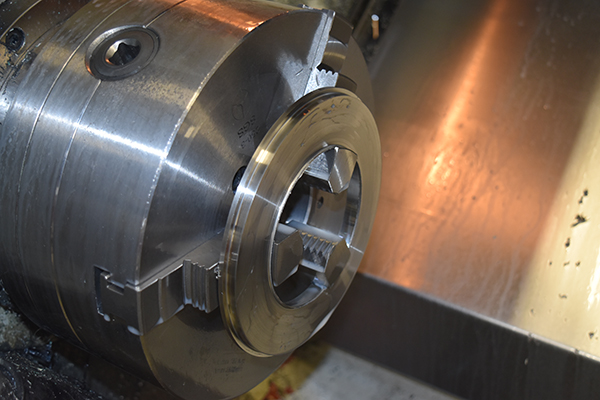
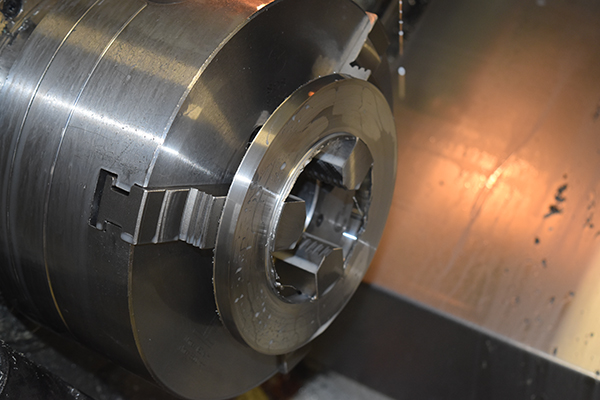
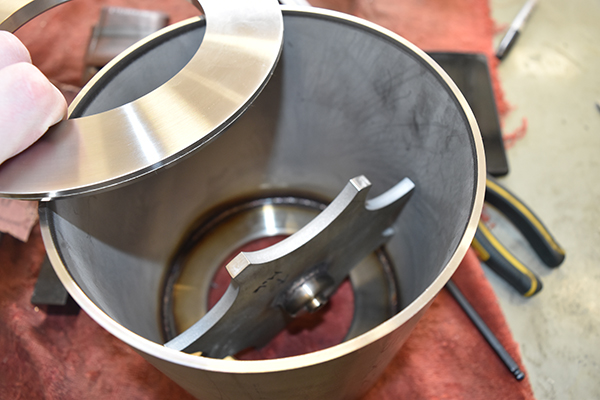
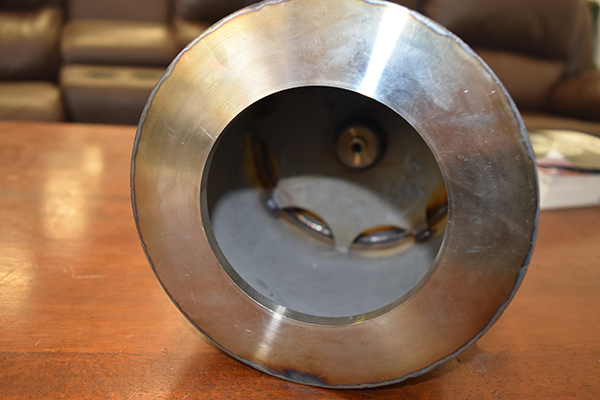
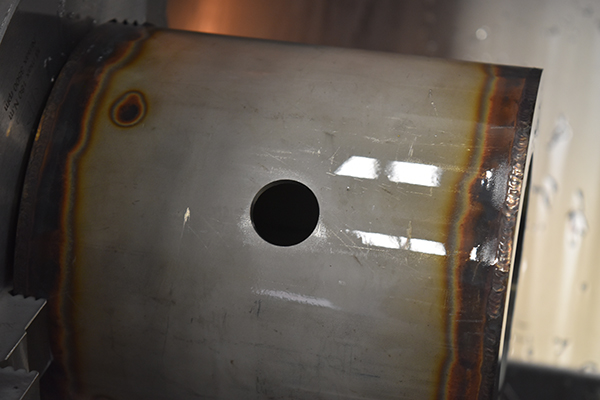
The centraliser / protector plate was turned to the right diameter in the lathe. The reason for this plate is to hold the large anode wire grid, it also serves to help block neutrons and X-rays from going in to my turbomolecular pump, I don't want any risks. Here you can see I missed a hole on the plate, these can become very problematic if not fixed.
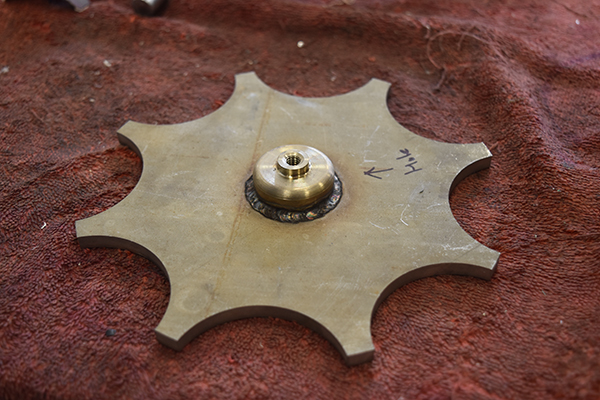
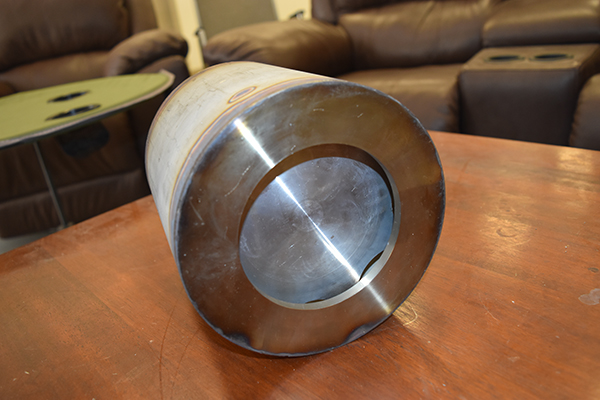
The opposite side of the body was faced true. I would have to weld the protector plate in last in order to reach the welds on the end cap.
Again I had to squash down the tube in order to fit the end cap. Since it was the end of the day I did not have access to the welder so chose to make some more parts in the lathe.

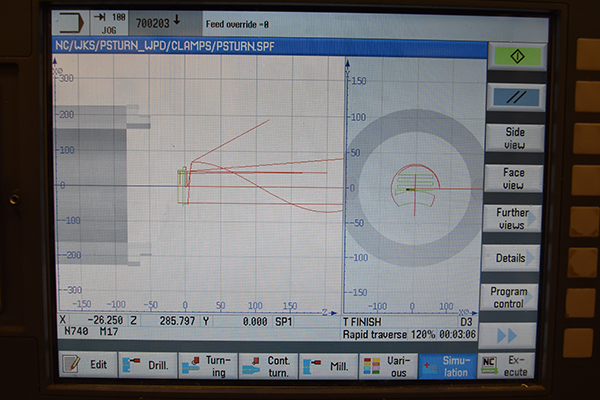
The parts I will be making are little clamps which attach the fusor body to the turbo pump.
It didn't take long at all to manually program and machine the parts.
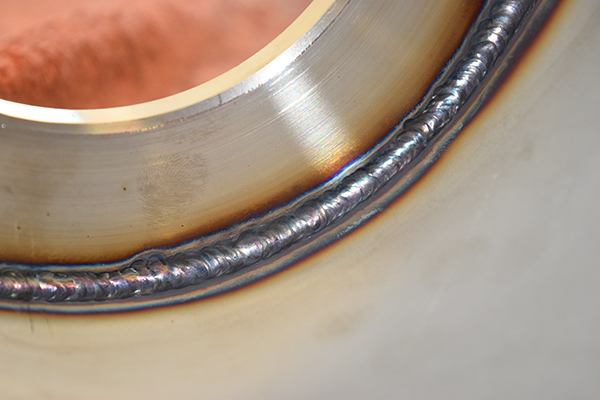
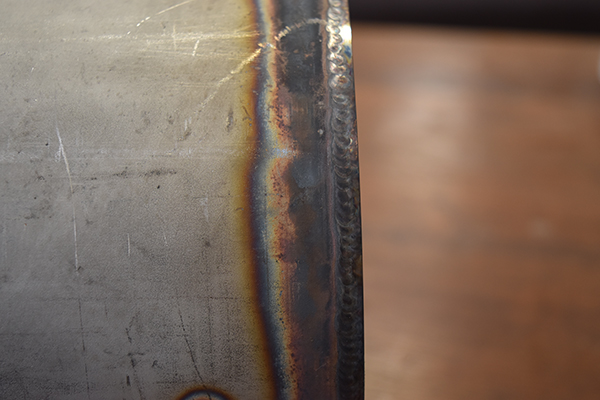
24 April 2018 - The next day I welded on the end cap, my welding is definitely getting better.
The last part to weld was the centraliser, this had to be done last in order to first reach the inner welds for the cap, it was not easy.
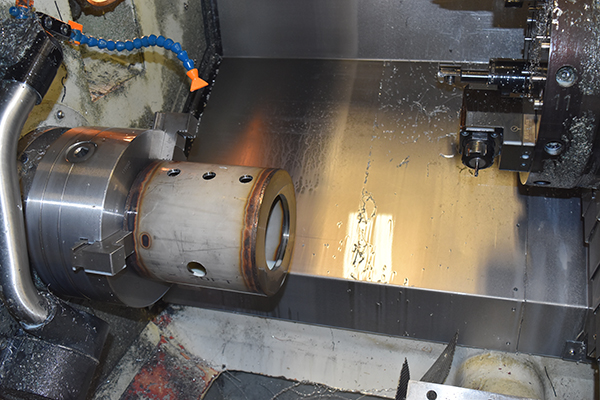
At the end of the day I chose to use the live tooling in order to cut some holes in the body for the ports. I normally program everything from scratch but in this case the machine only recognises radial milling as a flat plane, this means that if I programmed a circle it would machine it as an oval. So instead I chose to have a go at the conversational programming, it was relatively easy to work out but not ideal. It cut out the circle great but chose to rapid across the hole every time it started another circle pass, this was not so good on the life of my end mill.
Even though I chose to go with the conversational programming thinking that it would sort the oval problem, well, it didn't. I had to modify the program so that the hole was 25 x 26.3mm, luckily it really did not matter. I made a bar from aluminium that would centre the larger ports together.
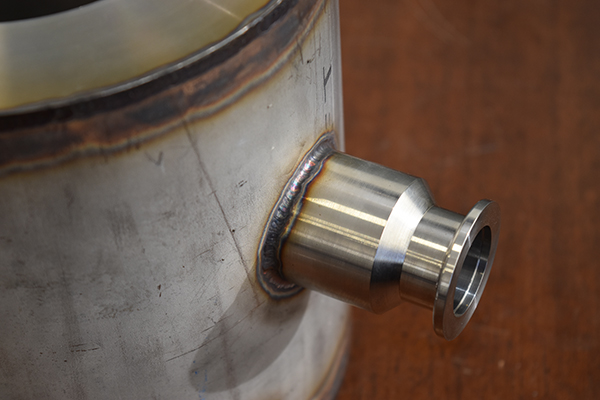
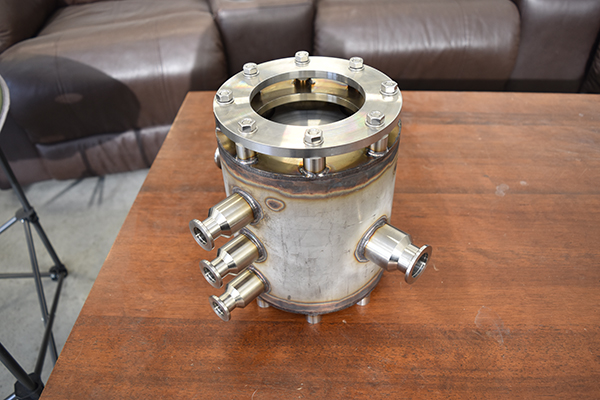
25 April 2018 - Welding the ports took no time at all, unfortunately I could not reach the insides. If the inside becomes a problem then I will have to get an old TIG torch that I can cut down.

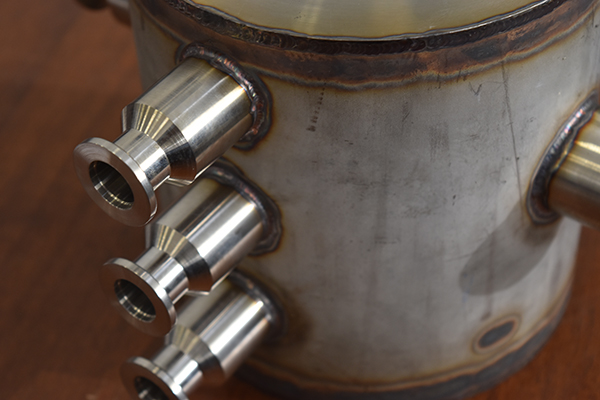
The welds were really good. Since I made everything to such a tight fit it meant that I did not use a single piece of filler rod throughout the whole of the welding, using no filler ensures no contamination and no air pockets.
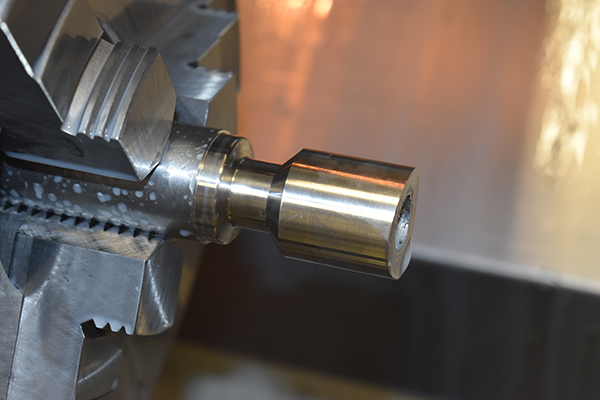
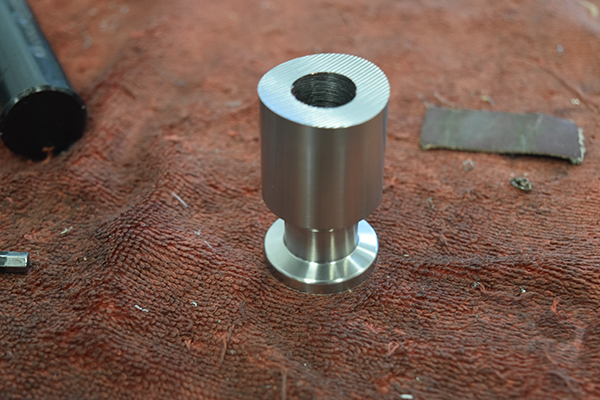
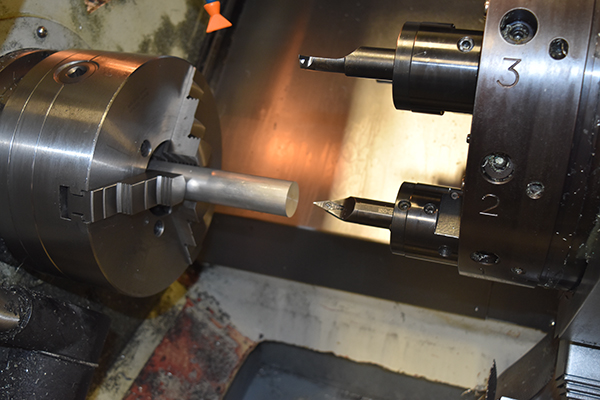
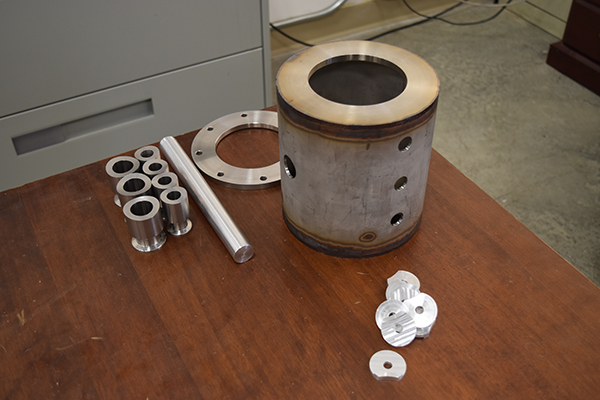
26 April 2018 - The next part to machine were some holders for the bolts, these will weld to the body and then allow me to bolt the flange or the turbo pump to it. These again were machined from stainless and programmed manually.
The design was so that I could insert a bolt from it's side, then when lifted the head of the bolt would slot into a hex socket not allowing it to turn. I was rushing to get these finished in time and ended up burning my milling cutter. The moral of the story is to take your time otherwise it takes twice as long, which it did. They came out really good in the end though.

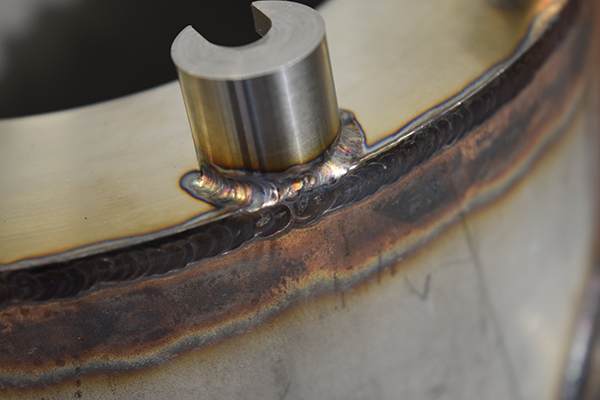
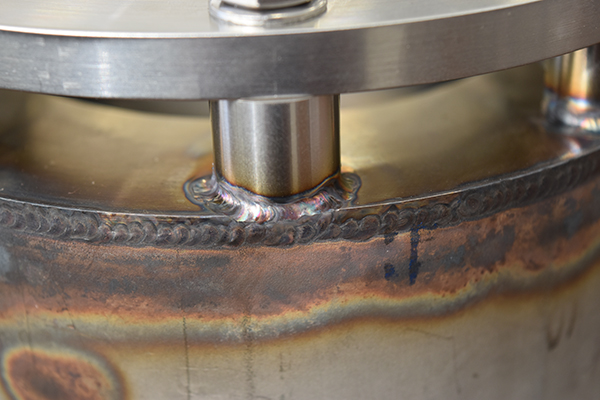
27 April 2018 - I used the flange to align them properly and then TIG welded them in place.
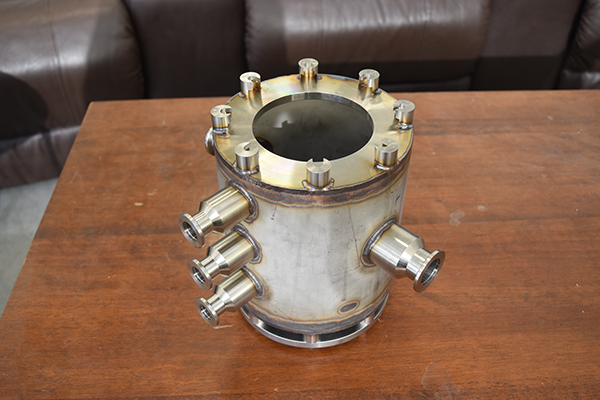
They were a little thin towards the edges so I could only put a small weld in place, these really don't have to hold much load so the welds will be sufficient.
Another view and the welds.
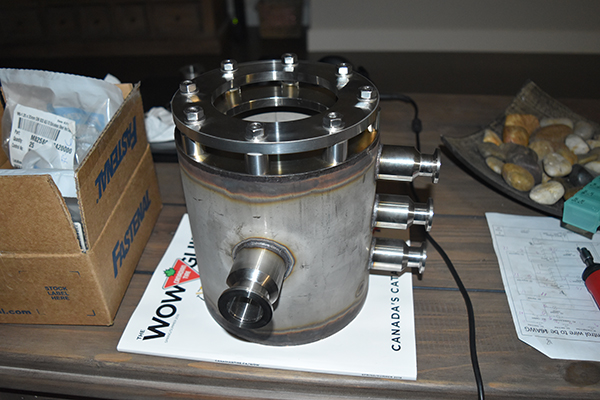
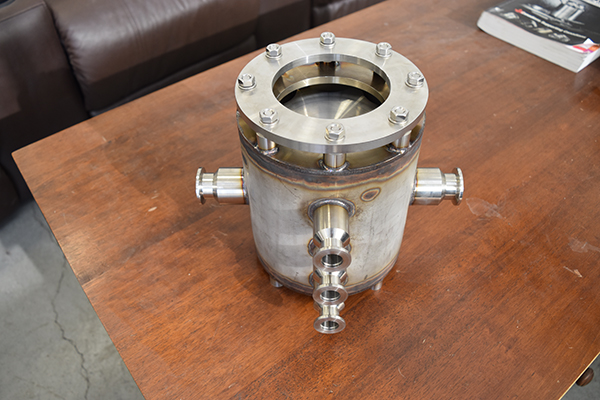
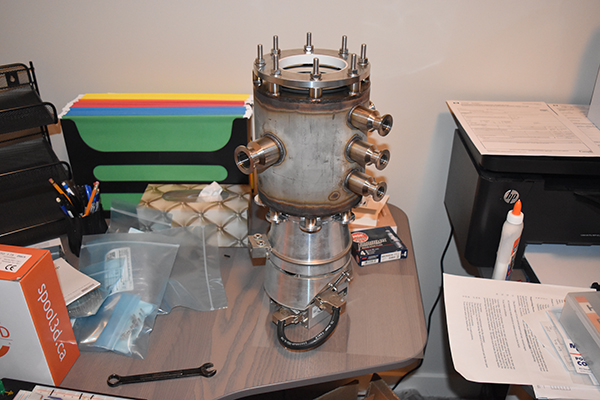
I spent an hour just making some KF16 centering rings out of aluminium, just because. Here is the turbo pump assembled to the fusor body.
Hello, if you have enjoyed reading this project, have taken an interest in another or want me to progress one further then please consider donating or even sponsoring a small amount every month, for more information on why you may like to help me out then follow the sponsor link to the left. Otherwise you can donate any amount with the link below, thank you!