Electrostatic Nuclear Fusion - Page 2
This is my third attempt at nuclear fusion, this is the second page of my build progress. In the previous page I designed and built the fusion vessel.
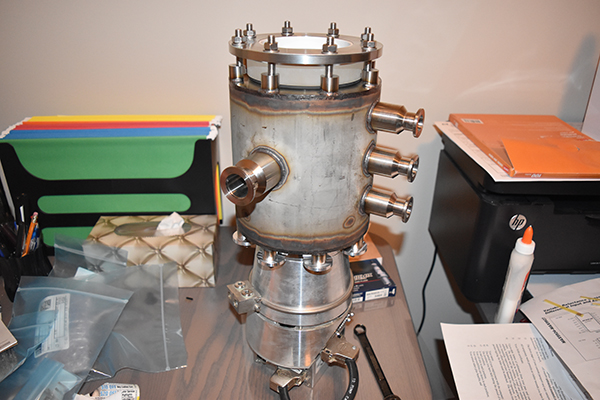
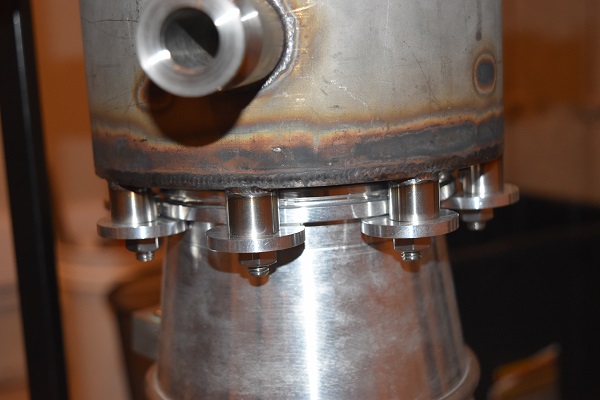
04 May 2018 - I bought a piece of 5" x 3/4" thick borosilicate glass for the viewing window, this was bolted to the fusor. I had previously machined an ISO100 sealing ring for the window and a PTFE ring to protect the window from the steel flange.
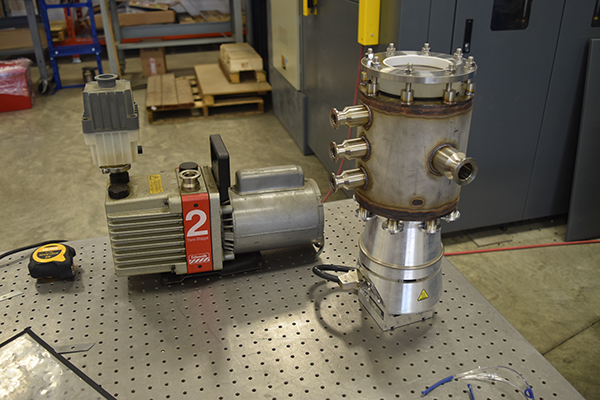
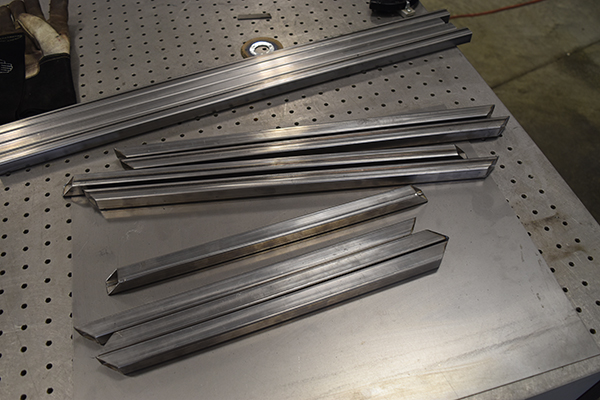
05 May 2018 - I was due to leave work in just a couple of days, my work Visa was expiring, my application to stay in Canada had not gone through. I was in a rush to get as much of the fusor completed as I could before I did not have access to the workshop, I could not risk my immigration status by going into work to borrow the machines. It was even too risky to use the workshop next to where I work, I would just have to postpone progress. So I did some rough measurements of the fusor and the pump before buying some steel.
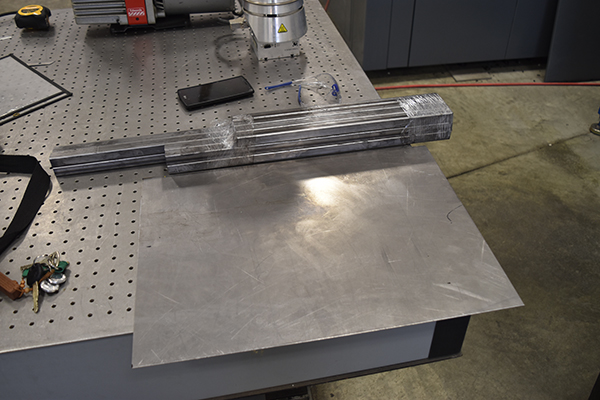
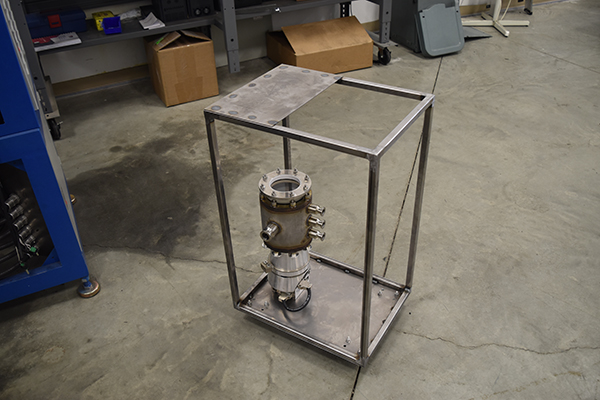
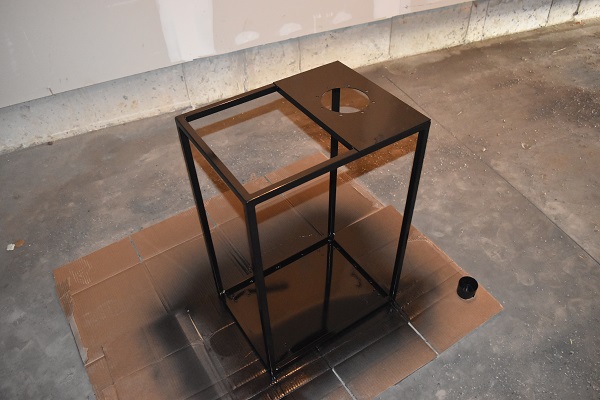
I spent some time cutting all of the tubes at 45 degrees, this would ensure tidy corners. I had to do all of this with scraps of angle grinder cutting wheels as I had forgotten to pick some up. I welded the bottom part of the frame along with a steel sheet that will hold the pump.
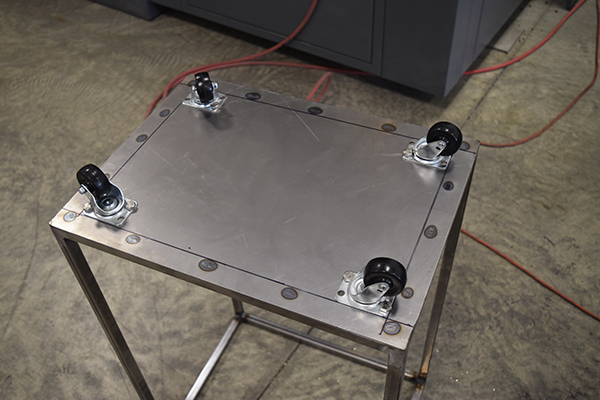
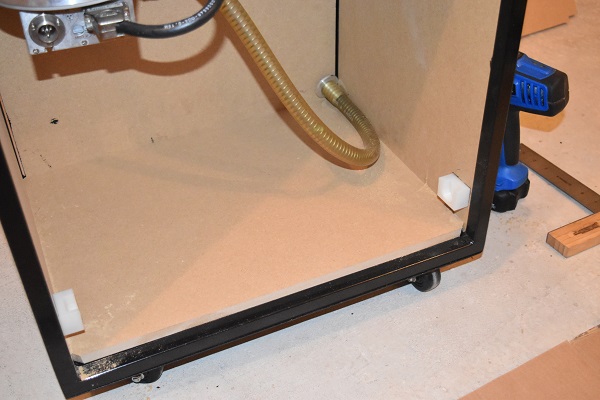
The frame took no time to weld together, I then ground back all of the welds since I would later be painting the frame. All of the welds on the insides of corners did not need to be ground back, these would also be difficult. I picked up some really cheap casters for the bottom, these were only $3.50 each.
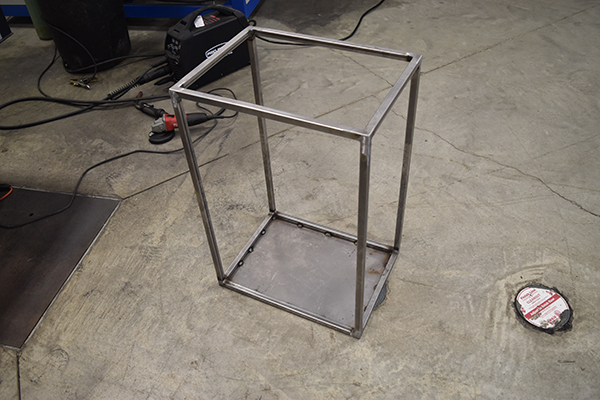
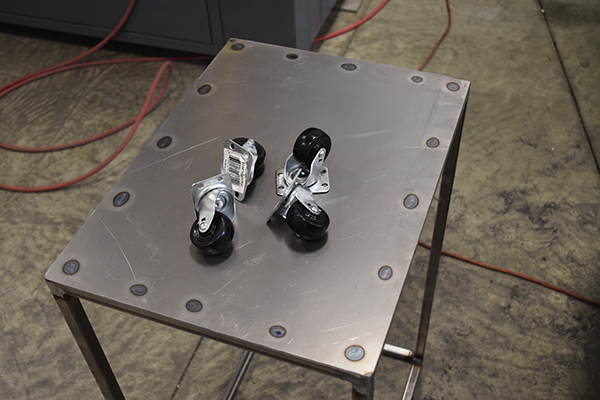
I used the castors as guides before drilling some holes. I was originally going to place them in the corners but this would make bolting them down difficult due to the frame. Since the whole setup is pretty heavy I assumed that these would suffice in this location.
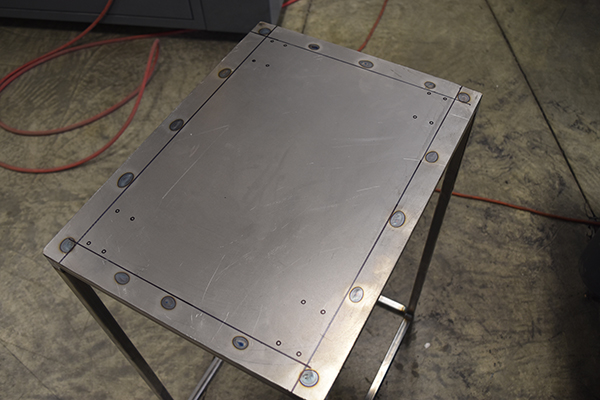
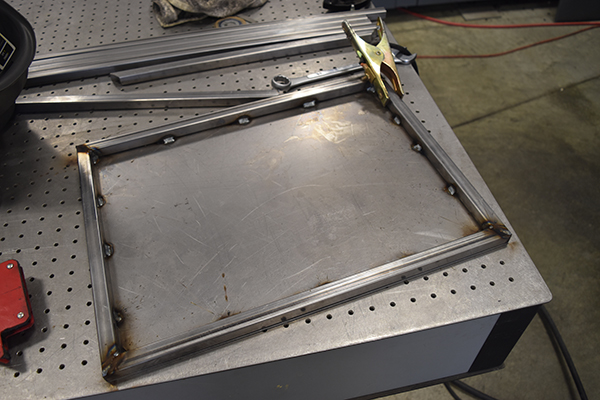
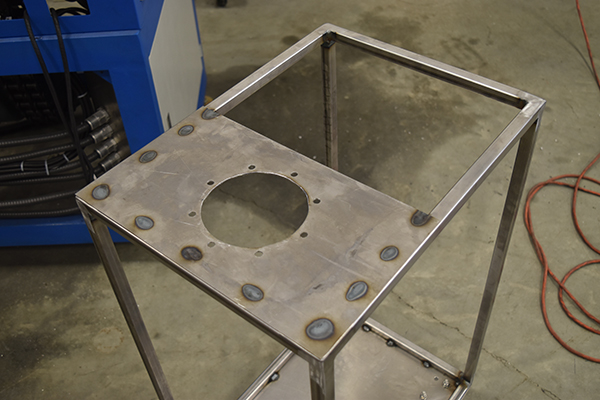
I was not 100% sure how the fusor was going to be secured in the frame, I realised time was valuable and to use the TIG welder again could be problematic. I chose to cut and weld a sheet to the top of the frame.
I printed out a template with the bolt pattern for the flange plate. I taped this template to the sheet, I then used a punch to mark out all of the drill holes.
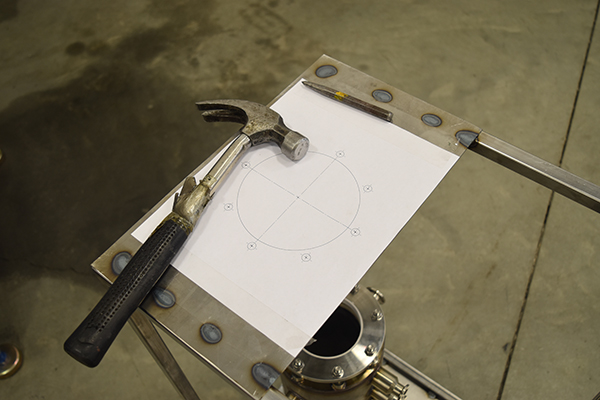
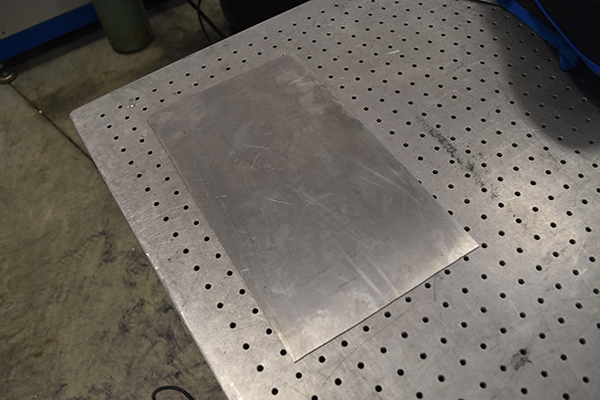
This was quite a process as I had to use the drill to cut a larger hole.
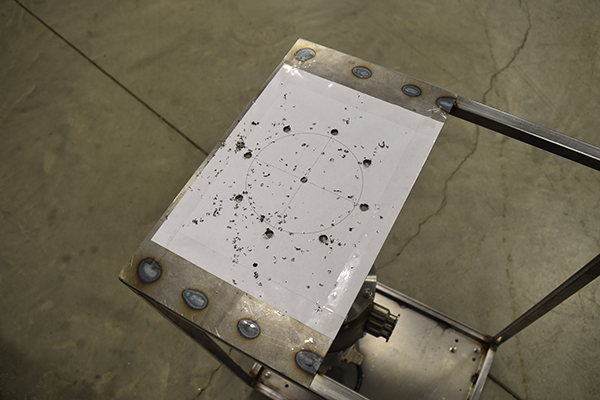
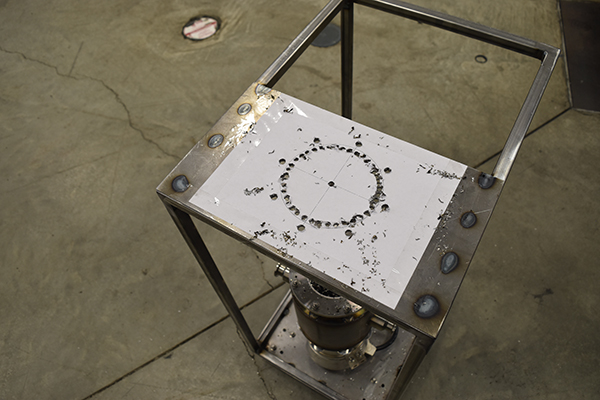
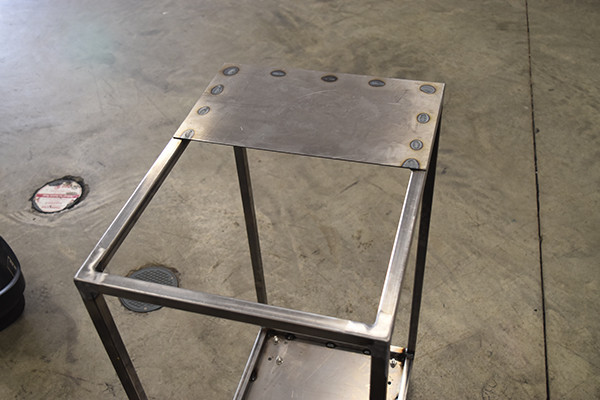
It didn't take too long, after a little grinding it came out really good. I bolted the fusor in place to see how rigid it was, the plate was not quite sturdy enough, but, since it was a Saturday I could not pick up any more metal.
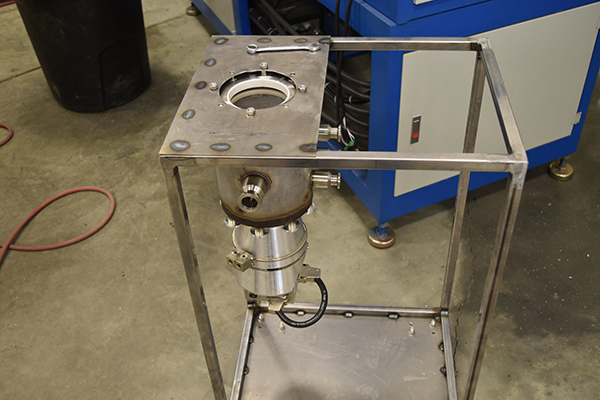
07 May 2018 - I picked up some metal, it only cost me an additional dollar. The support was then welded in place, it was a hell of a lot more sturdier this time. I had to cut the larger chamfer on the end due to the corners welds.
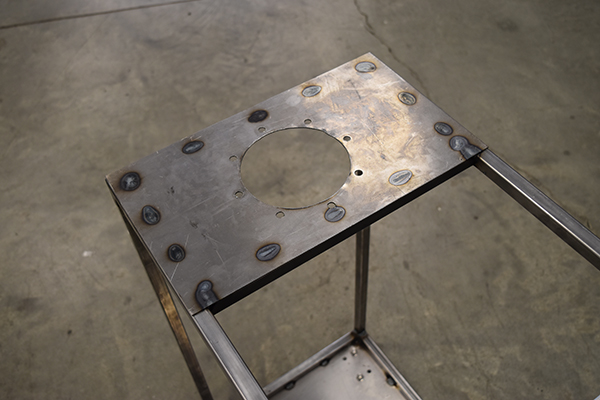
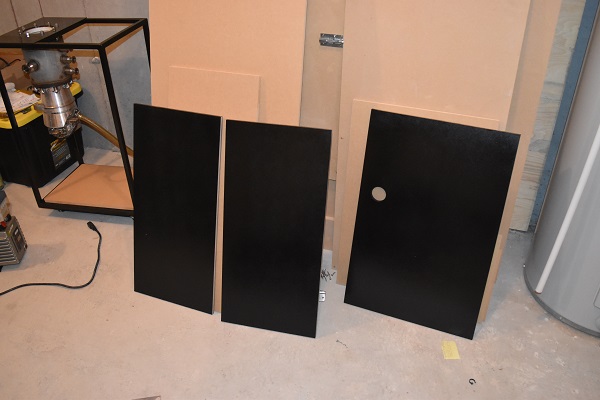
20 May 2018 - Today I got around to painting the rack, I first started off by giving it a good sand for the paint to stick to. I then cleaned it down with alcohol and proceeded to paint it with heavy duty enamel.
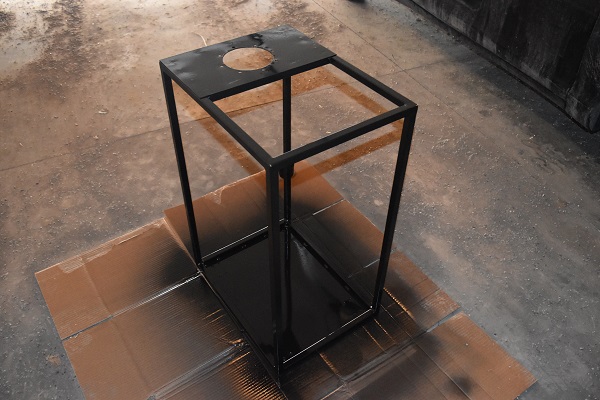
The paint came out real nice, I had no issues and only needed two coats.

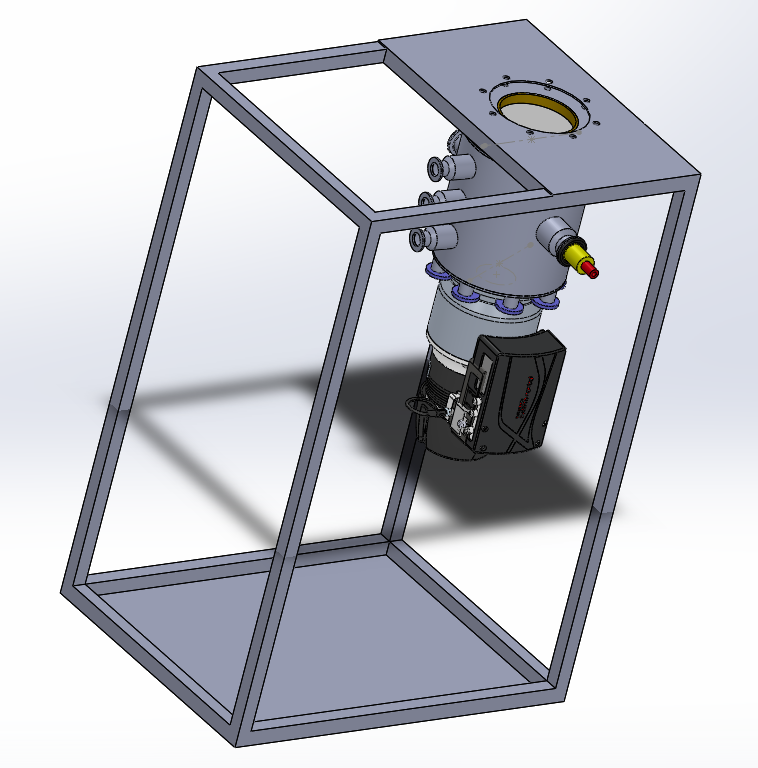
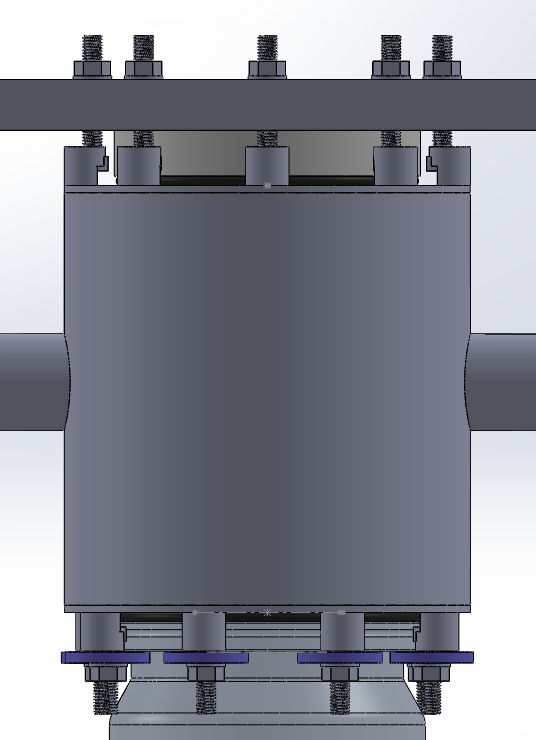
I chose to update the CAD for the fusor, I will need to draw the pump up next, hopefully I can find a CAD online first.
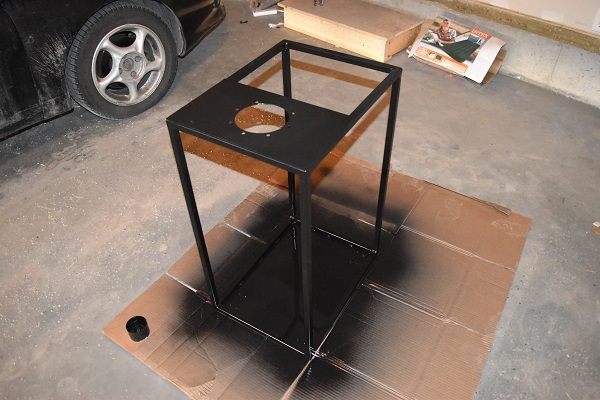
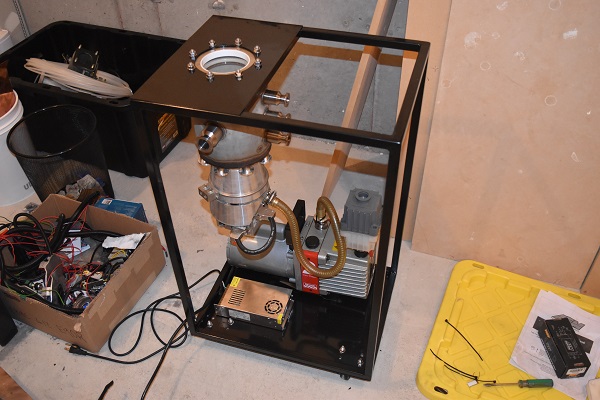
31 May 2018 - I did a quick assembly of what parts I had for the fusor, this would also allow me to make some measurements for the frame walls. I would also like to get the fusor vessel blasted, there's no way I'm using acid again.
15 June 2018 - I made a quick update on the CAD assembly, I installed nuts and bolts.
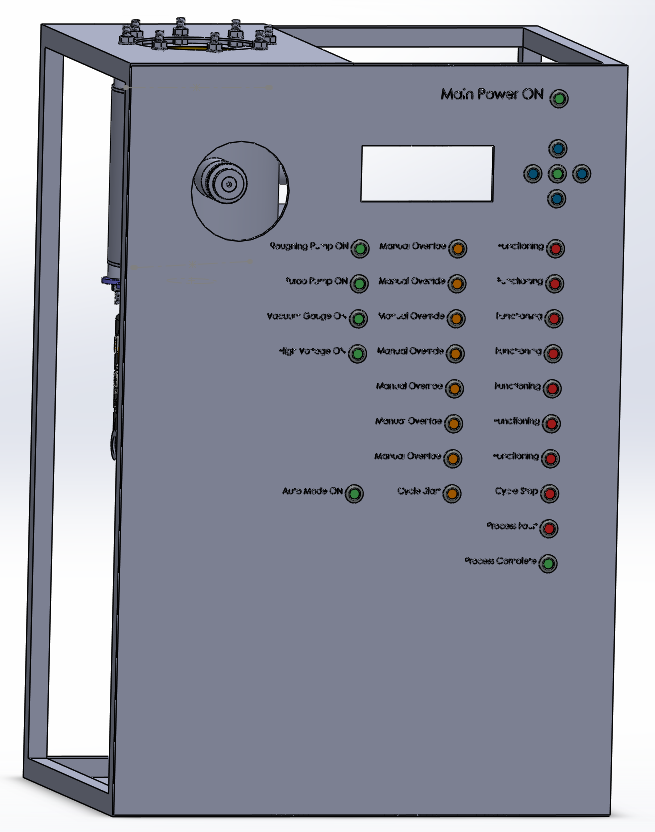
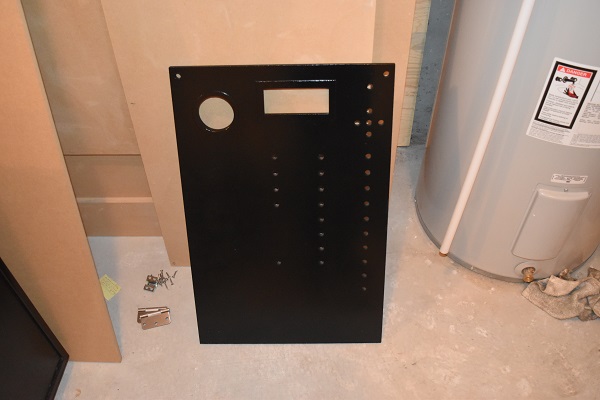
25 June 2018 - I did some thinking of how I would run the fusor, ideally I wanted it to be as professional as possible while being fool-proof. The idea is that every single function of the fusor will have an enable, manual override and an indicator to say that it is running. The fusor will also have an interface that allows the user to program an automatic mode, control the voltage and pressure. I mocked up a control panel in CAD and added it to the assembly.
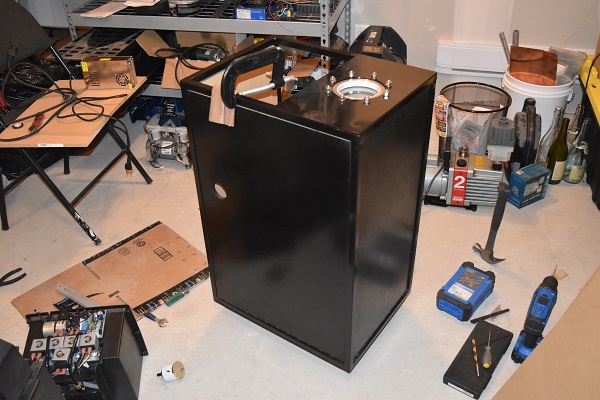
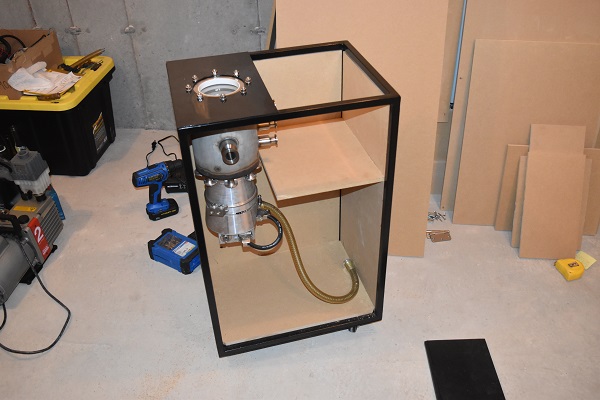
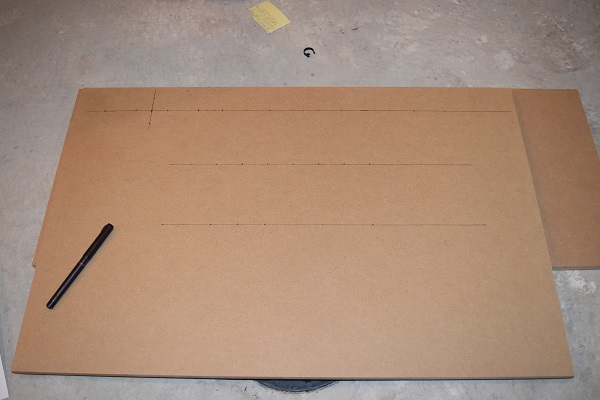
01 July 2018 - I could not believe how expensive metal and plastic is in Canada, so much so that I chose to go with MDF. Wood is not always my first choice but it is cheap, easy to cut and is still fire resistant, more so than plastic. I chose to go with half inch board and had it cut to size, no way I would be doing all of that manually. Since the insides would not be seen I only chose to paint the outside, it's surprising how much wood can absorb paint.
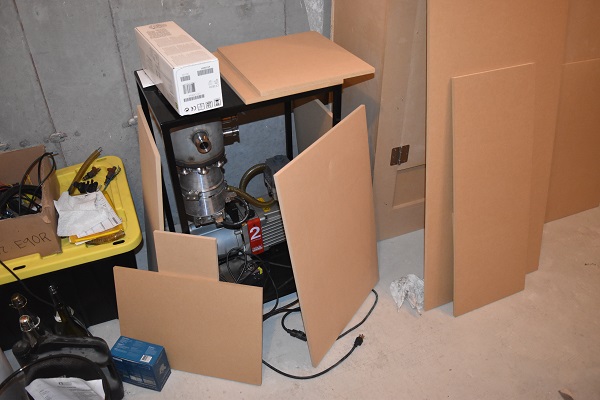
I used black screws to hold all of the panels in place, each screw used a pre-drilled hole as to not split the wood.
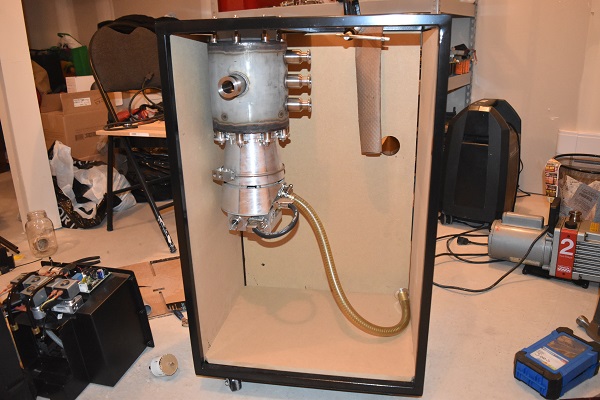
Here a shelf was added for stability but also to hold all of the valves that will come at a later date.

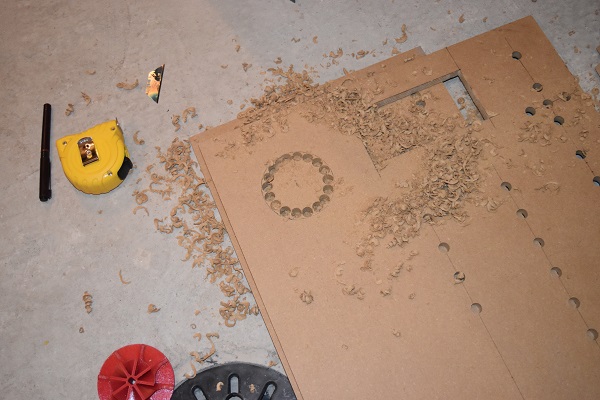
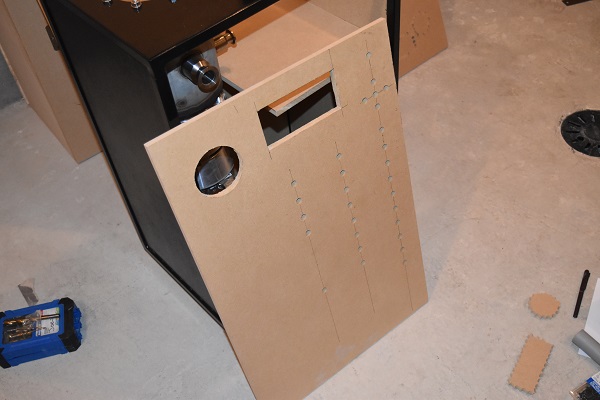
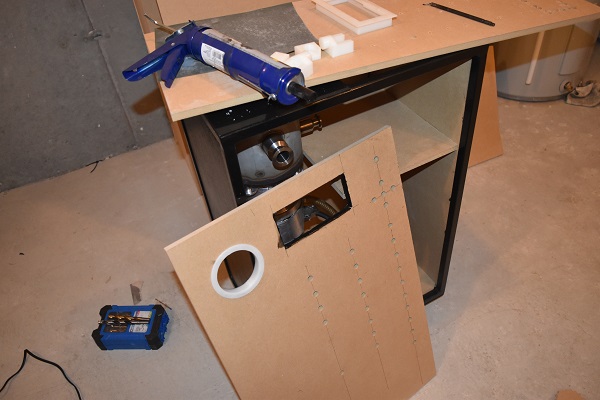
02 July 2018 - Next I started on the front panel, a half inch brad point drill was used to ensure all holes were drilled accurately.
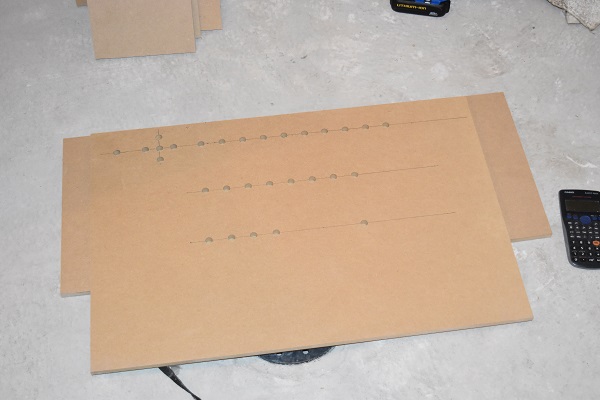
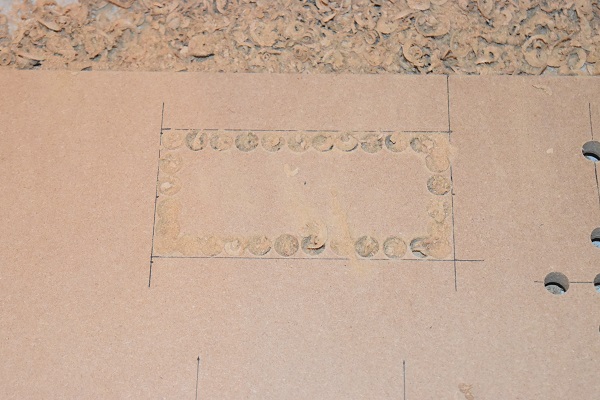
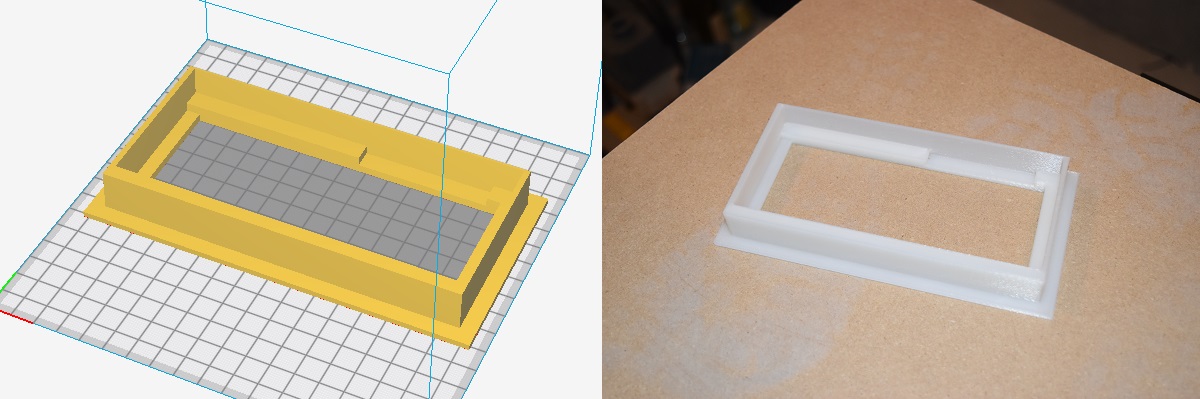
The window for the LCD was cut out through a series of holes, I then filed the edges flat. I made the opening oversize so that I could 3D print a bezel for the display, I didn't expect to achieve such perfect edges.
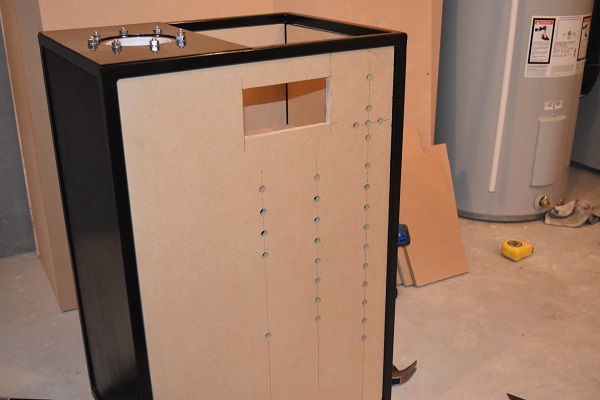
The same was done for the sample port. The sample must be able to be removed quickly since the isotopes produced will have very short half lives.
03 July 2018 - I produced a design for the LCD bezel, this would be used to keep the corners looking nice and also be used to seat the display properly.

I chose to print it in PLA since I had some spare, probably the easiest material out there to print too.
Next to design was a bush for the sample port, this is to protect the edges of the MDF board.
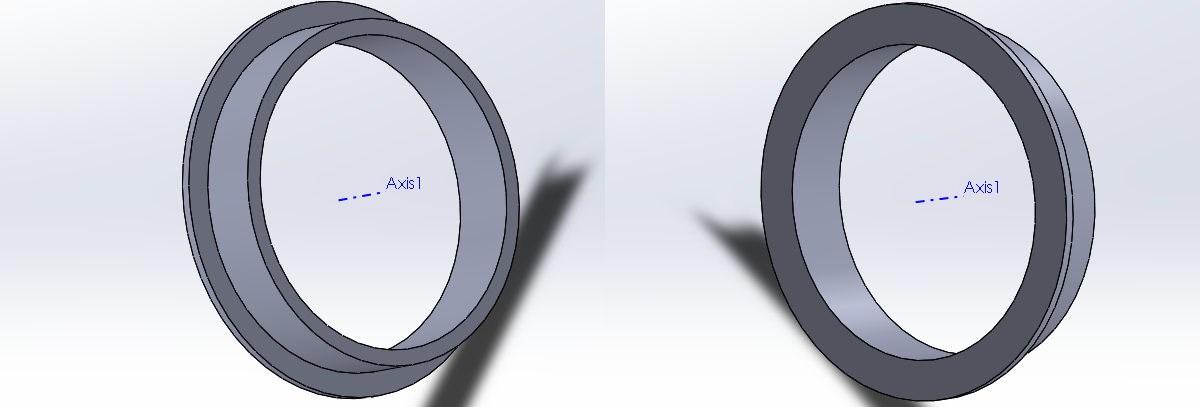
It was again printed in PLA for ease.
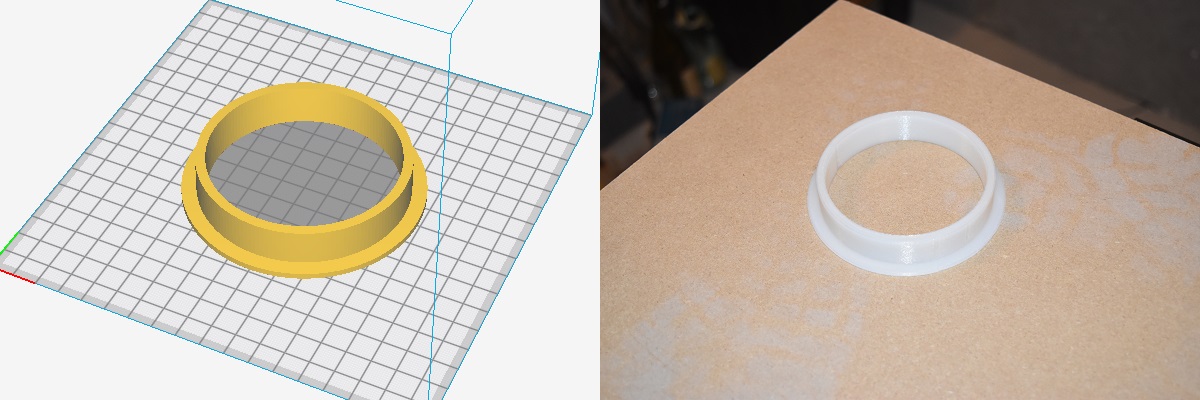
Each of these parts were bonded in place with polyurethane adhesive.
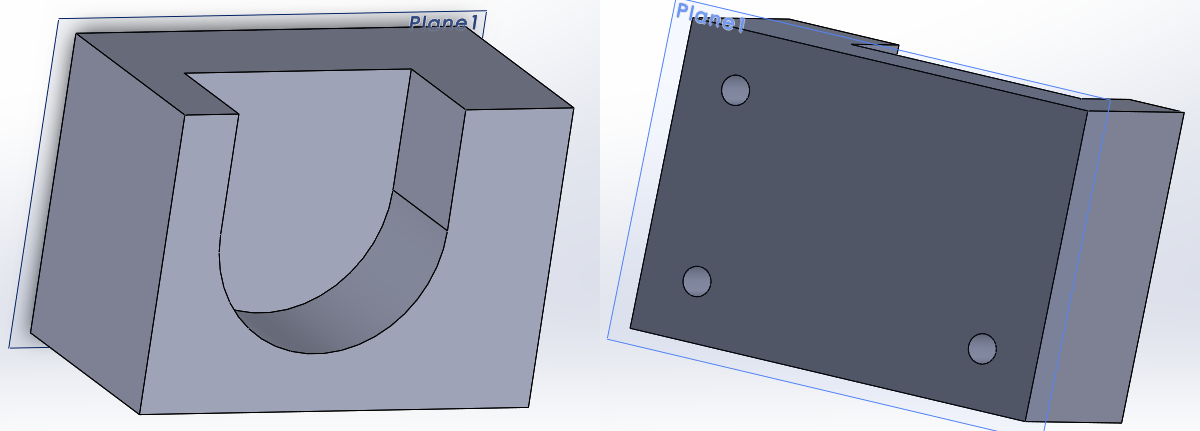
Next was a hinge for the front panel. I wanted to make the front panel removable since it would house all of the vital electronics. Here is the first half of the hinge, this will attach to the front panel.
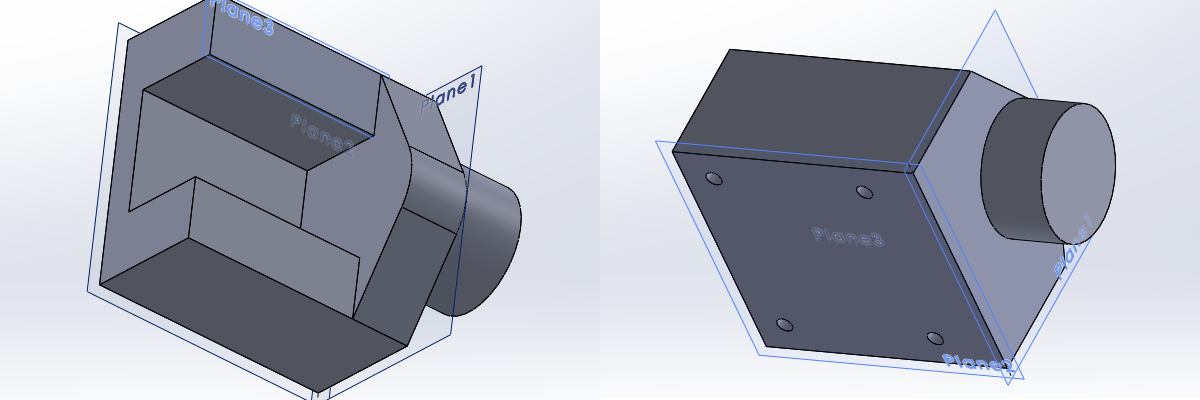
The second half of the hinge, this will attach to the main frame.
The first hinge had to be printed in this orientation to ensure that the hinged part would be round. I printed just one part at a time, placing any quantity on the bed would actually slow the process down and decrease the quality of the end result.
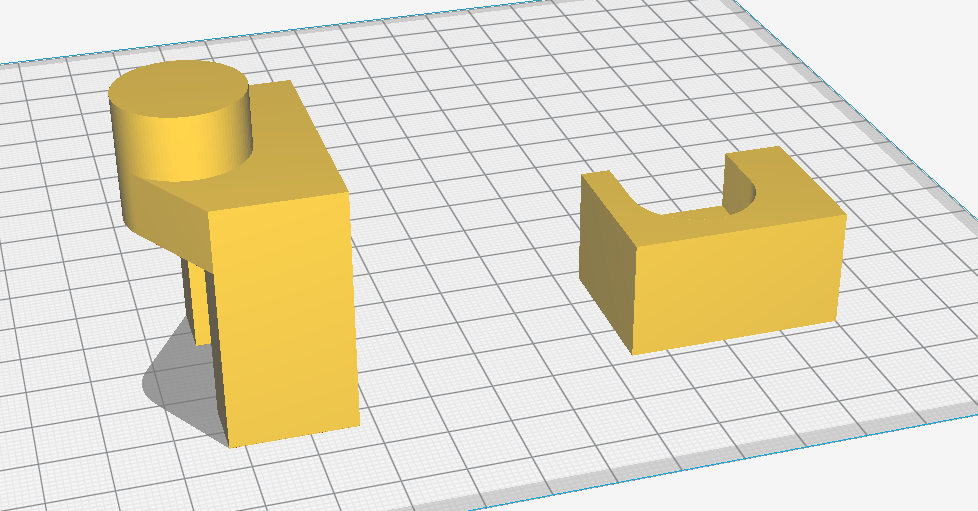
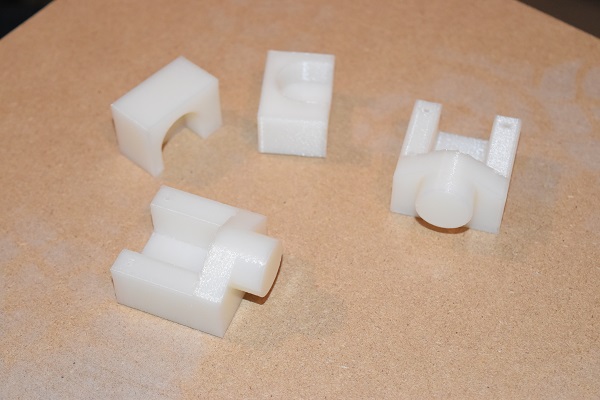
Here they are printed and secured in place.
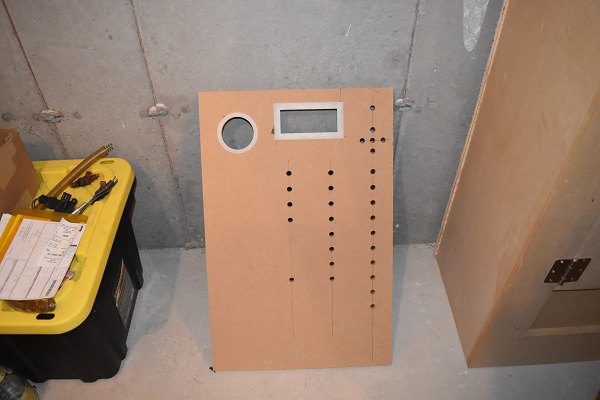
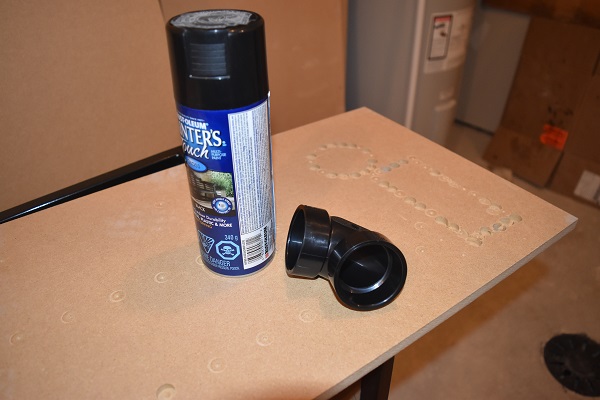
The front panel was painted to match the rest of the frame. I picked up an elbow to be used as an exhaust for the vacuum pump, there are two reasons for this. For one I do not want oil mist wetting the wood, this should not happen since I have a demister. The other is that deuterium is as flammable as hydrogen, even though the concentrations are low there is still the risk of ignition.
Hello, if you have enjoyed reading this project, have taken an interest in another or want me to progress one further then please consider donating or even sponsoring a small amount every month, for more information on why you may like to help me out then follow the sponsor link to the left. Otherwise you can donate any amount with the link below, thank you!